@wvsanta You’re causing me to look around for some old pics of my beloved 74’ IH Scout II.
4 Likes
get’em get’em get’em !!! loved the Scout, they go for big bucks now if you find one in good shape
2 Likes
Still looking around, spent more time wheelin’ than taking pics back then, hehe. As far as in good shape, you’re right, they were known for rusting just a little hehe.
2 Likes
I have been looking for my pics of my ton truck, i know it is in my old PC, might have to crank that up, it has windows 7, don’t know if i can transfer them pics, into this window 10, !!!
2 Likes
thats easy enuff, as long as she fires and has a drive of some sort that works, usb/cd/floppy, trust me iam running must older gear then that atm
3 Likes
yes it has all that, all got to do is go to back bedroom and move 50 boxes out of way to get to it !!!
3 Likes
Get 'r done
3 Likes
The project I am working on right now. I forgot to take pictures before I started but I will try to do more as this repair goes along. This tractor needs a new clutch and it has also started missing on 1 cylinder so time for some TLC.
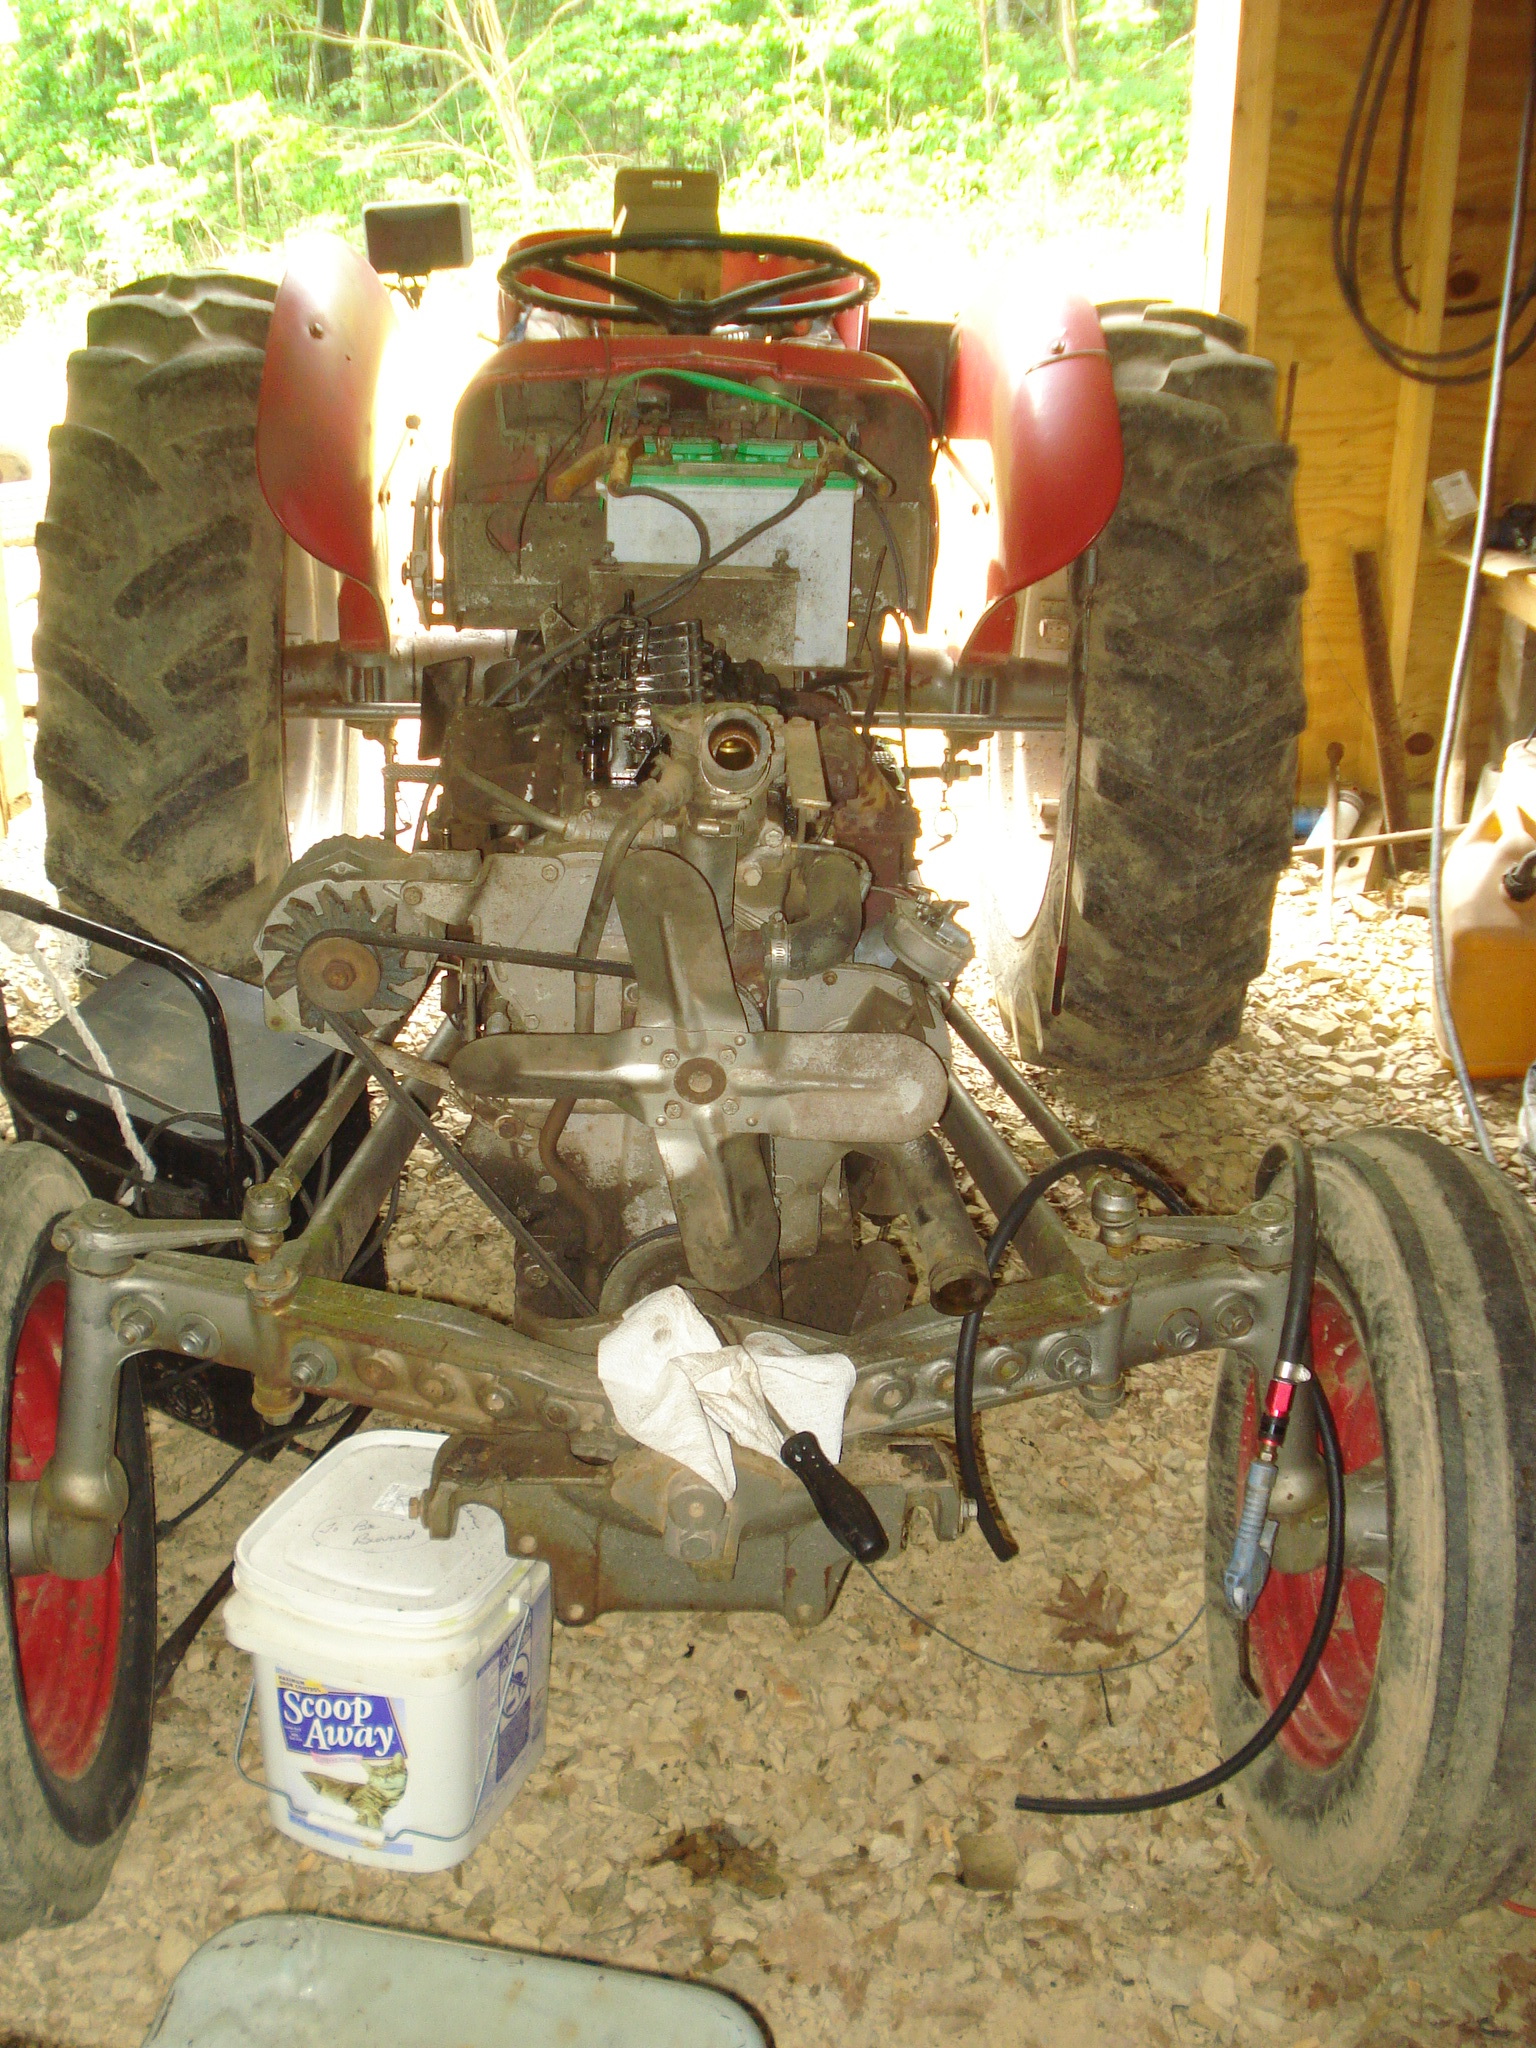
Same tractor but in work ready mode for brush hogging.

Or as seen before during the Blizzard of 2016 plowing over 3 feet of snow.
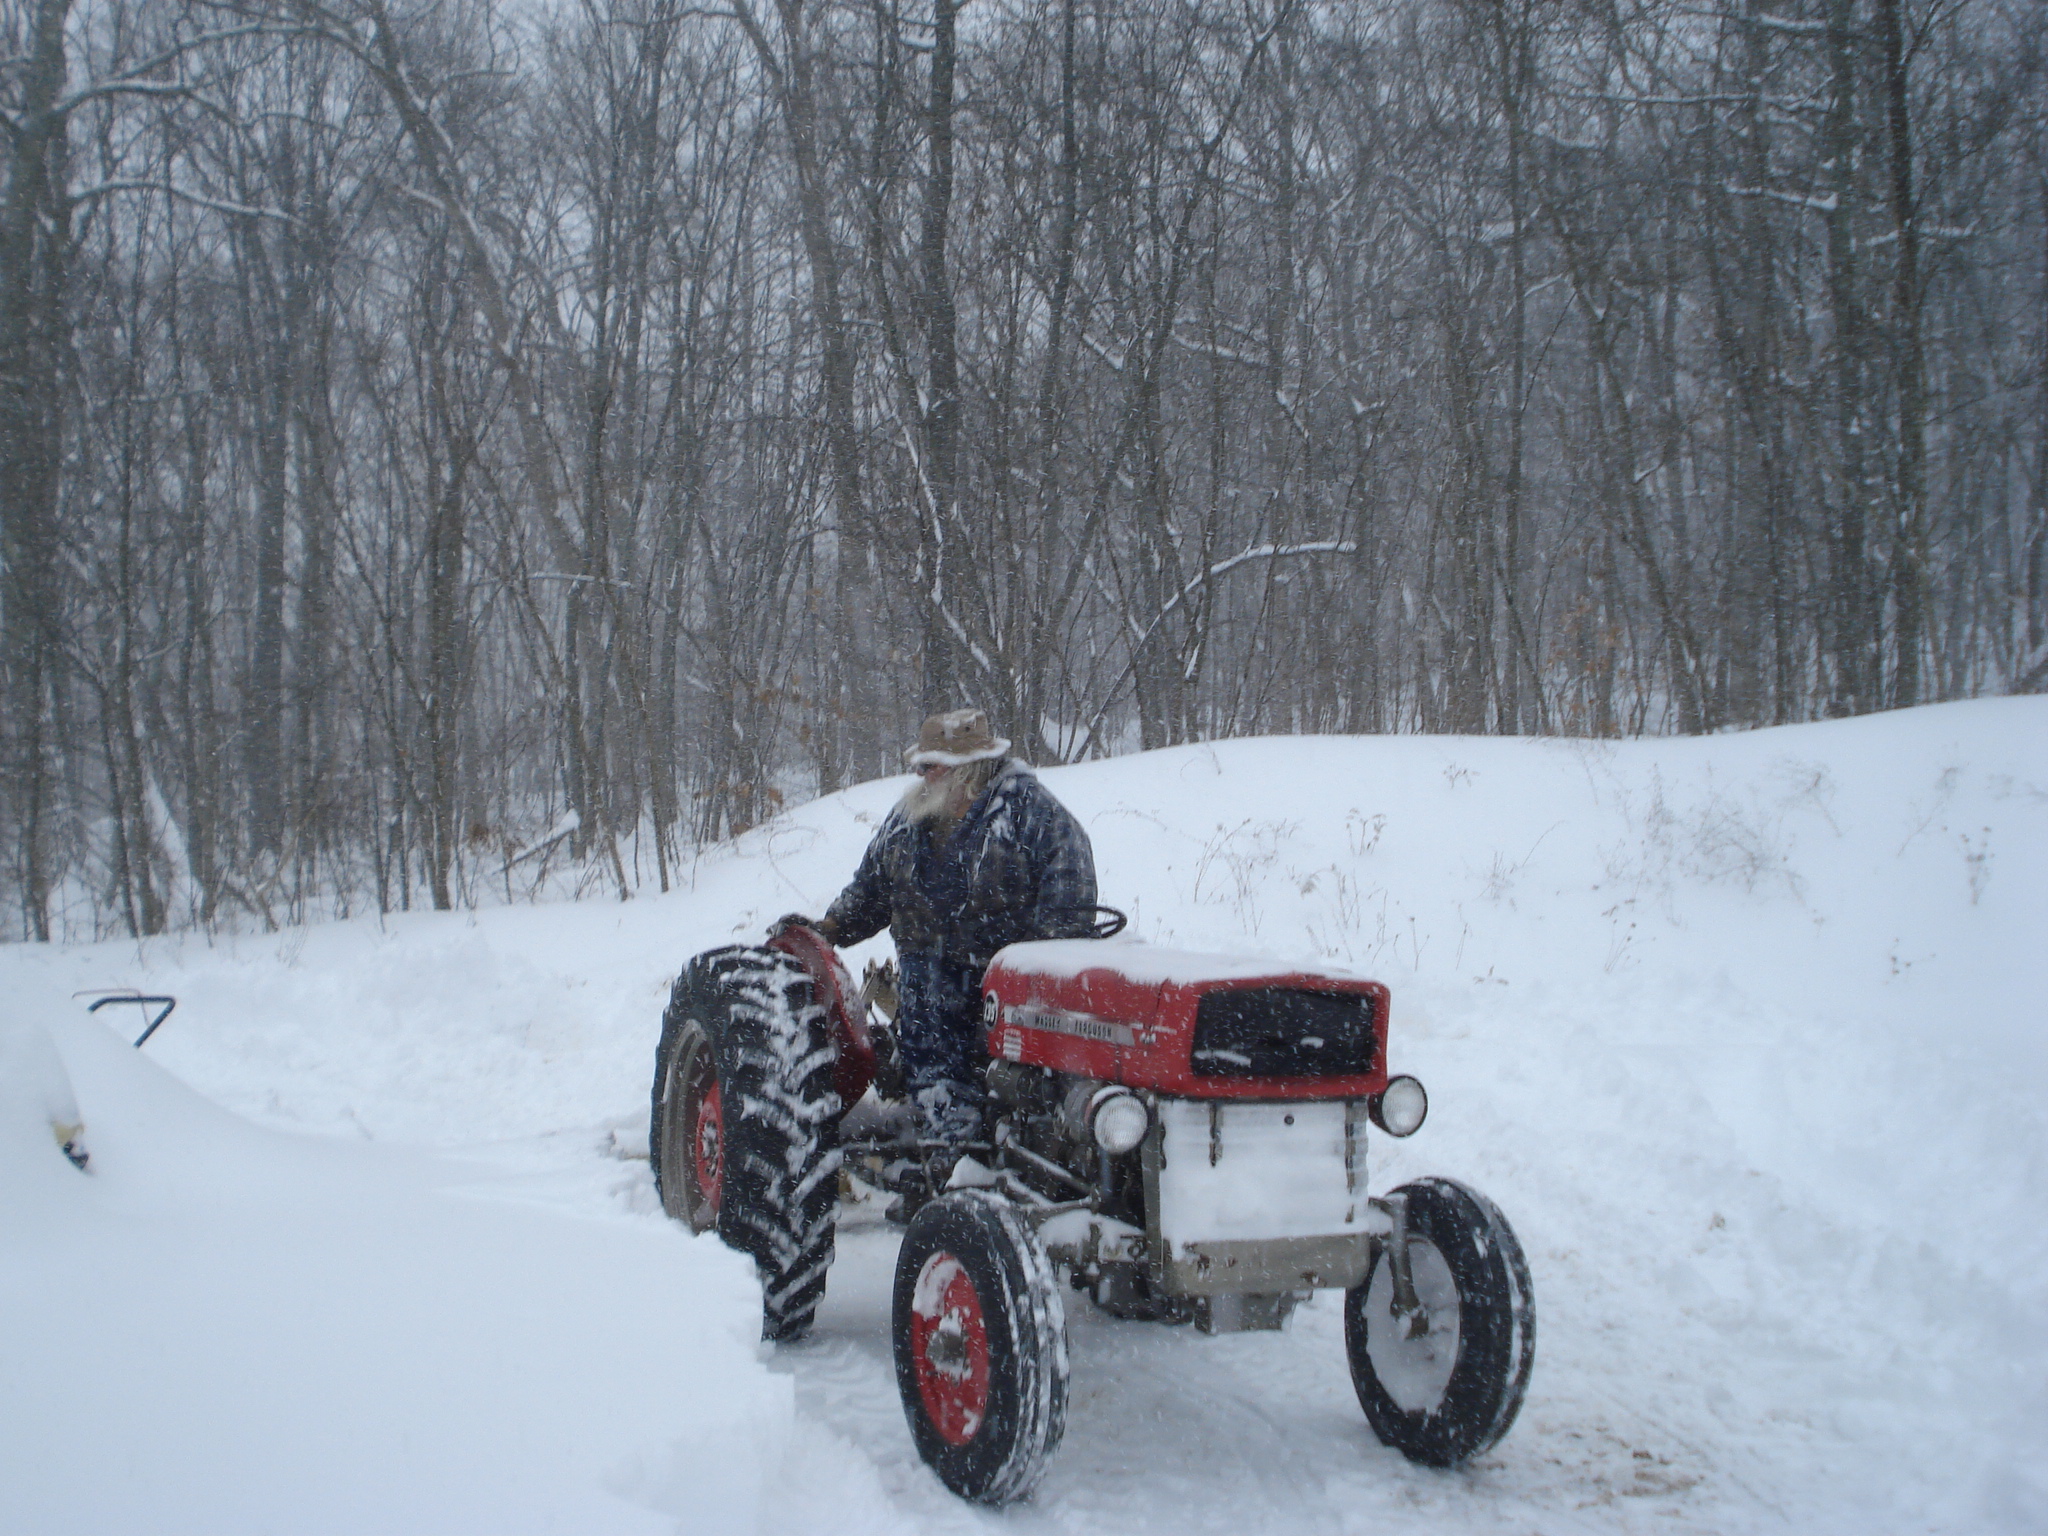
For anyone that has not seen the post I did about the 2016 Blizzard.
So far what I can tell you is I did a dry compression test and the numbers scared me. Cylinder 1 20psi cyl 2 30psi cyl 3 110psi.
My next step was using high pressure air blowing into the cylinders while turning the engine over on the starter motor. next set of numbers, cyl 1 50psi, cyl 2 55psi, cyl 3 110psi.
The results indicate to me the problem is in the valves not sealing when closed but to be sure I next did a wet compression test by squirting a small amount of motor oil in the cylinders. The numbers remained the same 50, 55, 110.
This tells me the issue is not the piston rings so my plan is to take the head off, check for any problems and hopefully get away with hand lapping the valves.

The engine was totally re-built by the local Massey Ferguson dealer just before I got this tractor so I am fairly confident the issue is only carbon build up on the face of the valves.
I would love to hear the opinions of other gear heads if you think I am on the right path or not given what I have listed so far.
I will post more on this project as I move along.
6 Likes
Sound like your on the right path, you’ll know as soon as you get the head of
4 Likes
Could be, But I would check the area on the head between 1 and 2 cylinders closely, with both maintaining an equal but low compression I’m thinking a warp or gasket blow out. I agree it does not indicate a ring problem. Good luck, there ain’t much a West Virginia Mountaineer can’t fix.
6 Likes
Excellent call and a very real possibility.
Let me add a little to the diagnosis process that I went by.
This step in a compression test is something that is not normally found in repair manuals or even taught in auto repair classes.
This is a trick I was shown by a old school mechanic back when I was first getting started. He was in his late 60’s and getting ready to retire.
He explained it to me like this. The high moisture content in unfiltered compressed air will help seal up a valve that has minor carbon deposits on the face of the valve and not effect anything else that could be wrong.
Is that fact or fiction? I am not 100% sure but I have found it to be true on a few occasions in my lifetime.
I am not in any way trying to say your diagnosis is wrong at all, because it is a very real possibility. I did all of the compression testing with all of the spark plugs removed so I have no clue if one cylinder was adding compression to another or not. I will definitely inspect everything closely once the head is off.
I had no way to capture the images but we did look in the cylinders with a bore scope yesterday and there is a lot of carbon build up on the top of the pistons but the cylinder walls all looked like new and I saw no evidence of a cracked or burnt piston.
I will be working on it more today so I will keep everyone updated as I move along.
I am curious if anyone else has ever heard of doing this compressed air step during a compression test. I am in my 60’s and have been turning wrenches my entire life but not once have I ever talked with another mechanic that has ever heard of doing this.
2 Likes
I have heard of the method before but not used in the shops I worked, oil testing to help determine ring or cylinder wear was common, shop air was moisture filtered to avoid tool damage. 2 near equally low compression numbers on side by side cylinders led me to my thought along with all you testing. Only getting the head off will tell for sure. I’m in my 60’s so maybe that’s why i heard of it., lol.
Add: By the way that is one clean looking motor, what a pleasure it would have been to work on such.
3 Likes
It may just be a very old school thing. ![]()
3 Likes
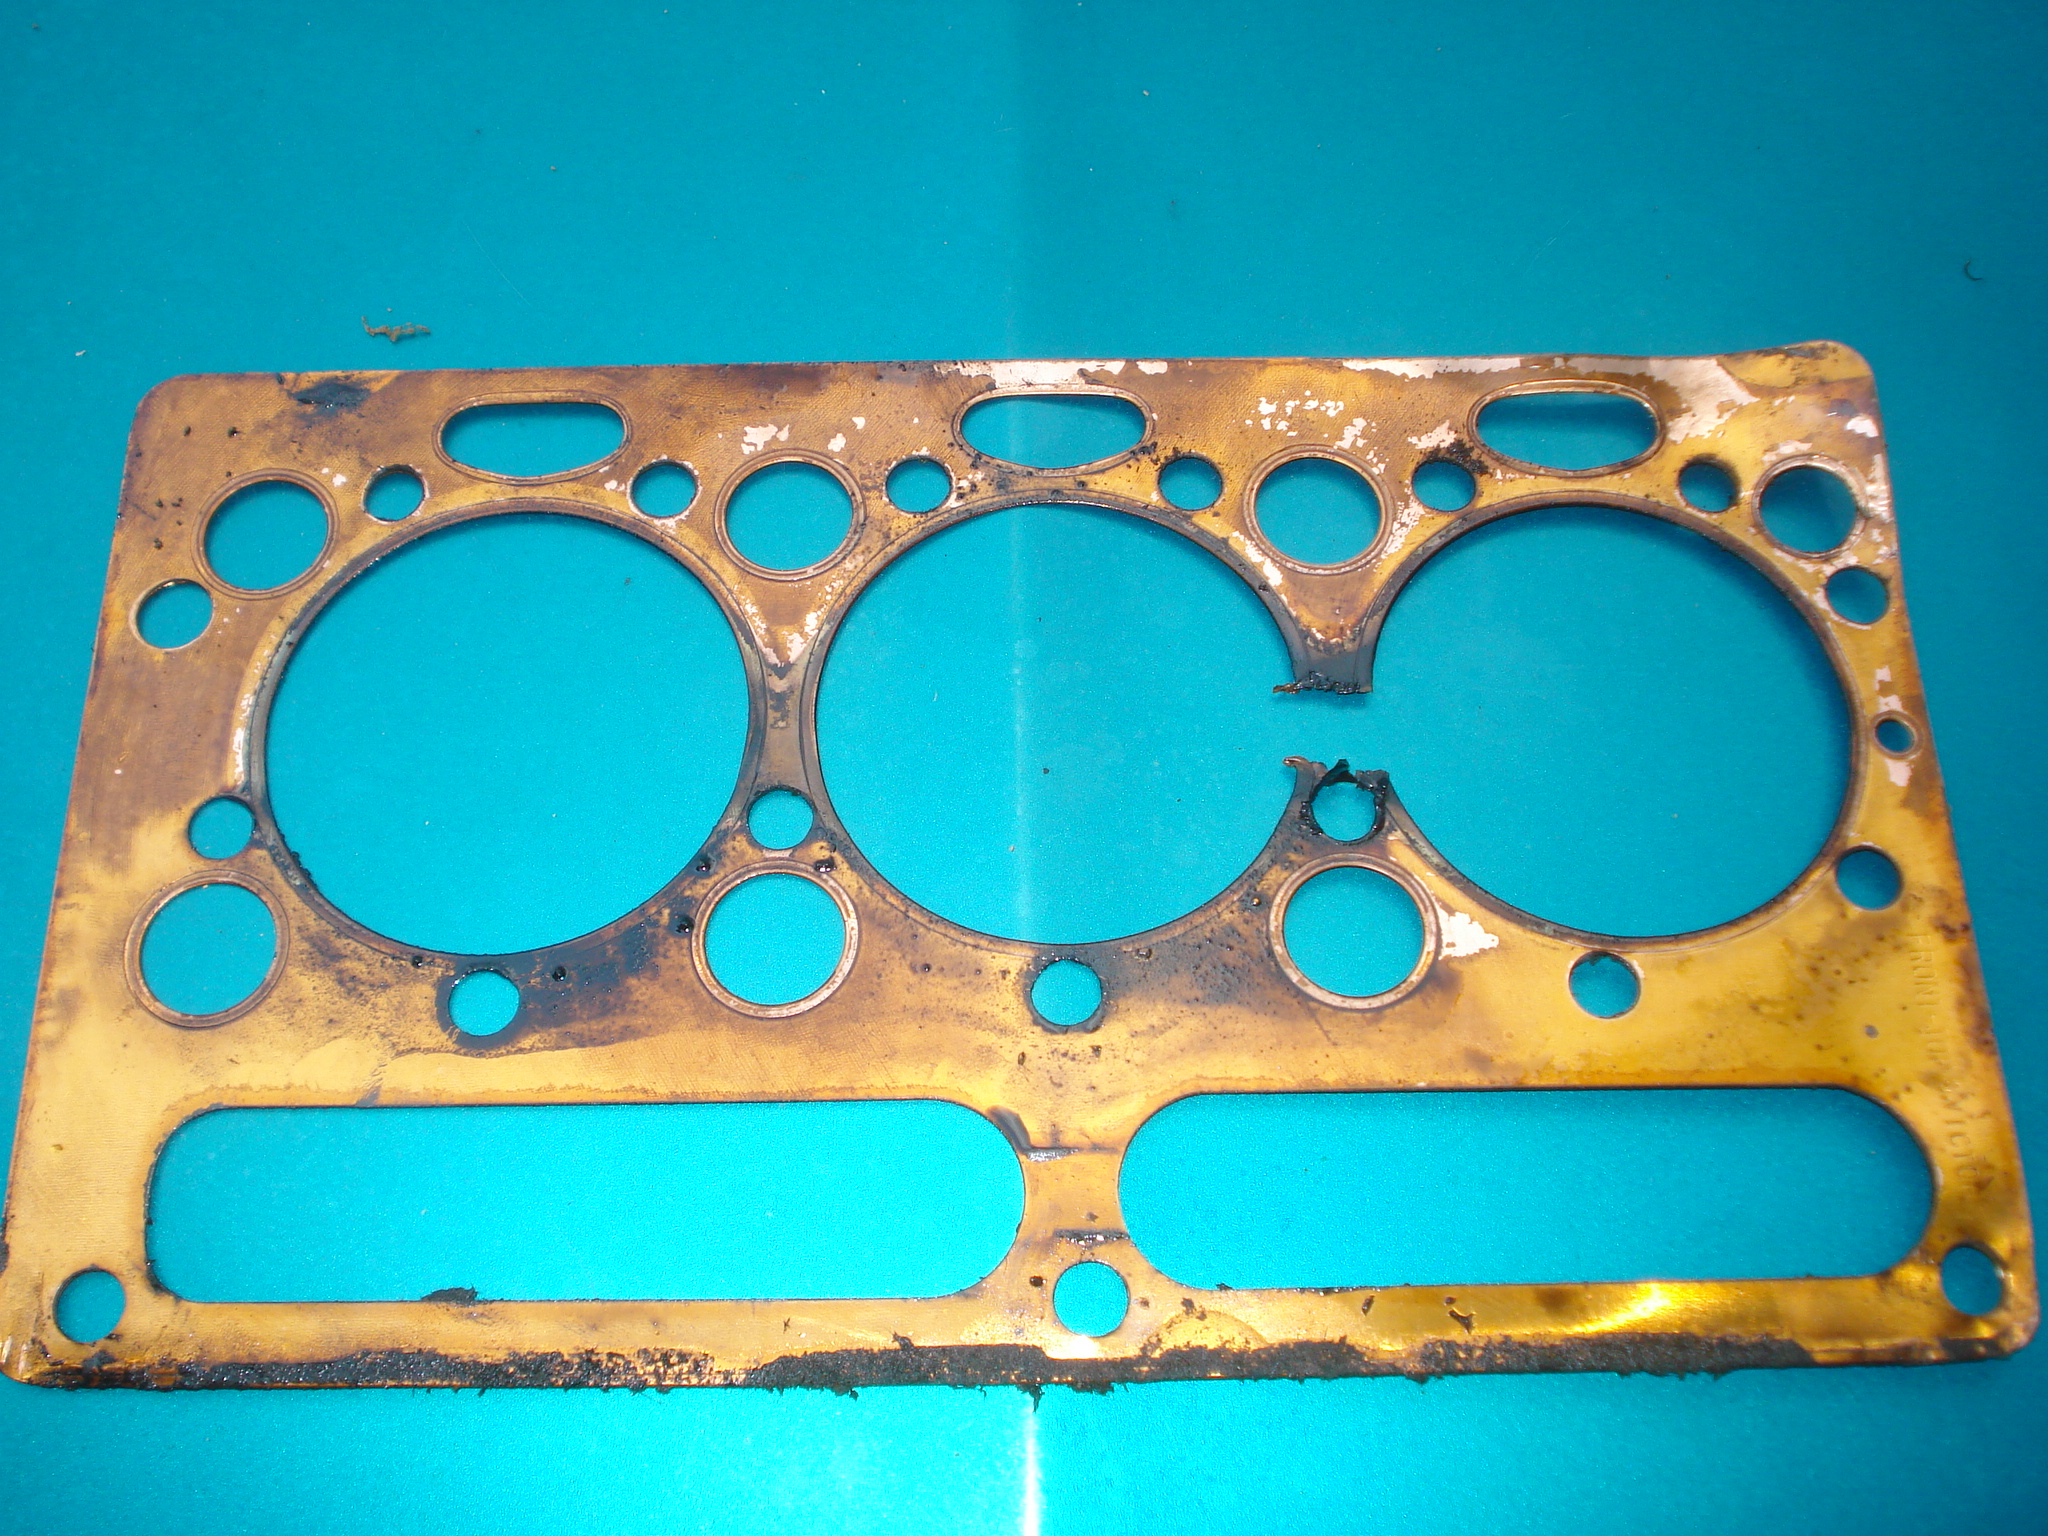
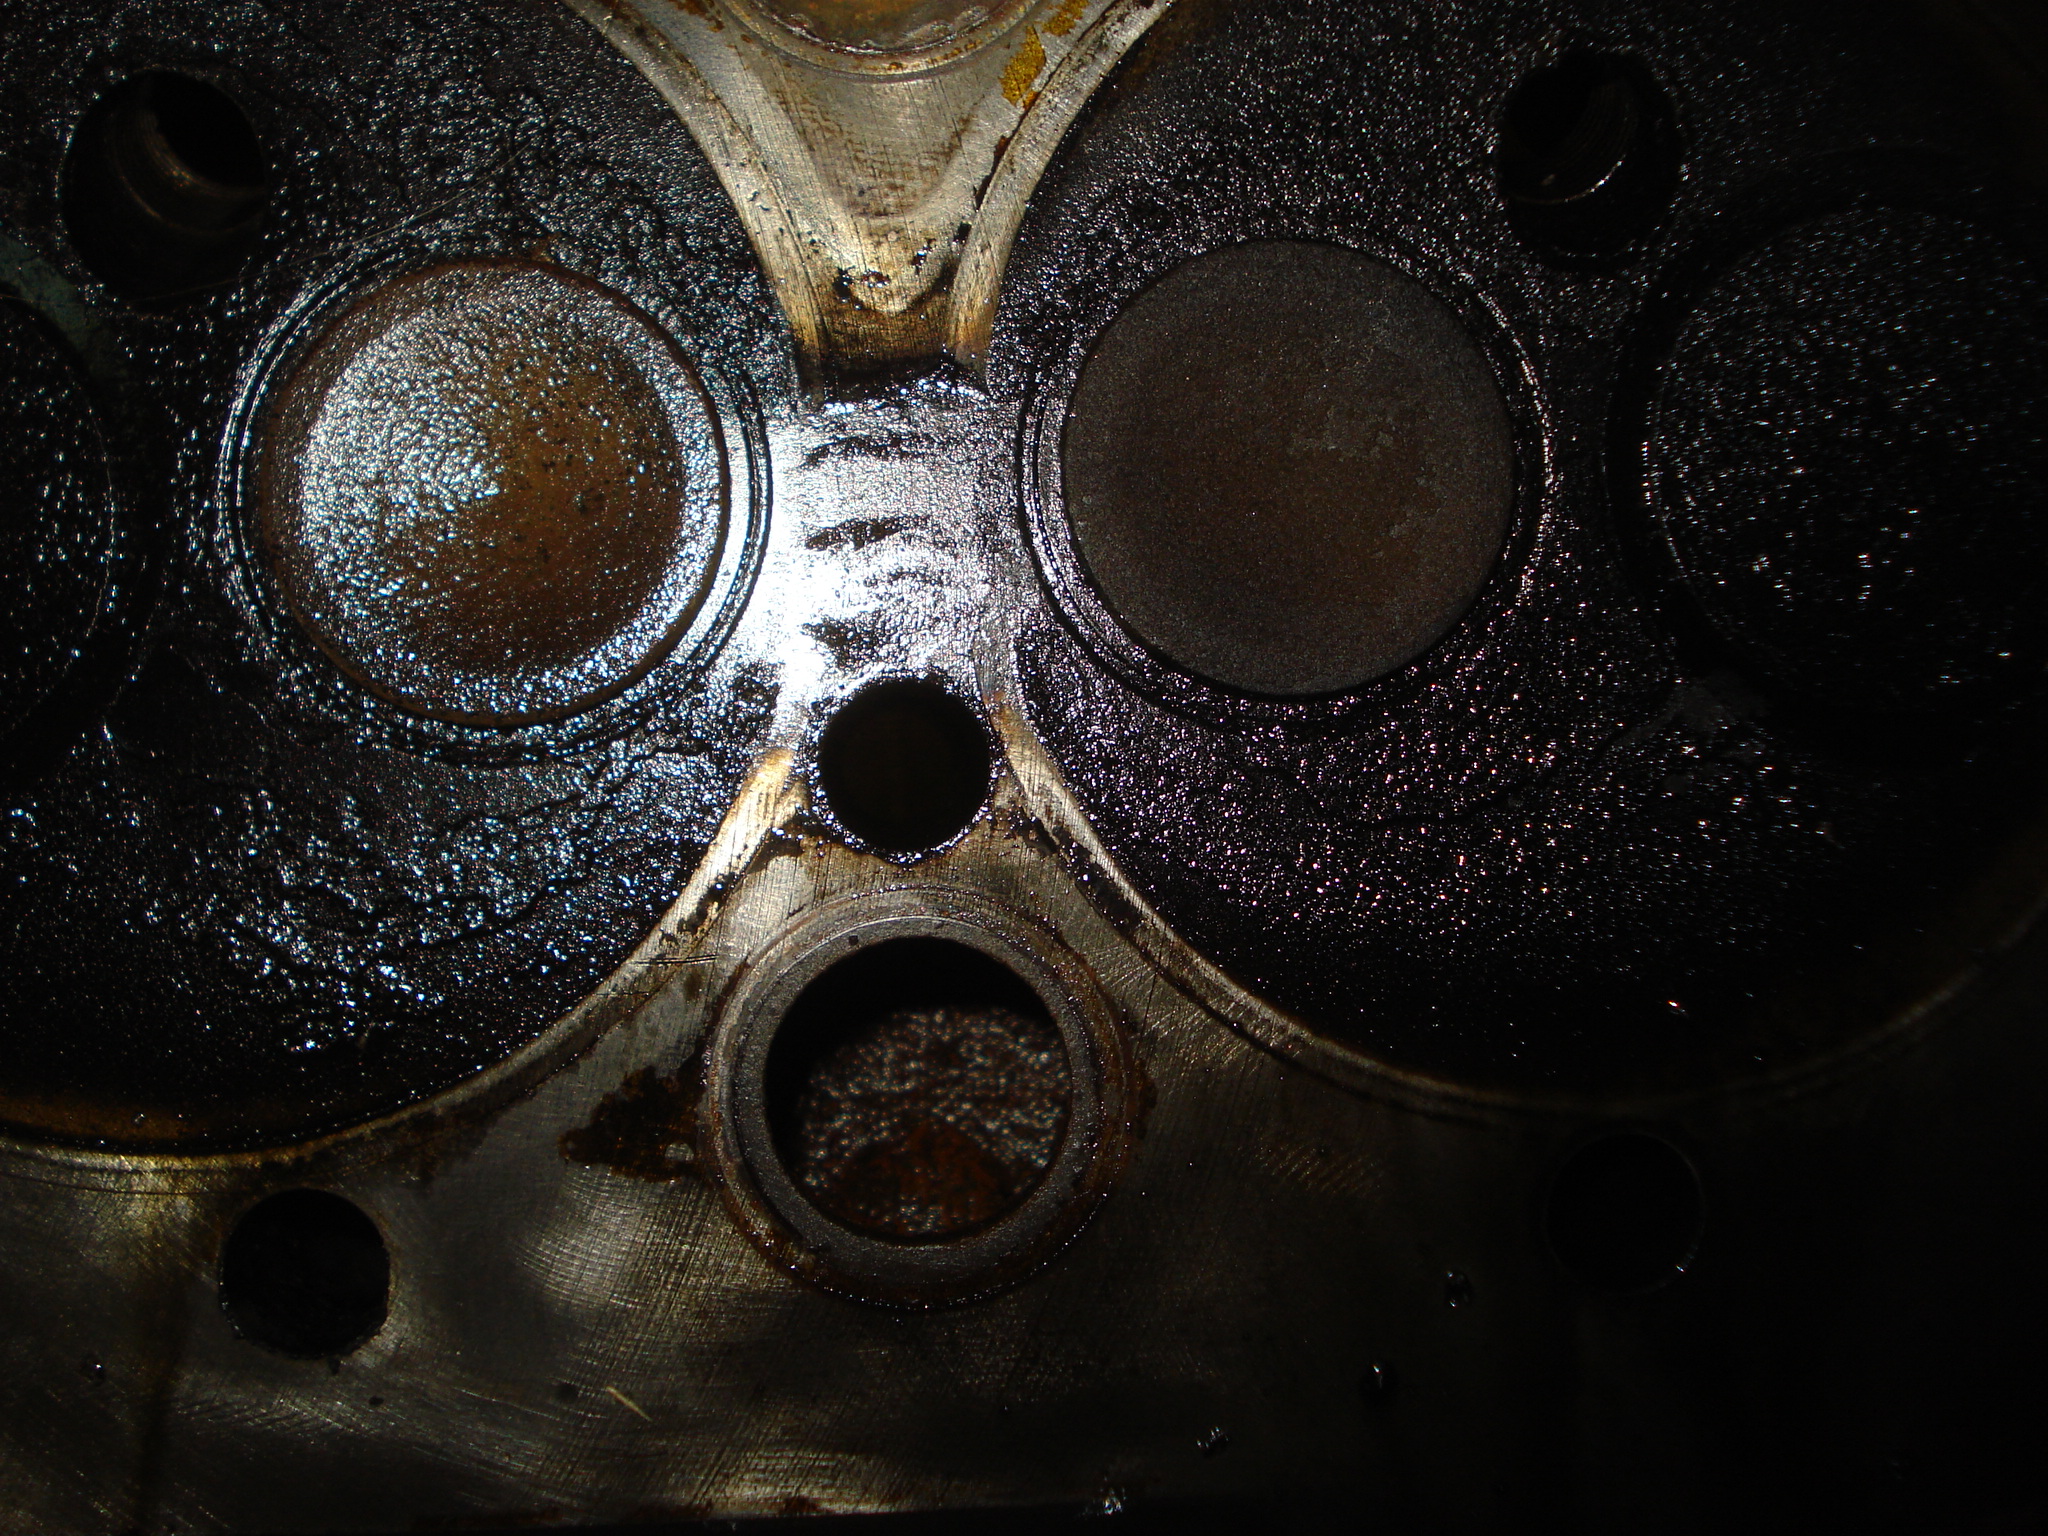
The winner is @anon13011326 The head gasket is blown between number 1 and 2 cylinders.
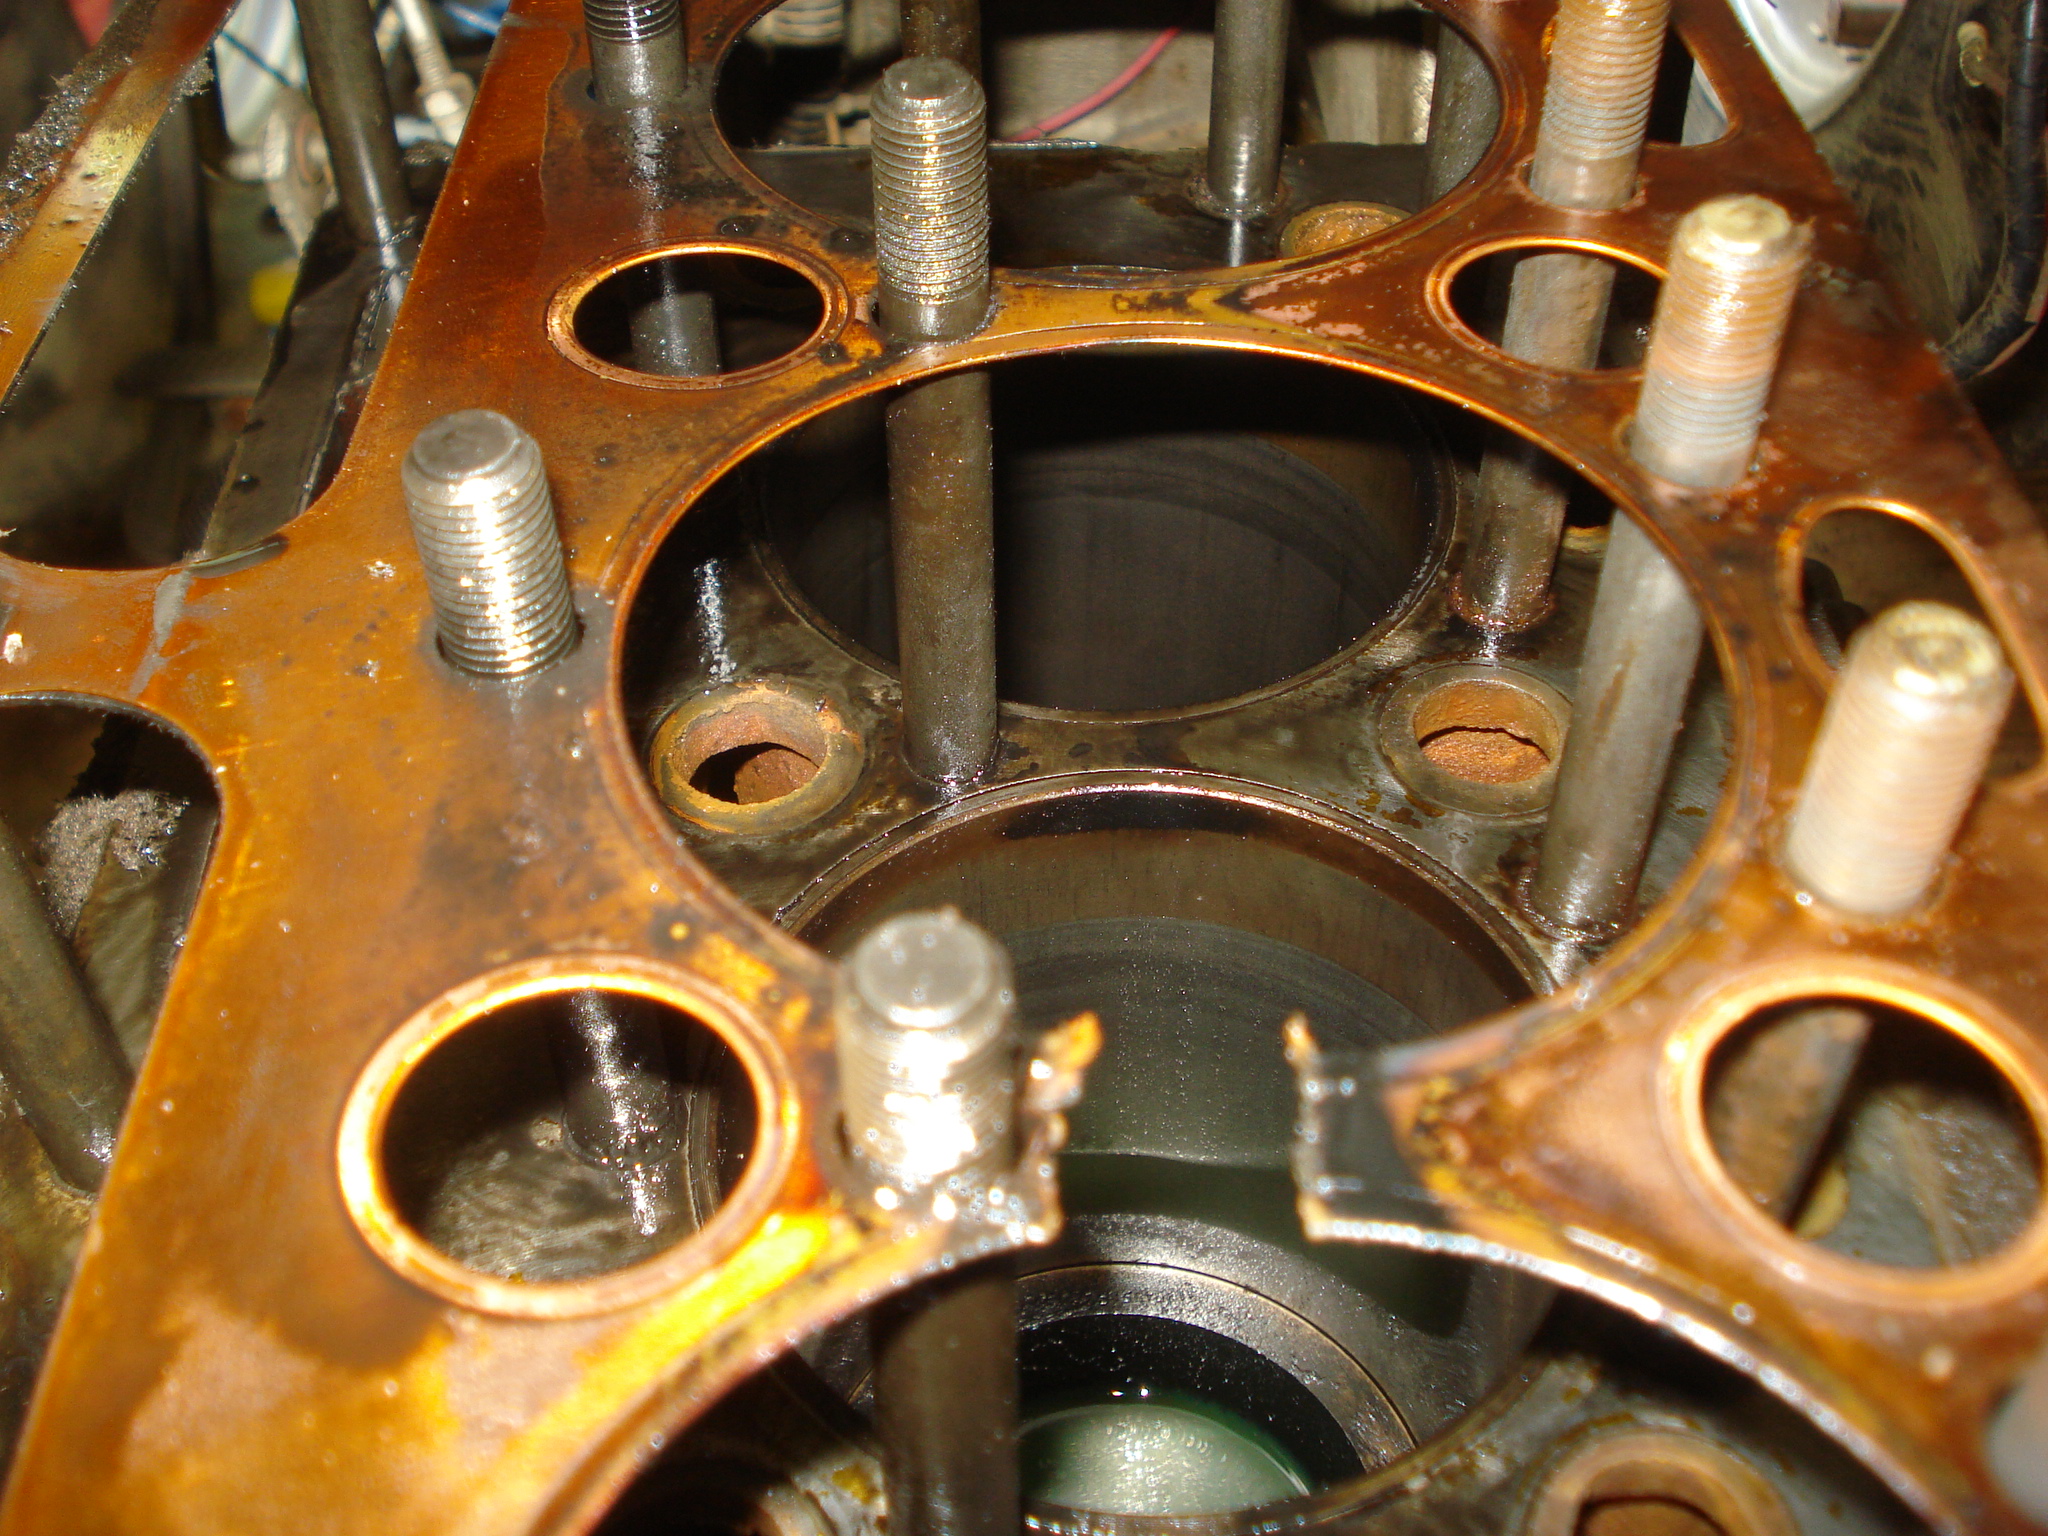
I do believe there is still a very strong possibility of carbon build up on the valve faces judging by the amount of carbon deposits on the head and the top of the pistons.
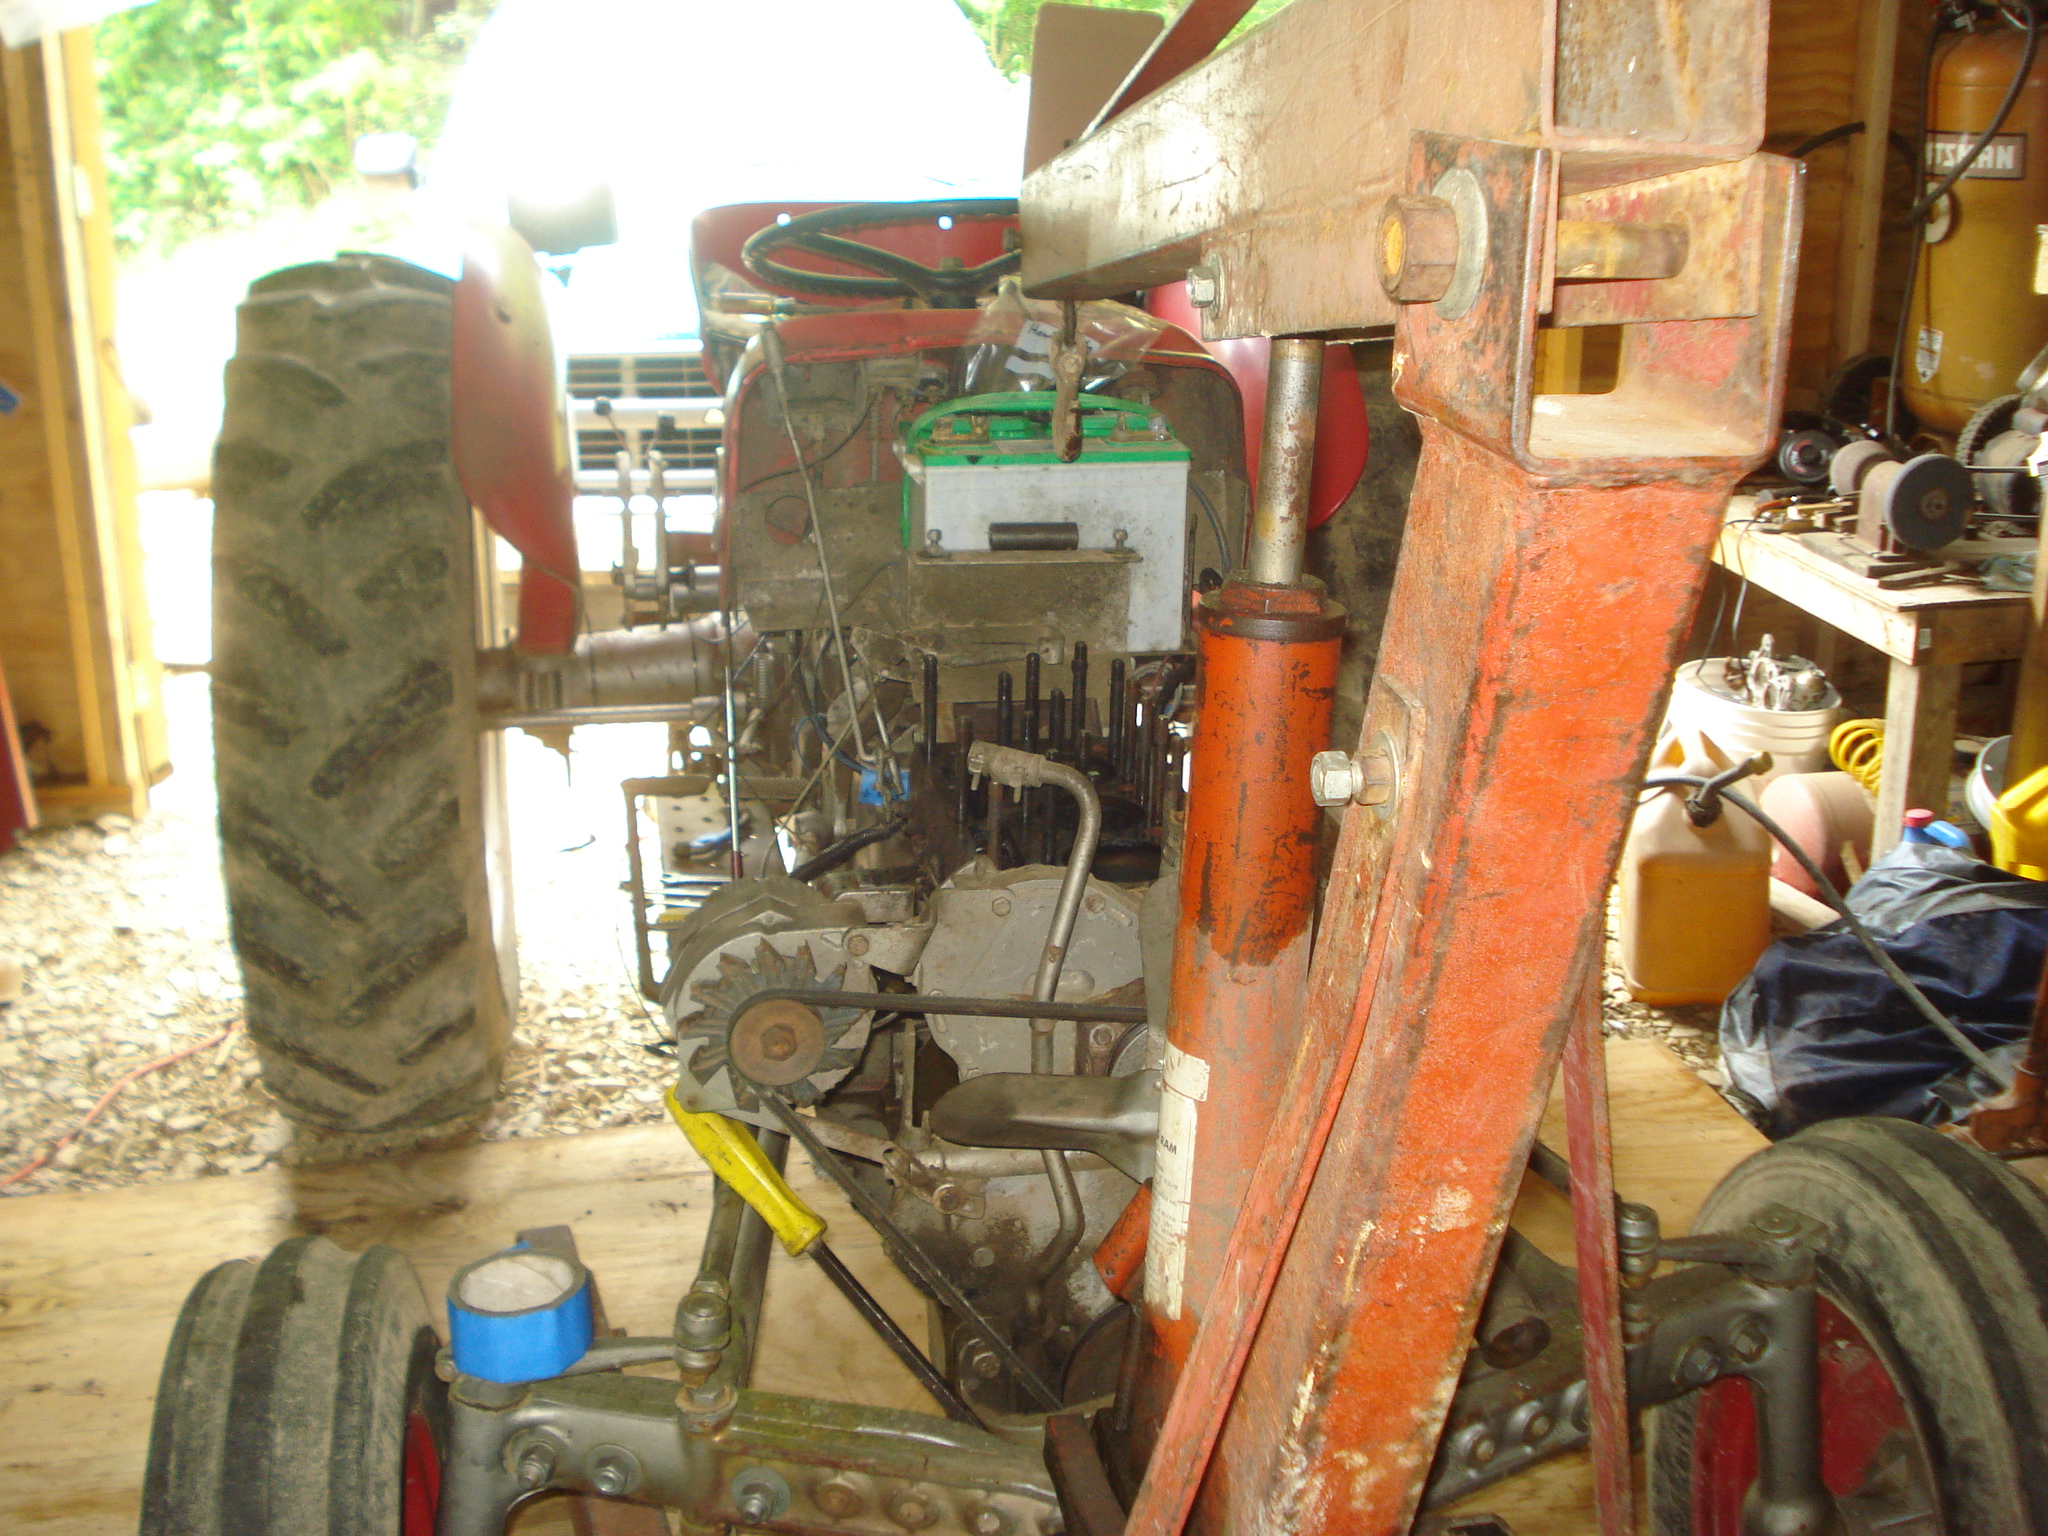
Next step is to get the tractor split apart and get to the clutch. There is no question it needs a new one but there are 2 different ones and splitting the tractor apart and counting the splines of the PTO clutch disk is the only sure way to get the right one.
The engine hoist will be used to hold up the back of the engine allowing the engine and front axle assembly to be rolled away from the back half of the tractor.
More to come on this project as I move along.
5 Likes
I’m sure you will at least clean them up and lap them, no burnt valve that I can see which is good. ![]()
4 Likes
Yes Sir cleaning the head and block as well and checking with a straight edge and feeler gauges for any signs of warping.
No signs of a burnt valve at all but they will get hand lapped for sure.
No short cuts on this project as it is way more work than I want to do a second time to pull this all back apart.
I use this tractor a lot in maintaining our property so I want it back to 100% or as close as I can get it.
I have not been able to figure out why it runs so rich yet. It has been doing that for about a year now. I worked on diesels all my life so carburetors are not my specialty.
I have a friend who is much better on old gas powered farm equipment than I am and he will be trying to figure that issue out when I get it all back together.
If anyone has any suggestions I am all ears.
3 Likes
Yeah, jet adjustment can often be a pain (especially if you cover long distances with changes in altitude and humidity). Fortunately you only have to contend with changes in season where a tractor’s concerned… 
One of the most bitched about carbs was the old Pontiac Quadrajet. But I swear, once you got it dialed in, it was better than a Holley! (But Holley’s were so much easier to tune for most.)
4 Likes
The floats on the fergies can leak or a blocked float chamber air vent maybe
5 Likes
More commonly referred to as the Quadrapuke by many. LOL But you are right when they worked they worked well. If this had a Holley or Edelbrock I would be OK.
I have only had very limited experience with the up draft carbs found on most antique farm equipment.
Thanks for the tip. I have to say this tractor has been good to me. I got it back in 2007 and other than the obvious points, plugs and such I have done absolutely nothing to it. I do regular oil changes and I clean dust out of the air filter and radiator after every use when I am mowing grass with it.
Last year I noticed it begin to run rich during the mowing season. I figured it was just time for a new air filter but that did not help. I was super busy and just went to using it as little as I possibly could. I needed to scrape my driveway at the end of winter this year and that is when the misfire and loss of power began.
The clutch had been losing pedal for awhile but it had never started slipping. What happened was it started not disengaging when you pushed the clutch pedal in. That can be a very dangerous situation because even running rough this thing will climb a brick wall before it stalls the engine. The last thing I wanted to do was be going up a hill and the front end come up and over on me before the clutch would disengage.
One way or another it will all get fixed very soon, mowing season has arrived and it is once again time for it to get a good workout.
5 Likes
I posted previously about this guy and his 1927 Elcar project. He just posted an update and is planning to take it to a car show for the first time.
4 Likes