Geekvape Loop RDA Review
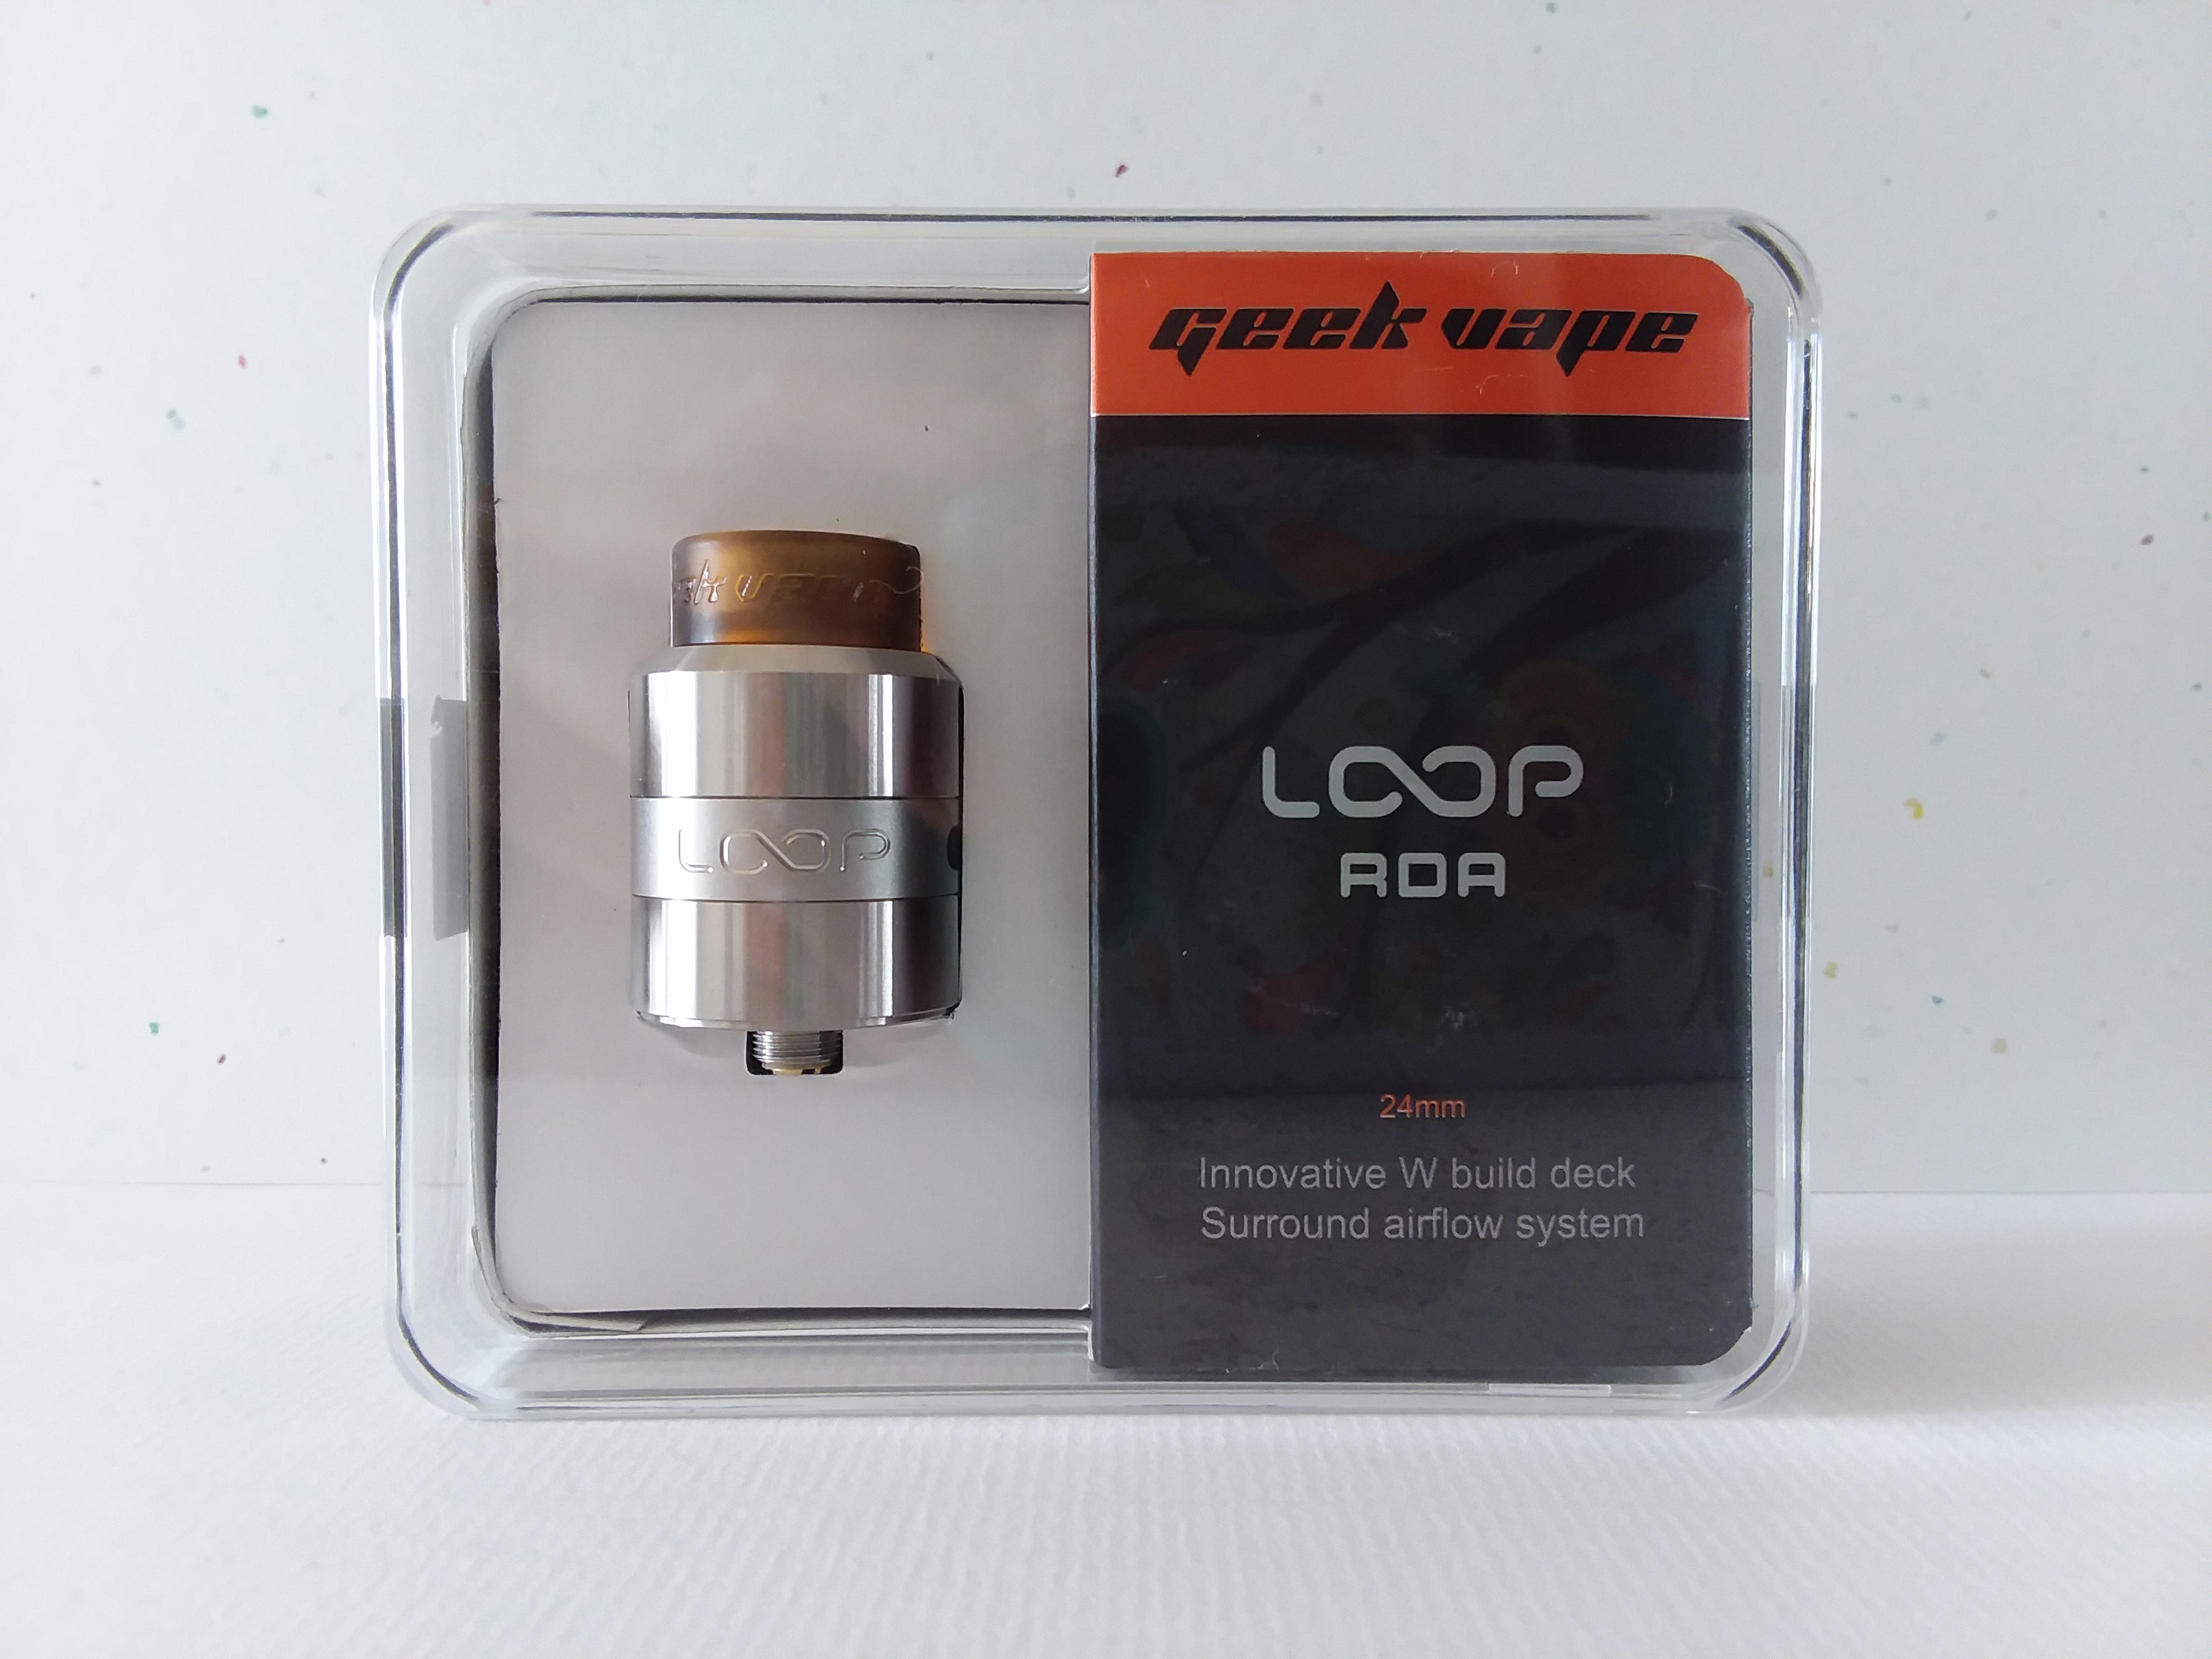
The Loop RDA is a uniquely shaped, flavor power-house from Geekvape. I don’t usually put much stock into the newest RDA craze, as my current RDA has served me quite well for a while now, and has been my go-to in terms of flavor and airflow, but the Loop has been an incredible stand-in. The Geekvape Loop was provided to me from Health Cabin for the purpose of this review.
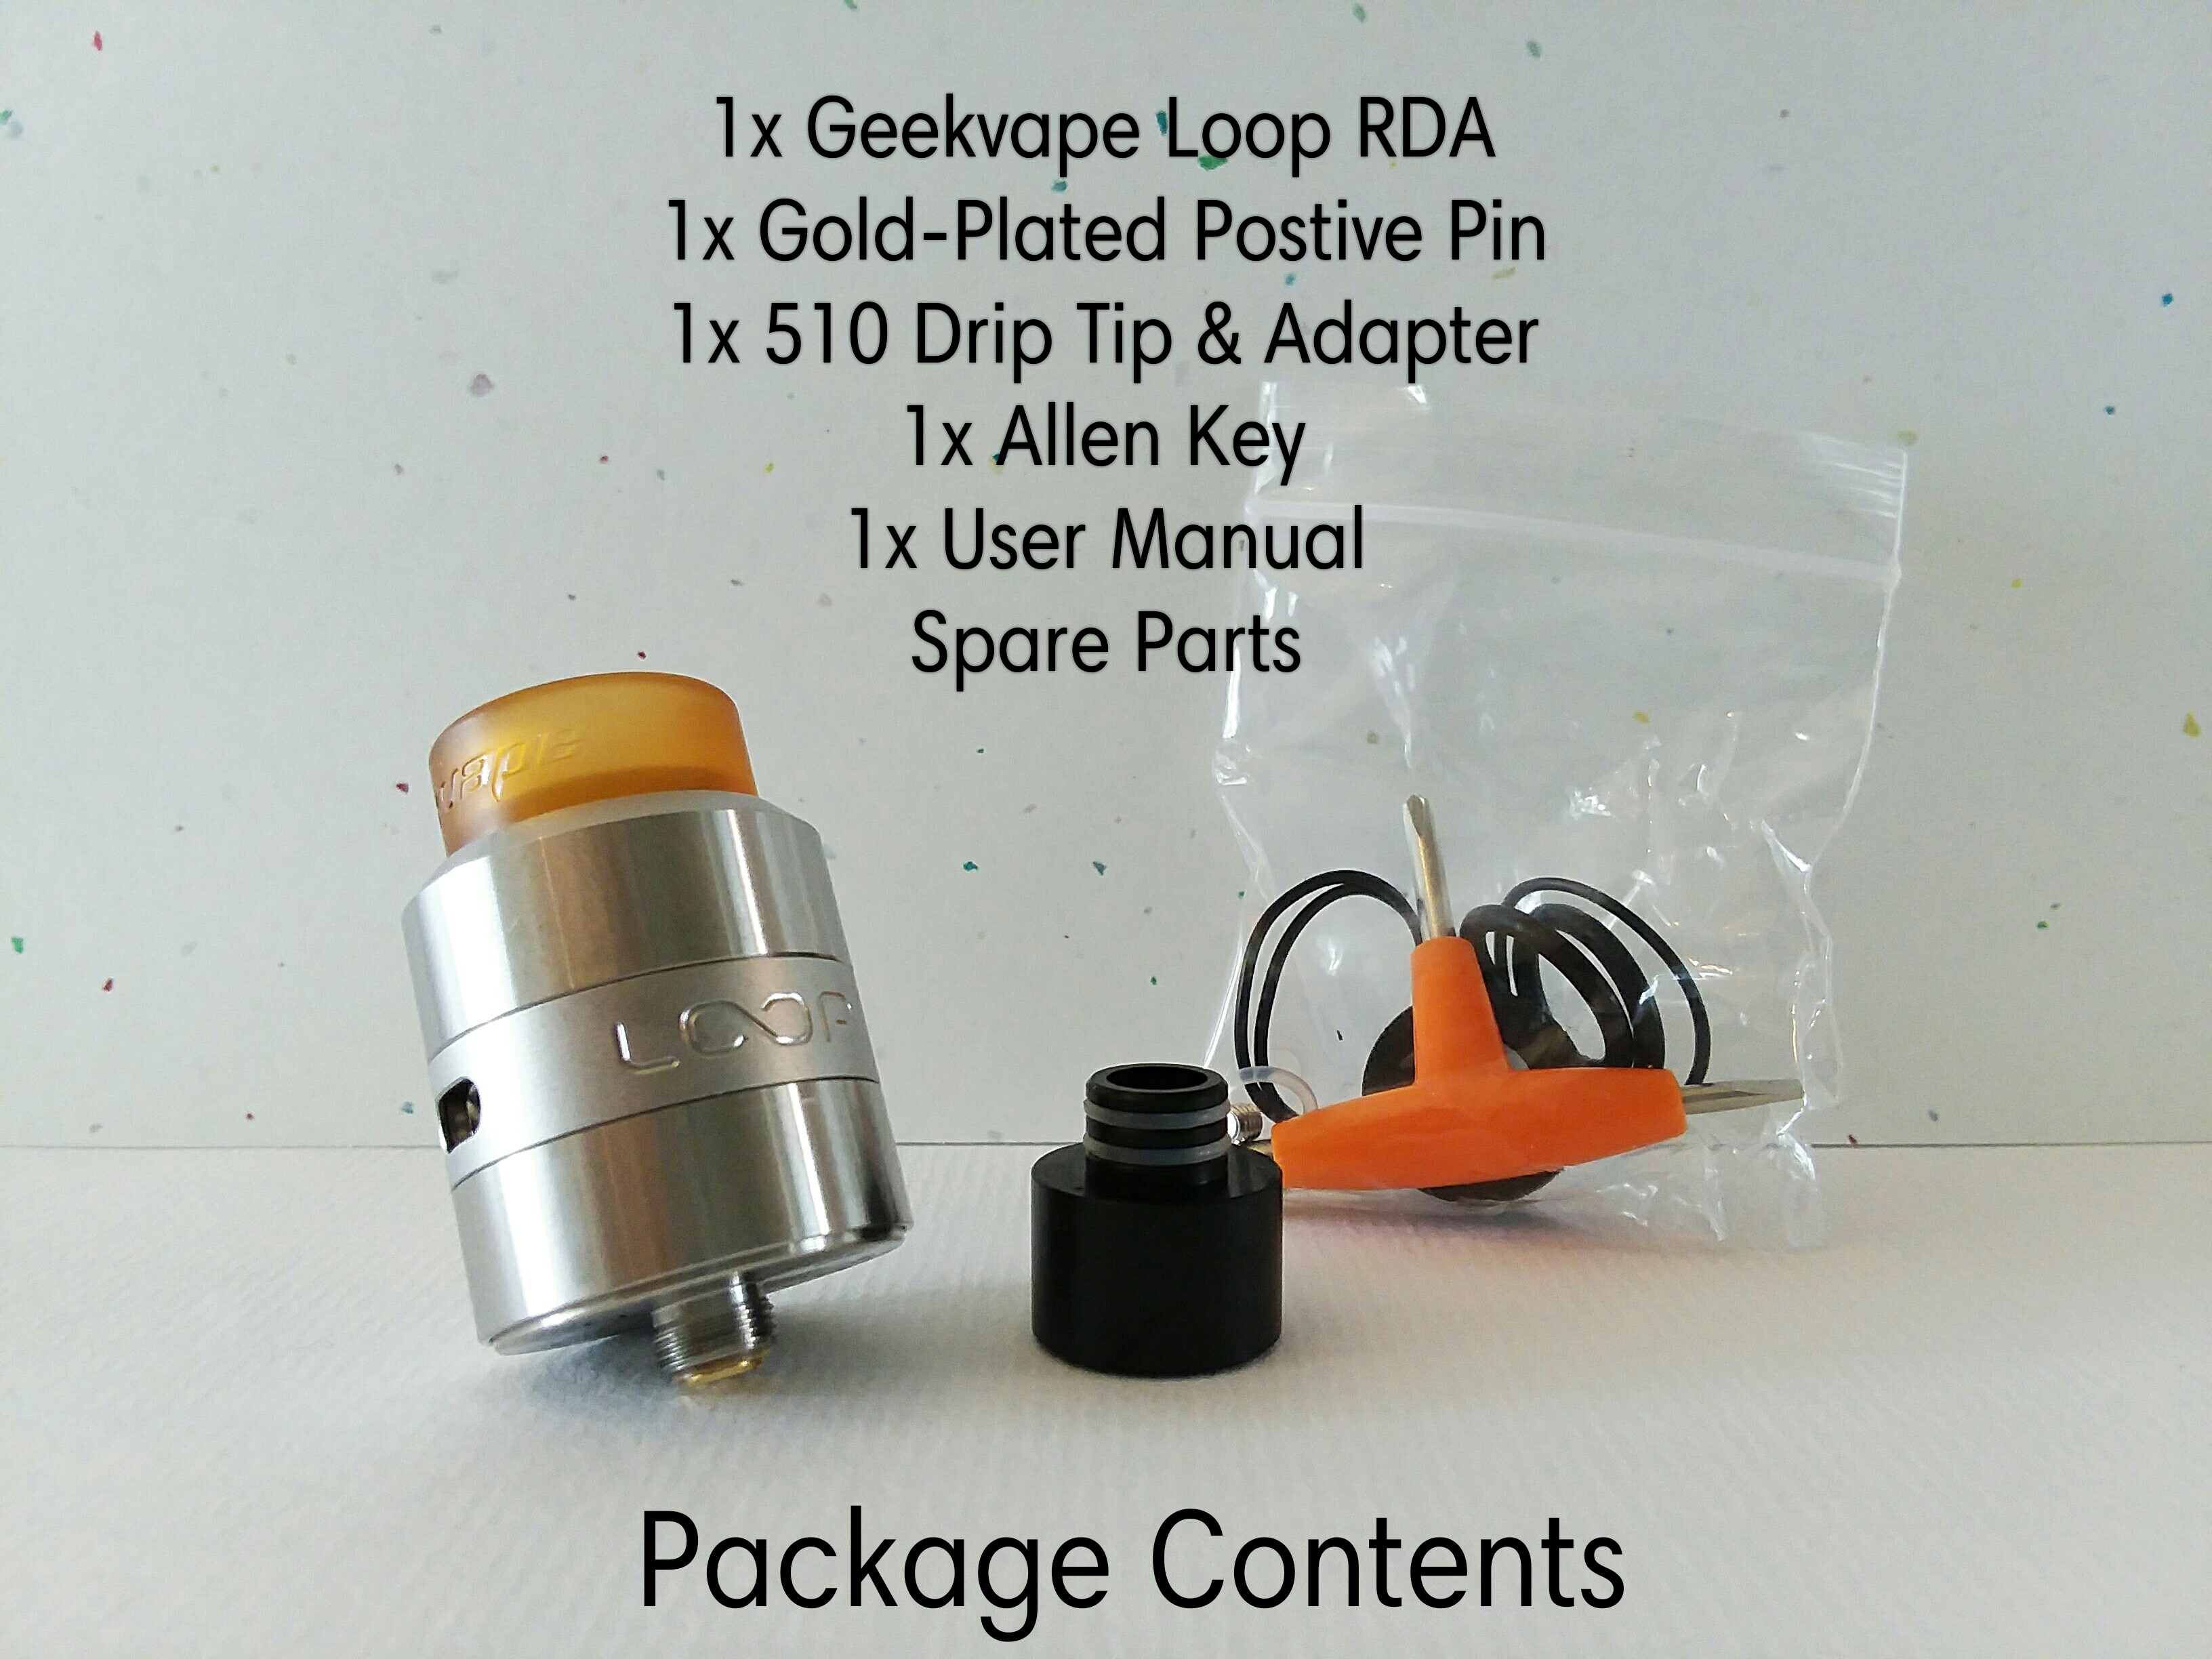
Package Contents
Features
- 24mm Diameter
- W Shaped Build Deck
- Four Terminals
- 3mm by 2mm Per Terminals
- Coils Held Down by Flathead Screws
- PEEK Insulator
- Juice Flow Splitter in Center
- Angled Bottom Airflow Design
- 7mm by 3mm
- Fully Closeable
- Top Cap Lock
- Independent Airflow Adjustment
- Fully Adjustable
- Gold Plated 510 Contact
- Squonk-Ready 510 Pin
- 304 Stainless Steel
- 810 Drip Tip-Wide Bore ULTEM Drip Tip
- 510 Drip Tip -Tapered Bore Delrin Drip Tip
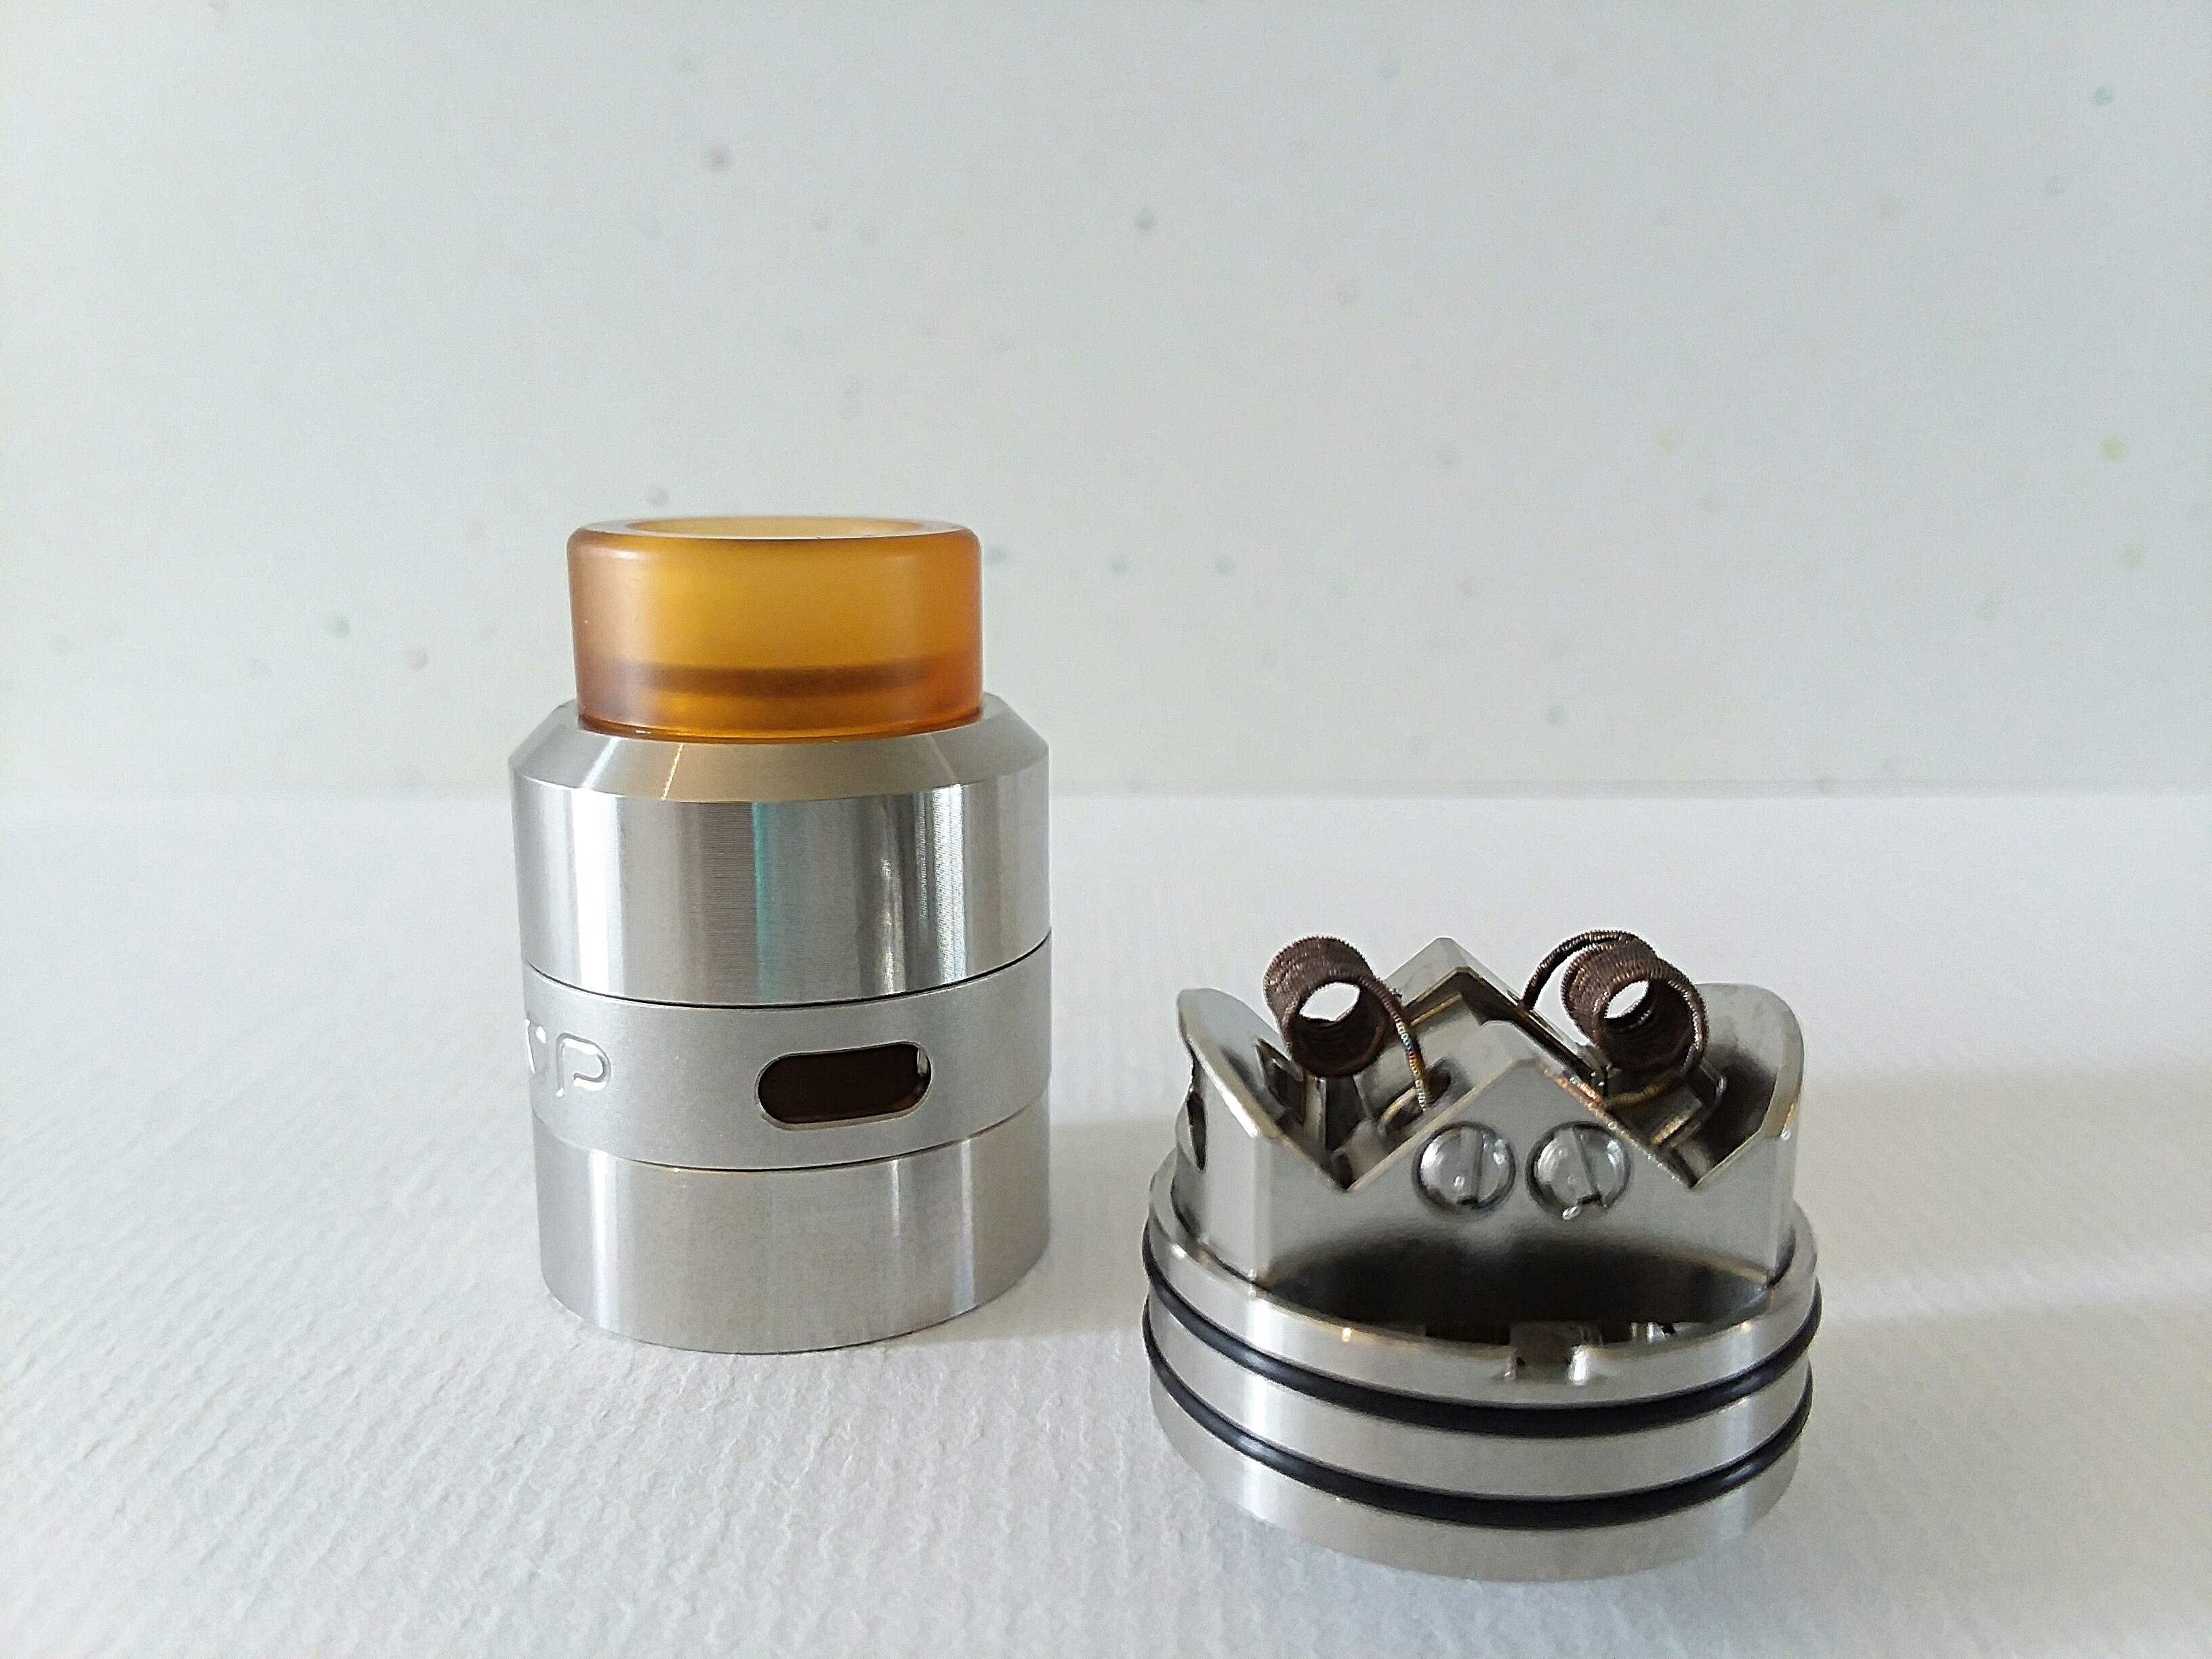
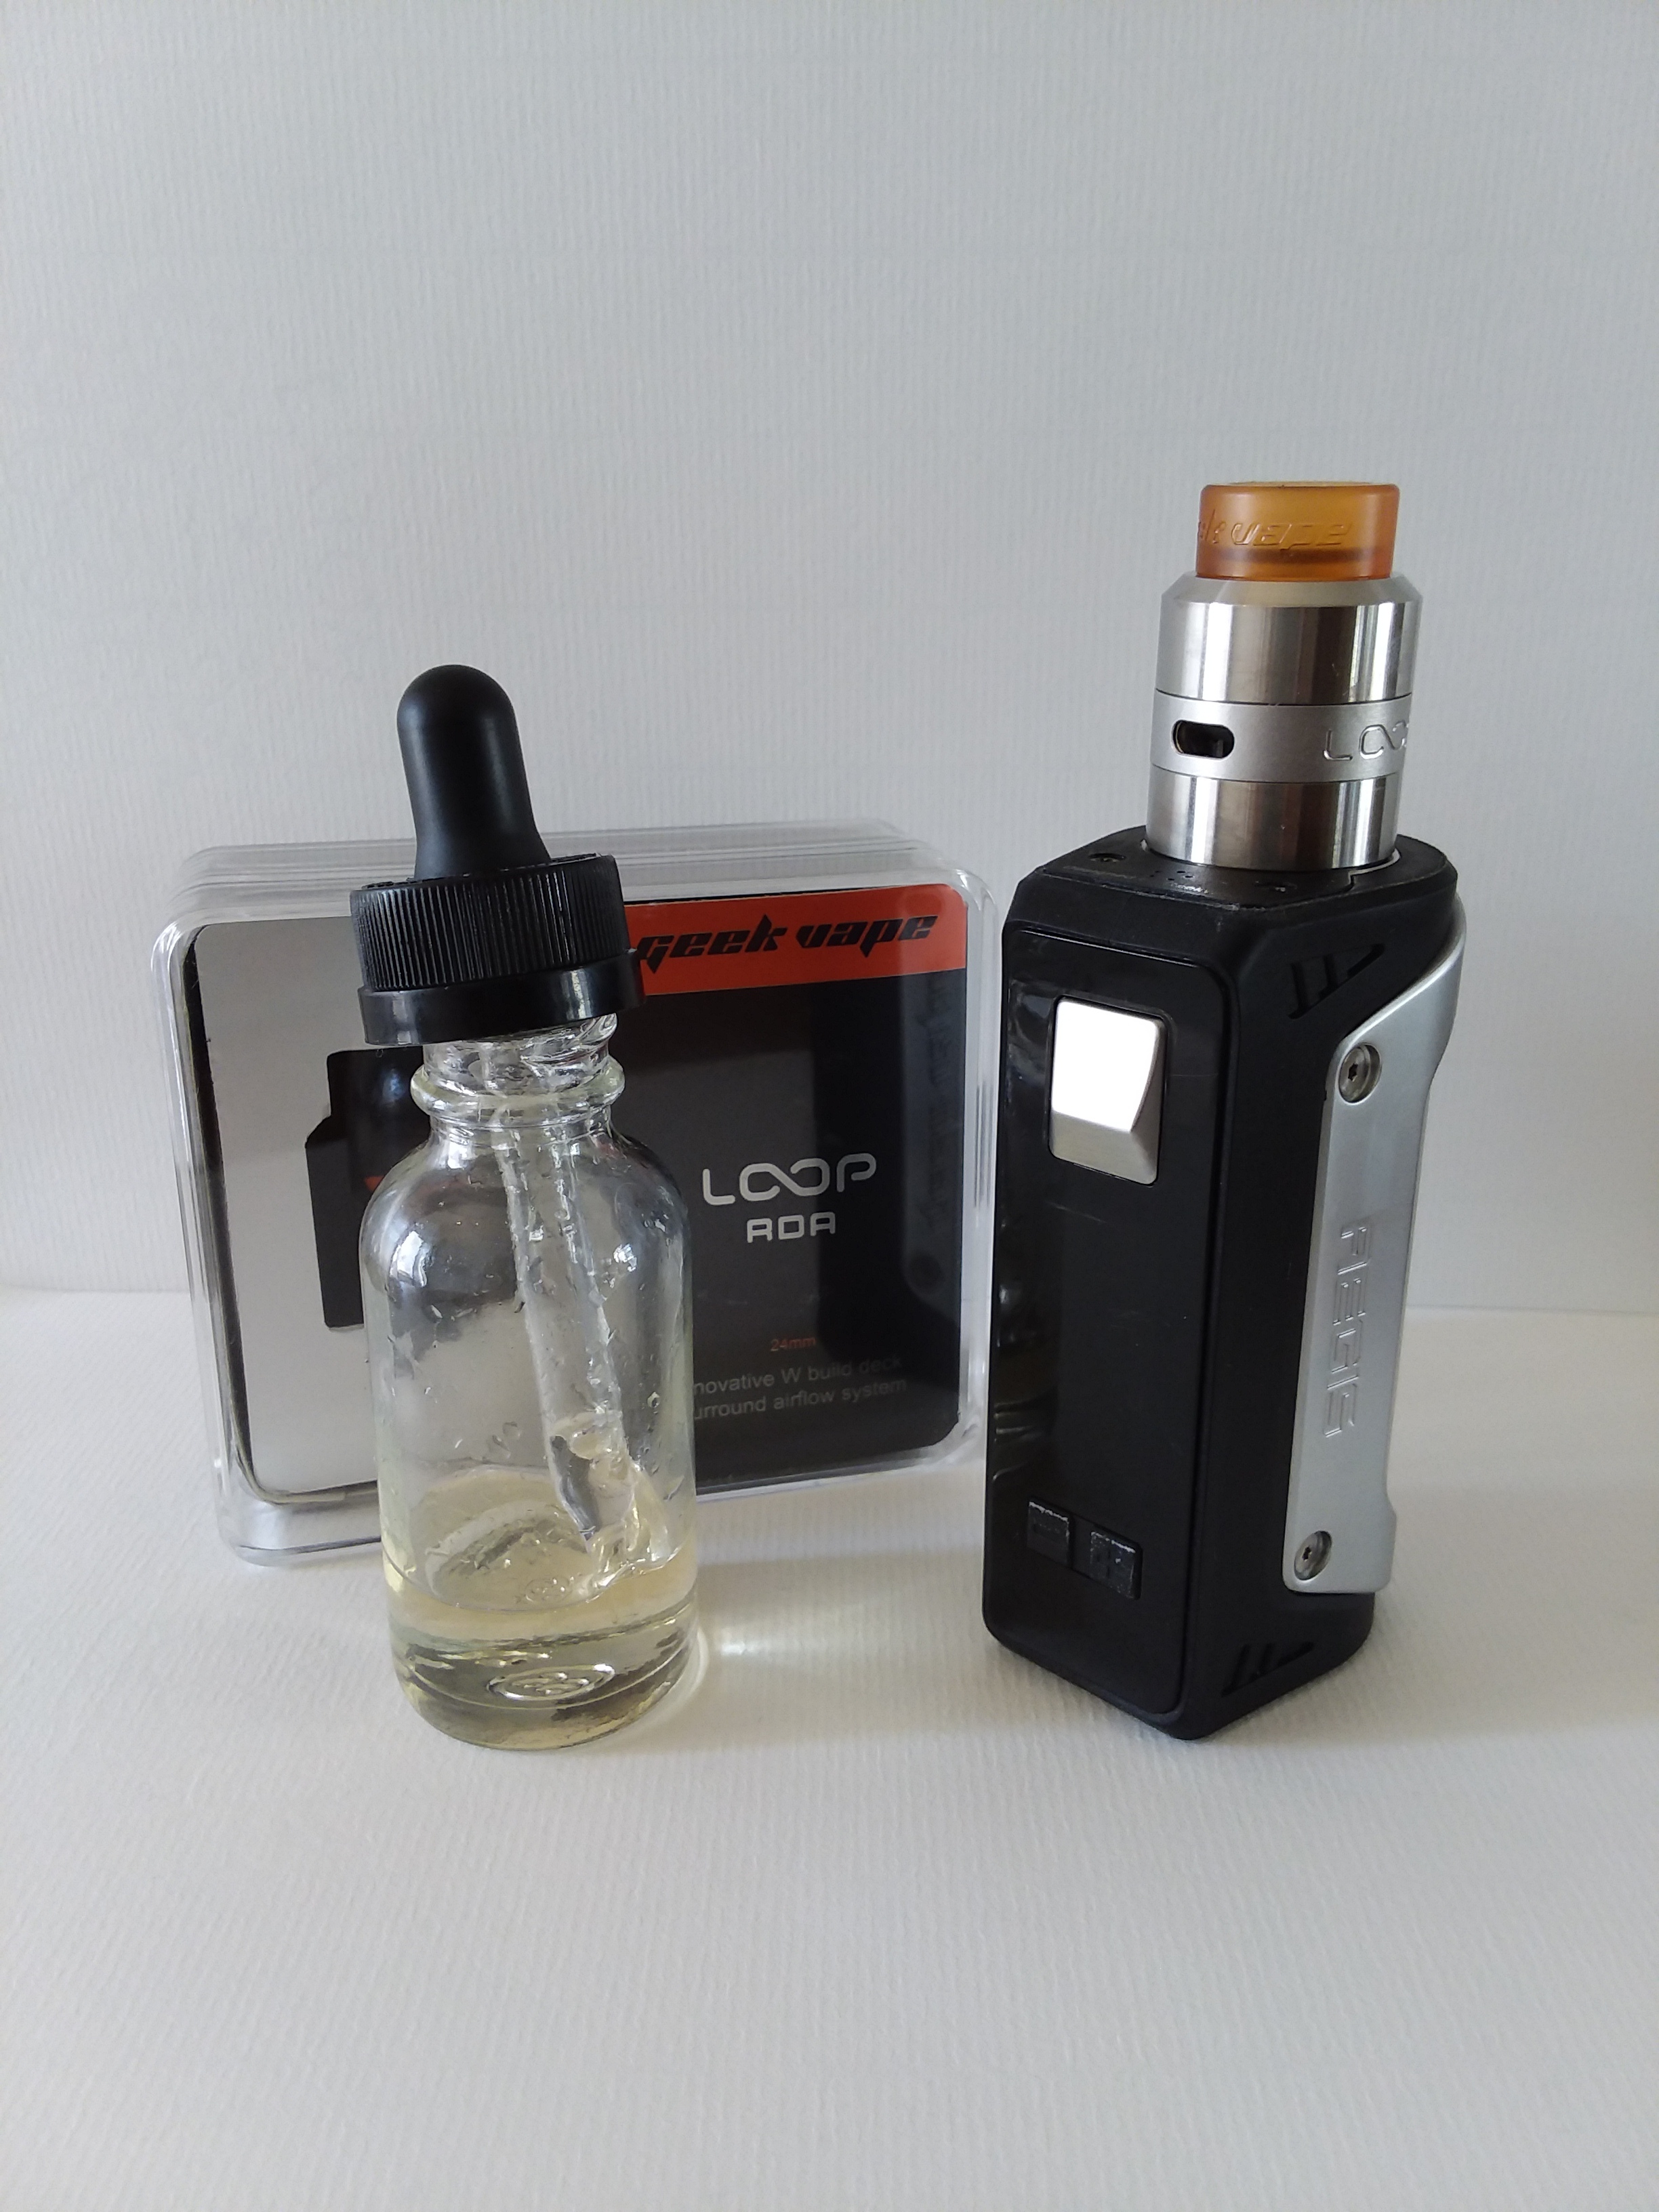
Aesthetics
The Geekvape Loop has four different colors available, which are SS/Gold/Gunmetal/Black. I received the SS version, which has an 810 Ultem Drip Tip, which can be switched out for the Black 510 Drip Tip using the included adapter. The barrel of the Loop has a independent airflow ring, which can be turned without moving the RDA due to notches on the RDA base itself. The word Loop is etched into the side, along with two airflow holes.
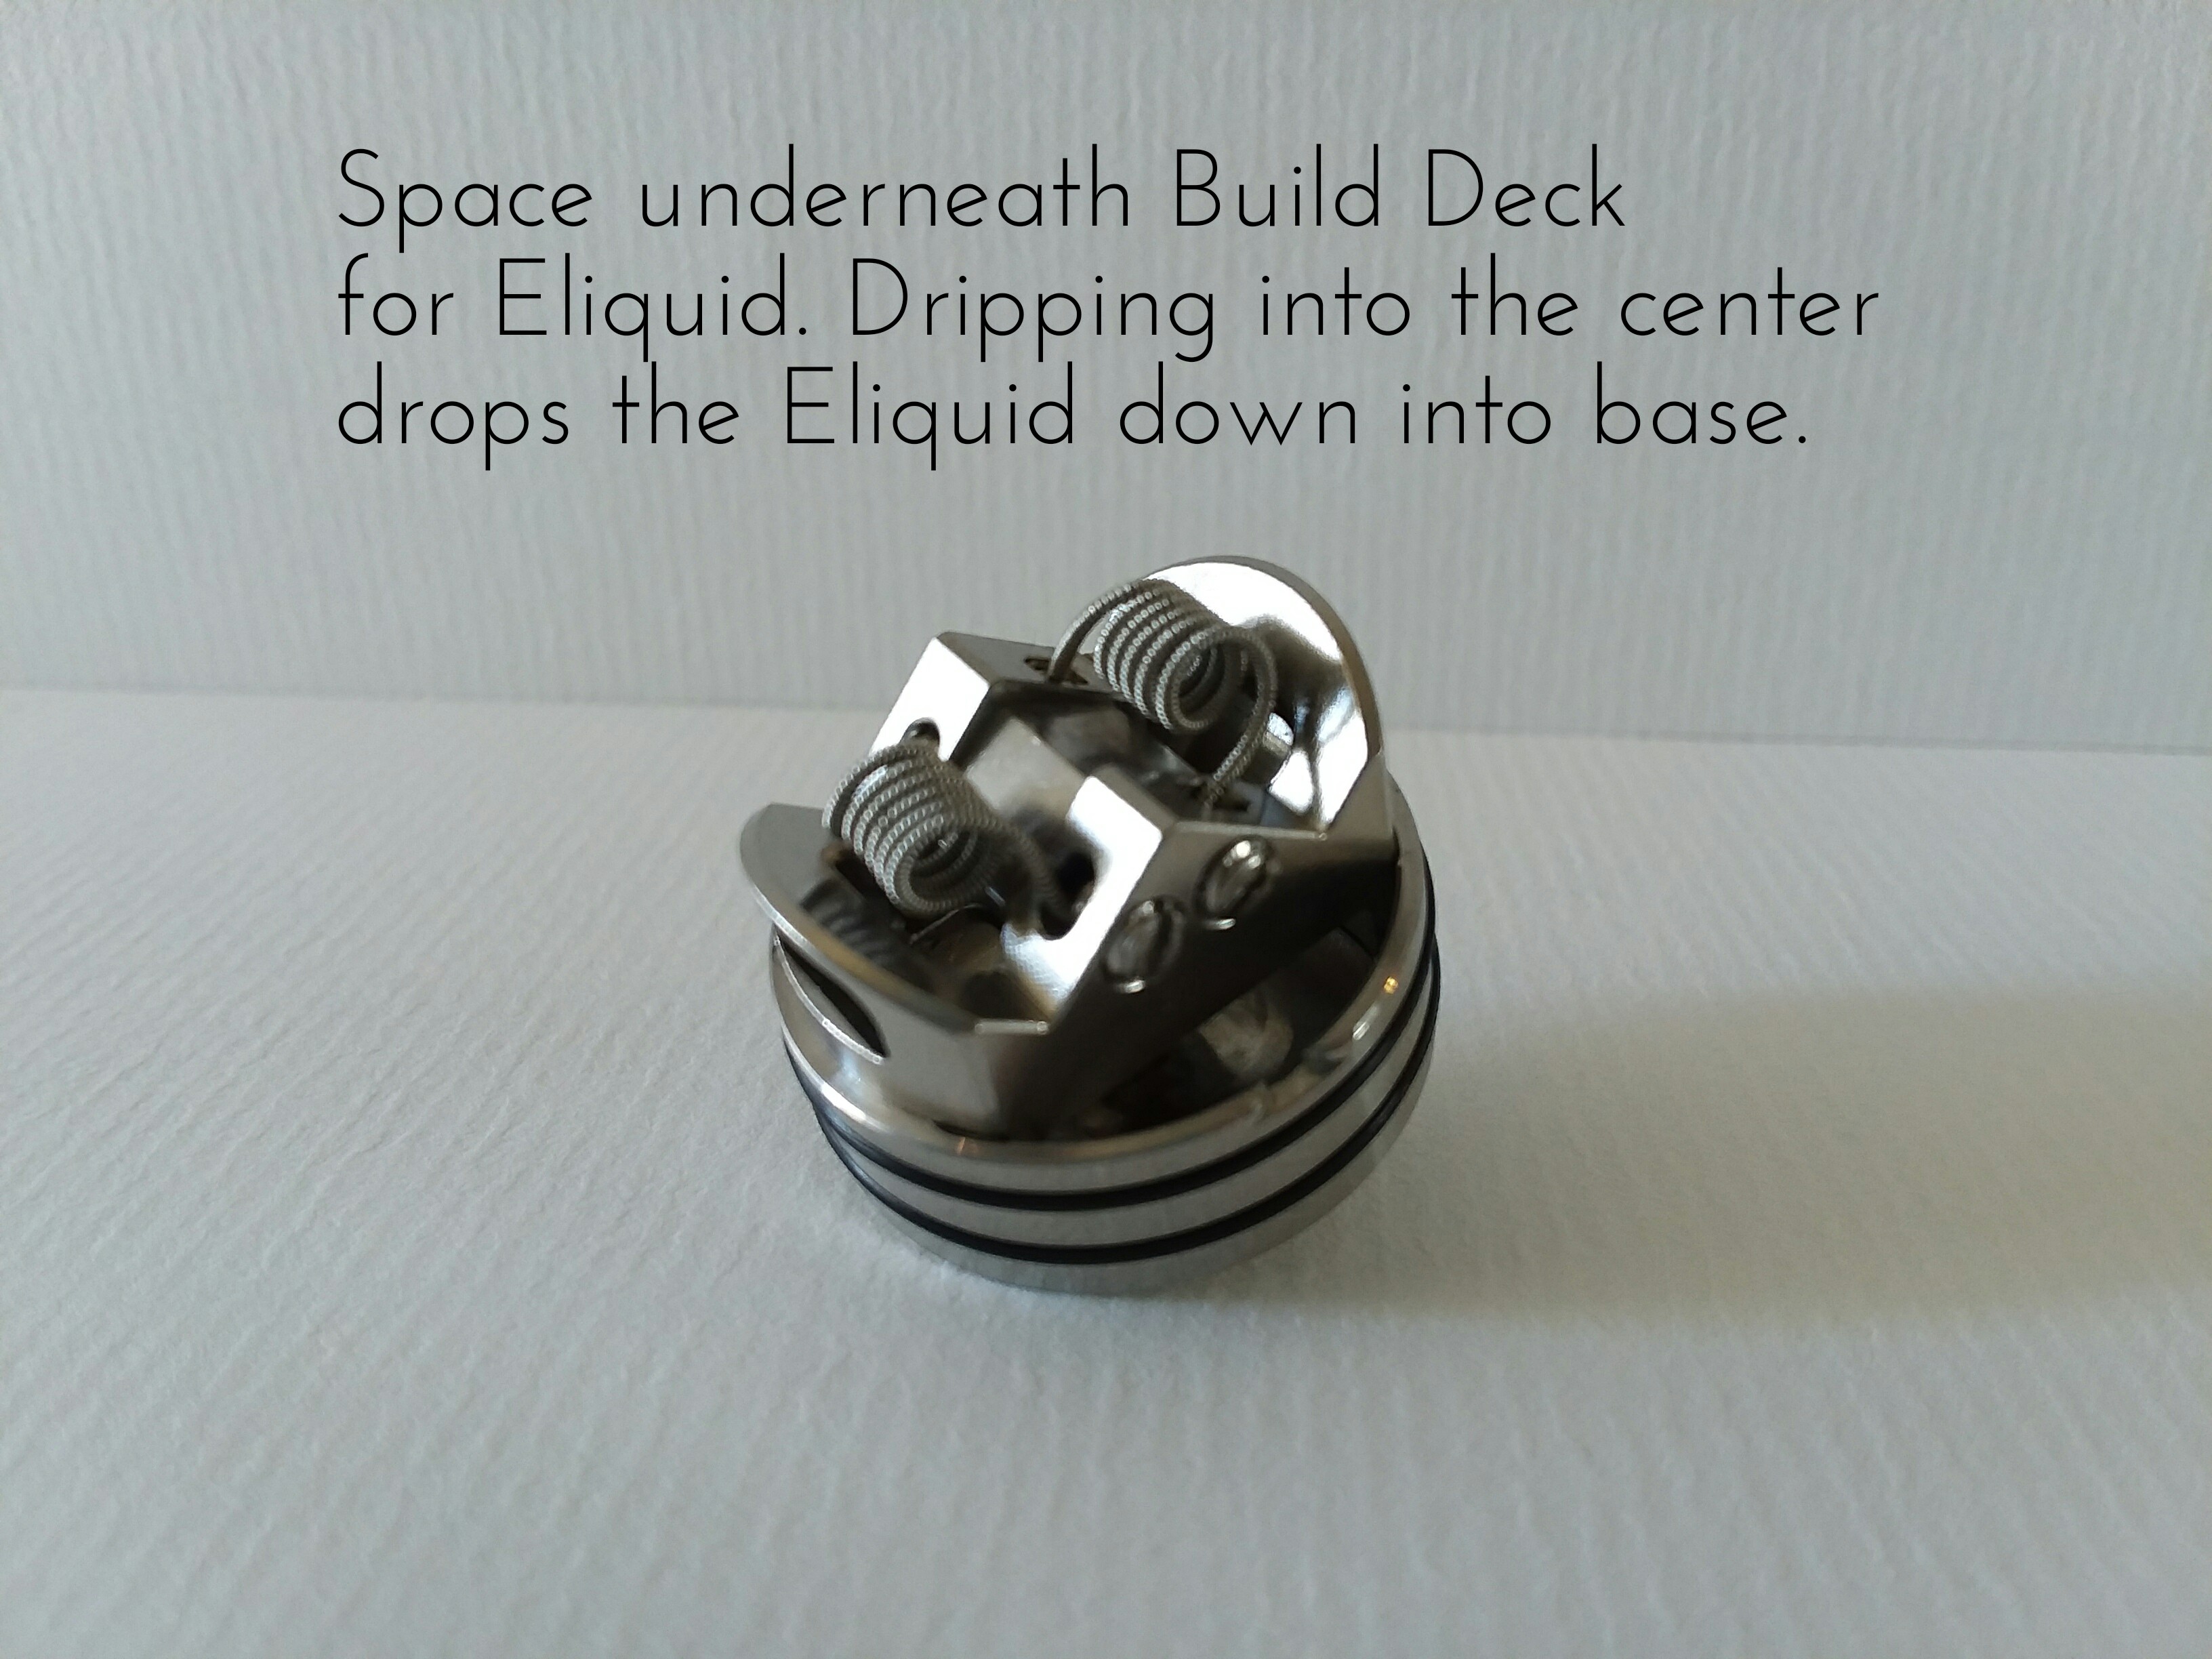
The build deck itself is a ‘W’ shaped design that has four 3mm by 2mm terminals that can support both single and dual coil configurations. I admit, looking at the Loop can be a little confusing at first, as it doesn’t quite present the ease of use in the pictures. In fact, the pictures of the Loop can leave you wondering how the E-liquid doesn’t enter the airflow holes. Don’t worry, it doesn’t. The Loop has holes directly underneath the coil placement meant to direct the flow of E-liquid under the deck itself, and out through the sides to reach the cotton of each coil.
Functionality
Probably the most important factors in buying and using an RDA are its functionality and build quality. The Loop is beautifully machined, although on most Geekvape products I have noticed the screws are a bit of a pain to remove at first. Some are really stuck, while others are smooth. It’s just machining, and something I have some to expect at this point after years of RTA’s and RDA’s. One reason the Loop gets high marks is its use of Flat-head screws. I have gotten by all these years with not one stripped screw by using a flat-head screwdriver, even if my RDA screws were Phillip’s head. Don’t even get me started Hex screws.
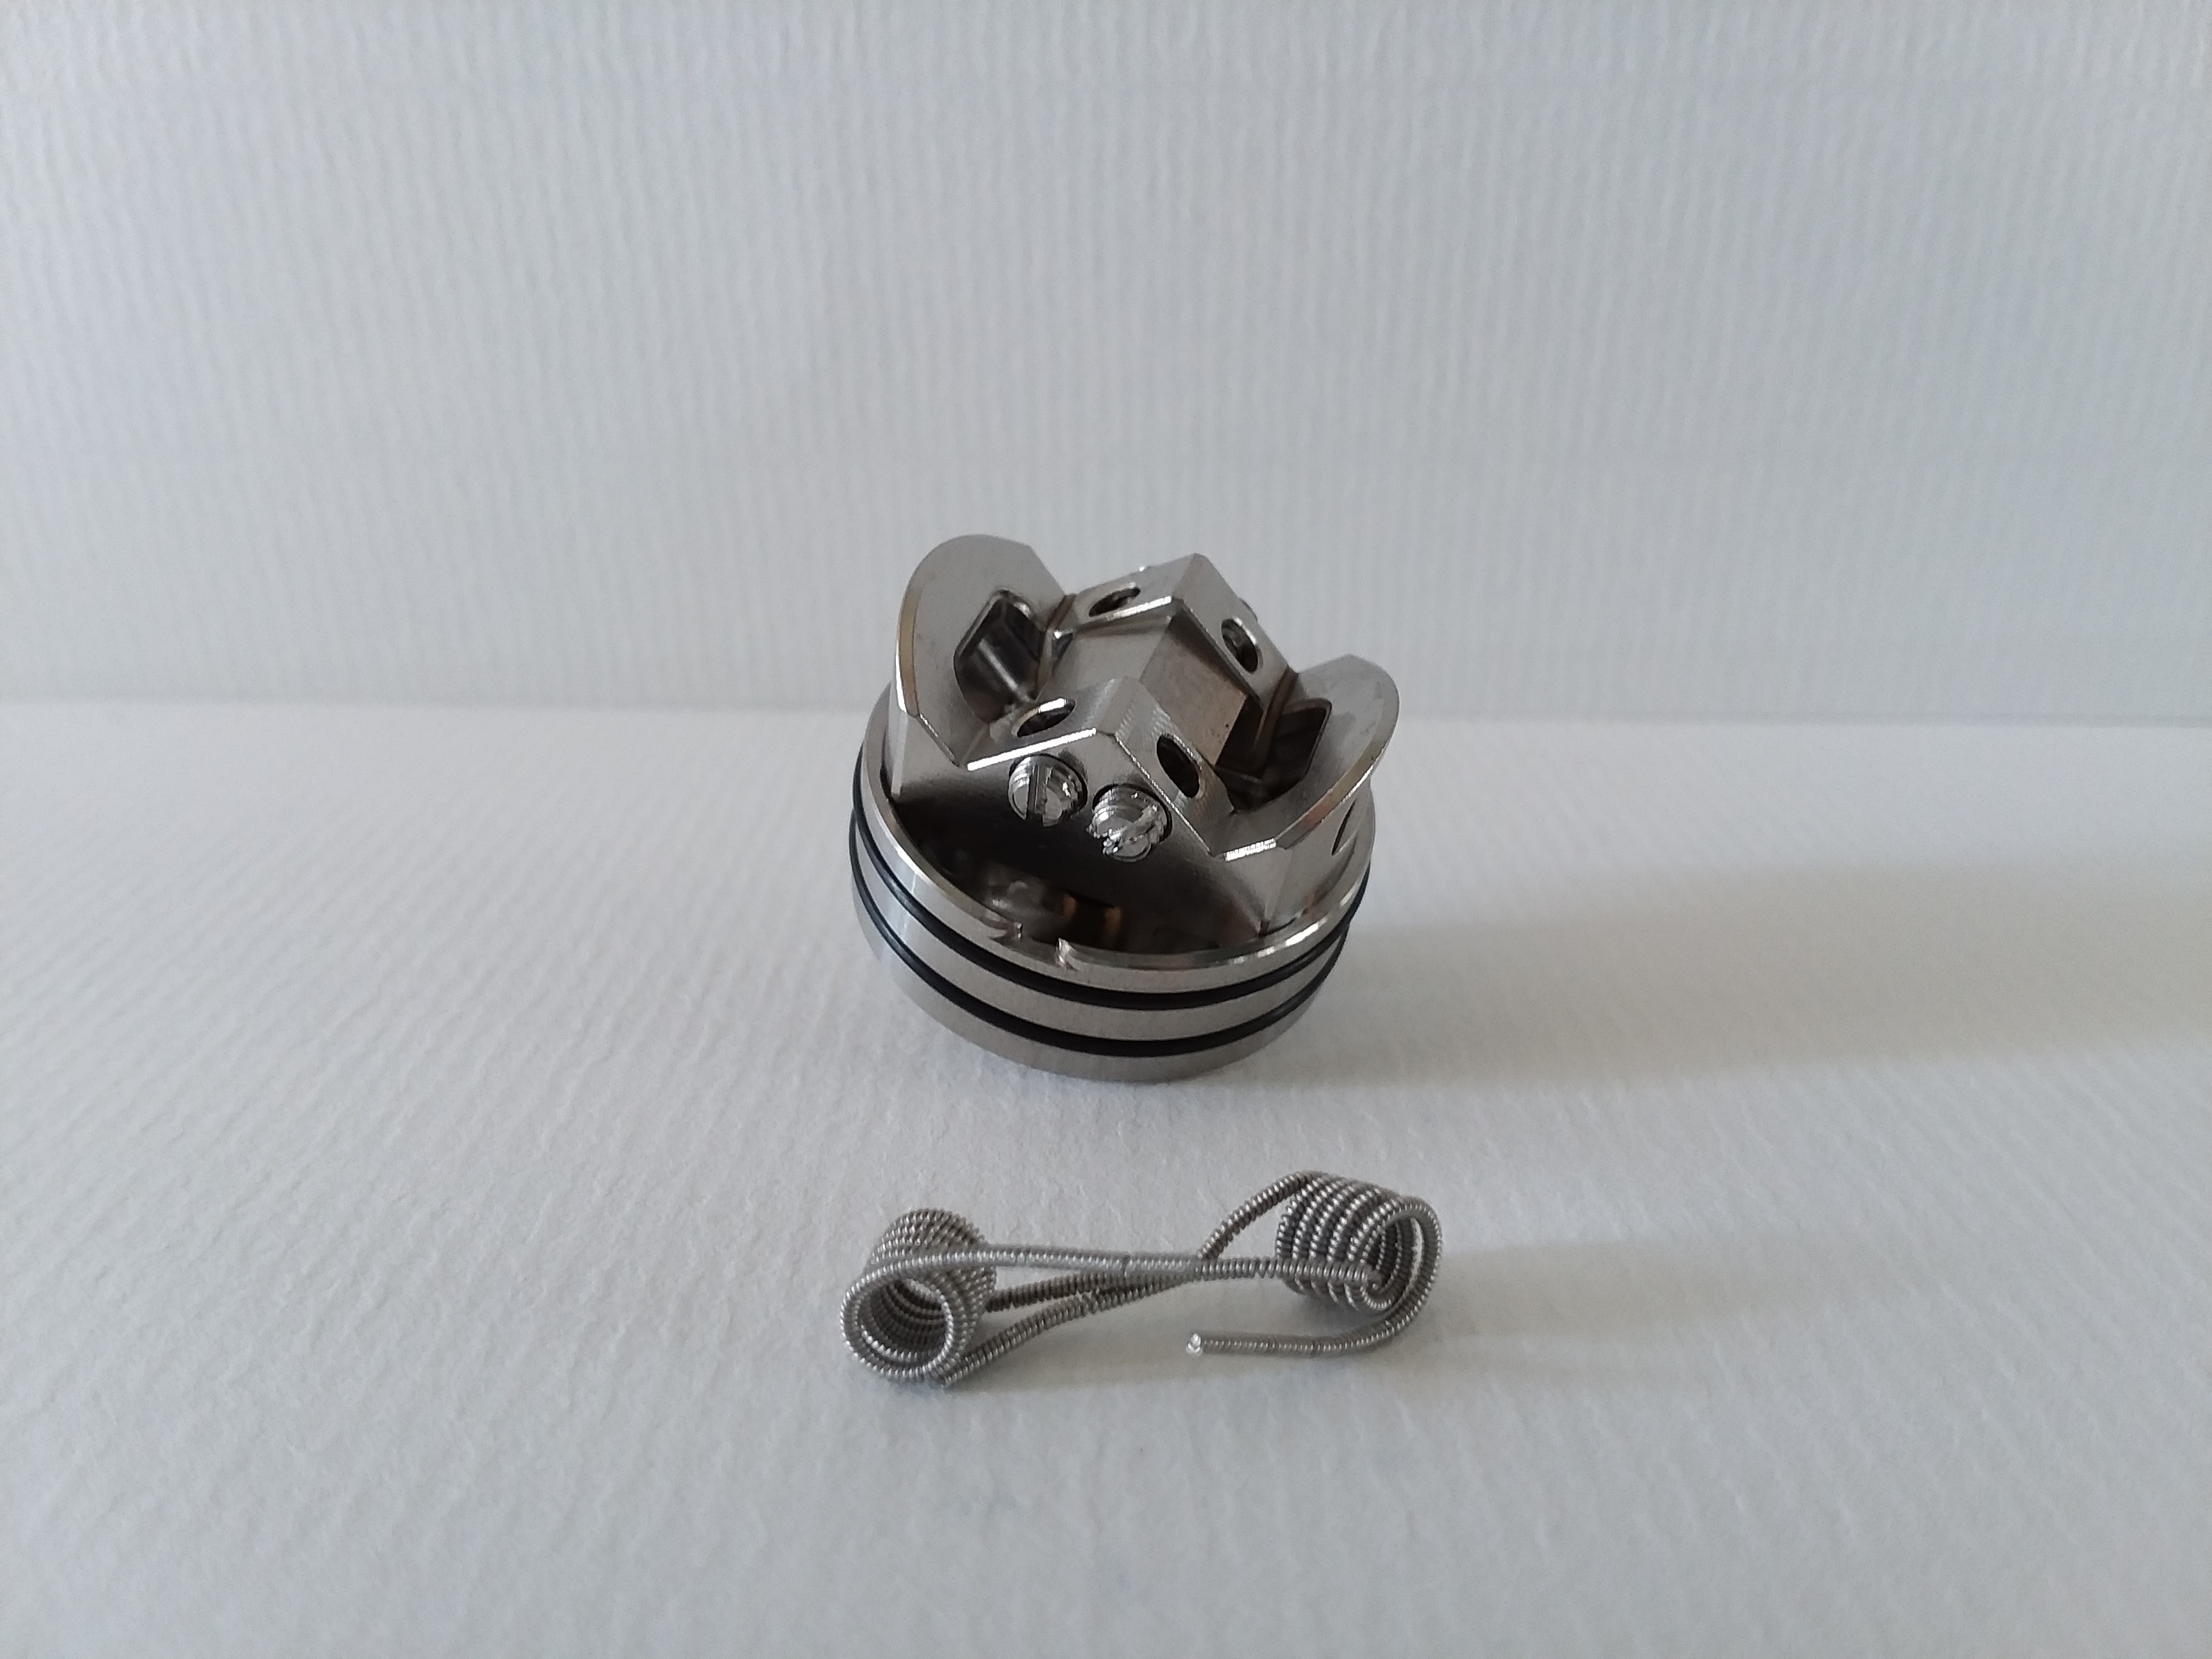
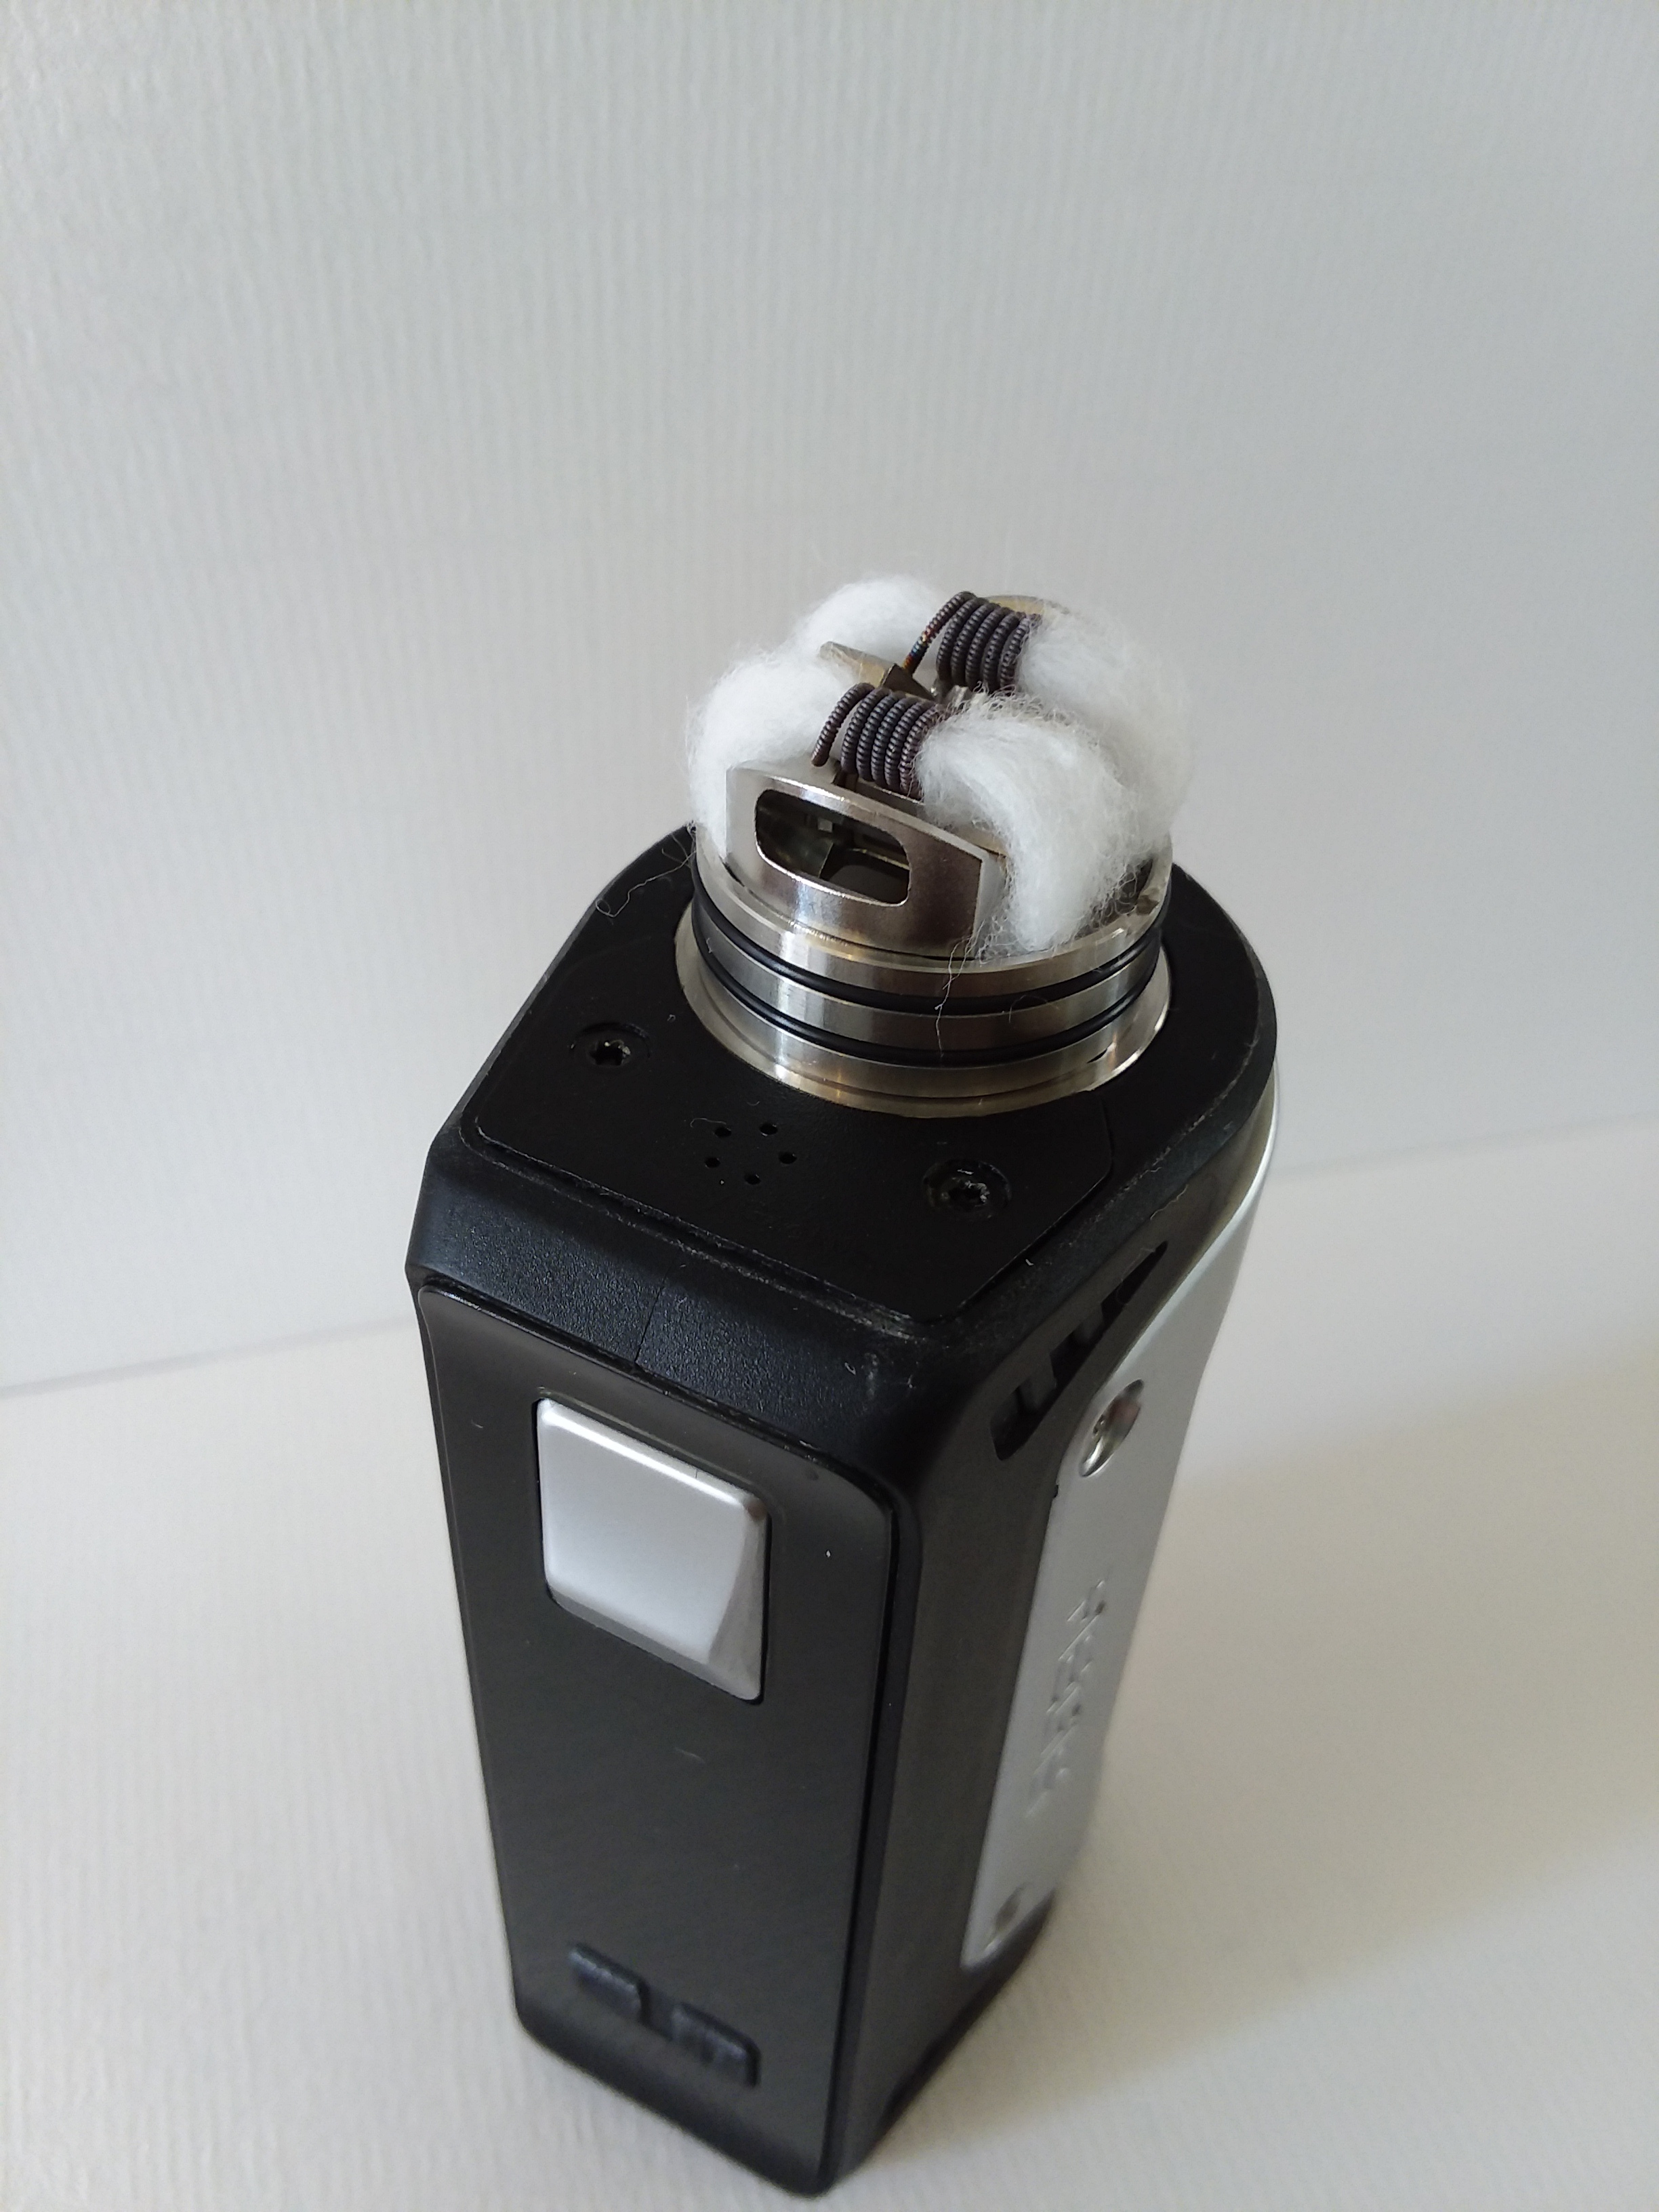
The build deck on the Loop is positively simple, I mean really easy to build. The legs are going to need to be just a tad bit shorter than a Velocity or Clamp styled deck, and I have a reason for this. The manufacturer pictures of a build on the Loop are very informative, but not quite how you want to place your coils. For optimal flavor, bring the coils just a smidgen closer to airflow, rather than closer to the middle of the deck as shown in the pictures. This will increase the flavor, but will make the airflow a tad less smooth. To me, this is the better trade off. I have built both higher up, and closer to the airflow holes and both provide stellar flavor, so placement is purely up to you.
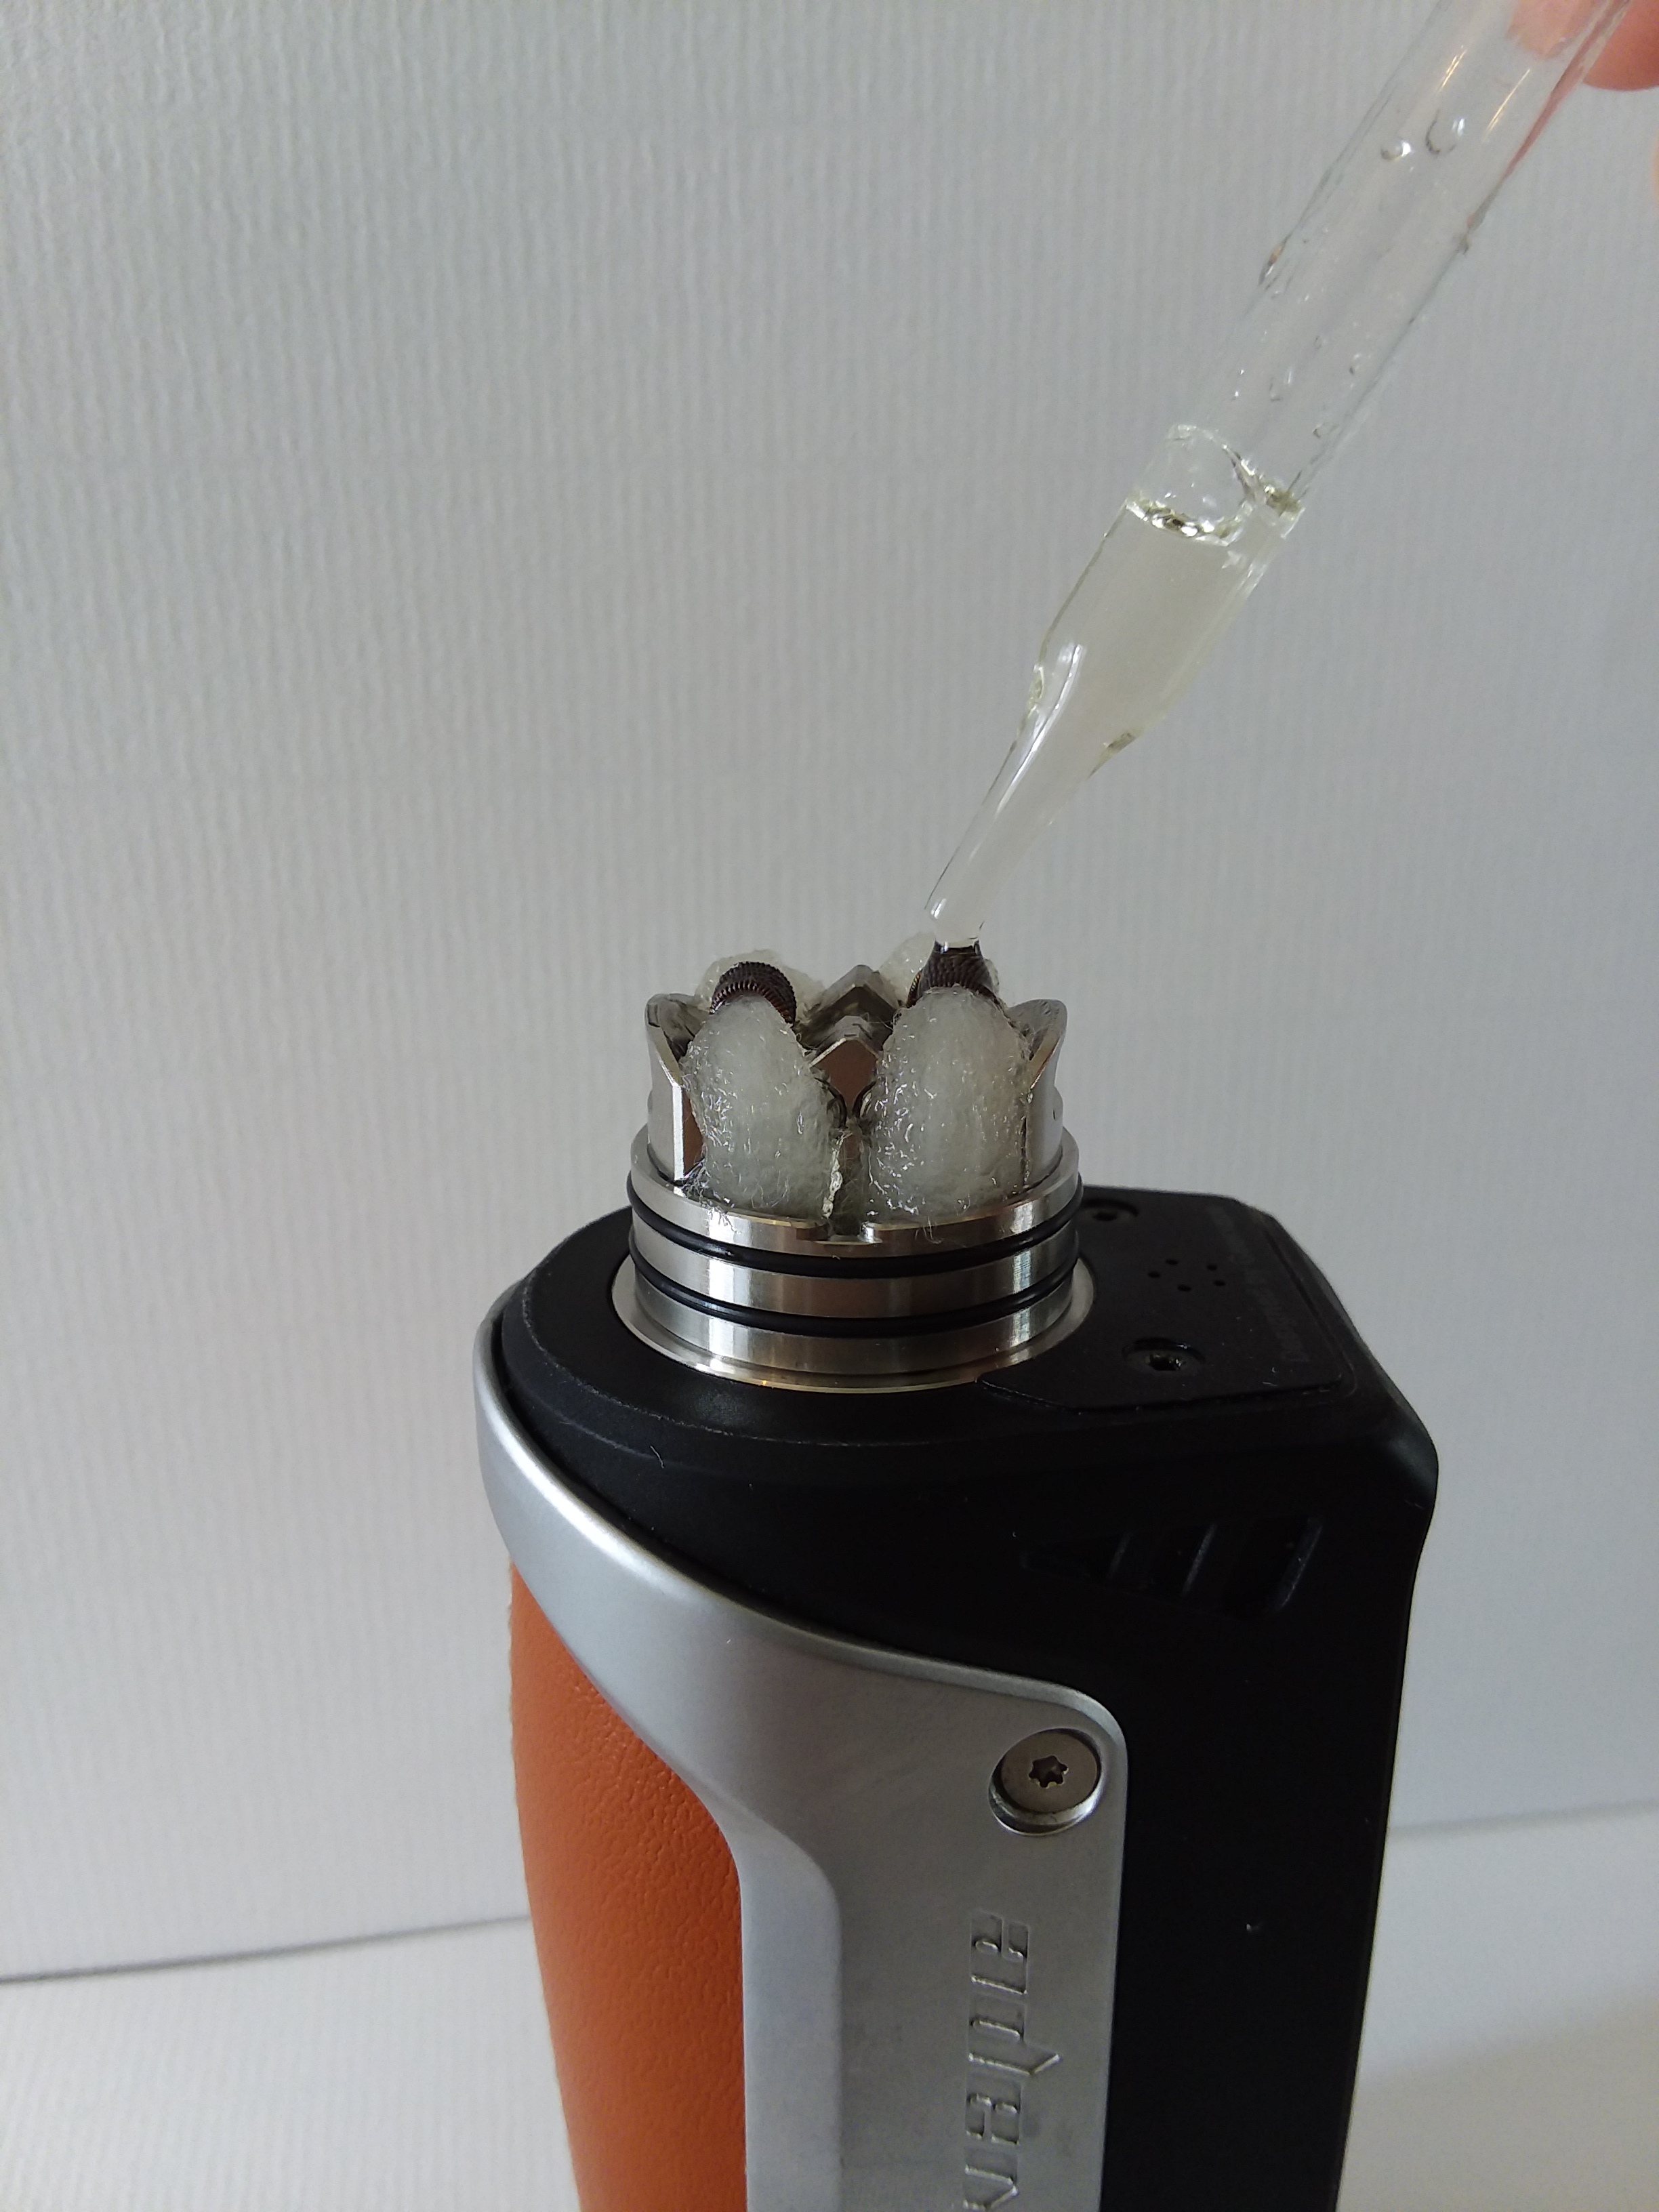
When you drip down the center, the first thing you will notice is that you cannot see your juice level. If you are like me, you can generally tell when you are getting low on E-liquid, but not everybody can taste the difference or moisture levels. That fact alone makes the Loop an excellent RDA for Squonking as you can adjust your E-liquid level quickly and easily. Usually I can look down and see if my wicking is still saturated, but you can really only see the very middle of the deck as the E-liquid gathers underneath the build deck. Not a big issue, but you have to pay attention while dripping to maintain a certain level of E-liquid in the base of the deck. You are in for one nasty dry hit if you don’t. Yuck.
With the Loop RDA, you are going to use more Cotton than usual. I have to get that out the way right now. When building, I will usually use a full strip off Cotton Bacon V2 and cut it in half. The halves of cotton will then get trimmed down for each coil, and will usually amount to a 1/2 -1 inch of each tail getting thrown out. Not so with the Loop. One strand of Cotton Bacon or V2 will most likely give you the perfect amount needed for stuffing into the deck, minus a small trimming here and there. I don’t mind much, as I’m not wasting the extra bit I would have otherwise thrown away.
Final Thoughts
I have thoroughly enjoyed using the Loop RDA. The flavor is even much more than I expected as I am really hard to please. The airflow of the Loop RDA is definitely more closed off than what I am used to. I am used to using my Goon 24mm wide open, which affords me a ton of airflow and a long, sustained draw. I have actually found myself closing the Loop down a little, for a more restricted airflow (go figure) and the flavor has been phenomenal. It did take me some usage to get acclimated to the difference in airflow, but I wouldn’t give up the flavor of the Loop for anything. If there was one thing I would want people to know about the Loop, it would be that the deck is not meant to be gimmicky, but rather it provides an astounding flavor at the cost of a tiny bit of airflow. I am so particular about my drippers, and I cannot usually find something that suits both my flavor and airflow needs, but the Loop has been fantastic. I absolutely love it, and it is a breeze to build on. What more could you ask for?
Geekvape Loop RDA from HealthCabin
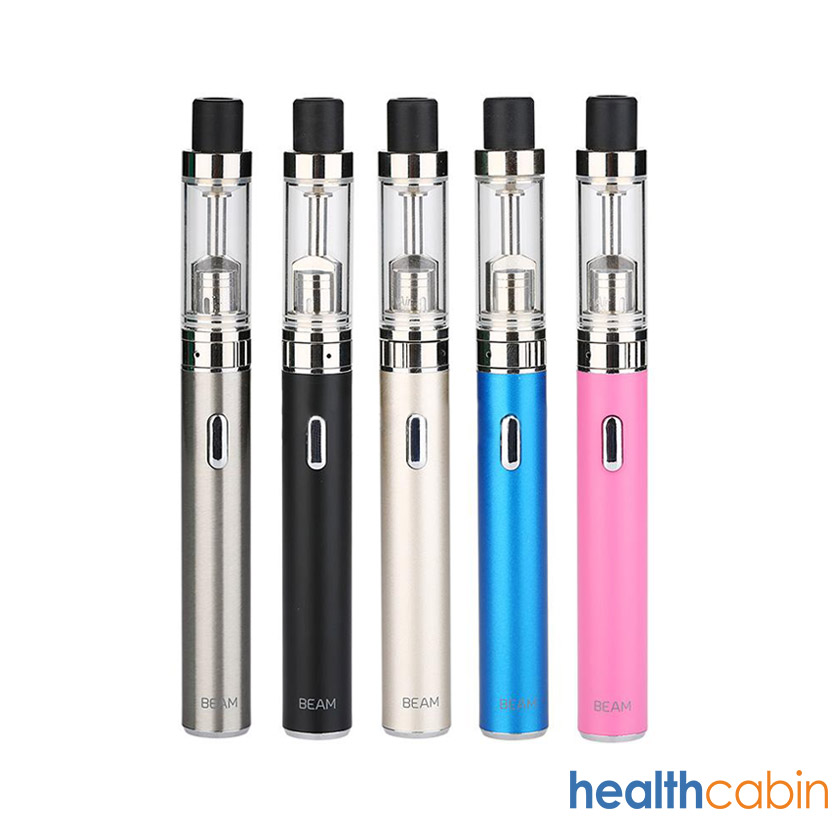
Thanks to Health Cabin, I am giving away a VapeOnly Beam 650 mAh Starter Kit!
To enter the giveaway, I will start with comment #5, just in case anyone wants to comment before, but not be entered to win.
Limit 3 Comments per day, and on 4/20 around 12-1pm EST I will choose the winner using Random.org! Take a Look!
 .
.