First things first: I “need” to apologise to the kind folks (Maggie) at @HealthCabin for the delay in getting this out. I ran into an issue when I was almost ready to put a review together at the 3 week mark. Given that I’m “putting my stamp on it” (whether that means anything to others here or not is irrelevant, it matters to me), so, when that happened, everything came to a screeching halt until I could figure out WHY it went “flaky”.
To everyone else, welcome friends and strangers alike, and I appreciate your interest in what I’m about to put forth! (Hopefully you make it to the end, as I get long winded when I get into ‘technical mode’! lol)
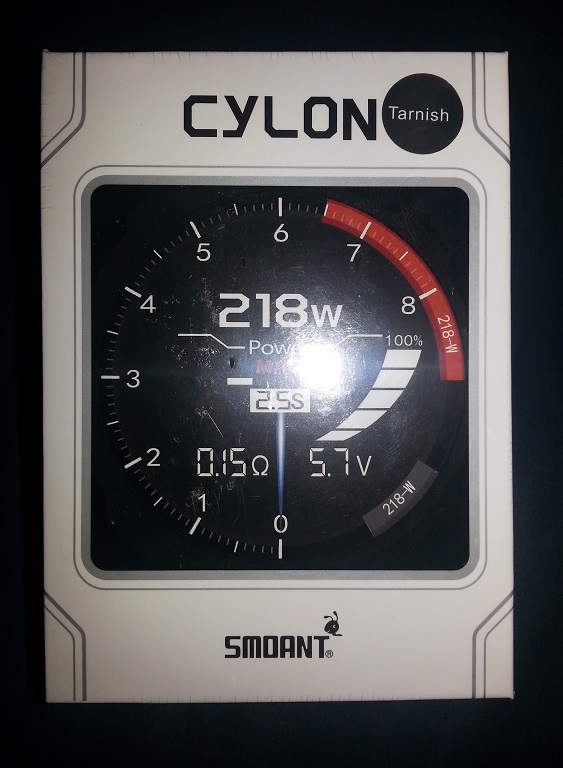
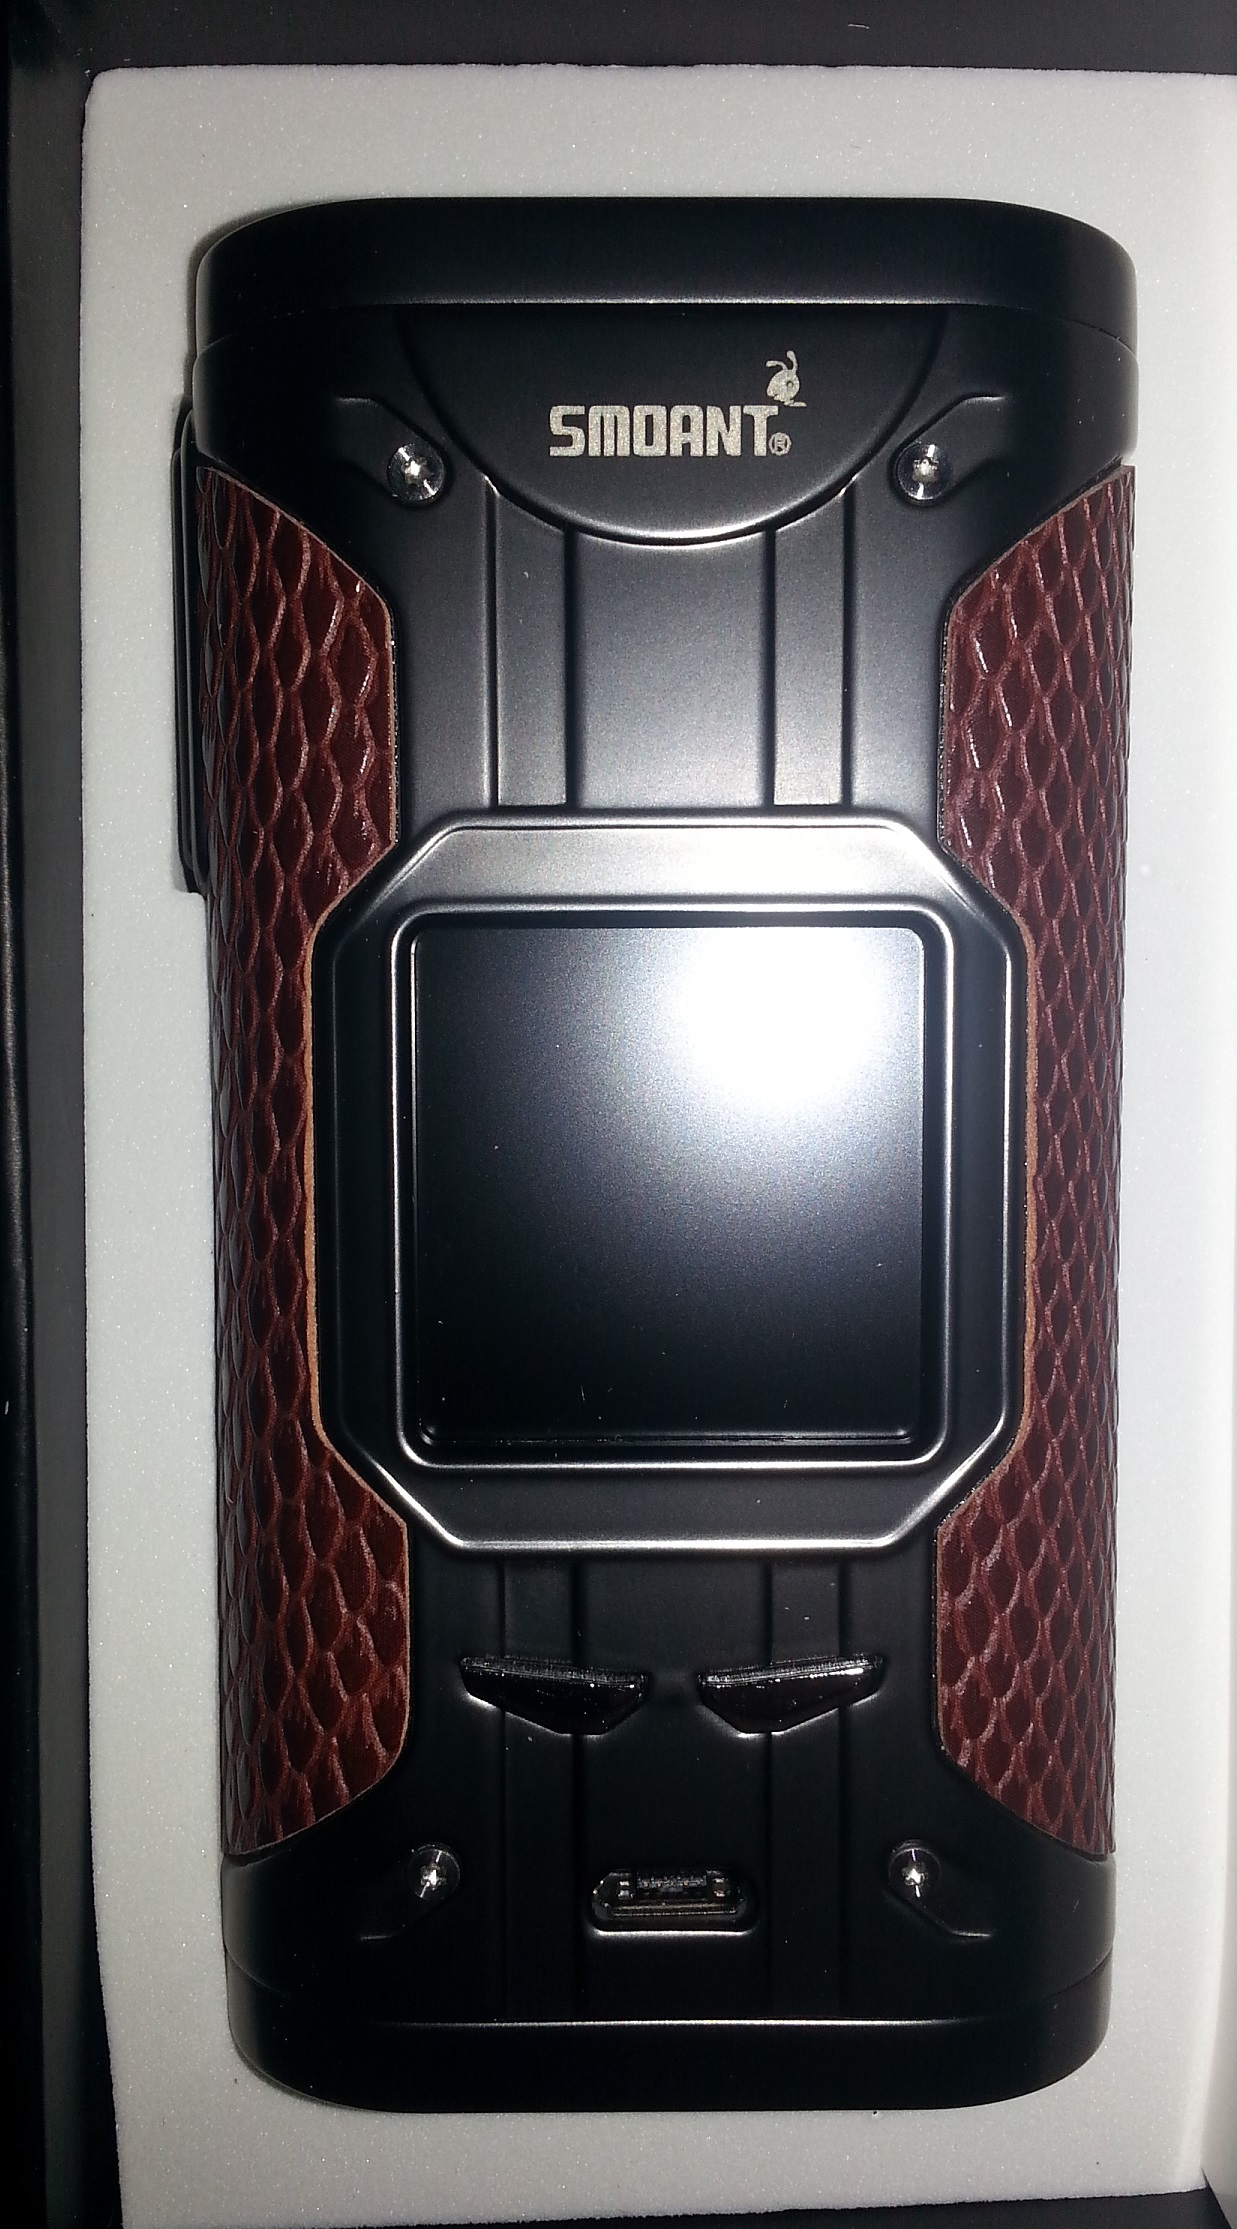
Out of the gate, let’s take a look at the box as it arrived and the contents (I chose “gun metal” finish, or what they call “Tarnish”):
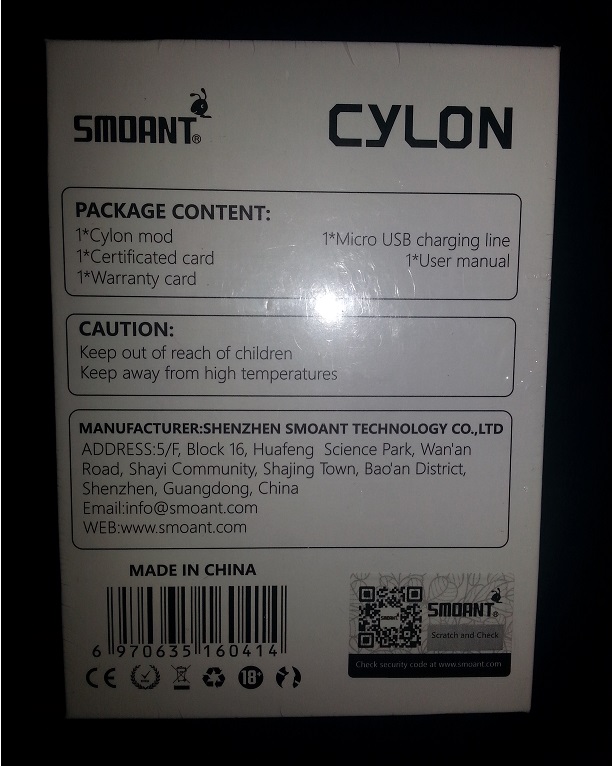
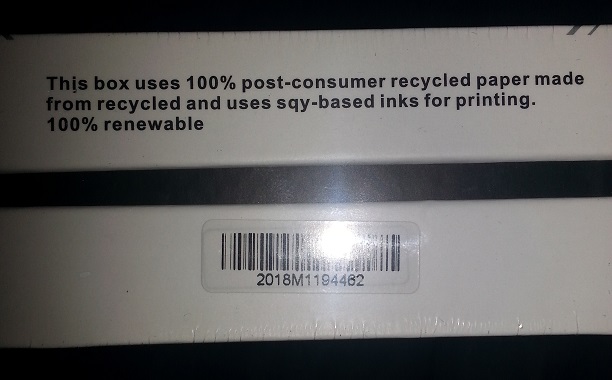
Now whether the following is actually true or not, I have no clue, but it “makes a nice tick box” to those that believe it (without confirming it). Makes them feel nice and fuzzy inside I’d bet. lol (Now, if there was actual OVERSIGHT, and proof of such… I’d be far more on board in supporting it!)
and finally…the contents!
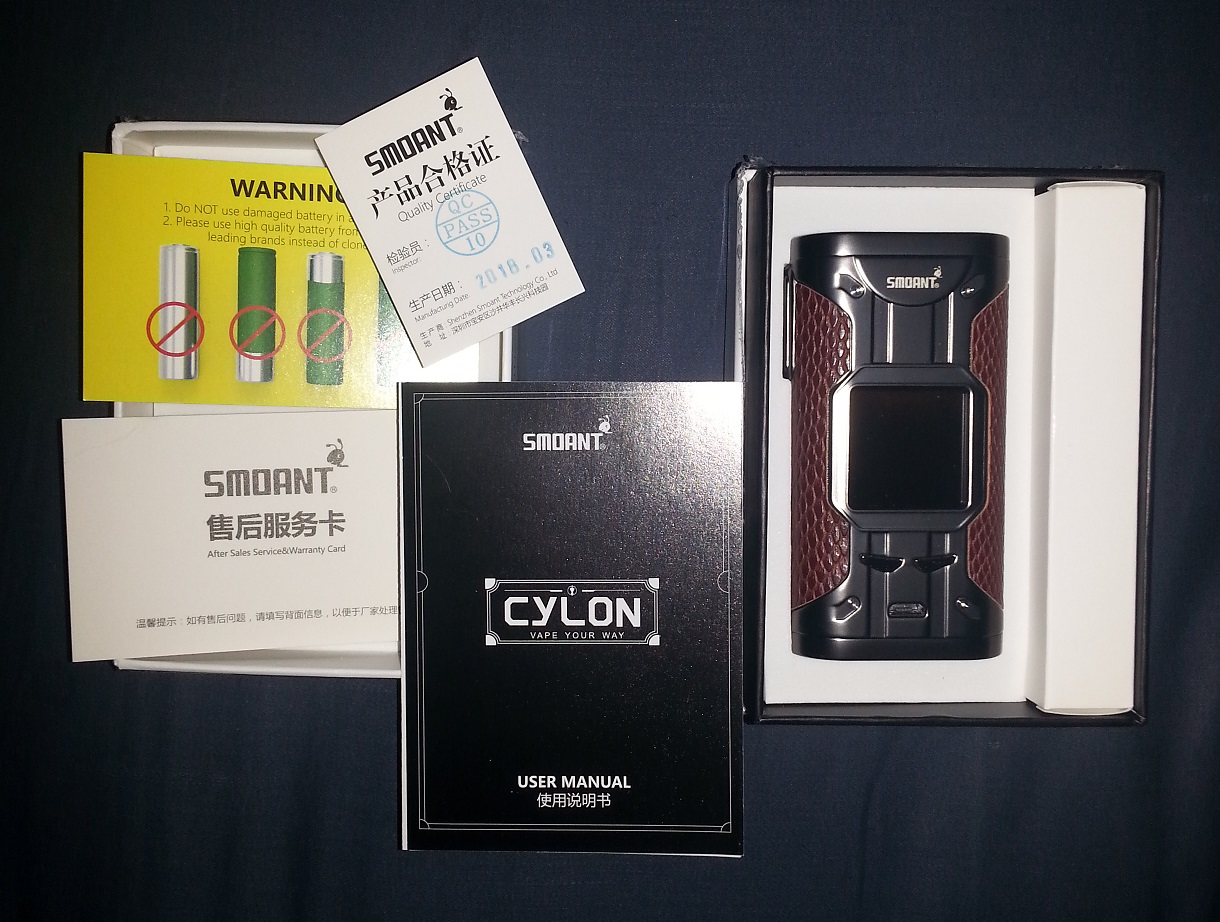
Ahhh that new in the box smell. lol
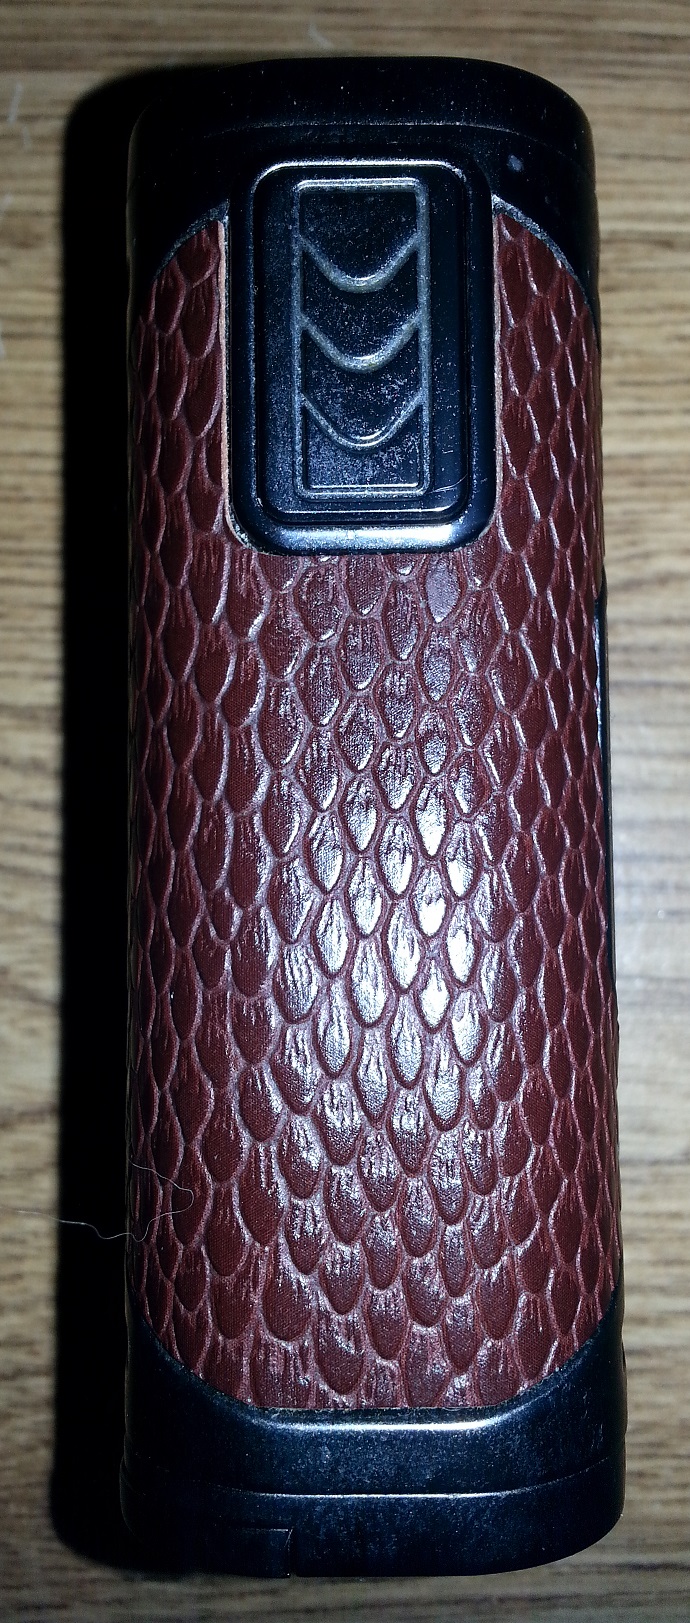
Beautiful. Large color LCD screen, firm buttons…
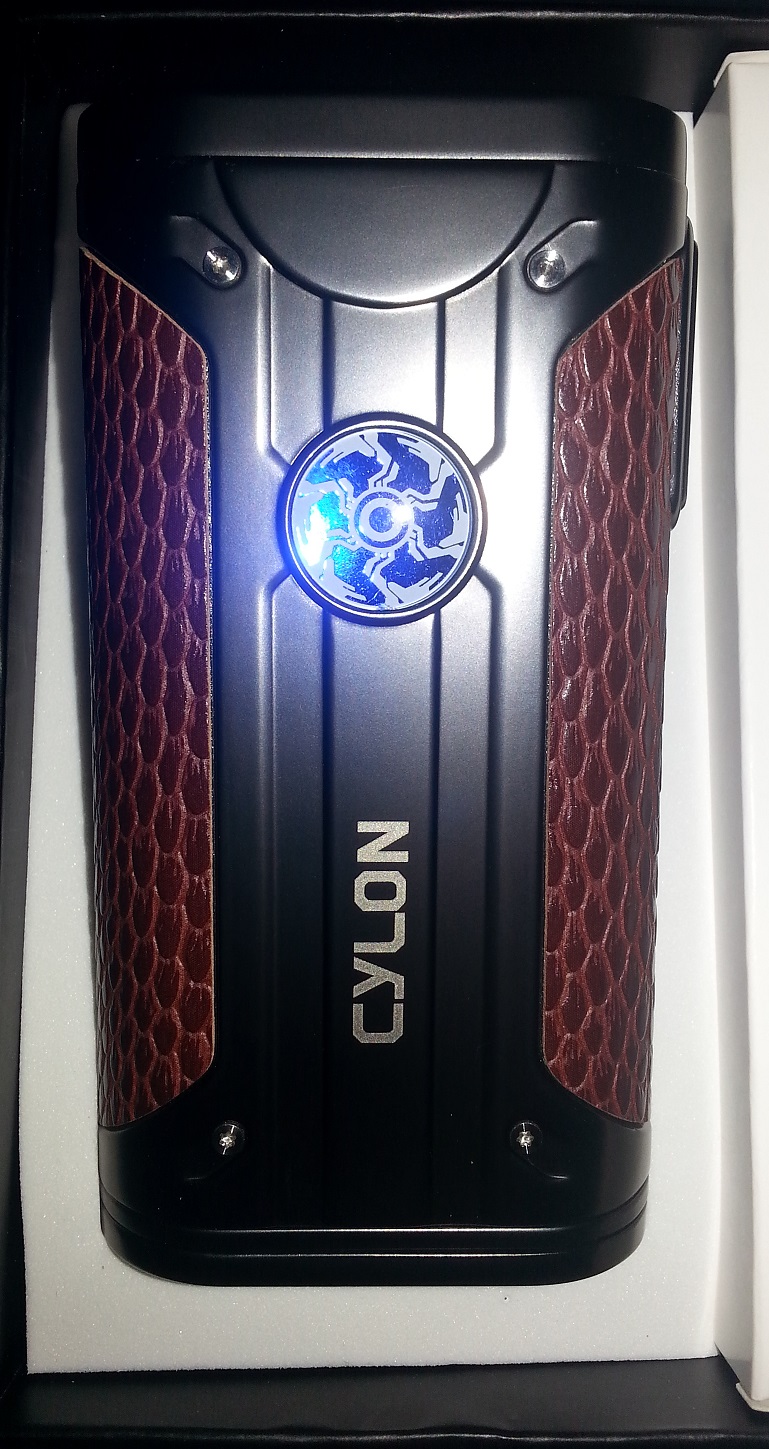
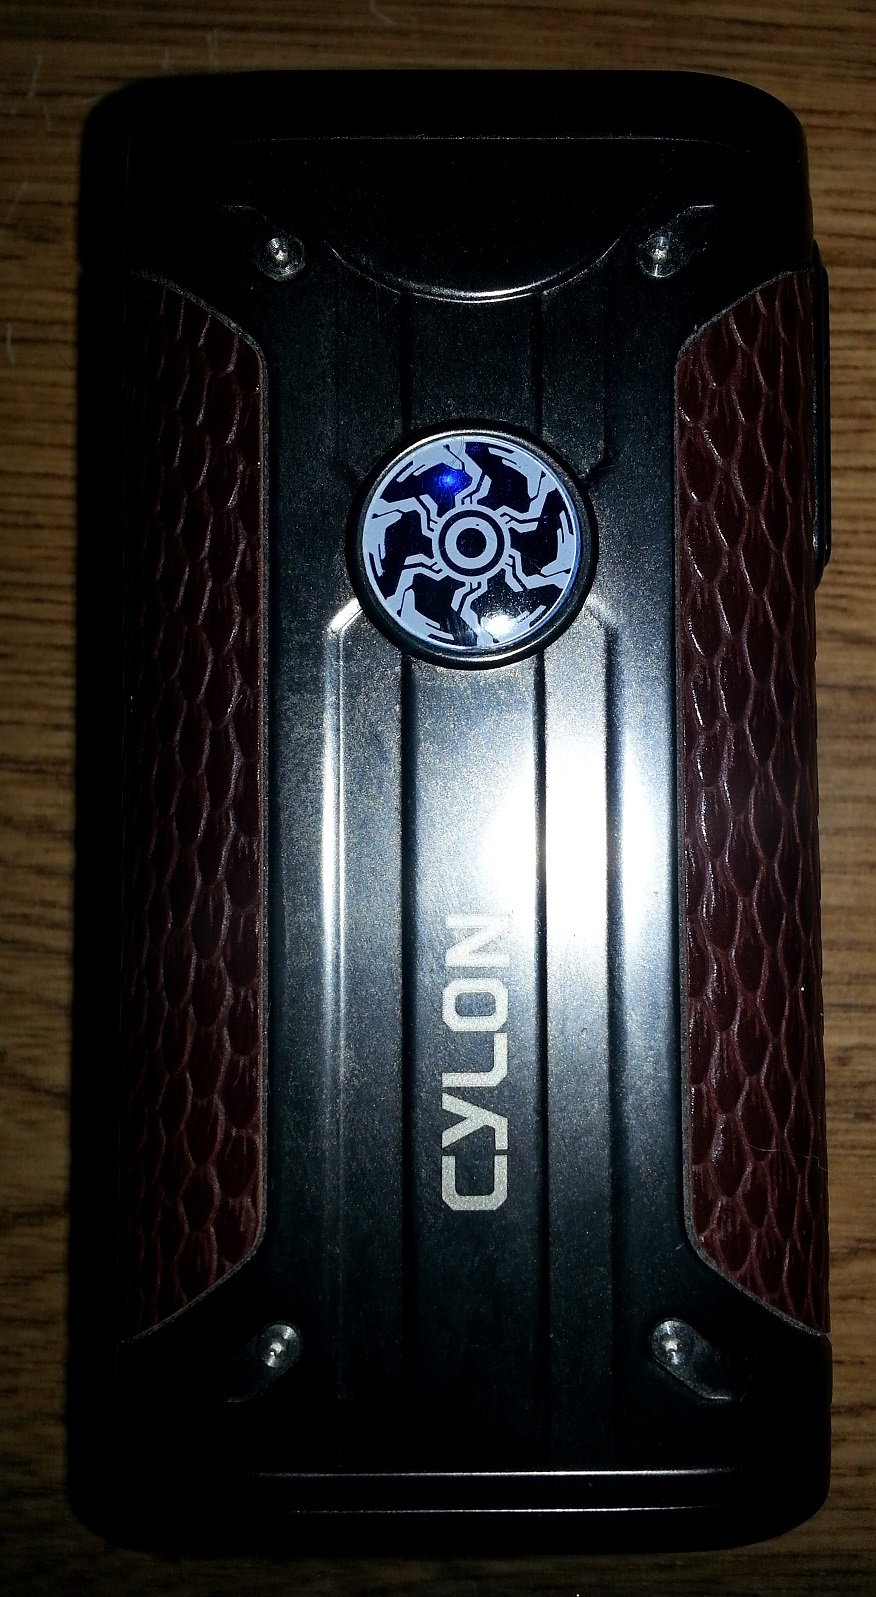
And the rear view with the shiny blue dot inset, with it’s “spiffy little design” in white…
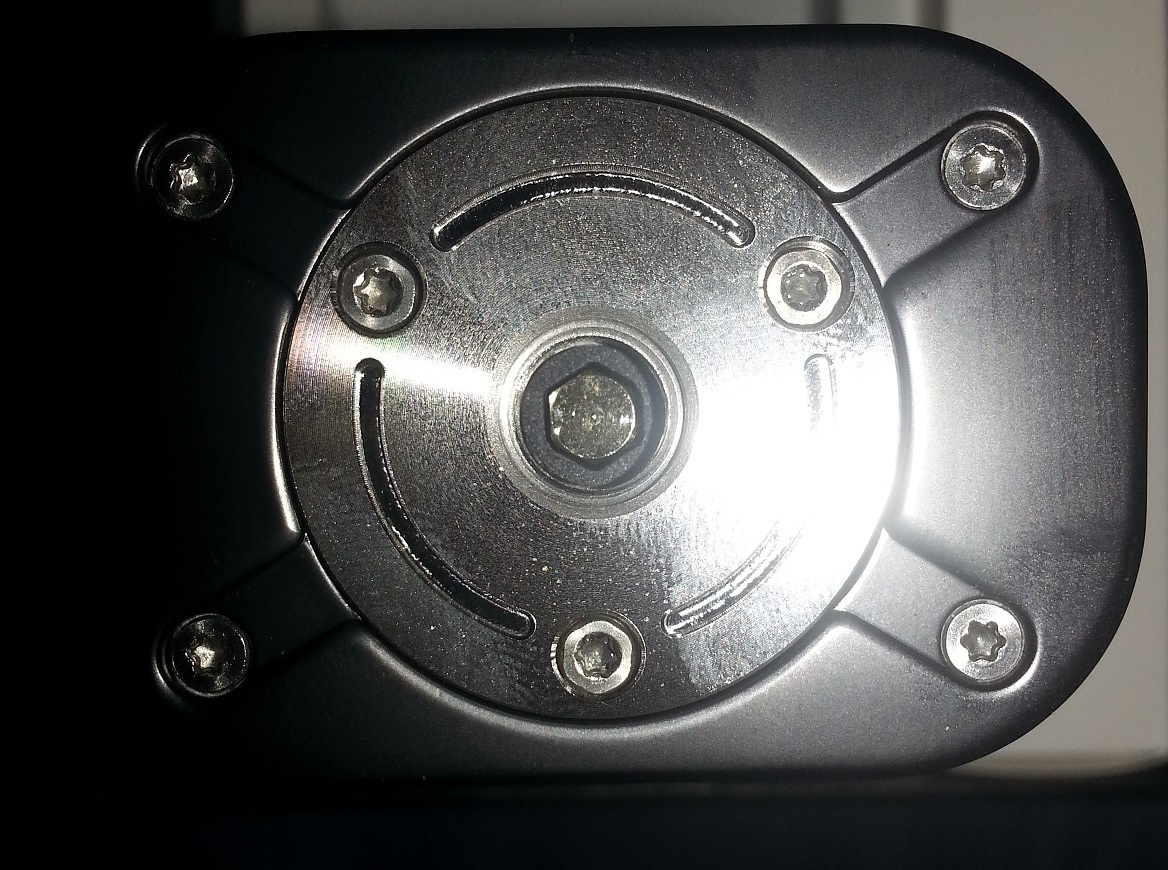
A very nice 510 as far as reasonably priced factory mods go. The only way you’re likely to get better, is if you build your own mods, or “upgrade” your own mods. Either way though, this has a firm spring, with good travel, with sealed solder connections underneath (pics of that later).
Now, As for the bottom door, when it arrived, it was fairly tight…(from a wobbly side to side perspective). However, when broken in, it’s definitely gotten quite a bit more swing to it. Kind of disappointed about that, but FAR from deal breaking.
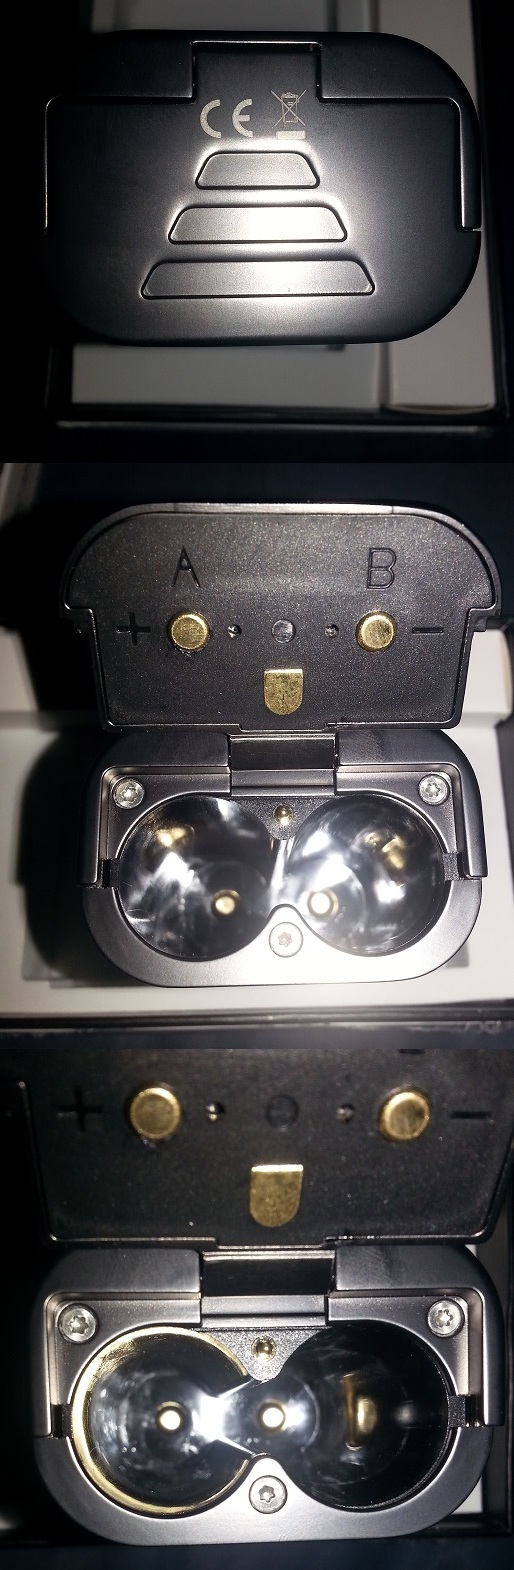
On to the bottom.
While the important part (battery polarity) is covered, they missed the opportunity to score “brownie points” by adding the bright white stickers inside the battery sled (on the base surrounding the connection points). Again, far from deal breaking, as once you own a mod for more than a few days, most folks are going to be able to remember which way the batteries go in. OTOH, for those that collect mods like it was a full time job, I can understand why it might carry a bit more weight. Even still…looking at the battery door should resolve that in short order! 
(Above, the forum software rotated the pic I created, but below, it didn’t… go figure. lol)
Anyways, some basic screens that you’ll interact with. The process is simple, straightforward, and intuitive!!
This is a mod with a thoughtfully laid out menu system in most every respect.
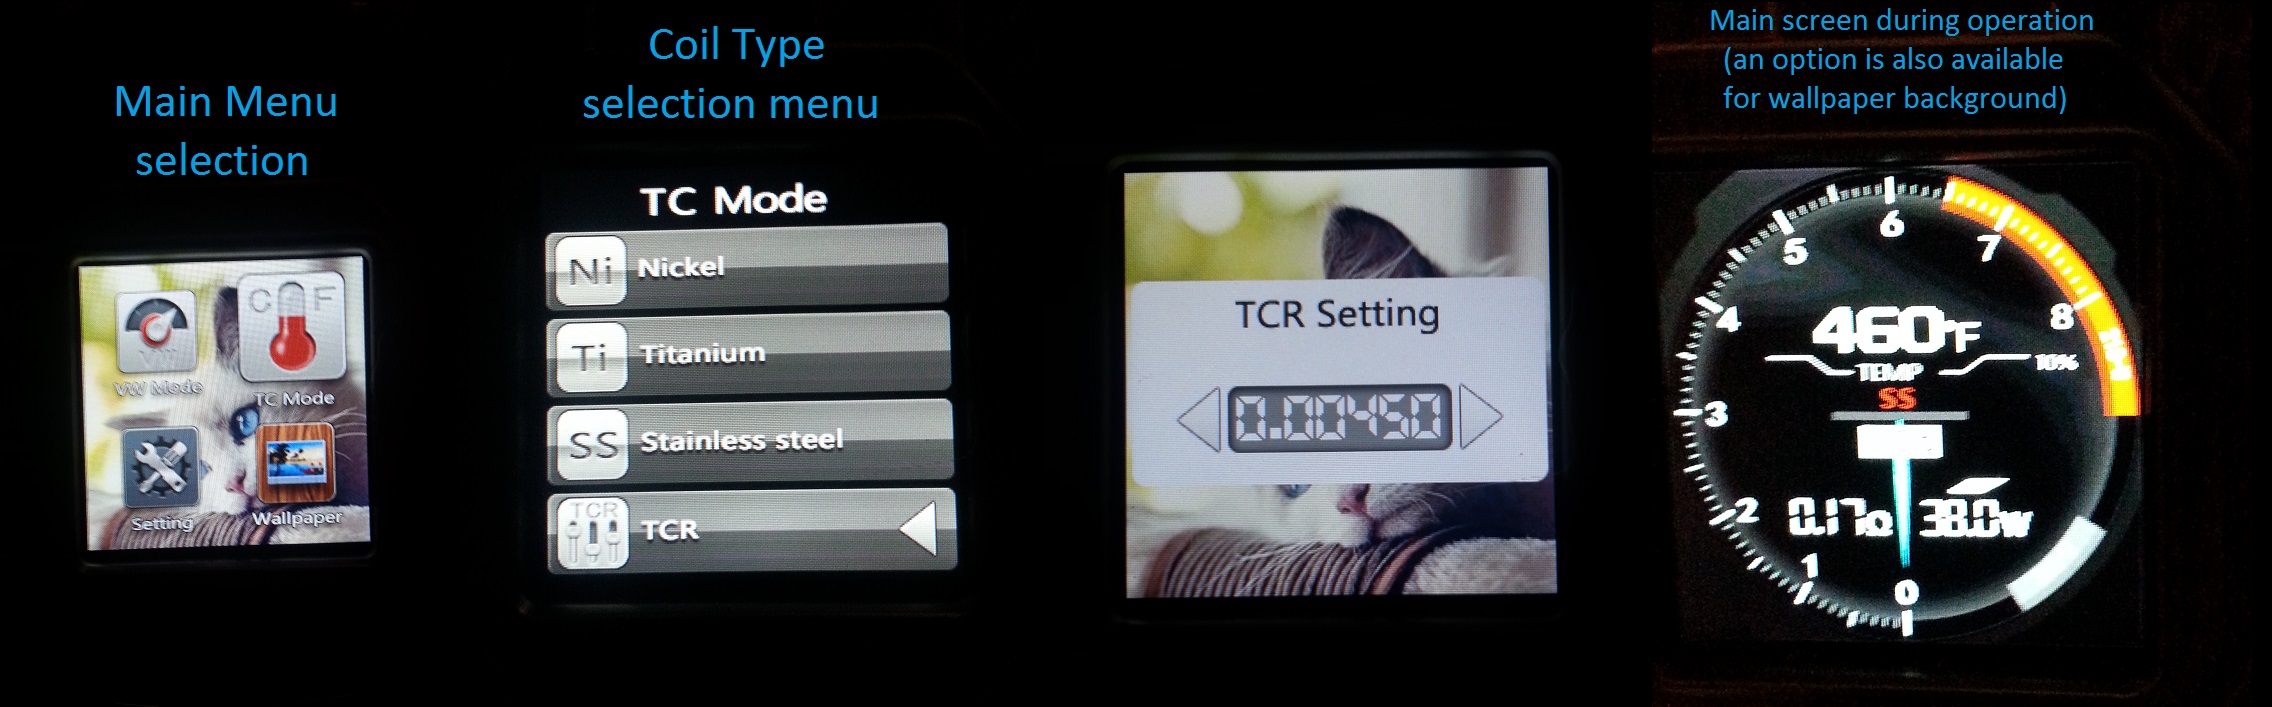
The only real head-scratching moments, were on the “tachometer screen”, where they decided to make the coil type, and the “puff/drag/draw duration” counter almost completely pointless to someone with 20/20 vision. The font/segments, and location choices could have been MUCH larger, and in much more conspicuous locations IMO.
Granted, not many people use/appreciate the duration counter (like I do -it helps me to gauge how long I can tolerate what flavors/mixes, at what temps, etc.), but I’m confident that most everyone would appreciate being able to ID what MODE you’re in at a glance! YMMV though (which should go without saying, it’s a review after all) Anyways! 
Now… what everyone’s been waiting for, and what I’ve been itching to share!
THIS THING ROCKS!!!
It’s a DNA killer.
Yes, I SAID it. You read that right.
This is every bit as good in TC (my main preference) as the much respected DNA units. (I so want to include the YiHi in that assertion, but, being honest about things, I haven’t actually owned one yet to be qualified to say that. But as much as I’ve read, and while I’ve used an older YiHi chipped device briefly a time or two, as most know, using one and owning one can often be two WHOLLY different things!)
Consistent power delivery, from full charge down to about 3.45 volts (roughly the second lowest battery meter point, which they loosely call 40%). There is a slight drop-off in power noticeable at that point (at the 32-46w I used it at), but it isn’t anything most mods in this price-range do.
It drops off again further when it hits the 20% mark (single battery indicator mark). This is about 3.3 volts, and I regard it as a nice warning that “the end is coming” (in regards to battery life). It still hangs in there though, and continues to deliver, all the way down to the 3.2v mark.
Unlike my Cuboid 150w (even with Arctic Fox) which will die pretty much at 3.45 volts. End of story, “weak battery” alert. The Cylon keeps going…
Running in TC, another of the things that has continually impressed me was the fact that it reads contact coils impedance correctly!!! When I put a build on my Cuboid, it reads (on avg) 0.21-0.23 ohms.
When I take the atty off, and put it on the Cylon, it reads it as being 0.17-0.19 ohms.
Why does this matter you say? Honestly it’s minor but it’s huge. It explains why on one mod, you have to ramp it up to 50w and on another you have to drop it to 38-40w, etc.
(It’s more about how the unit affects the heat-coefficient, and does the calculations to try and meet it. But, suffice it to say, that to most, all that matters is dialing in the power.)
Anyways, the “problem” I had at the 3 week mark was quite the scare.
I had just done a fresh cleaning of my everyday-driver atty (though not a full strip down, just the interior of the deck, etc).
New coil, new cotton, and put it back on the 510, and was proceeding to adjust the coil, and strum etc… (was testing spaced, contact, fused, etc), and while I’d used contact claptons (26/36 ss316L) often during the first three weeks, this time, the readout went “wonky”. It would not stay stable, where it had previously. It was bouncing around between 0.21-0.22 faster than I had ever seen a mod do. It still worked fine in power mode, but honestly, the only use I have for power mode is to dry burn coils as a convenience. After all, I have a Tab 521 for proper dry-burning, and toying with new build ideas.
Everything I could think of to try failed. No more contact claptons.  I absolutely LOVED that feature of this mod, and I was instantly crushed after trying several other options to verify…
“Great. Another average quality Chinese mod” (for the pricepoint) was my first reaction.
I went through spaced coils, and on down the line, no joy. Fine, I dropped the subject for a week, and then it hit me. I’m overdue on a full field strip of the atty.
The Cylon is SO sensitive in reading the impedance, that it can do contact coils, but can still detect liquid down in between the “hidden crawl spaces” buried in the recesses of the atty!!! There was only slight build up around the very top (between the insulator for the positive pin and the deck of the atty), and had juuuuuust begun to be a bit of liquid around the base screw (of the atty).
Problem solved, and the Cylon roared back to TC life, like the magnificent bastard it is!!!
MULTIPLE Lessons learned.
- clean the atty (full field strip) at least once a month like you’re effing SUPPOSED TO dumbass.
- Don’t be so quick to assume the worst. Even though it’s usually true…there ARE still exceptions to the rule. This unit is one of them!
- a restored respect for some Chinese companies, especially those like Smoant, who buck the trend of releasing whatever’s the cheapest to make, in hopes of making their quick buck, and then bailing “onto the next popular thing”. (And while they’re not the only one’s doing such, big business does the same in MANY countries. It simply seems to be much more prevalent in vaping in particular IMO. Where the Chinese obviously dominate the numbers in manufacturing.)
They’ve REALLY hit a homerun here IMO.
And it’s obvious IMO that Smoant’s trying to make a name for themselves in the vaping world.
When they can deliver *this level of performance, build quality like this, and at this pricepoint, there’s NO justification in my mind but greed for those other mods produced at higher prices!!!
The chassis has almost no signs of wear, barring the wobbly door, which I’ve only had open a time or two on me (once was my fault for setting it down at an angle).
Just under 60 days of literally daily use, and (screen scum and all) this is what you’re left with:

You can just barely start to see some wear on the “pleather” in the following (when viewed at full size):
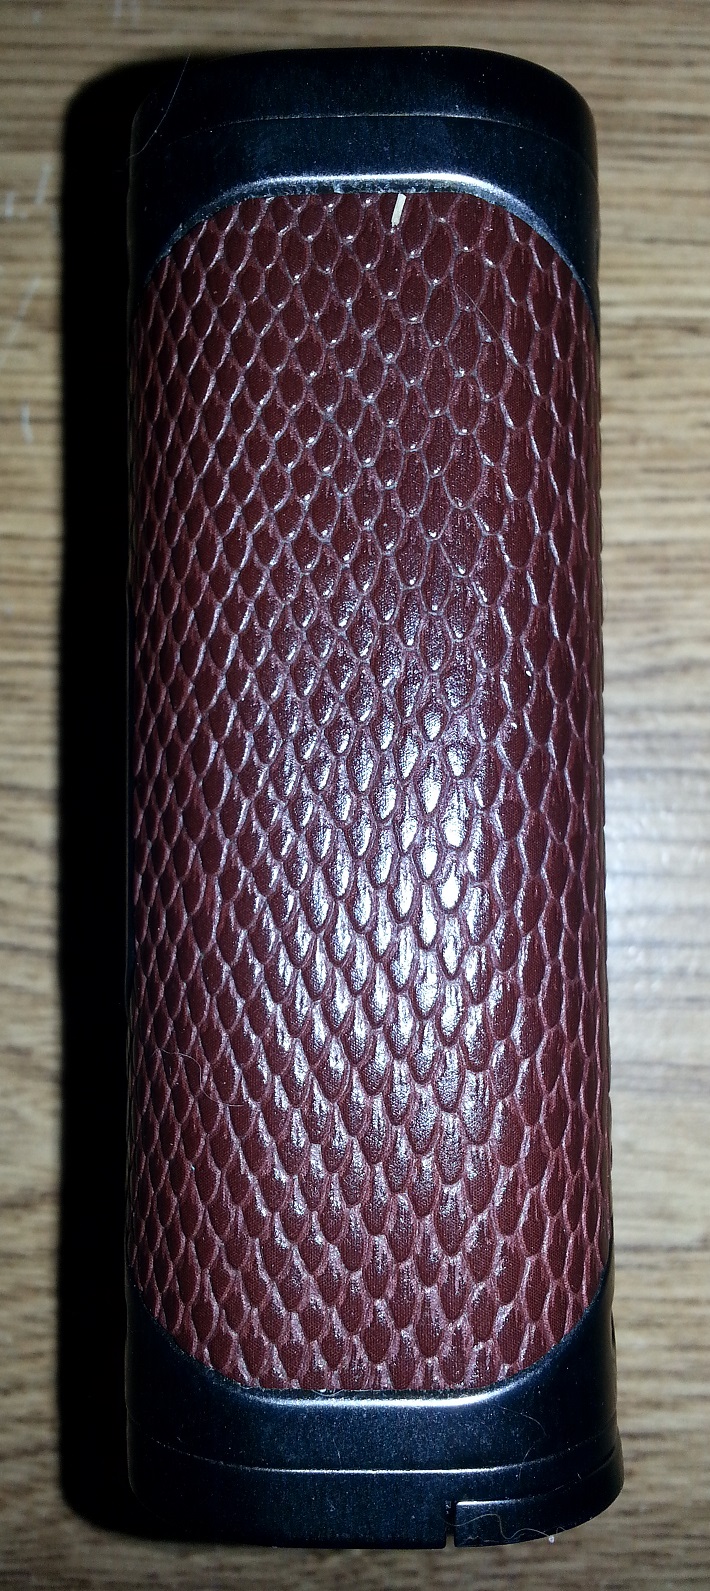
The one of the bottom is very telling IMO, no scratches, no scuffs, just the slightest bit of wear in the finish…

No issues on the 510 (inside or out) other than some fingerprints. No screw corrosion, no scratched up center pin (though often that’s the fault of the care of an atty, or a poorly finished pin).
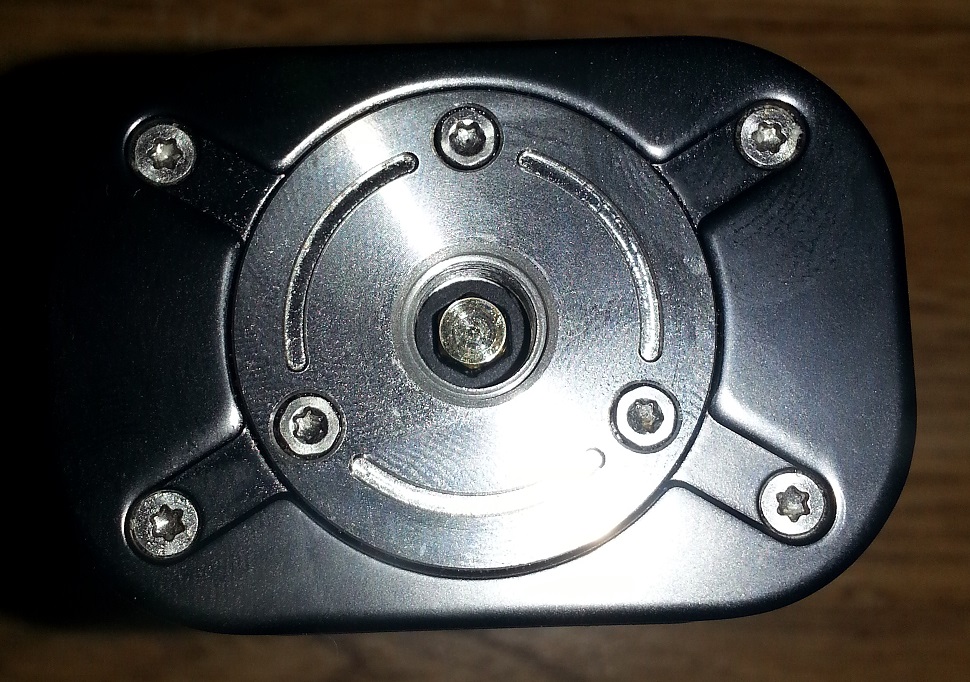
Now… another minor nit-pick I have with this, is the way they designed the mating of the joint between the top cap, and the main body of the mod. You can clearly see a slight bit of liquid around the inner trim where the recessed portion meets the body.
Had they decided to “invert” the joint, the outer portion would tend to NOT form a joint that encourages liquid to ingress into the main body, and subsequently, want to head straight onto the pcb.
I’d really like to see the body (receiver) contain the areas I’ve outlined. (In other words, the top cap has a lip that goes over the inner part of the main body, so that the liquid would have to flow UP before it could bypass the lip on the mod!)
If they did it this way, it would act as a natural “gutter system” (like on your house) and actually guide the liquid AWAY FROM the joint (or point of entry)!
Another pic the forum decided to rotate…lol
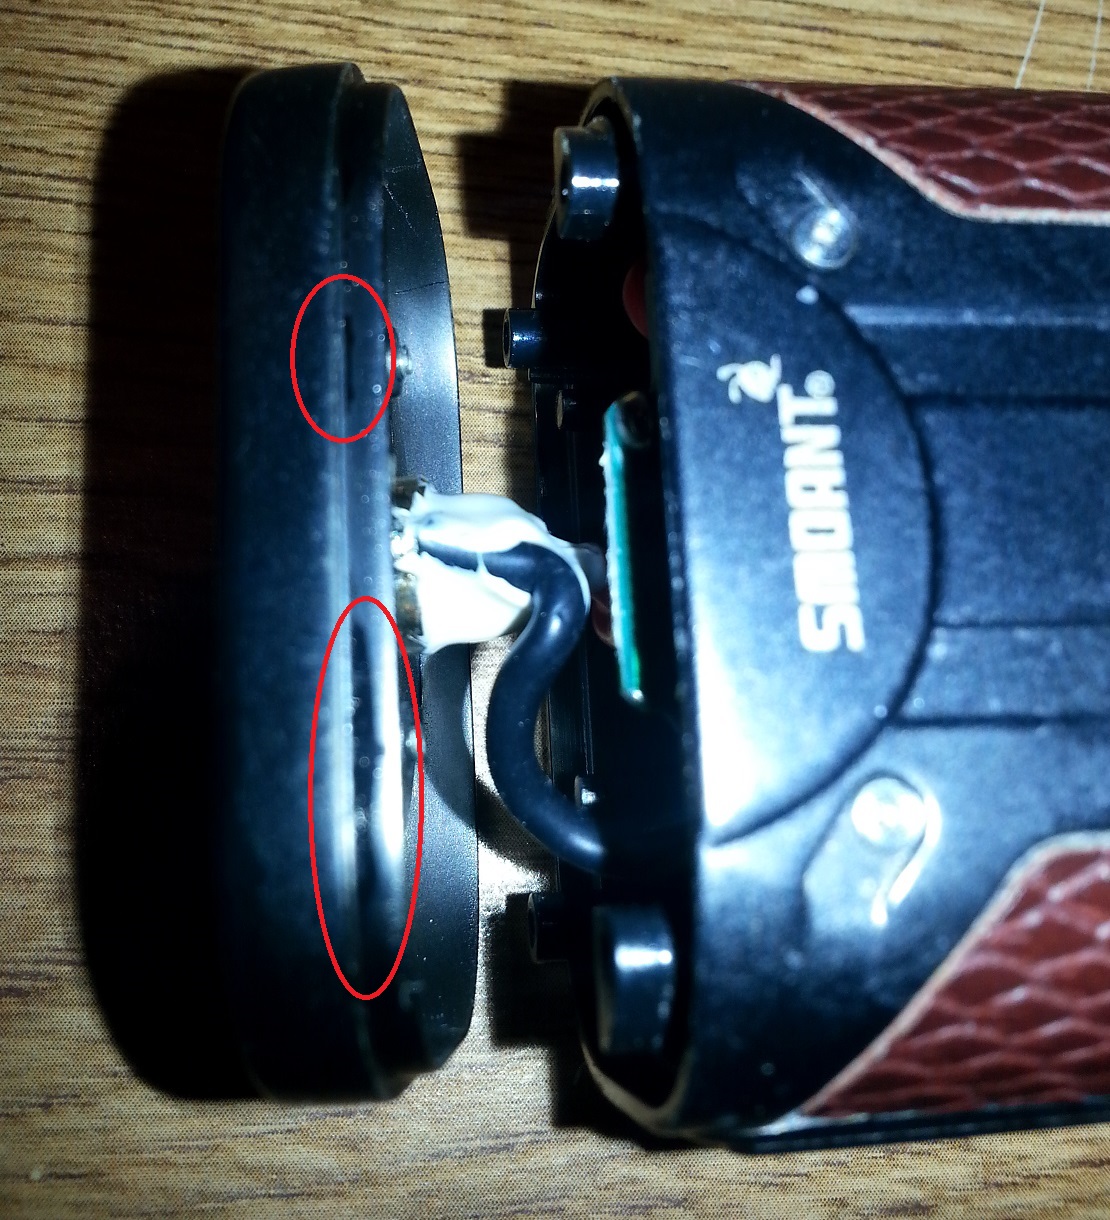
But you can see where they had the thoughtfulness to seal the 510 joint, in the hopes of preventing liquid from getting into the body via a direct path. (The most astute will also notice that they’re not trying to hide their chips/resistor/etc markings, and that to me, speaks of pride in materials.)

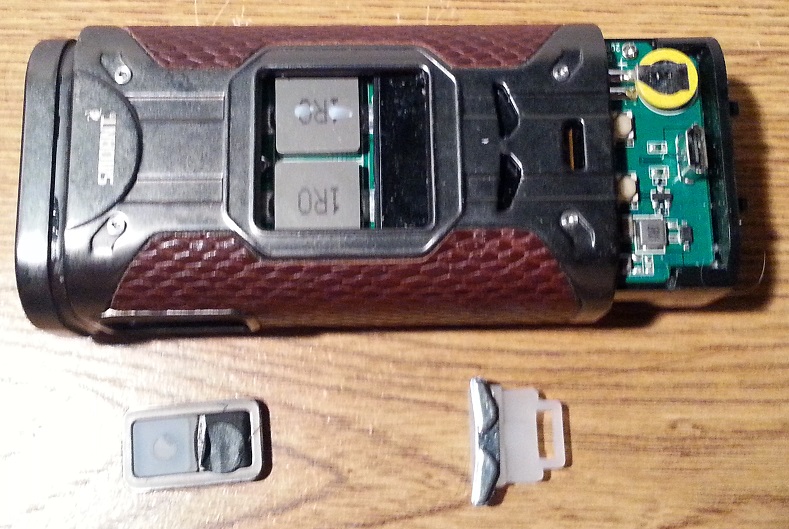
A bit clearer shot of the minor leaking I found once I cracked her open. Thankfully, this is the extent of it. HOWEVER, It “is my own fault” for frequently laying the mod down, and it ending up sideways. Thankfully I try and stay diligent and mop up any trace of leaks the instant I see/feel them.
IF by chance, you’re bold enough (or in need of disassembling your Cylon), DO pay attention to the orientation of the parts you remove!
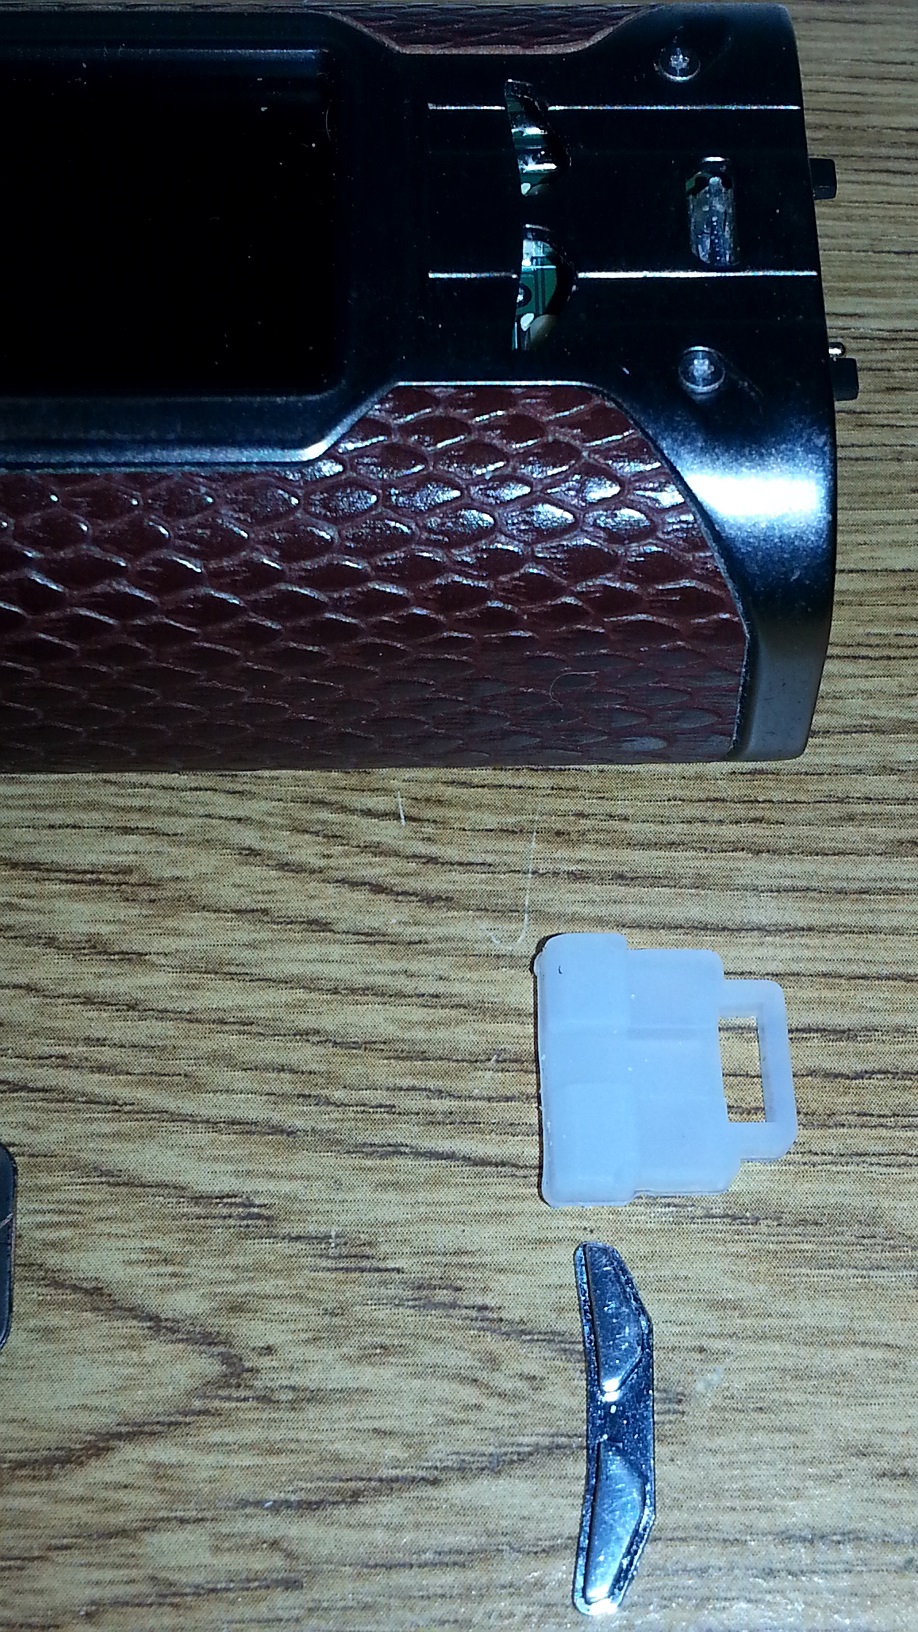
As once I’ve flipped the button over, you can see why! (On the right side pic, you can see there’s a raised portion that’s there to offset the part of the button not in contact with the switch)
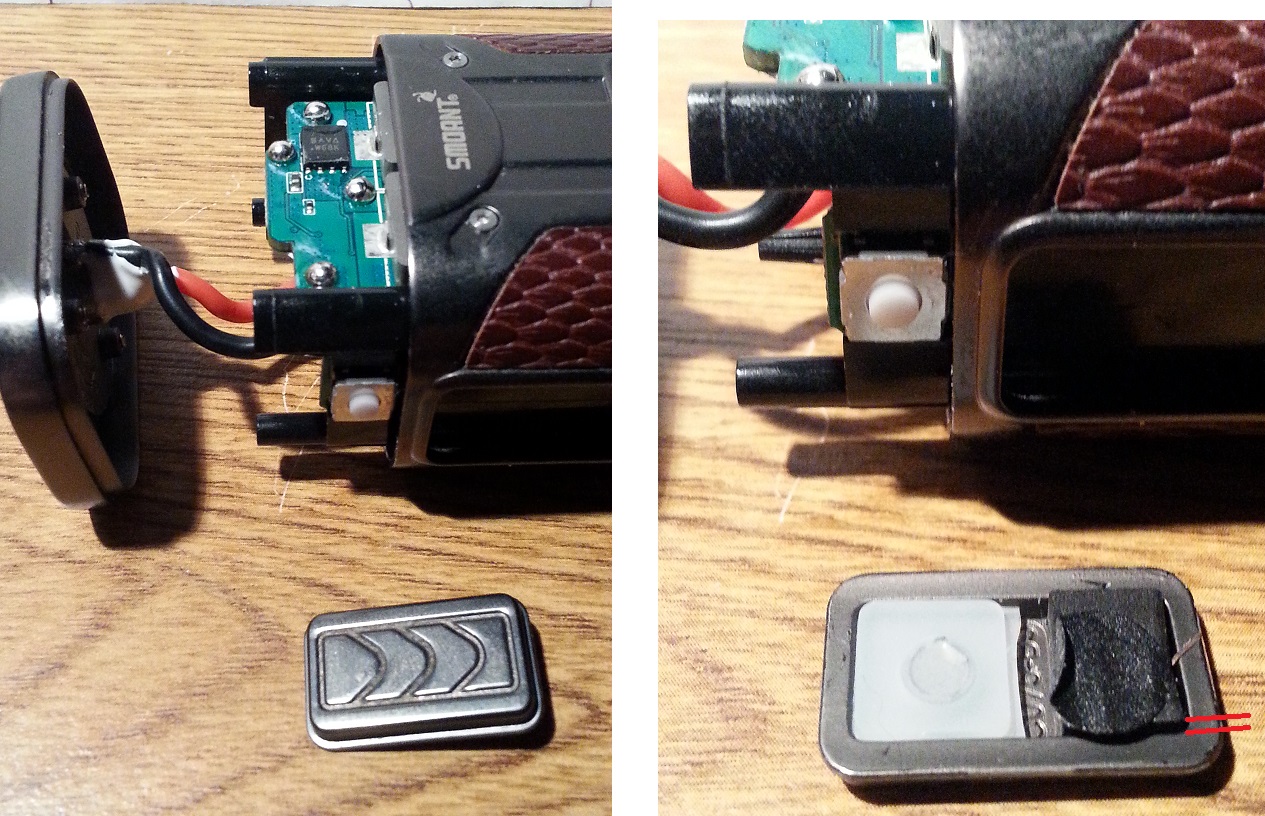
The reason the buttons don’t rattle… another thoughtful addition, which absorbs the force (frequently overapplied) to the actual micro-switches. Along with the nice metal button plate, which rests atop it.
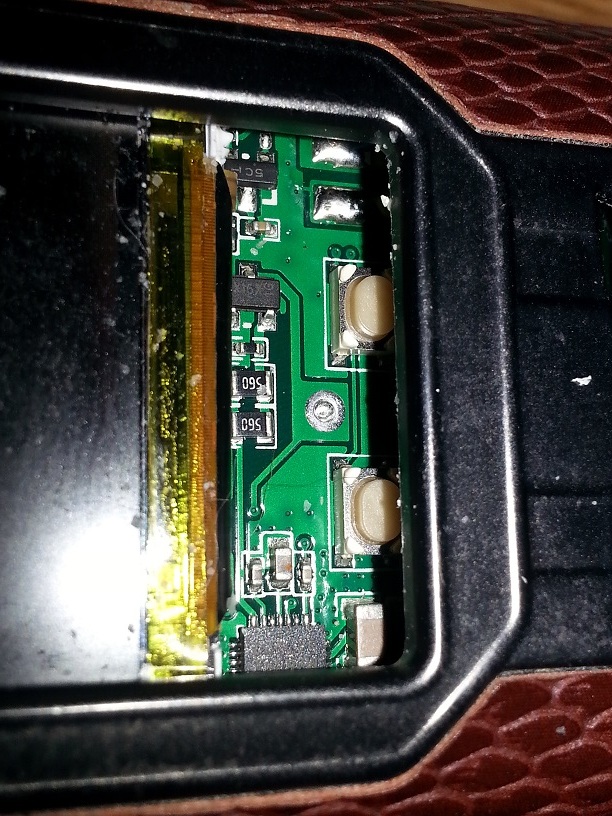
The LCD is nicely secured, and some of you might make out the massive amount of contact points along the base of that strip. There’s got to be at least 100 contacts feeding the LCD…
In the following shot, you can see how well the buttons line up with the cutouts/button placement. I know it may not sound like much, but proper placement puts the load on the cushions that are there to enhance the life of the switch that’s underneath!
You’d be surprised how frequently they’re poorly aligned, leading to premature death of the switch underneath.

Just a quick shot showing that the button is not attached to the cushion under it (pictured previously). Although, (again, for those who might be adventurous enough to want to crack theirs open…) It’s worth noting that the button WILL add substantial resistance to the disassembly of the unit, and if utmost care is not exercised, you’re very likely to damage things. Be it the switches themselves, or ramming the metal button into the main PCB destroying traces, or ripping off components… You’ve been warned!!!
And finally, a gripe that I only came to know and HATE after owning the Cuboid 150!
Having to reset the damned clock (even with ArcticFox) every-stinking-time you change batteries!!!
UGGGGHHHH.
MAJOR brownie points here Smoant!!!
Super cool of your team of engineers to think about the little things once again!
Anything that lessens “daily frustrations” is duly recognized, and appreciated!!!
(The little thing in the corner, with the yellow trim around it, is a watch battery, that, due to the particular manner of mounting, should be easily replaceable by a qualified tech! I’ll have to update once mine actually dies… lol)
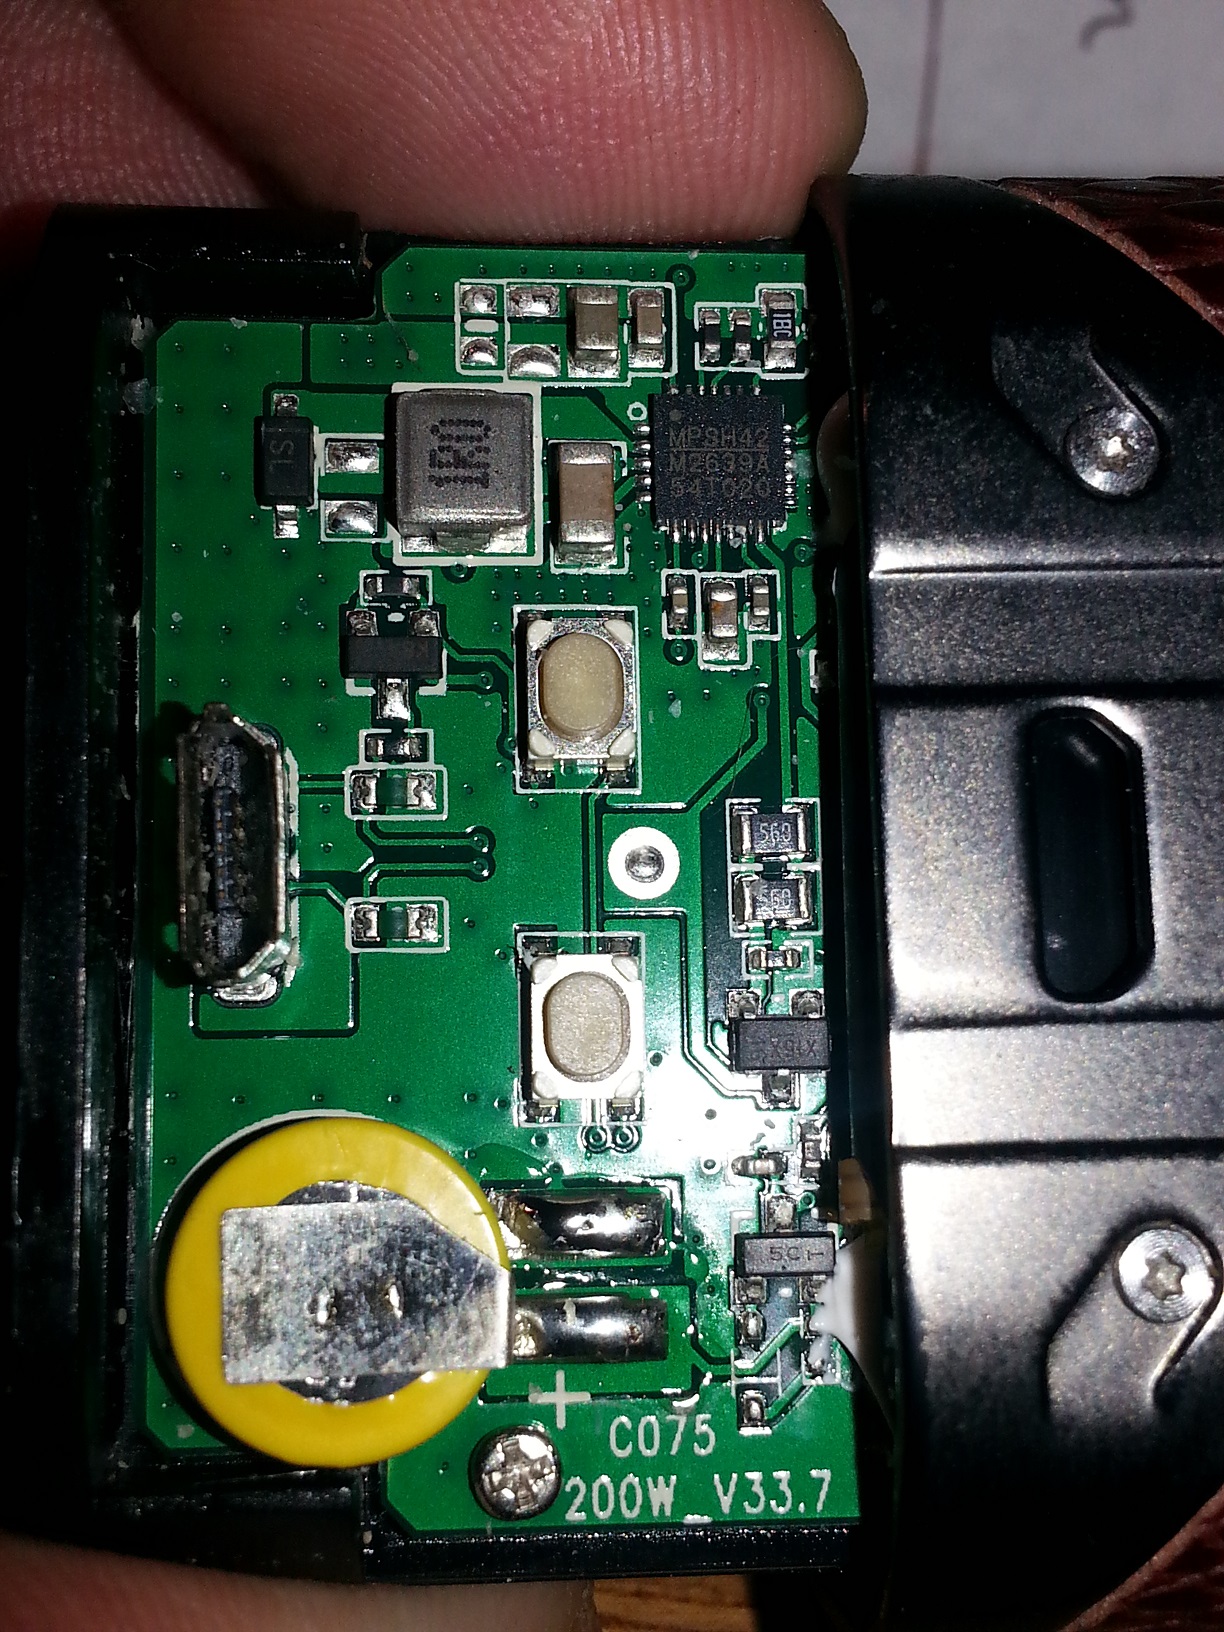
The last point of interest (to me) is the fact that (according to the board) they had 33.6 other revisions before releasing this one (which as you might have noticed earlier, rolled off the assembly line in under a month before I received it)!
If you’re not yet convinced about the quality of the Smoant Cylon… (or at the very least, my impression of it), there’s simply no hope for you. 
To those that made it this damned far. THANK YOU, and again, A HUGE thank you to Maggie @healthcabin for supplying this unit for my “approval”.
Color me SERIOUSLY impressed.
This mod’s NO JOKE. And stands head and shoulders above the competitors at the pricepoint. And toe to toe with those at even DOUBLE the price.


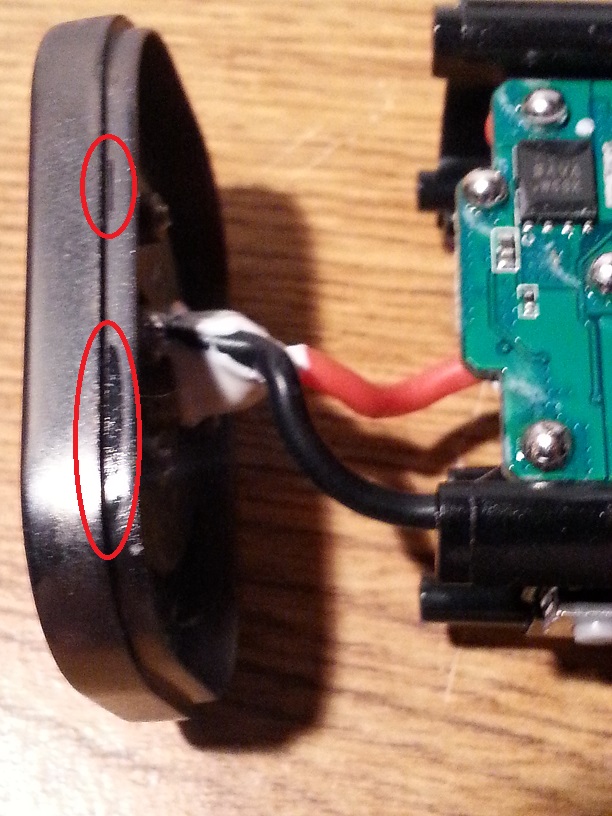
 lil electrical tape between where the 2 pieces meet?