The only problem I see with that is the airflow will be blocked by the cotton and not flowing directly on the coils like it is designed to do. But, if it works for you and the flavor is still good there’s no reason not to 
1 Like
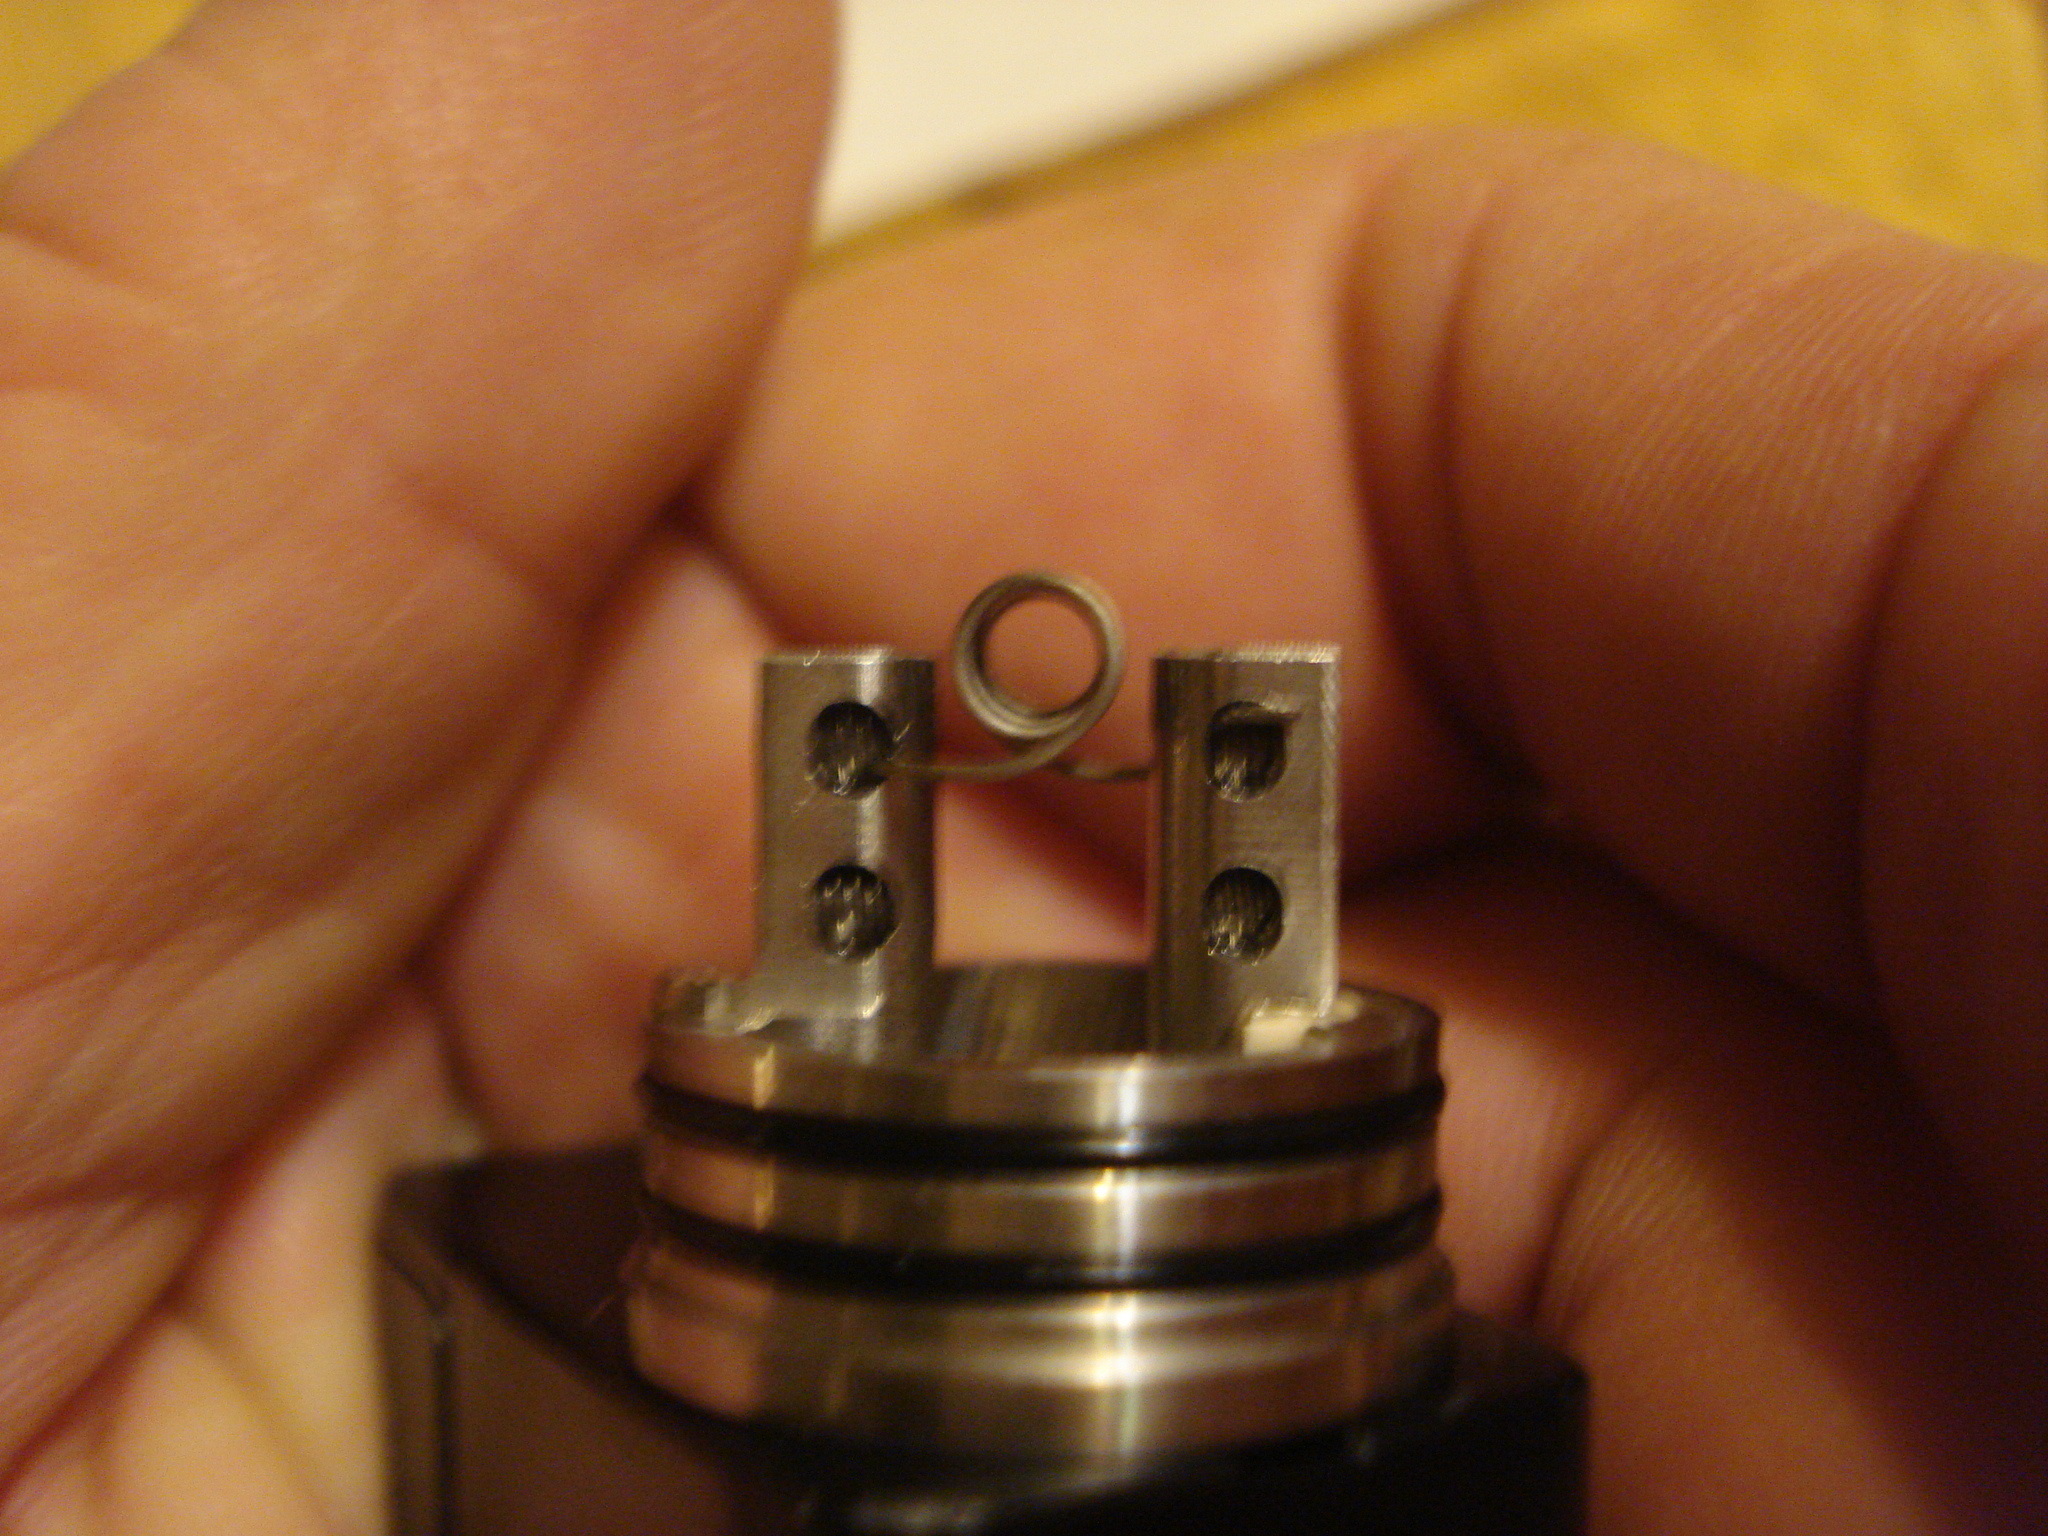
This was just a first try to see what would work. I like single coil and restricted airflow so I am planning to raise the coil higher in the deck and use only the secondary air holes . That should allow the air to hit the coil better but I am liking this way of building the velocity. I will post more about what I find over the next few days playing with this.
1 Like
I think if you align them two lower slots in the barrel with the posts you should get plenty of airflow under that coil!
Originally I ended up modifying my velocity for single coil use by blocking half of the air holes off with a marine grade epoxy
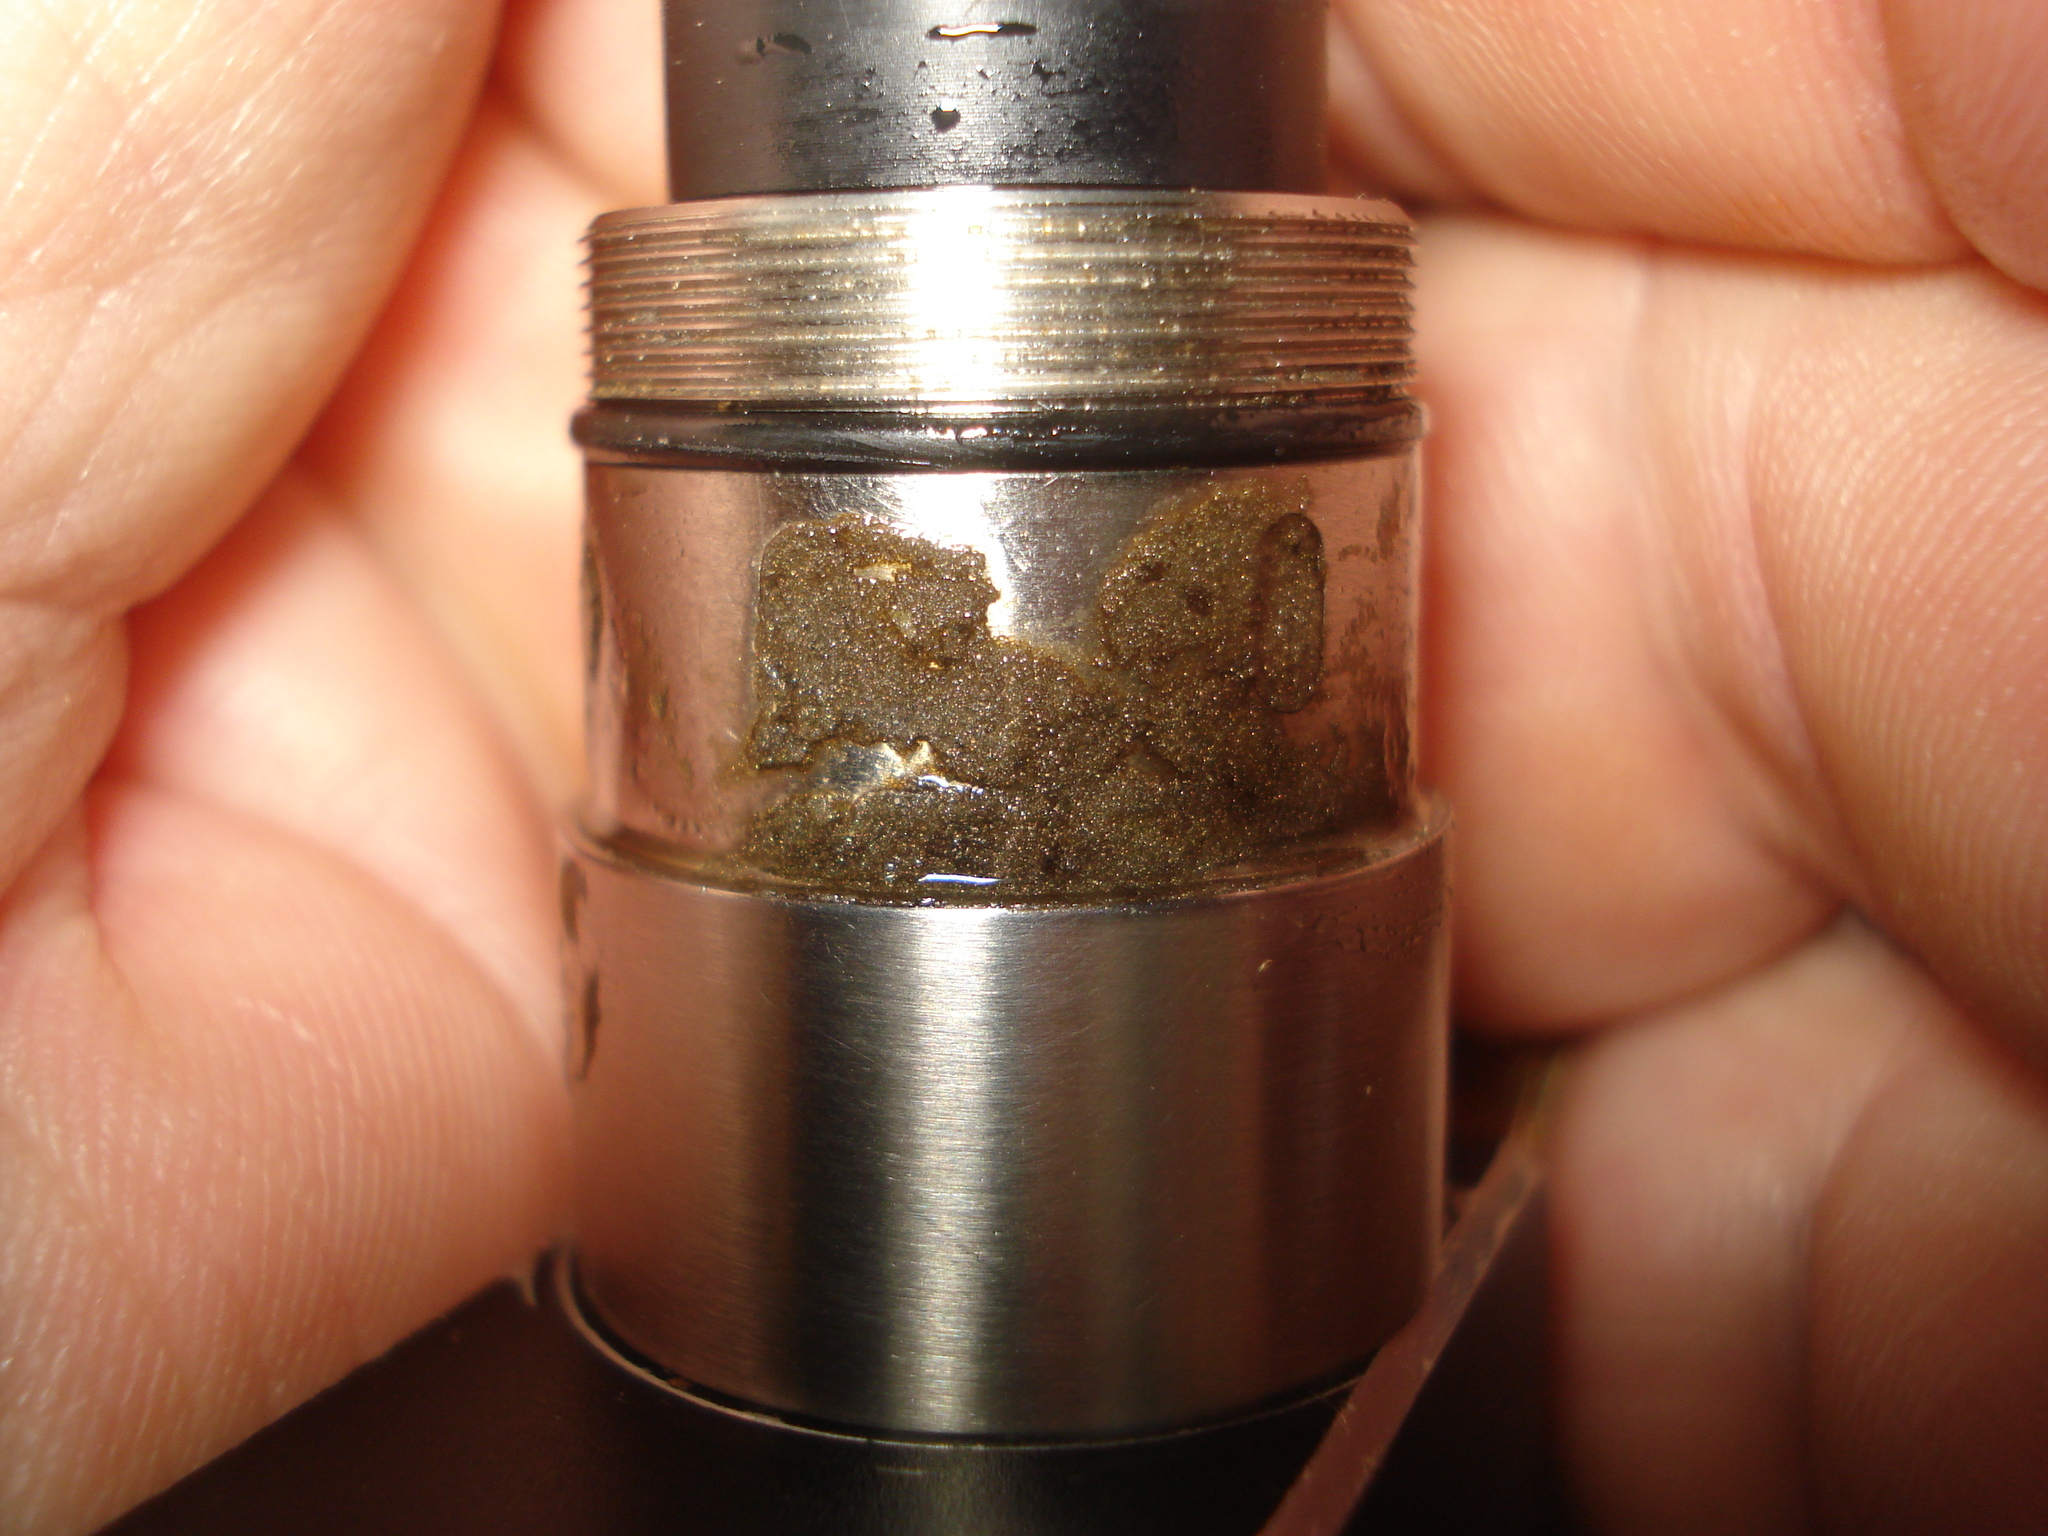
After vaping this build tonight I was convinced this could work for the style vape I like so I raised the coil up a little to align with the upper air holes better

I had concerns as to rather my modification was safe to do so now I have removed all of the epoxy and closed the cap down all of the way.

This is what I have it set for

All I can say is this build style has great potential for me as far as using a dripper. I will need to play with wire size and number of wraps but this is the way I will now do my builds on the velocity. I would have never thought of building the velocity this way until I went and looked at the picture @Big_Benny_MI posted a link to. Thanks because this just works for me and probably will for anyone wanting a dripper with a restricted airflow.
4 Likes
Glad you found it useful.
1 Like
All I can say is to date this is the best dripper experience I have had. I believe I am going to try a few less wraps when I rebuild it just to see. After finding Ti wire I have really been enjoying my Lemo tanks at around .38 ohms so maybe I will try that build now that I can restrict the airflow on the velocity to be almost identical to my Lemo’s.
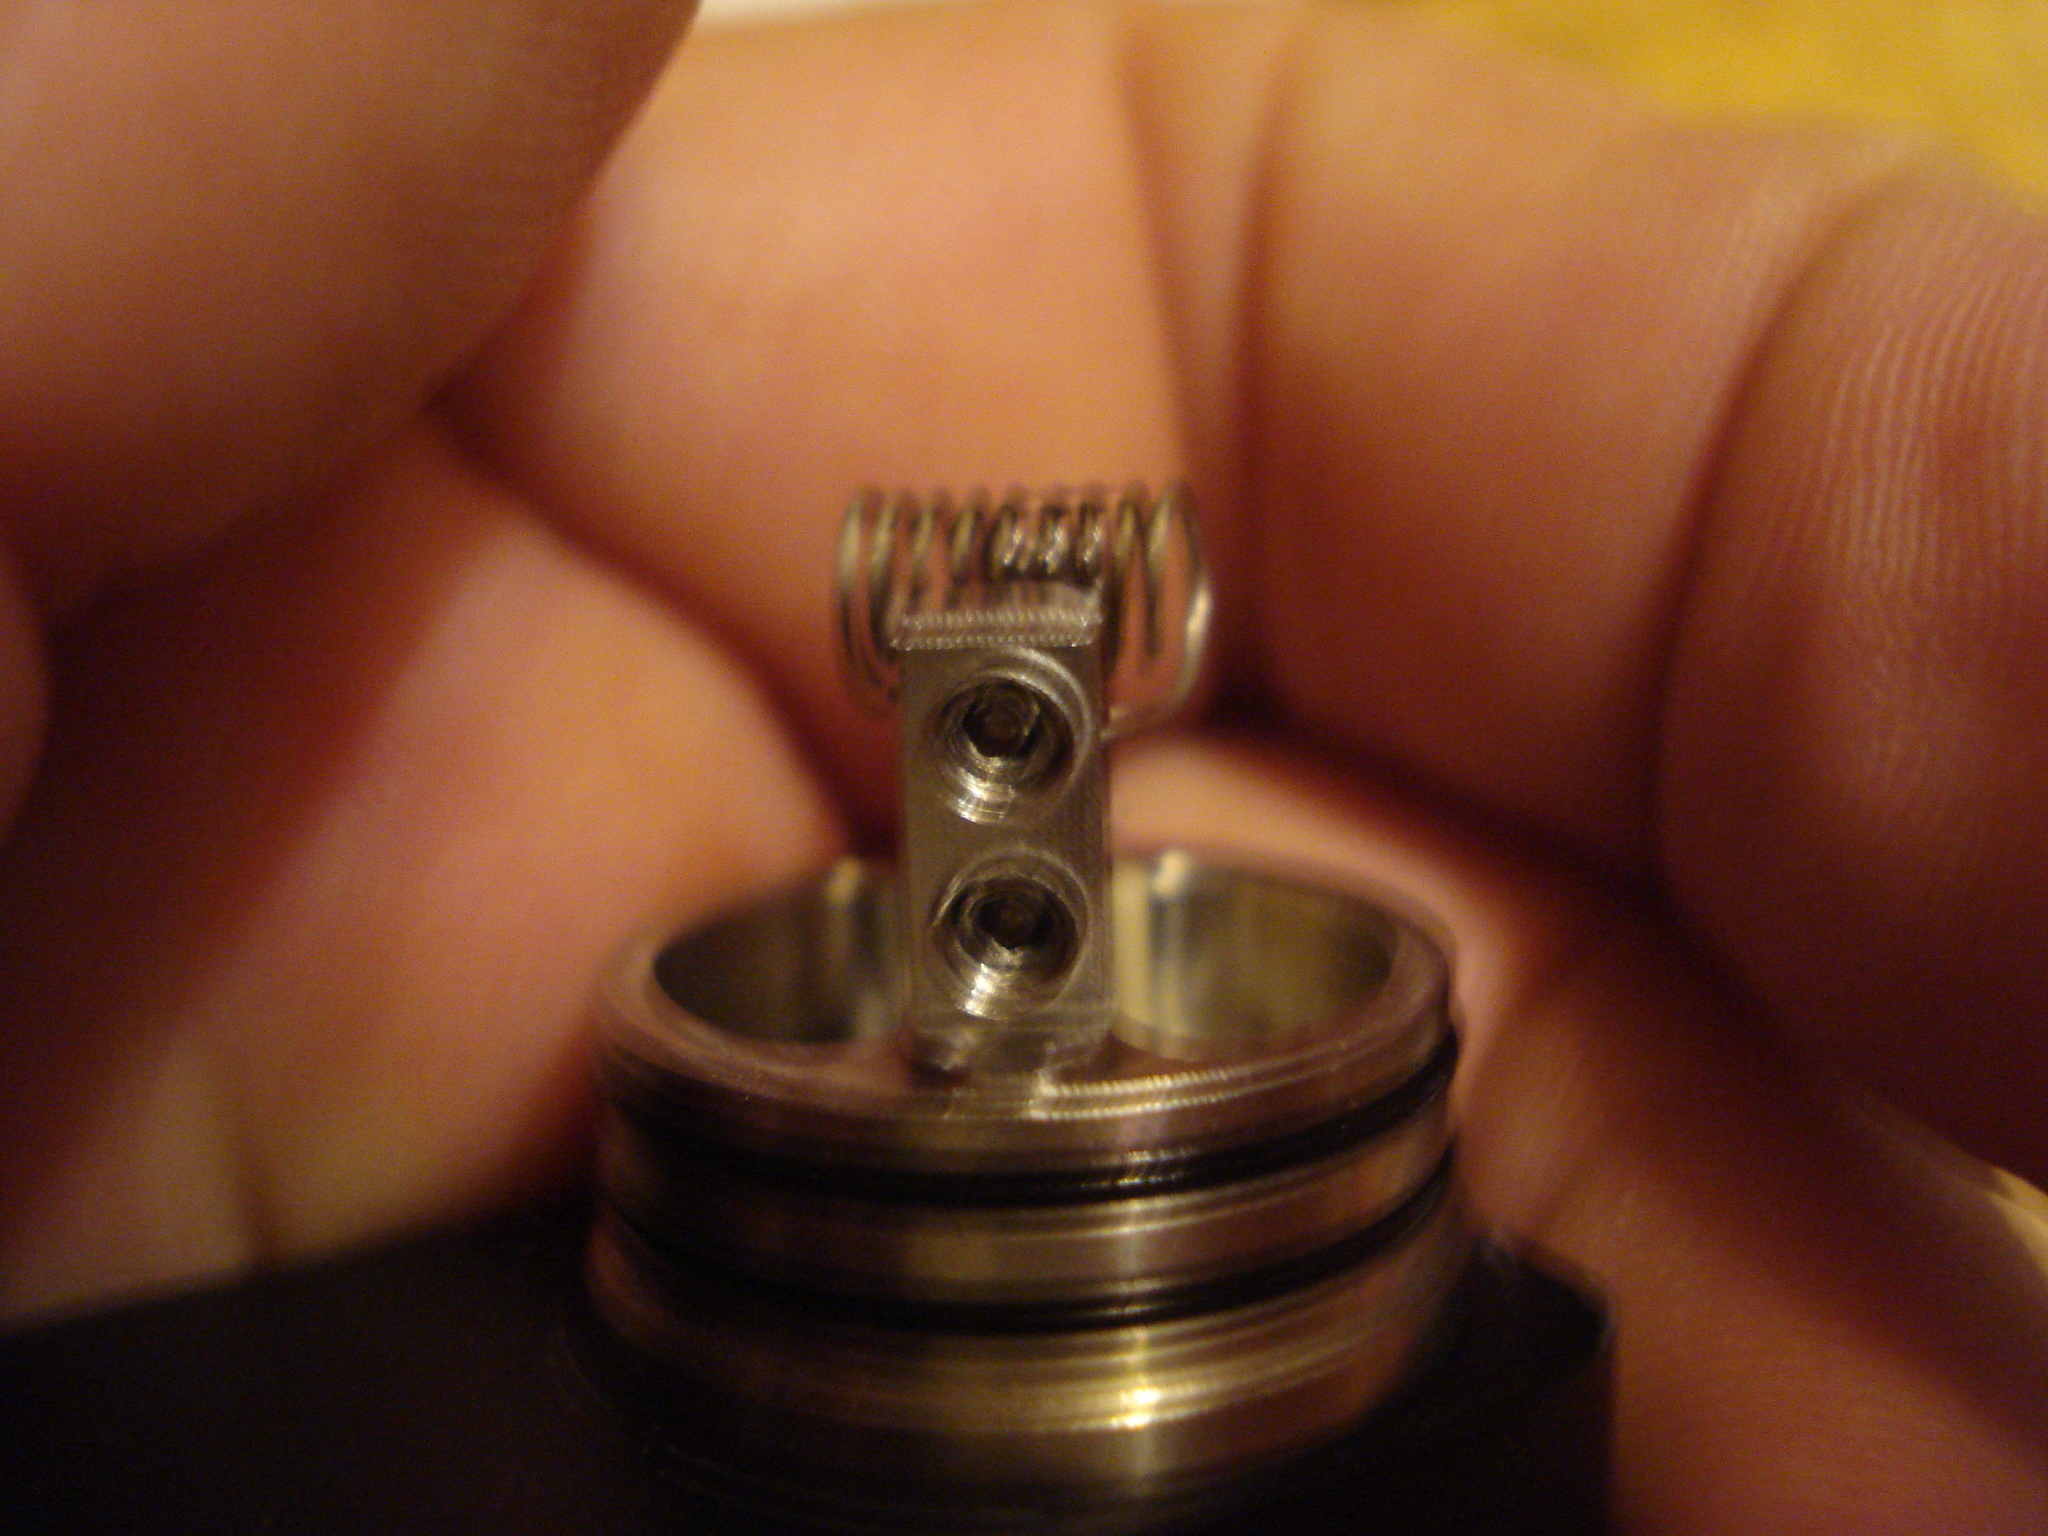
I definitely found my sweet spot with the same build I use in my Lemo tanks
26g Ti 7 wraps 3mm ID the wicking is cotton bacon v2
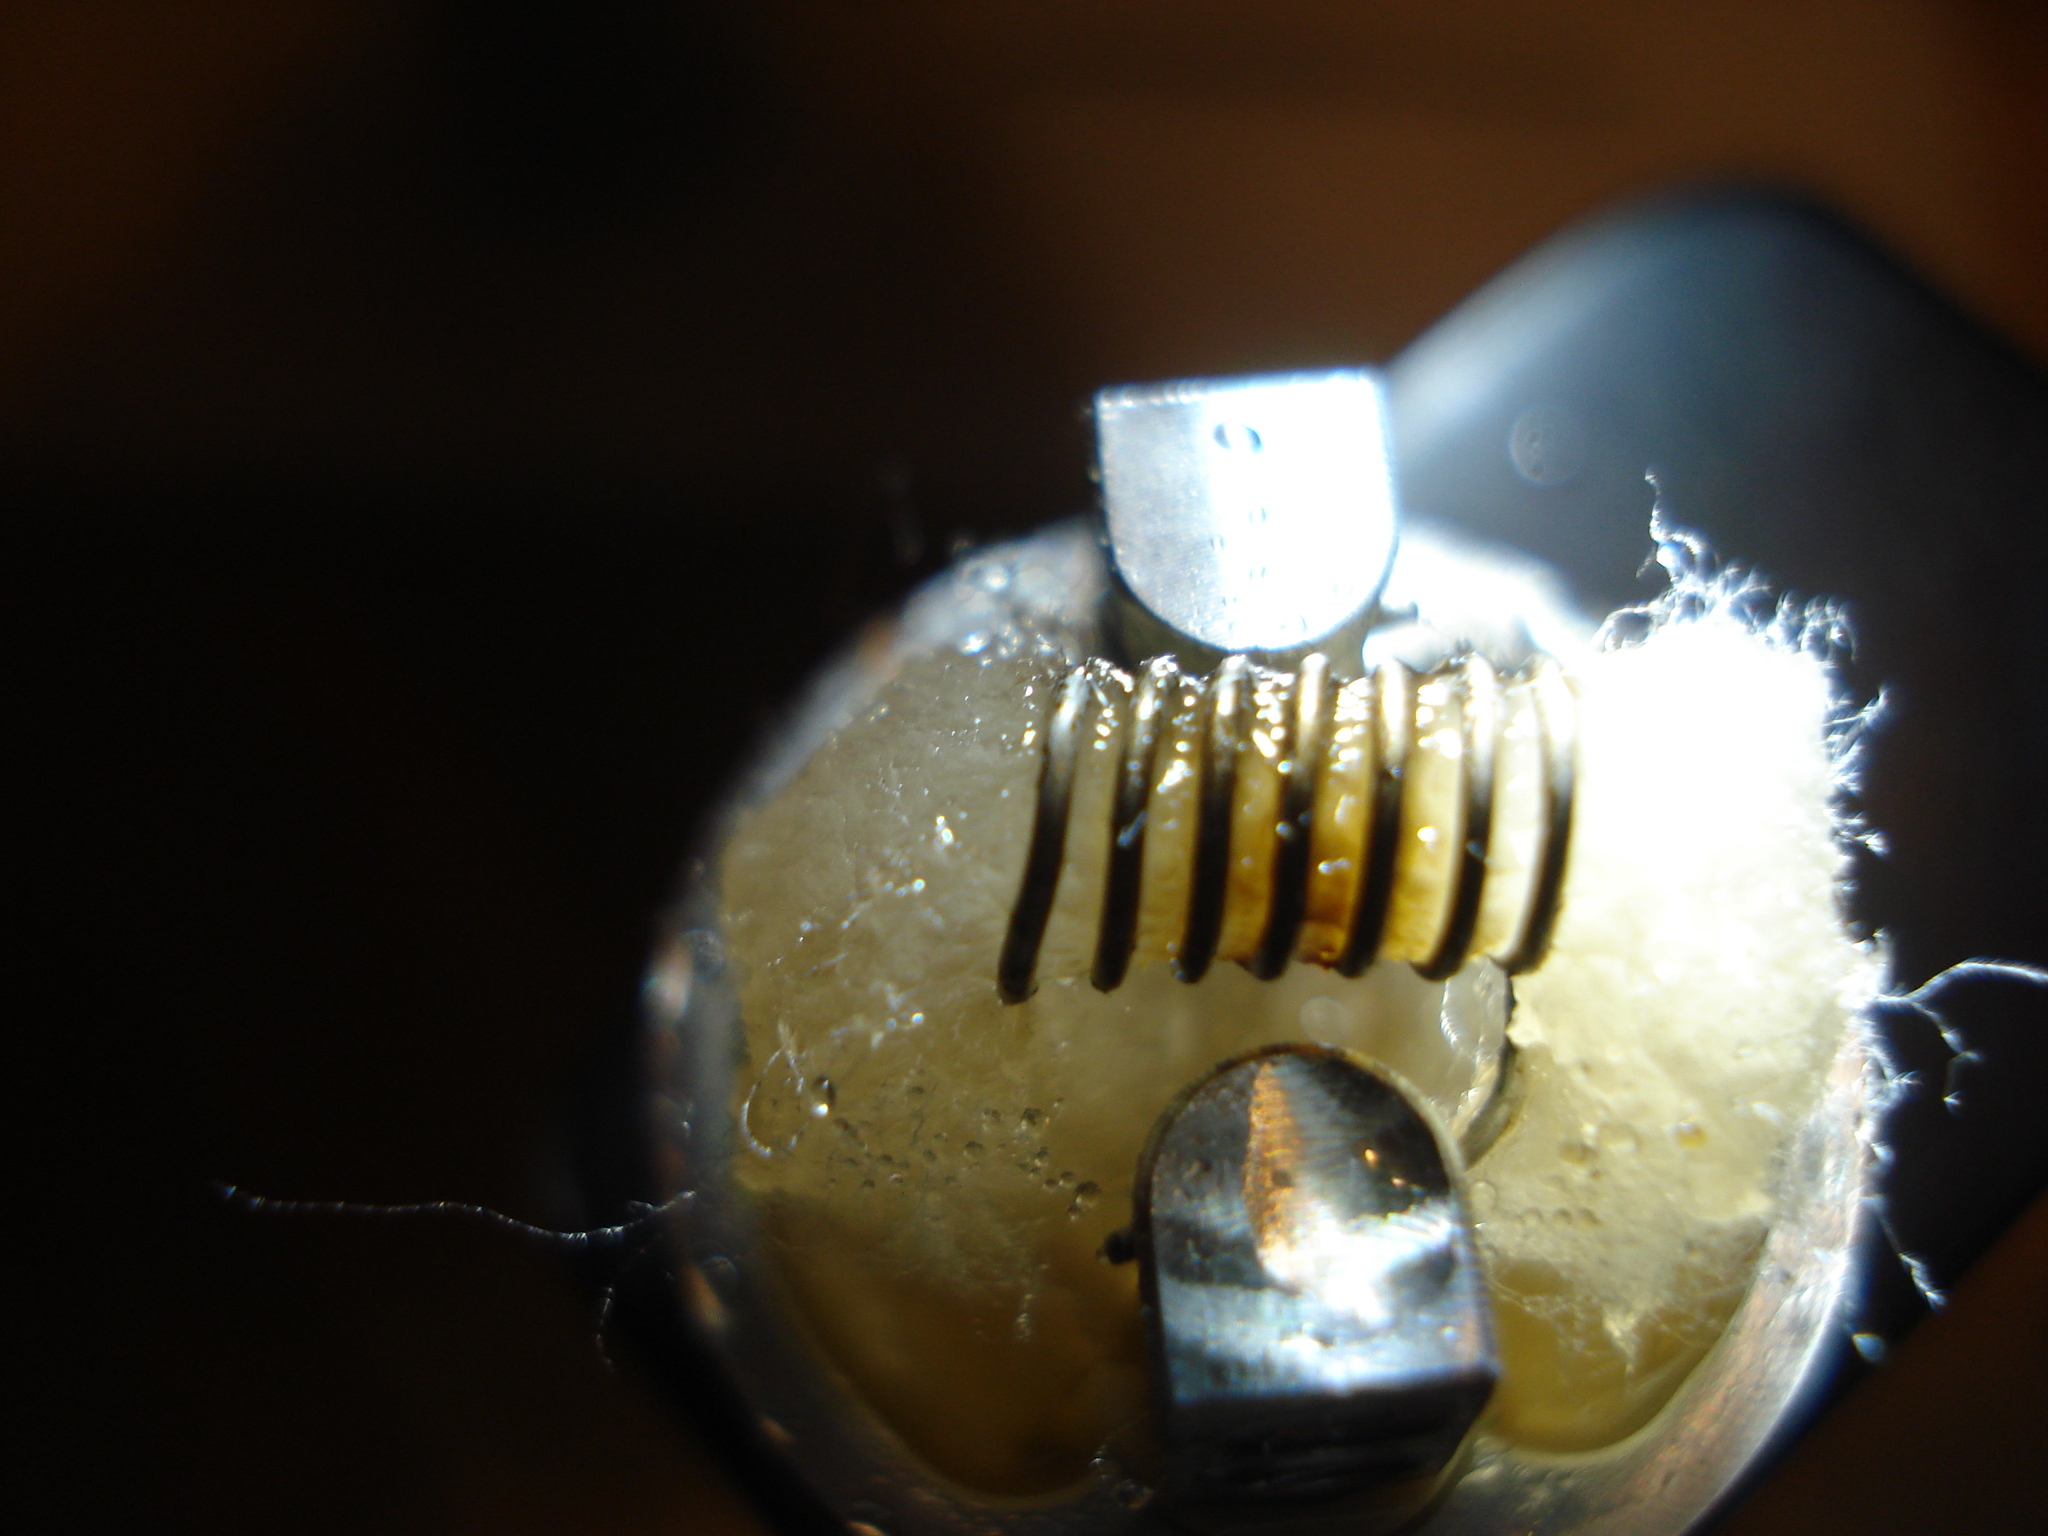
The settings I ended up at are shown below but for temp I like between 520 and the 540 shown in the picture depending on the juice I was vaping. I have already tried all of my favorite flavors on this setup and I am truly noticing a lot better flavor than ever before.
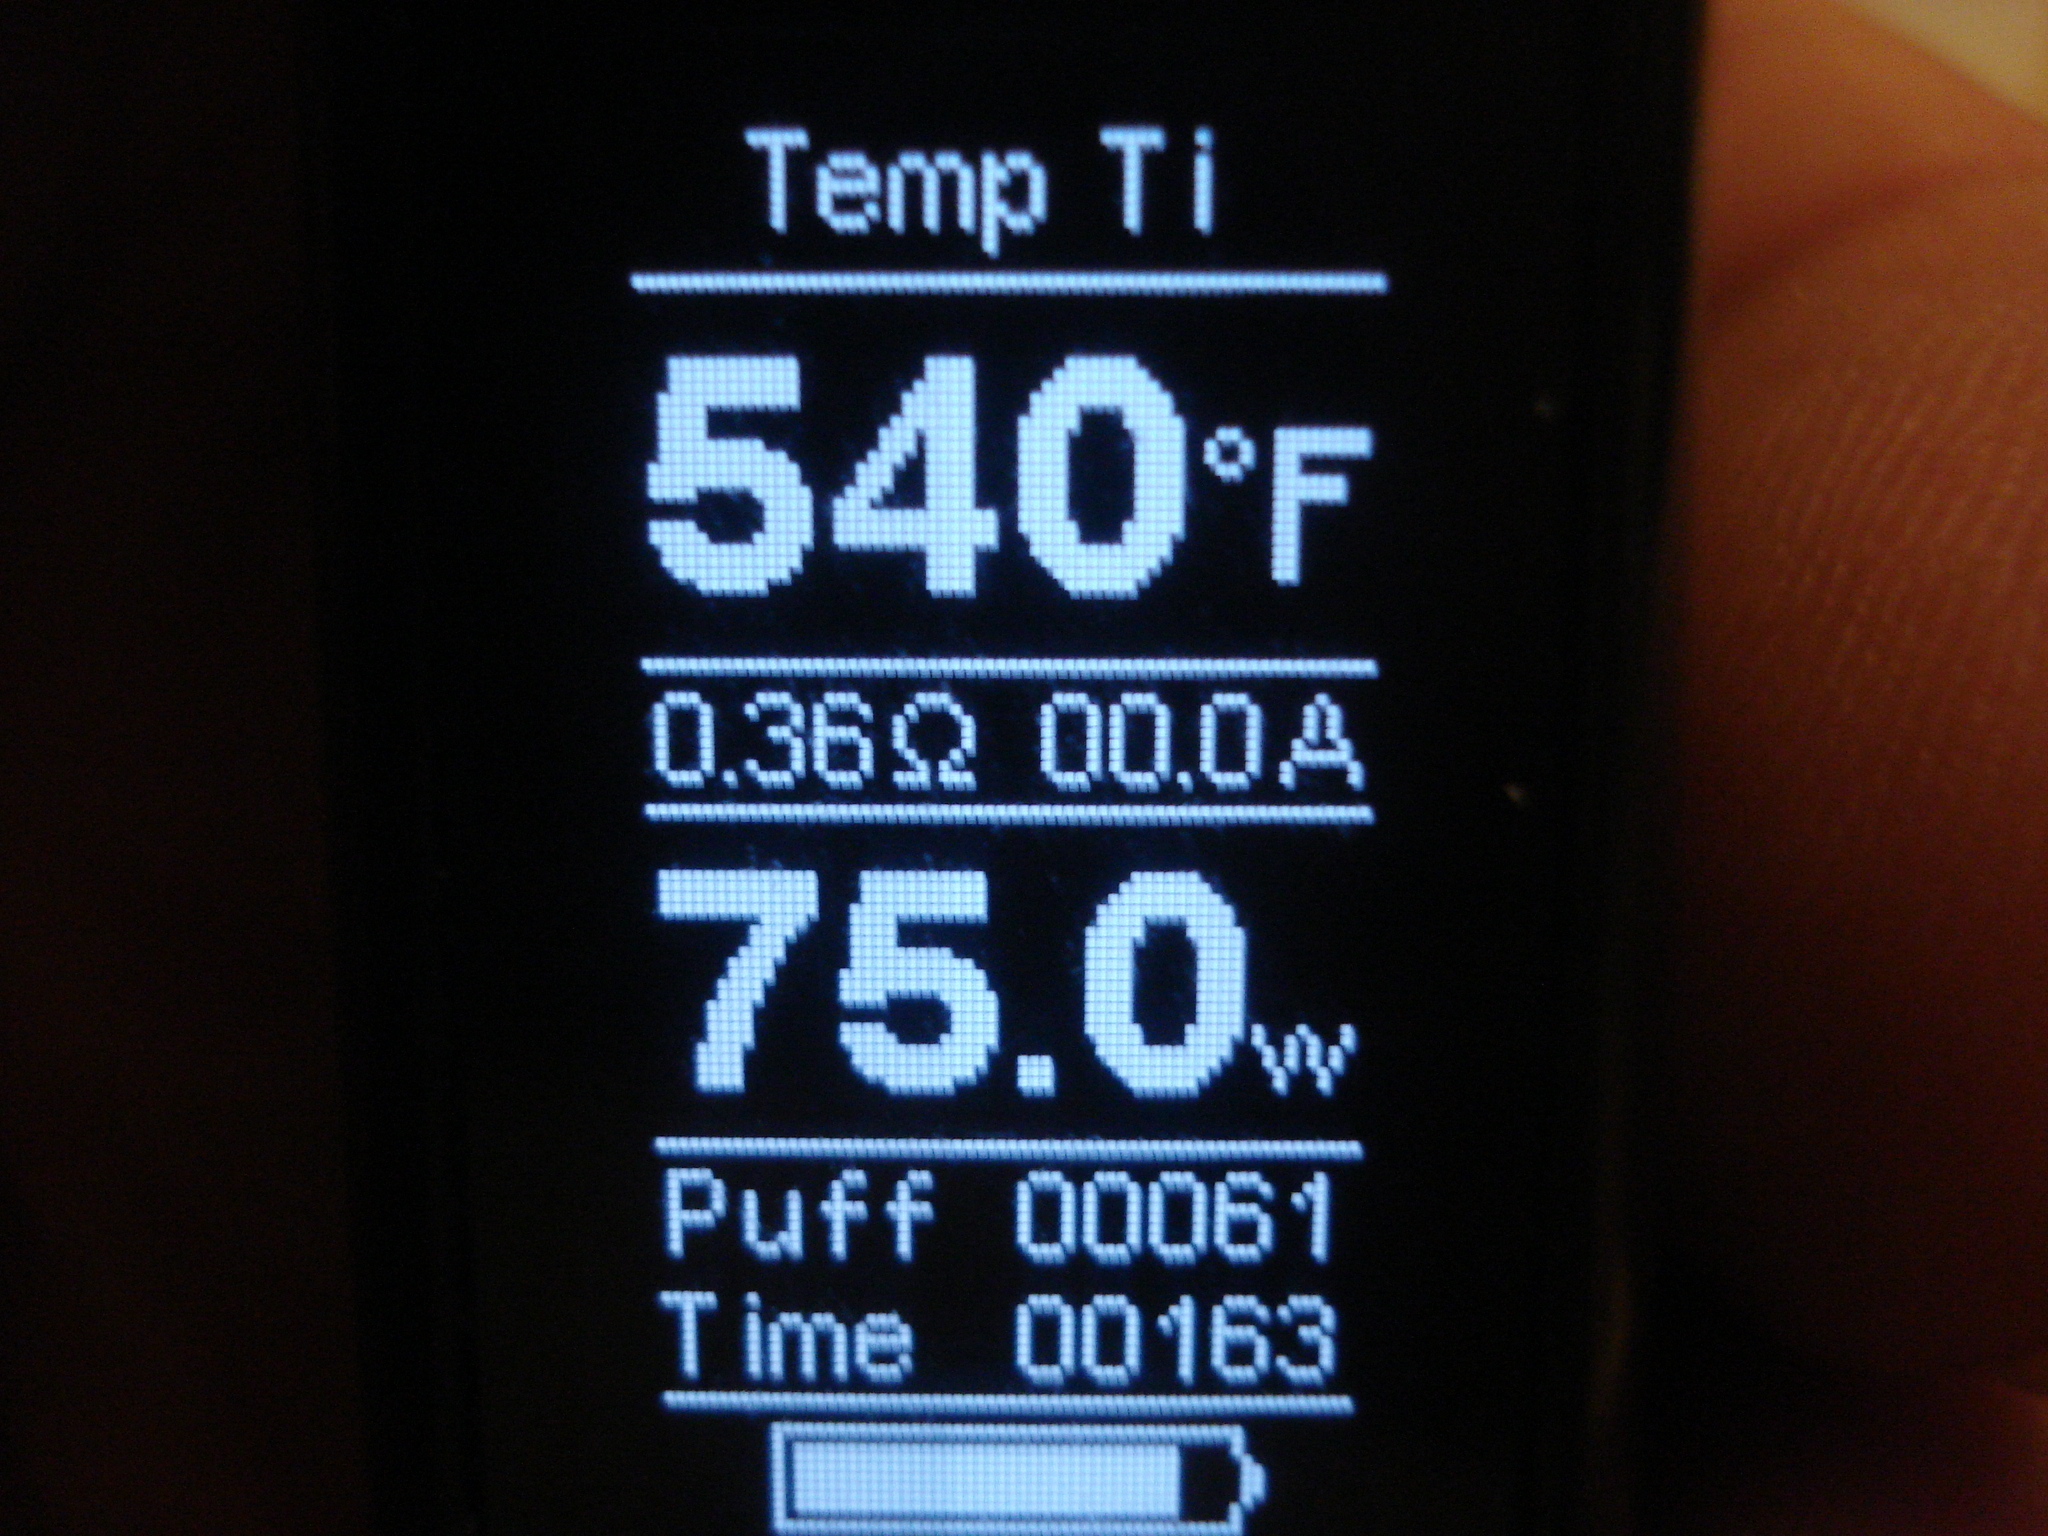
The velocity built like this will hold a ton of juice with no leaking issues even tilted while hitting it right after juicing it up. In the picture above the puff counter was reset when I did the new build and I vaped it beyond the point of noticing the drop in flavor to the point of noticing the reduction of vapor production.
Before this I would always have a very heavy feeling in my chest after a long taste testing session but I vaped this setup longer than I have ever been able to use a dripper in the past. This build has the best flavor I have ever noticed from any device or build I have ever done to date. Before finding this way of building for the Velocity I would only use a dripper to taste new flavors and really did not find any joy in using dripper, now I can use it as much as I want and I feel no different than I do using a tank. Truly enjoying my dripper for the very first time ever. Vaping my morning OJ vape this morning and loving it.
EDIT: I want to add that I was even able to twist the top cap a little to restrict the air flow even more and do what for me was a comfortable mouth to lung hit by just reducing the temp a little. UNREAL after 8 months of trying everything I could think of to be able to actually enjoy using a dripper this did it for me HAPPY, HAPPY, HAPPY!!!
3 Likes
That’s exactly how I felt with dripping until someone here shared the Scottish Roll wicking method. It was a game changer and I’m very happy you’ve found the thing that makes your enjoyment so much better.
1 Like
I’ve heard of it but I never tried it. While watching the SW vid this one popped up. It looks interesting also, and a lil easier to make.
3 Likes
He’s doing basically the same as the Scottish roll. I’m sure his method works and is just like he says…less waste. I actually do a variation of these methods using cotton bacon.
Thanks for the share!
1 Like
Thanks @SthrnMixer this build truly was a game changer moment for me and drippers
Thanks @Pro_Vapes I have tried the Scottish roll and was just to lazy to continue doing it, a real pain in my opinion. This Sushi roll does look to be much easier to do. I have never left the outside sheets on and pulling them off was always a pain in the back side for me with my big fingers. I will give it a try but I have to be honest I am one of the Cotton Bacon V2 lovers
I never tried the Scottish roll - I more or less did this instead 
I have some Cotton Bacon now… I want to try a scottish roll. If you get a chance, post your method of flattening your cotton.
I can already tell I’m going to feel dumb as a brick trying to explain this. Ok, I don’t flatten it. My method is more or less by feel from doing it so much. I have no real way to meter the cotton I’m using and sometimes waste a little when I’ve pulled to much off, sometime have to add a touch. So, I have a kind of feeling for how much I need for 2.5mm ID. I’ll hold the strip between my fingers until what’s exposed seems right to me. Then grip that exposed part and pull it away from the rest of the strip. If done carefully it will pull a strip rather evenly so that it’s as thick on one end as the other.
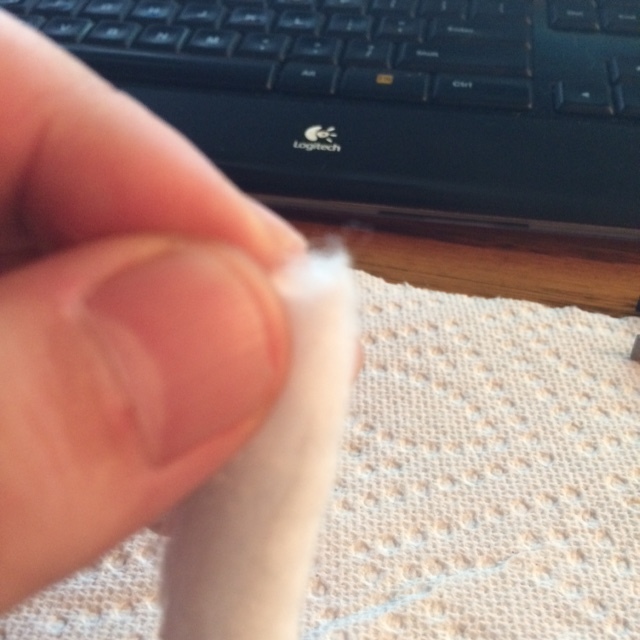

Then I cut that strip I just pulled in half. I’ll lay the half piece in the palm of one hand then with the other palm, roll it between my hands. I’ve found that you can actually roll it kind of tight and it will still wick like a champ, but I don’t try to roll it super tight, just till it’s uniformly rounded.
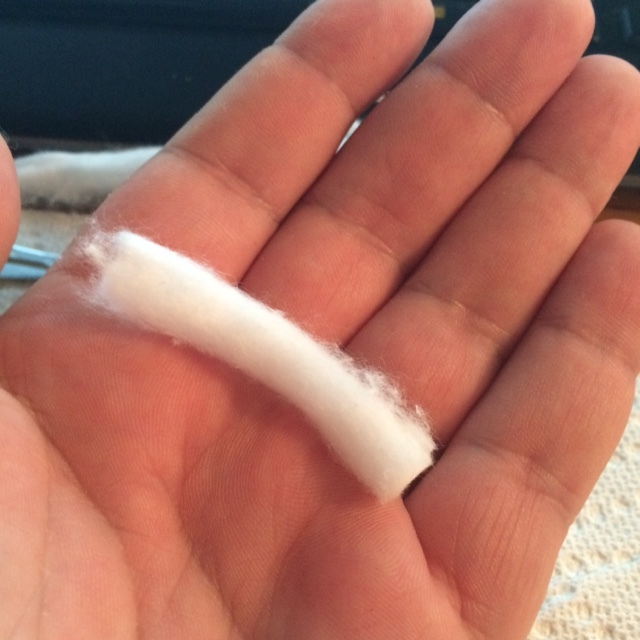
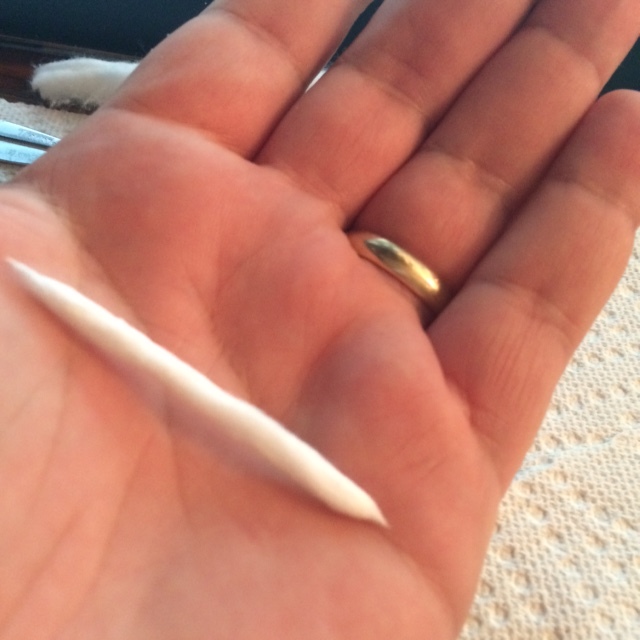
What I find is that once inserted into the coil and trimmed, then ends are surprisingly fluffy. Ok, this is where feel comes in and I’ve learned to “eyeball” my work. If after I’ve rolled the wick I cannot pull it through the coil without holding the coil, it’s too much cotton. If I can move the wick around (not side to side, more like up and down against the inner walls of the coil) then I haven’t used enough cotton.
So yeah, I’ve gotten a feel for this but I’m not recommending it to anyone who gets their panties in a bunch over wasting cotton. Both the Scottish Roll and now the Sushi Roll methods will waste less…at least till you figure it out with the Cotton Bacon. I only started doing it because I prefer the CB over Japanese.
6 Likes
WOW exactly how I use BACON cool
2 Likes
I keep doing similarly combined methods…where the Scott throws 1/3 away…I just peel it into 2 equal pieces, and lately have been using halves(or a 1/4 over all)…I stretch it out and then roll…but then I feed the pointy bit through one coil til it won’t go anymore and then cut…at this stage I still have half of this cotton tube with a tip and I feed that through my second coil, even less waste.
BUT, not all Japanese cotton tastes the same in an RTA…I used straight up discarded skins in an RBA and never notice flavor of the skins, but somehow in a tank I can…so sometimes, depending, I peel both skins and discard into a zippered baggy and save it for my RDA builds (and those are rare).
What I’m most curious about issssss…how do YOU trim your wicks to fit, sayyyy, a Goblin mini or Billow (or Orchid) type build? There is no “just enough to touch the bottom”…you gotta trim it to fit a chimney.
I’ve seen some folks fluff the ends and just drop the chimney down…and some who trim neatly aiming for the top of the channels on deck, and some who trim and soak and then guide the ends to the desired location just above the channels and away from airflow holes.
How do you do yours???
I happen to have oily skin. I think the cotton square skins are far more apt to pick up oils from our hands. That’s why I wash my hands thoroughly before wicking. I’ve tasted that “off” taste when I haven’t washed up good first. Not pleasant but it goes away after a few good puffs.
I build 2.5 mm on pretty much everything. It’s my go-to size for coils. With the GM this translates into a very tight fit. So I just do a kind of bow tie looking wick, saturate, then often will trim at an angle so that the longest par of the wick is what comes off the bottom part of my coil. I tuck just a tiny bit in the wells making sure the rest sits flat on the deck. Works every time. For the Subtank Mini and Lemo 2, I trim so the ends of the wick sit flat on the deck. Saturate then gently tuck those up against the block portion of the deck. After putting the chimney on, I’ll use my smallest precision screwdriver to make sure the wick is back away from the juice channels and not resting against the chimney walls - as much as possible. For the TF-R2 I do much like the GM, but I make sure a bit more cotton is in the channels and the wick is slightly longer than needed to sit flat on the deck. I find this and the GM to be the bigger pain in the butt when wicking, but when done properly they wick much better than the Lemo and Subtank mini.
I watched a vid or read someplace the issue with the Lemo2 wicking is most often tightening the top cap to much and pushing the seal up in the juice channel and semi blocking the flow. I tighten the Lemo tanks I have only to the point that the glass will still turn but it is snug.
Hope that might help
I don’t have problems with wicking. But thanks for the tip. I learned some time back not to tighten things more than they need…pretty much a rule of thumb for anything.
Hey, I got my Velocity clone in today and it reminded me I said I would try that build on the Aromamizer. Ok, sure the Aromamizer RDTA has the Velocity style post design, but the huge difference is the width between the posts on the RDTA is about half that of the Velocity. I didn’t even attempt it because I’d be looking at a 2mm or small ID on 26ga wire. Not going there. I also didn’t try it on the Velocity clone either since I was really only interested in trying it on the tank. So, I think that effectively squashes that idea, for me anyway. But that Velocity clone…best dripper I’ve ever used. Started with a dual titanium build but then ran across some 24ga 317L wire I was sent as a sample. It’s pretty darn good, and even my little eVic VTC Mini is hitting it nicely in temp control. This RDA may have me dripping more than I have been. Certainly it will take the place of my stand by Freakshow as my tester topper of choice  Great chunk of metal here.