I know you guys are GIMP fans …I like irfanview. Here’s the hotkey method in Irfanview for making a TEXT logo for your Joytech device. The latest firmware has the ability to upload your logo built right in with the firmware updater. You can download it here http://www.joyetech.com/mvr-software/?sid=171
It might be easier to extract the downloaded ZIP file as a folder to your Desktop so you have a folder to also save your new logo.bmp
Here we go (just flow with the HotKeys)
Download and install irfanview http://www.tucows.com/thankyou.html?swid=194967
Open Irfanview
press SHIFT+N
In the dialog change “Image width” to 640 pixels and “height” to 400
Don’t bother changing the color depth here as it will reset as you “Save As” and you will only have to do it repeatedly …save it for the last step.
Click “OK”
press CNTRL+A (select All)
press CNTRL+T and type your TEXT
at the bottom of the dialog click “Choose Font” Here is where you need to be somewhat creative. I have no way to know what fonts are installed on your computer but you can easily browse and choose one. For the font “style” choose something Bold to make fat letters and select the largest size (72?) Remember when complete this get shrunken waaay down.
Next click “OK” ONCE
Back in the “add overlay text to image” dialog …at bottom “Text Alignment” choose “Center” Click OK
You should be back in Ifanview and see your TEXT as chosen.
If you think it’s not quite right press CNTRL+Z (undo) and press CNTRL+T again make your changes until you are happy. Each time you are unsatisfied press CNTRL+Z to erase and press CNTRL+T to try again.
Once happy press CNTRL+R In the “Resize” dialog backspace over the 0 in 640 changing it to 64. It should now display in the size needed for your device, 64 X 40 pixels. Click “Ok” See how small it got (why you chose a large bold font?)
Press the “S” key …just press S
In the “Save Picture As” dialog give your new file a name and at the bottom dropdown “Save as type” choose "BMP - Windows Bitmap"
Click “Save”
In the toolbar above click on “Image” then “Decrease Color Depth” from the menu that drops down. In the dialog that pops select “2 Colors (black/white) (1 BPP)” Click “OK”
Final Save …Press the “S” key.
In the “Save Picture As” dialog choose the new file you saved a few seconds ago making sure it still says “BMP - Windows Bitmap” Click Save. Answer “yes” to “Overwrite existing”
It might be easier to save the file to the same folder where the firmware updater lives (“UpdateFirmware”) on your Desktop? Open that folder and run the UpdateFirmware.exe with your device connected via USB cale (it can be turned on) click the “Logo” button and browse to your new logo BMP
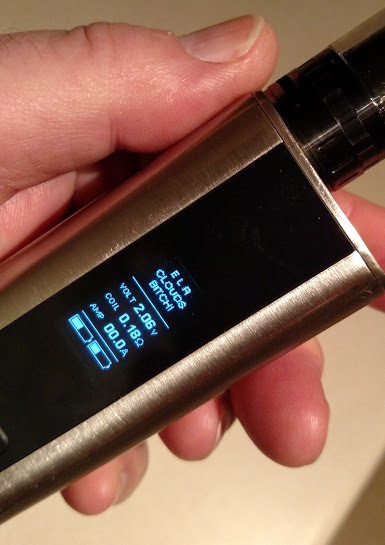
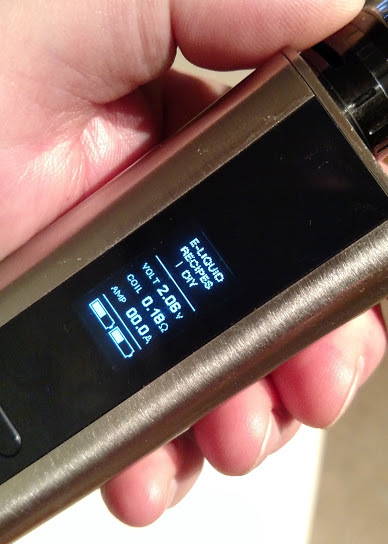
I also installed the 3.13 firmware on my Cuboid which adds the “Smart” feature. It’s working perfectly with my Ti coils, but it does remove the options under TC. Just use up/down buttons to raise W (shows as a bar graph …cool!)