So I know that @Jimk has done a review showing his technique for wicking this tank and a mighty fine review it was at that Jim. 
I just wanted to show my technique so that others have another way to wick this fantastic tank and get the full enjoyment from it.
I won’t go over how to build the deck only how to wick it for leak proof usage.
Ok so firstly the wick size.
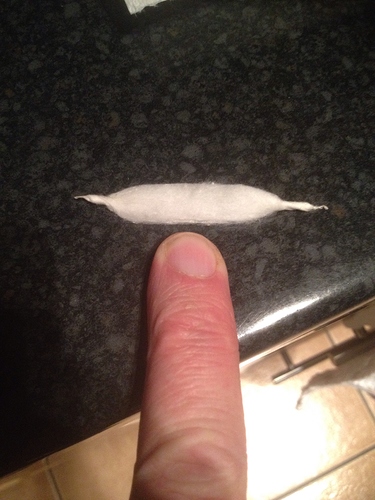
I take approx 6mm in width of wick from a piece of MUJI that’s already had the papery coating removed.
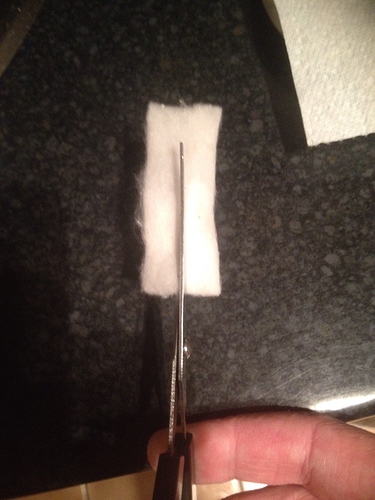
Then I twist both ends and cut the wick in half.
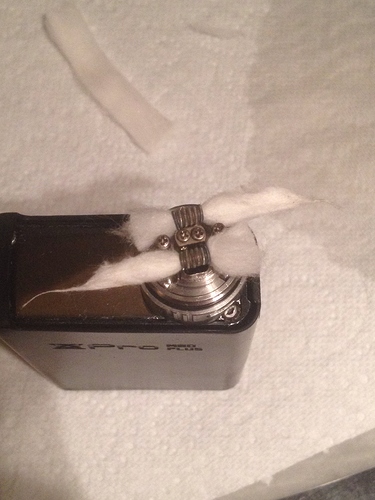
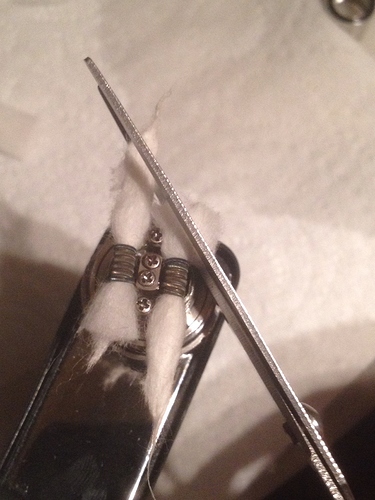
Then slip both wicks through your coils leaving approx 1/2" tail on one side.
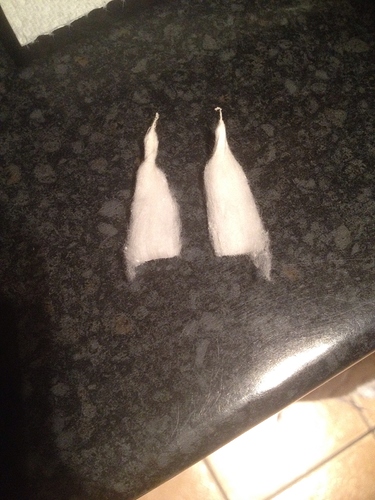
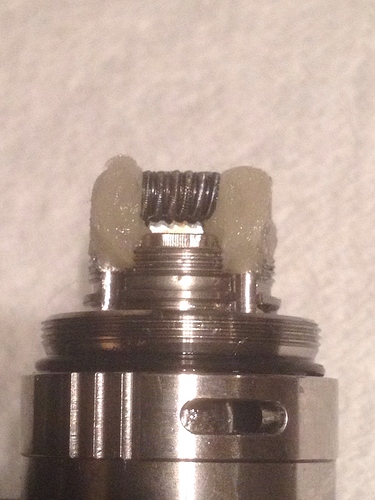
Cut through the wick at an angle holding your scissors pretty close to the deck as so.
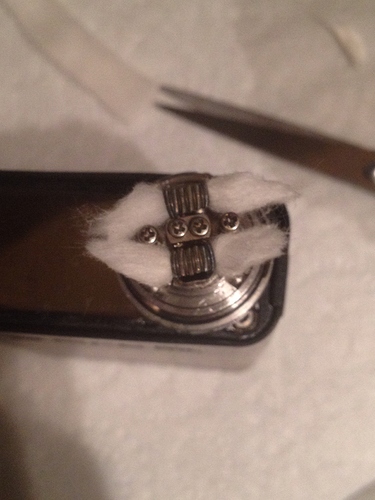
So that you have something like this.
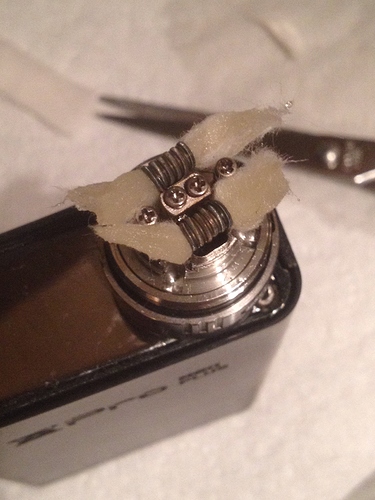
Juice up your wicks. Top side and underside as this will aid in the adhesion to the deck surface.
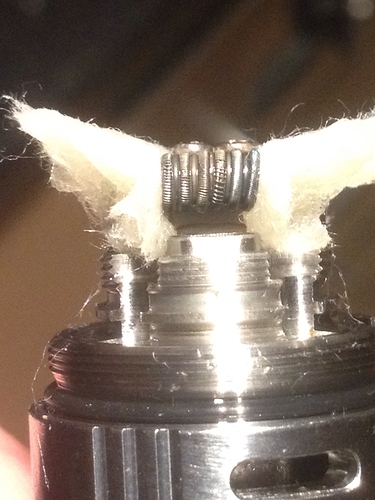
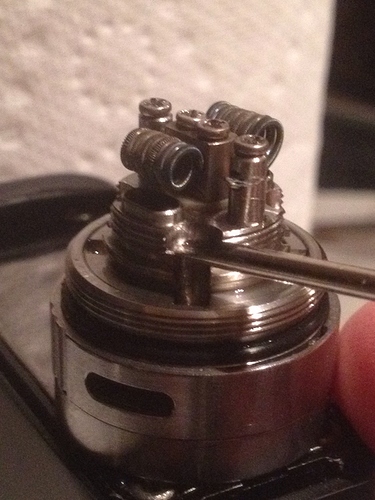
With the wicks angled slightly upwards away from the deck, fluff up half of the wick that’s closest to the deck and push this towards the airflow hole for the coil. This helps to create a wall of wick right by the airflow to stop any possible leaks into the airflow.
Then push the rest of the wick down to the channel lip
Making sure not to allow any cotton to go beyond the lip found here.
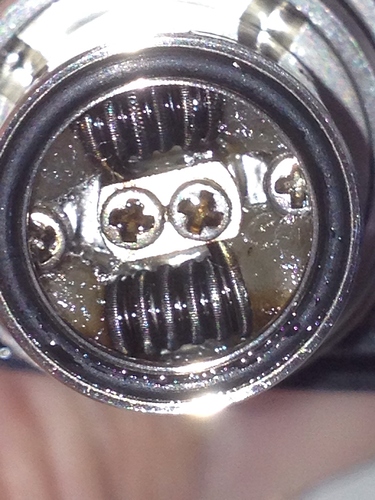
Once complete screw on your chimney section and if any cotton begins to come too far down the juice channel then simply poke it a little back up inside.
So that it should look like this.
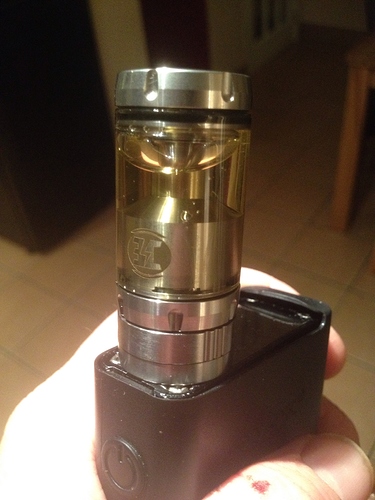
Then fill up your tank with your favourite mix and wait to watch for wicking bubbles.
@ffrank was having a hard time wicking his billow right and I promised him a tutorial the next time I dry burned and rewicked mine.
And incase anyone is wondering about the build its a 32g fused Clapton wrapped in parallel with 29g Nichrome 80. .22ohms great at 40w.
Hope this has helped some of you out who may have been having some troubles wicking this absolutely delightful tank.
CMJ
