Good point. I think we have the V2 and the video must be the V1.
1 Like
Only bad point I have is I liked to use the 521, but I don’t make enough coils to have fun with it lol.
Time will tell with me as I just got mine but I love it so far. Great for building on. Maybe I would build more coils if I had an rta and would use it daily but for now, I will play with building different coil styles/configurations and wire types. Still learning this diy coil building.
nods
I just got mine a week or so ago (I think it was last week). I have 2 of the new Griffin 25’s on pre-order (one for myself and one for my step daughter). And I currently am using the smaller Griffins. Hopefully I’ll get some coil play in, nothing like some of the great looking things some of these people do, I wouldn’t know how to use them even if I could build them lol…
Take care… sorry to have gone off topic a bit on your thread.
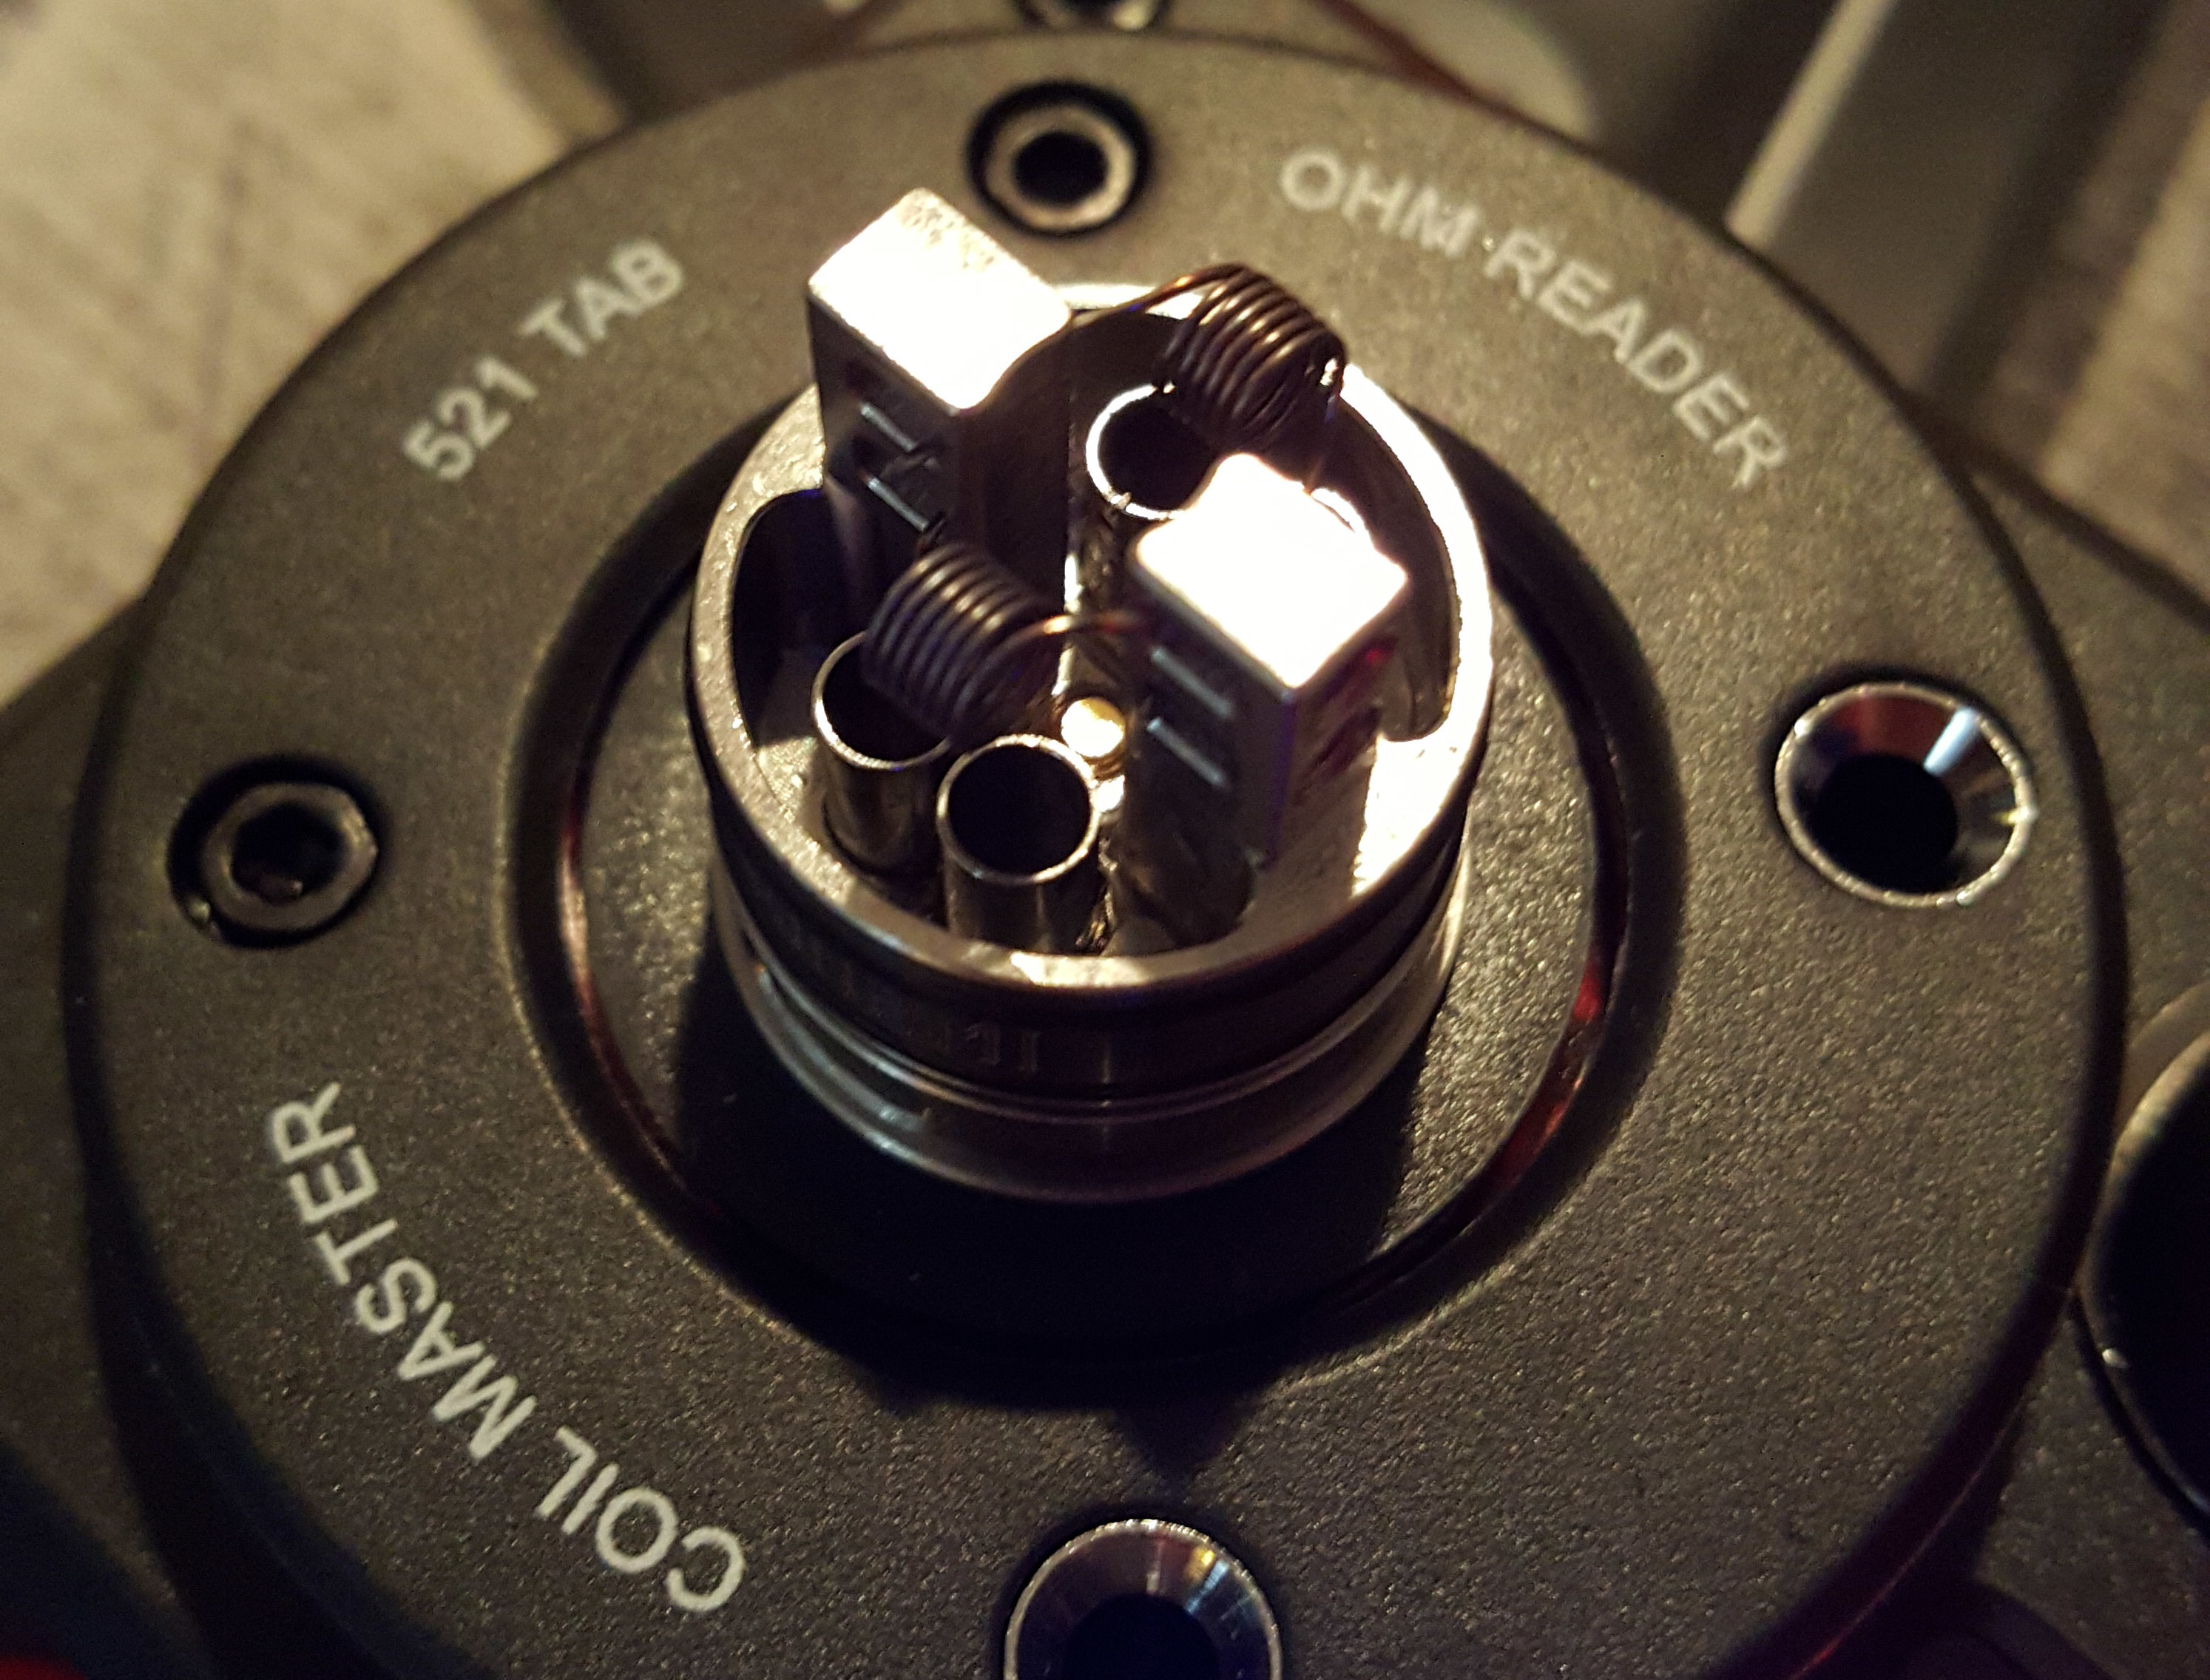
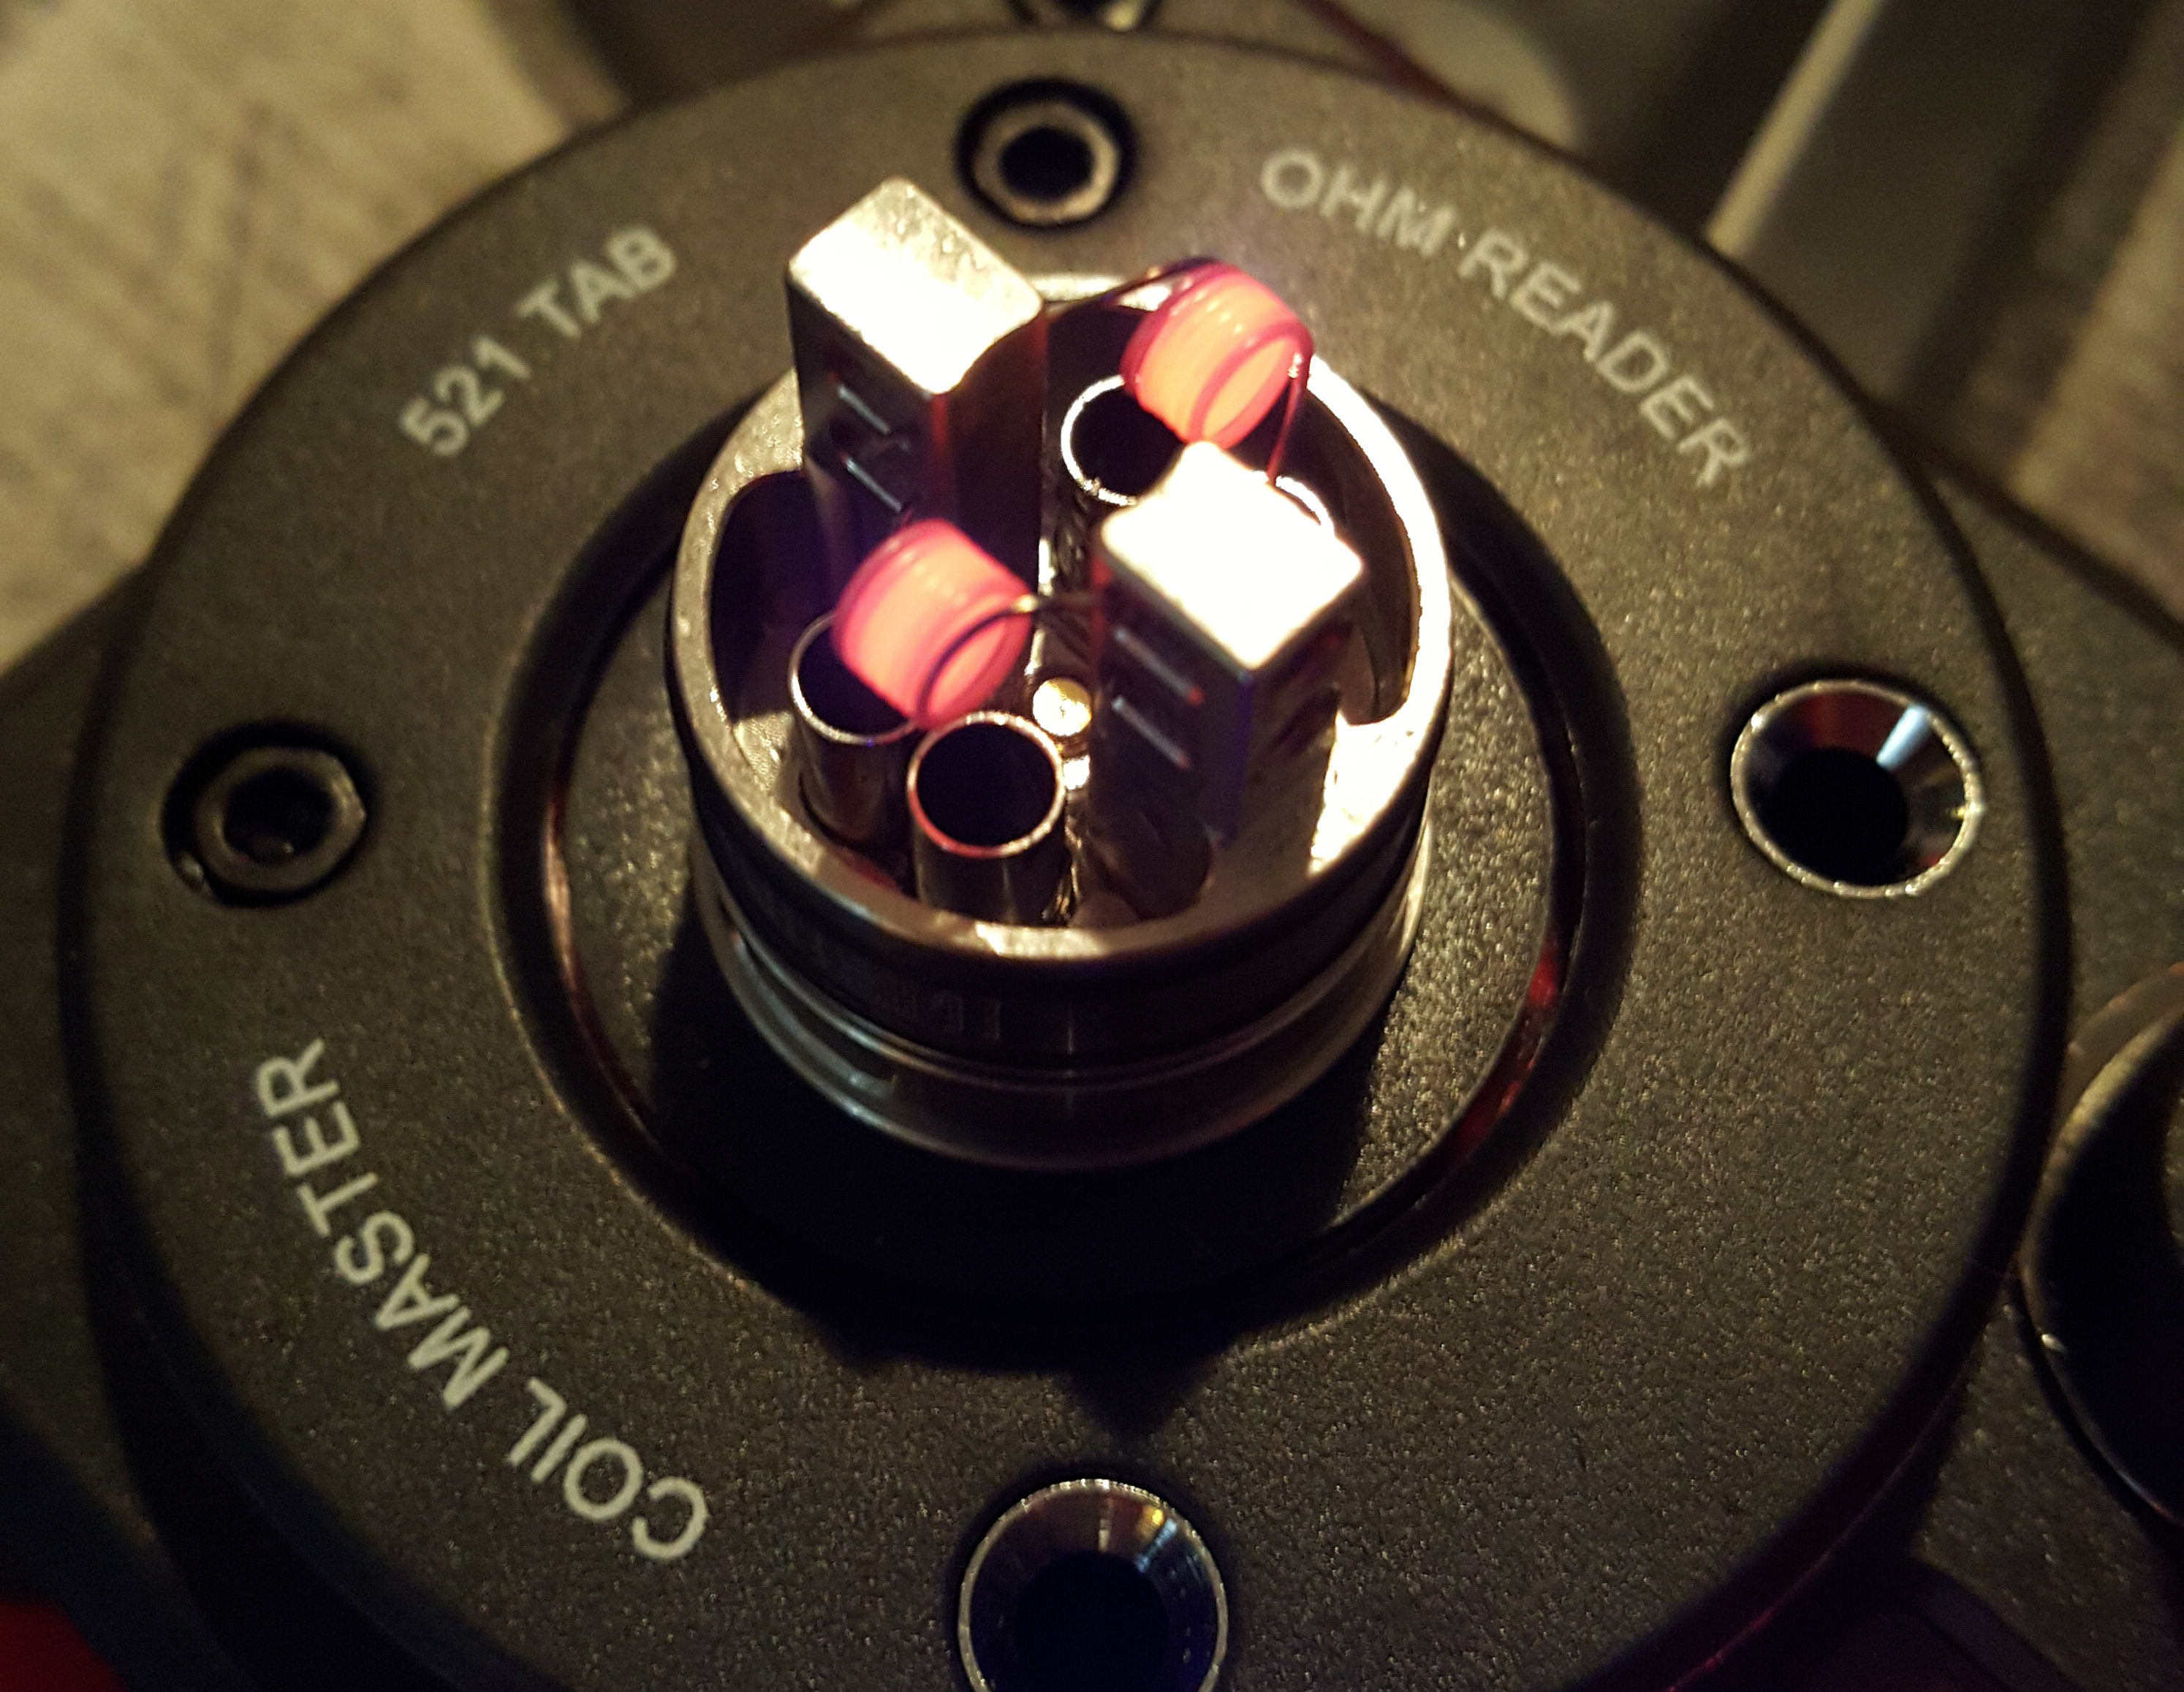
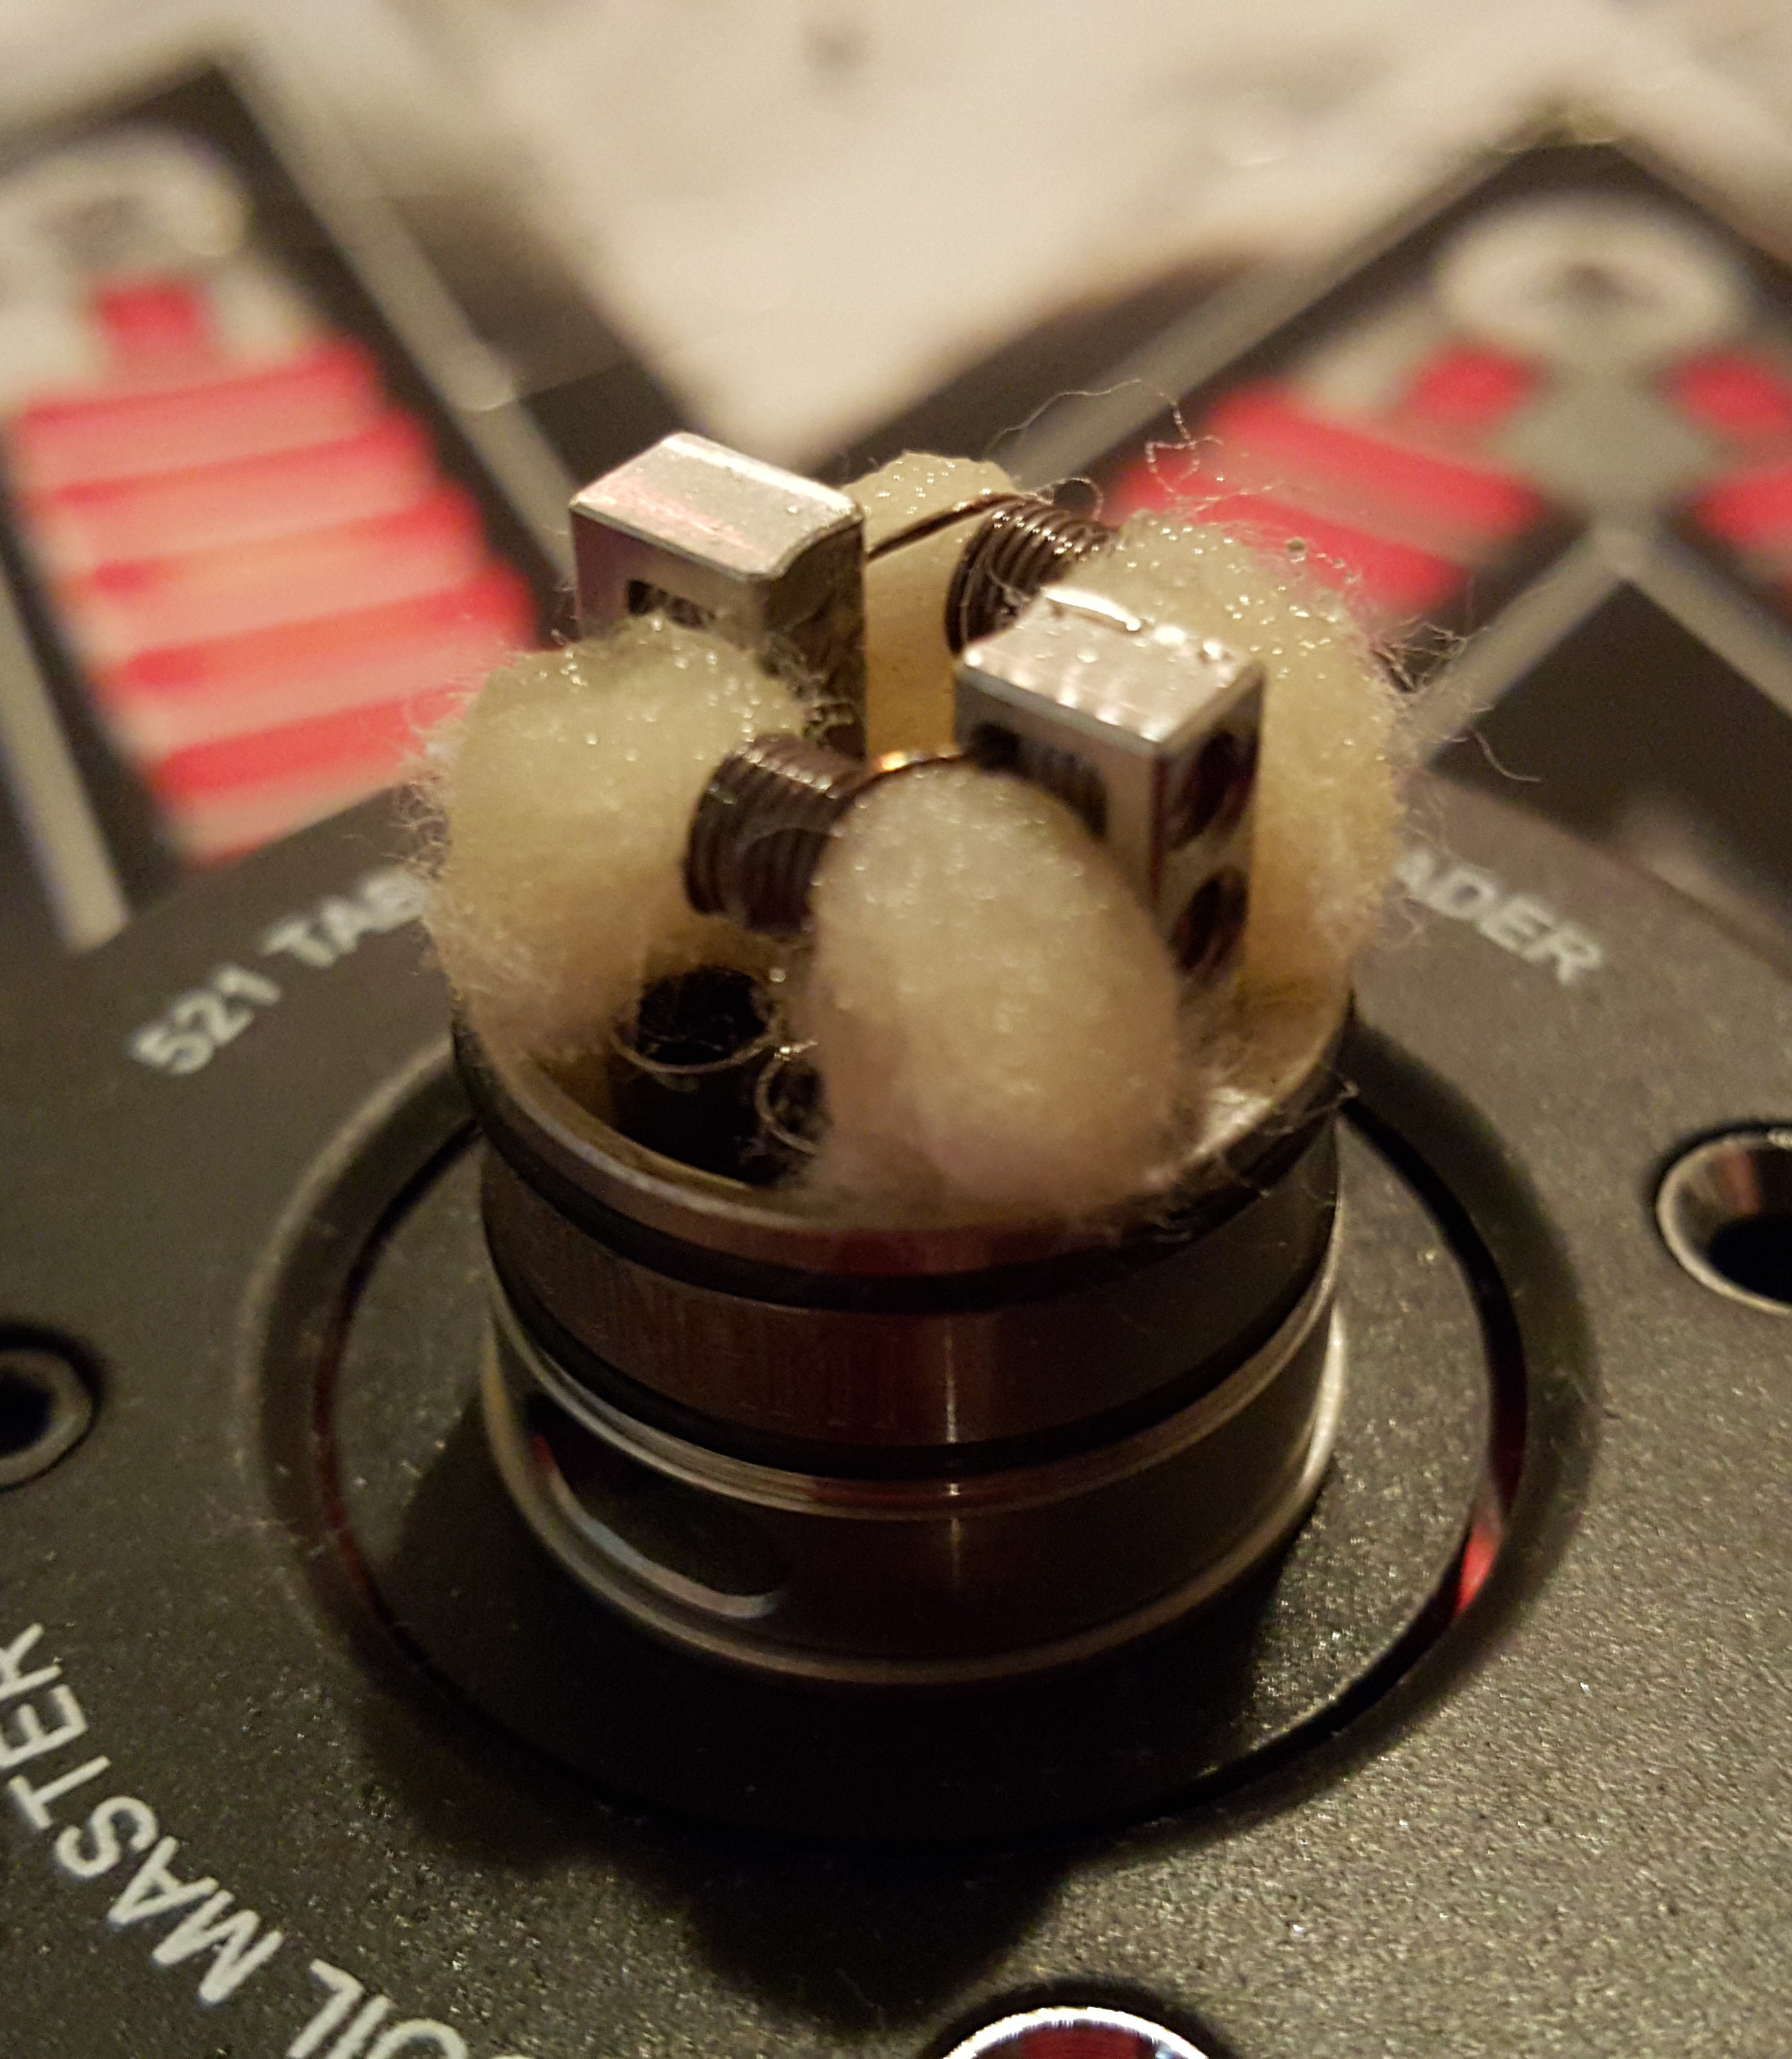
Secong build tonight using SS 316L 26g 7 wraps 3mm. Came in at 0.25 ohms. Getting better at building the coils and especially my wicking. Flavor was a lot better with the SS vs the Kanthal.
3 Likes
Nice looking. When I made my clapton wraps I used 7.5 wraps at 3mm and they came out to .53 ohm (I like about .5 - .6 ohms). I have a little ss but will have to play with it. Again, your wraps look nice and smooth looking.
@Bearkat @CallMeTut
Be very careful annealing the wire with the clips, but you know that.
CM’s first version had the pipe icon. He had a lot of trouble with customs…something to do with the board in it IIRC so you are right, yours is the v2 and has the rubber feet on the battery door [v1 had plastic] So many of us waited months to get one [pissed impatient people off] but he was doing everything he could.I don’t think it’s called a v2 though.
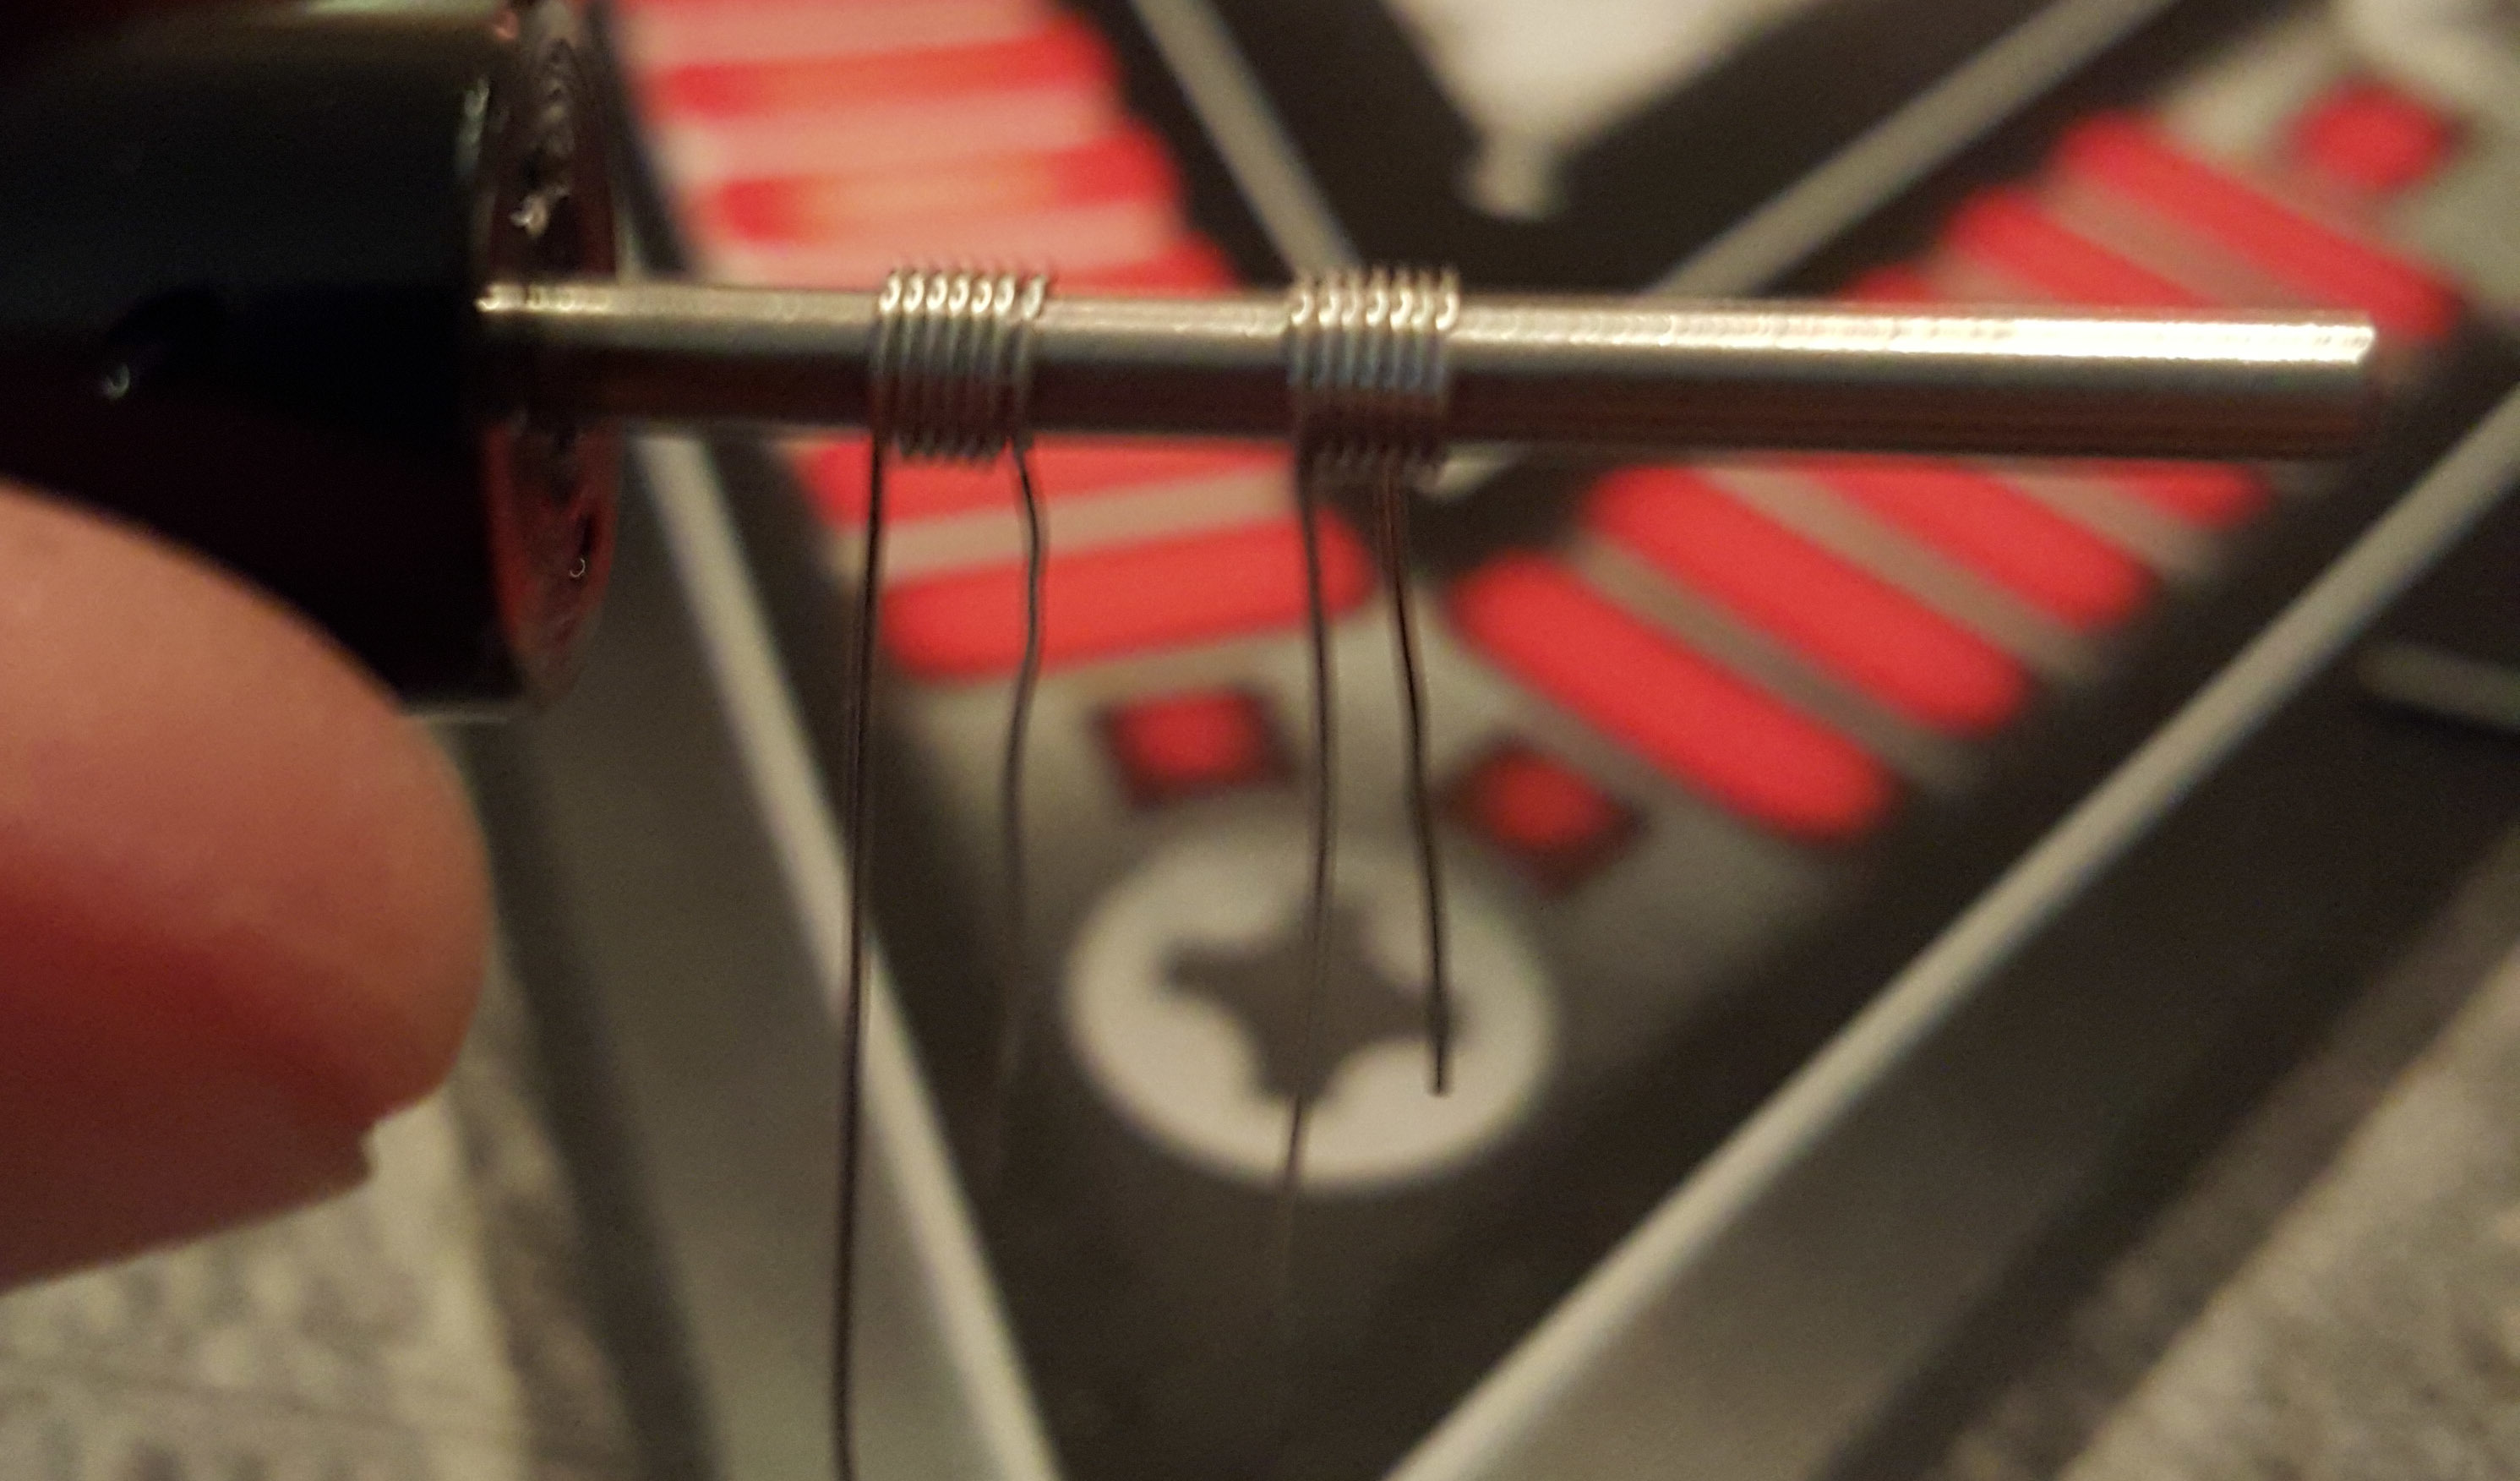
As for the CM coil jig v3…the coiling caps [top caps] have a little screw on the ends, and two places to put them. This is most likely why you are wrapping on top of yourself…because the screw is in the wrong position. One screw hole is closer to the center hole [for the mandrel] and used for thinner wire, the other is farther away for thicker wire(s). My v3 jig arrived with the screw [screw guides your wire while wrapping] in the outer position, most likely all are shipped that way.
CAUTION: The screws [mine] are in there VERY tightly, and the supplied screwdriver would not remove them,nor would another bit from a micro screwdriver set I have. Don’t try to force them with the screwdriver or you will strip the screwdriver.head. I used a tiny pair of vise-grips to loosen them, but be VERY careful NOT TO SCRATCH the face of the top cap, or to damage the screw head, Take your time, it’s easy. They went back in with no problems.If you need any help, holler.
2 Likes
Interesting! I will have to give mine a look over.
Watch this , especially beginning at about 4:00
2 Likes
Take your time learn to build regular coils ( single wire) first. Get a rda…enjoy the difference in flavor. Experiment with wicking. After you get comfortable with that then think about making Clapton wire. That’s my two cents anyway. You know this is another rabbit hole you are entering. And welcome
2 Likes