Ya…I really like the Ti in the single coil Kayfun V5…
but your “Deep Water” build is unbeatable.
2 Likes
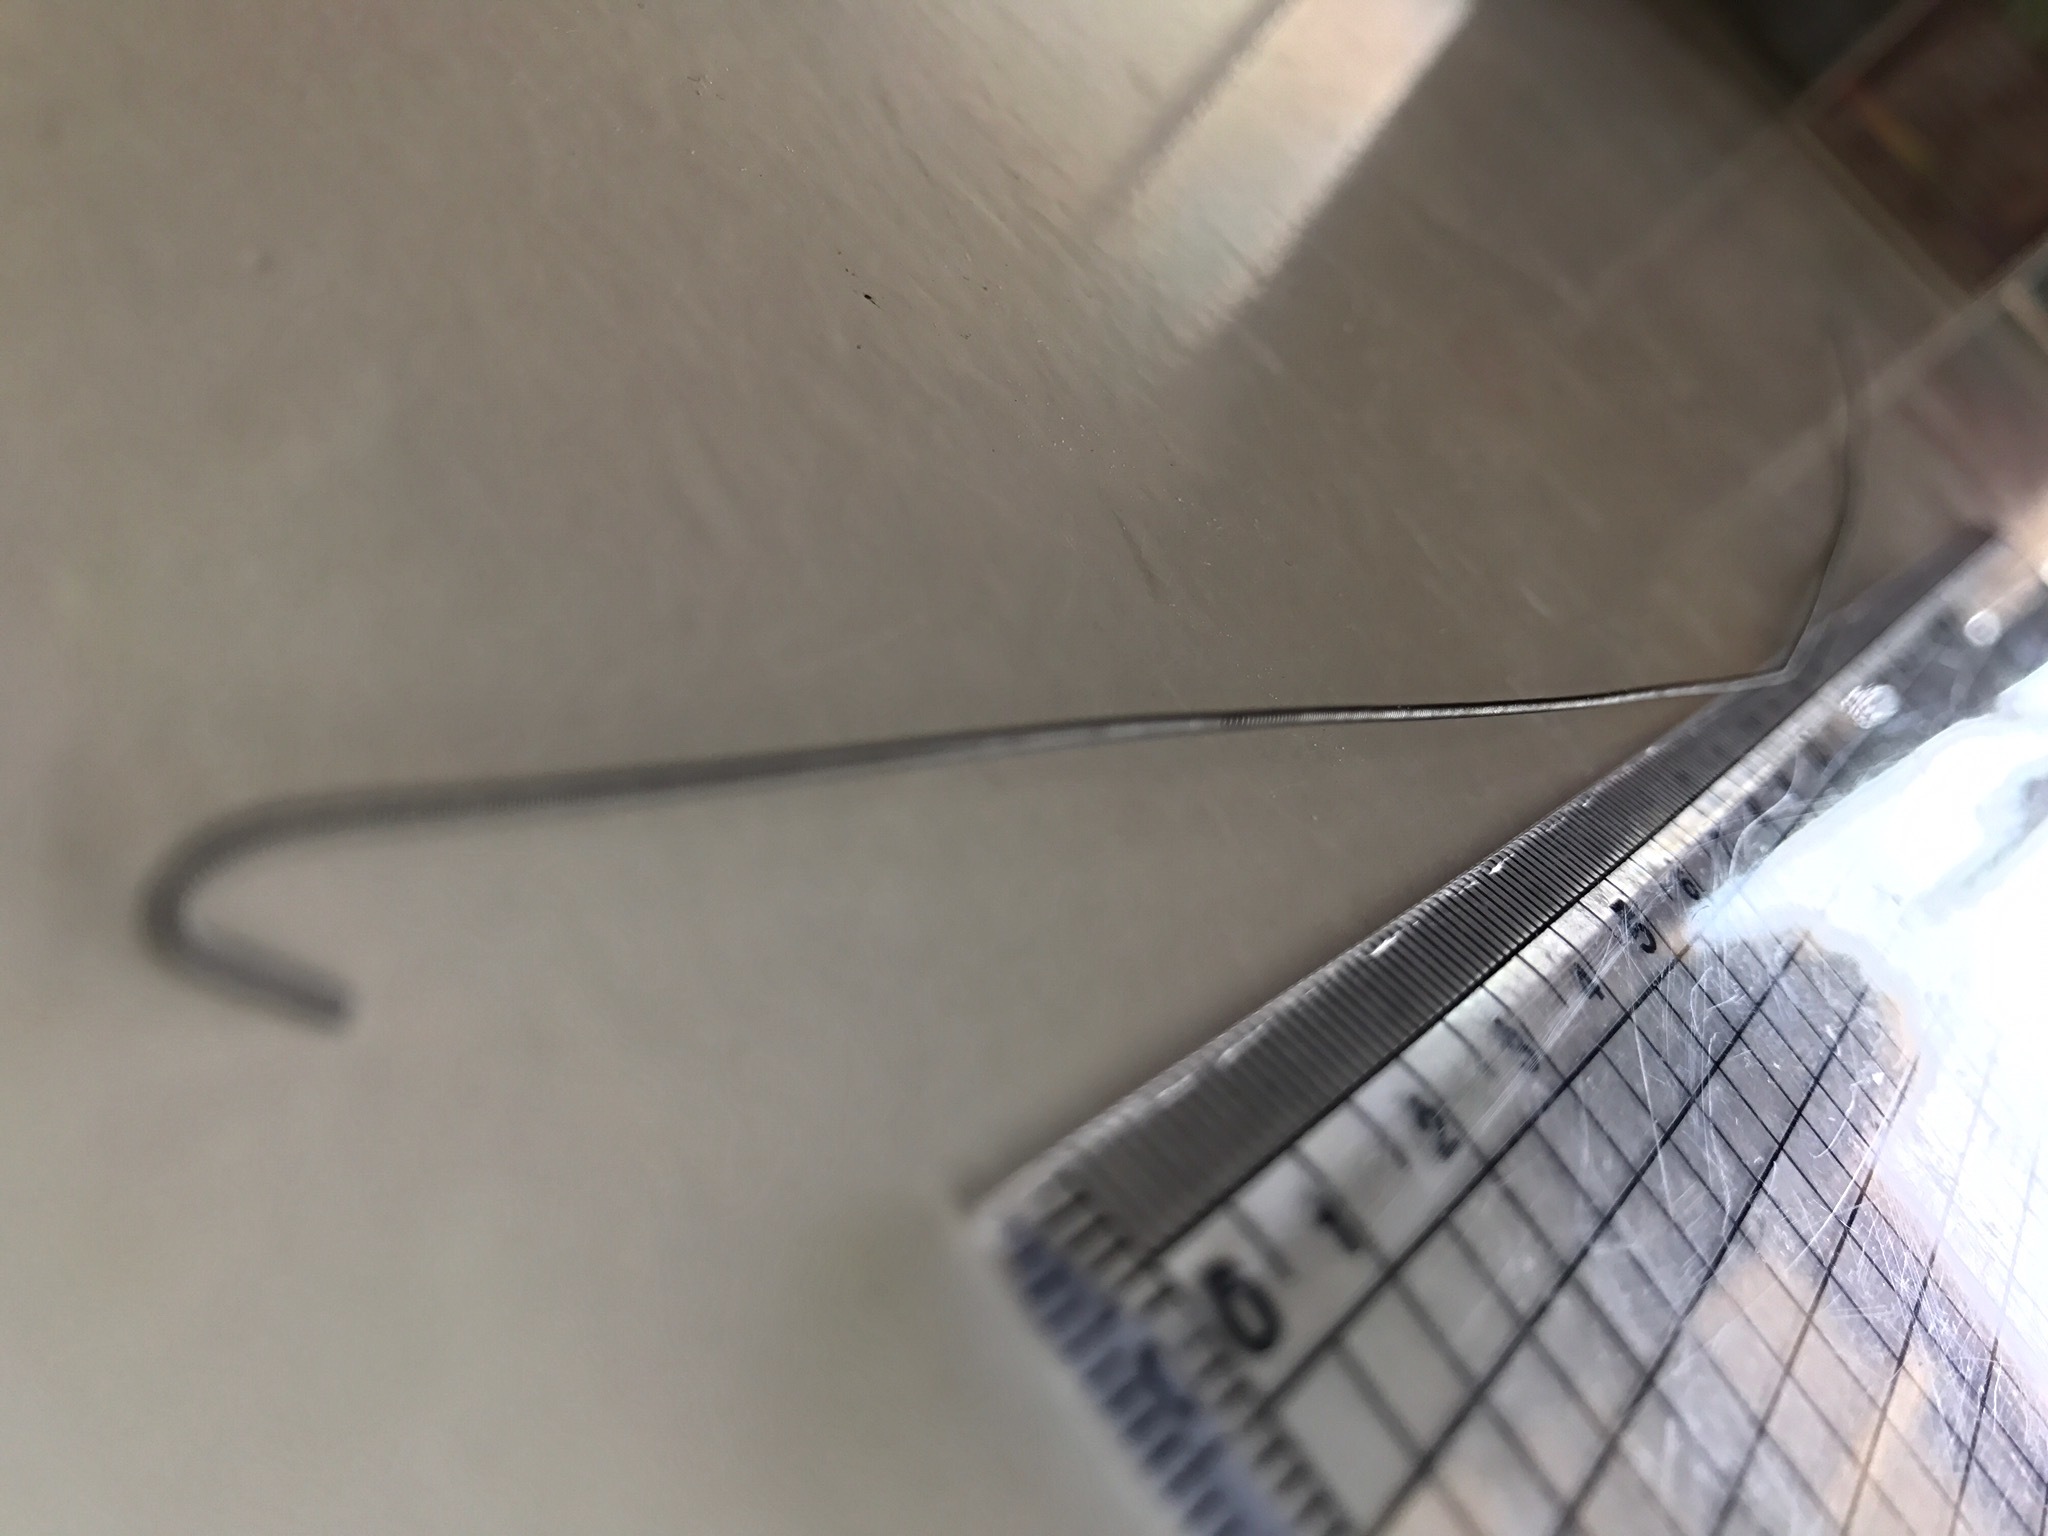
Didn’t accidentally use wrong spool. However, I was thinking along the same lines.
The vape shop gave me the SS. The spool says just SS nothing else and 24 awg. He said I could have it as it was only third of a spool worth. Here’s the kicker, he said “it says 24 but it’s 26” so he’s obviously respooled some wire. Thinking it’s SS but it’s not. The shop all seemed a bit amatuerish.
So if I cut off say 10cm precisely put it on atty measure Ω I might be able to deduce what it is. That’s what’ll do.
BTW I used my RDA all day with this build at 40w. Wow this is vape. So good. Flavour, cloud volume. Thanks for all your feedback guys. Learning a lot
Got any links to videos/tutorials on wrapping with spacing. Neat freak in way. Like to do things right more so.
https://www.youtube.com/watch?v=Ee9naThboPE they also have some of the best wires and pre made coils 
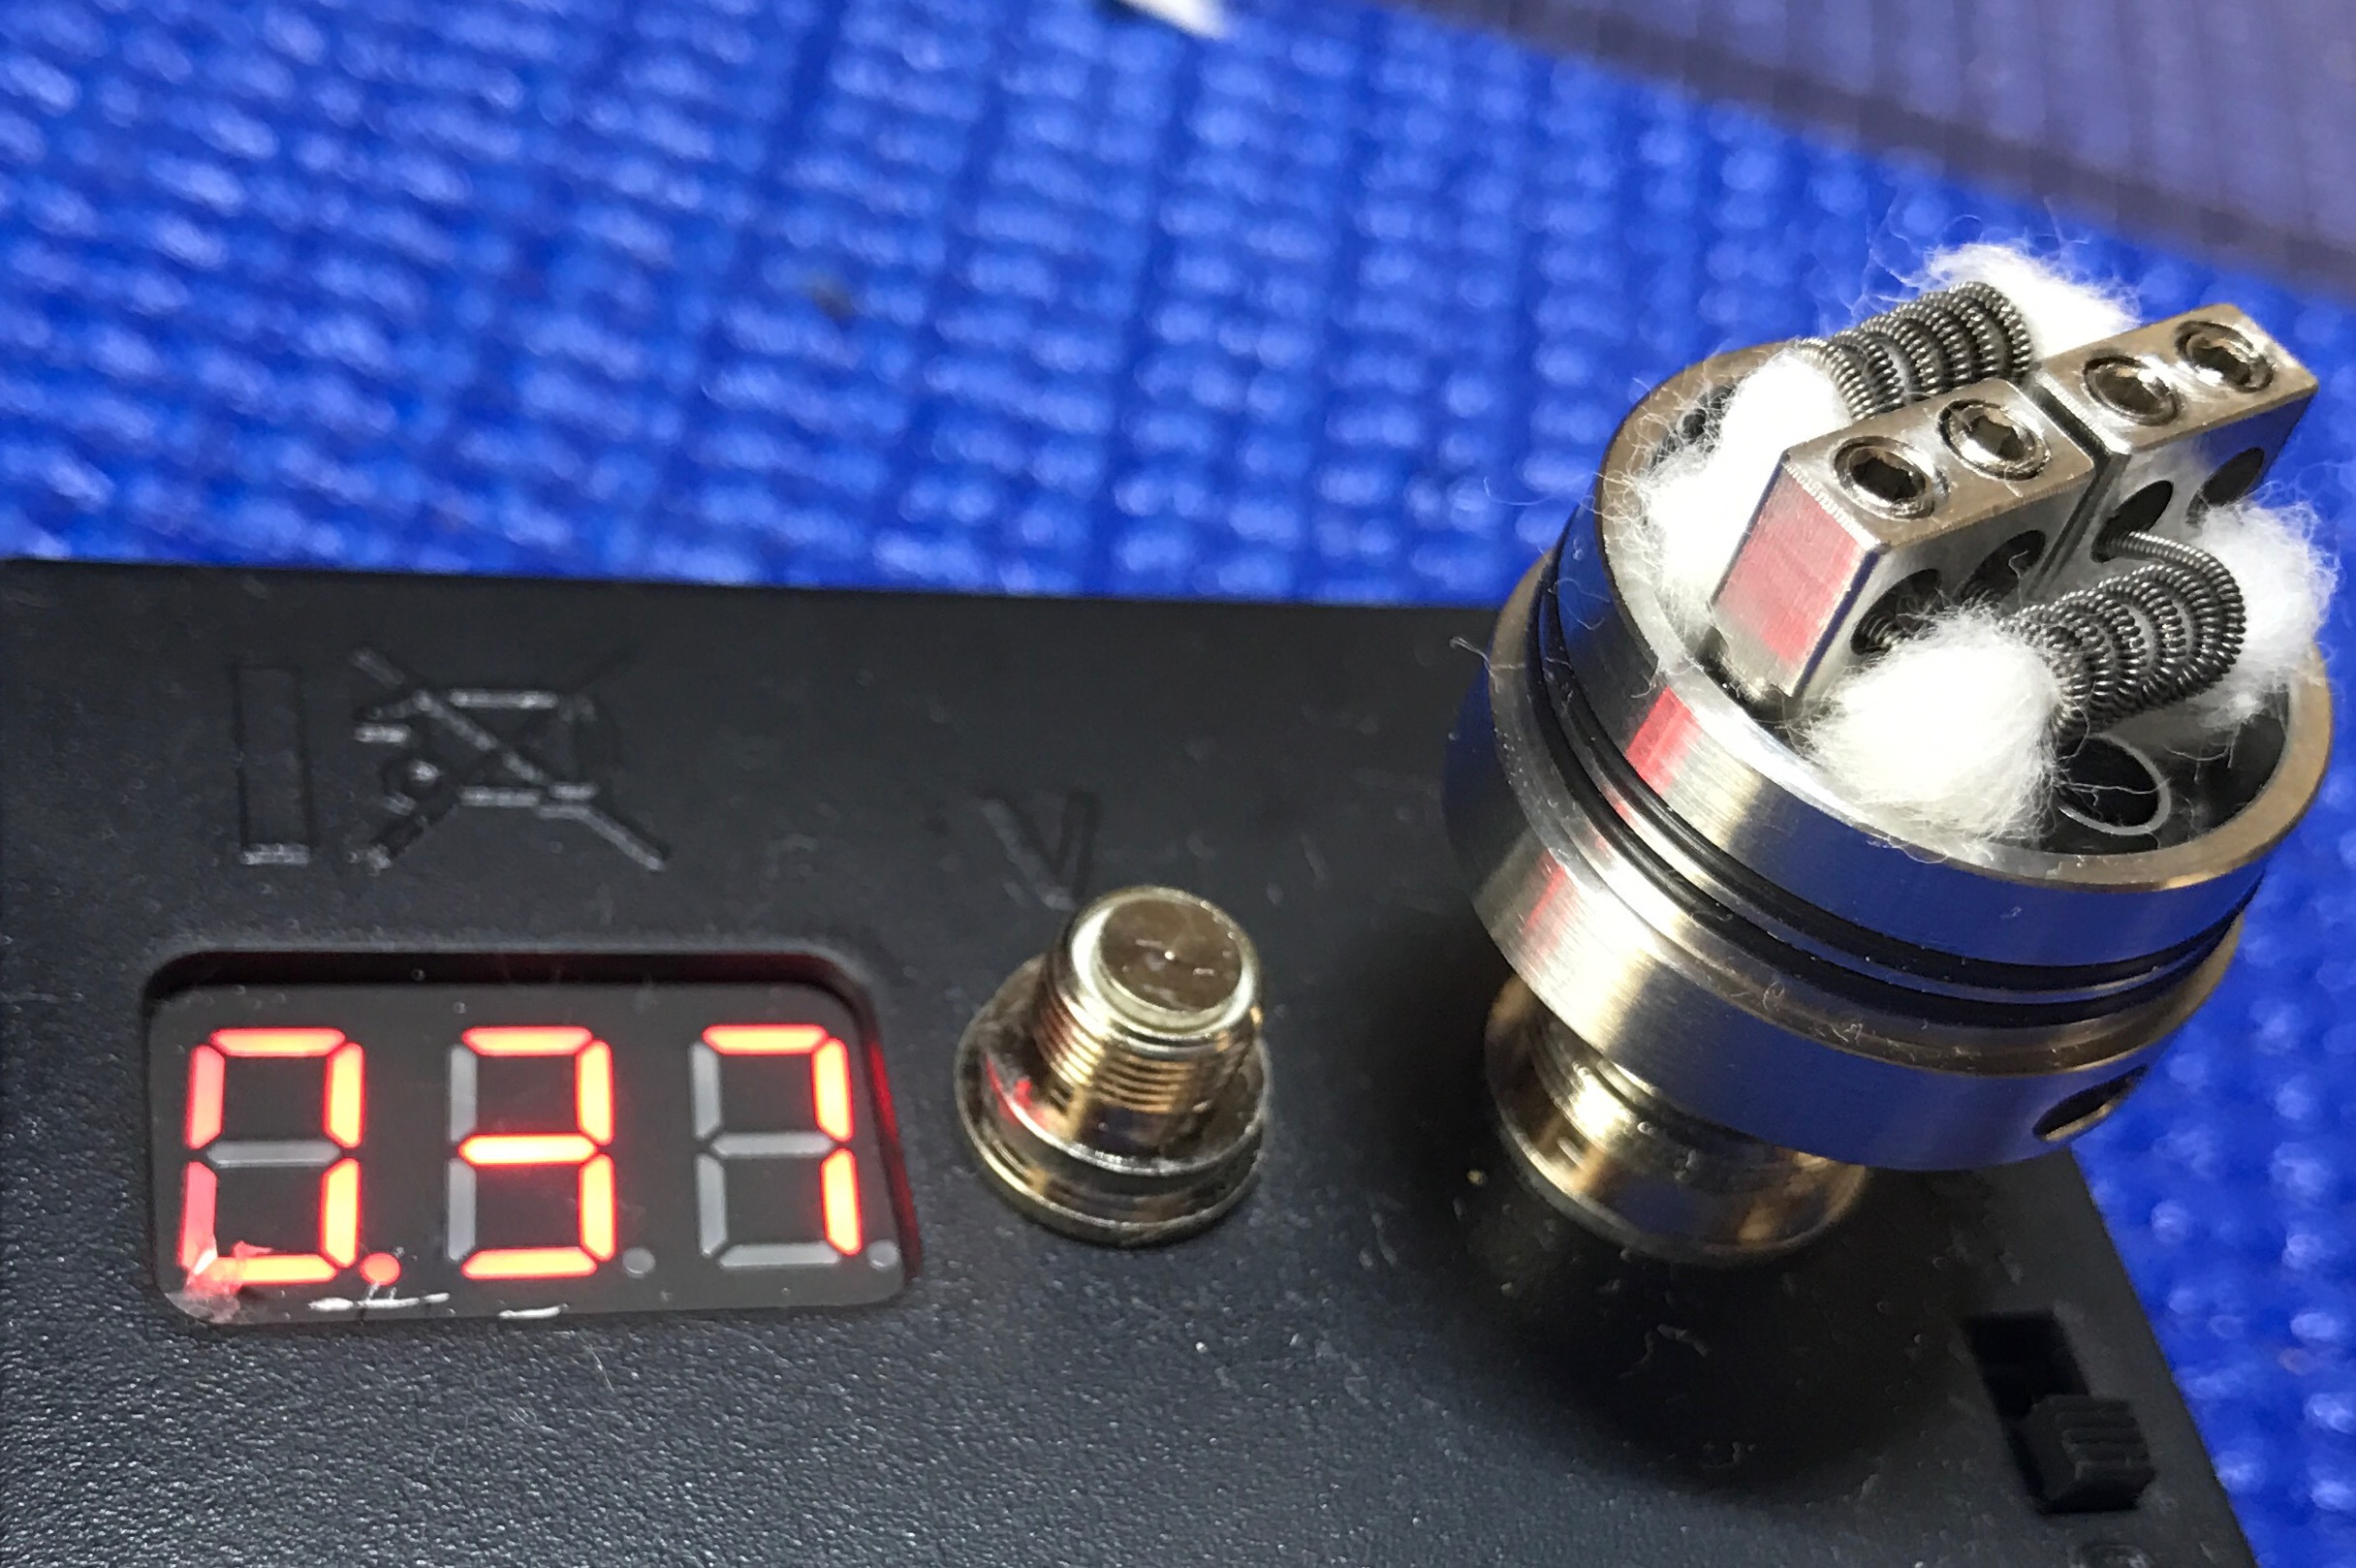
@Volition, testing a known length is a great idea to id the wire type. also a good idea would be to get one of these small ohmmeters to use while building, until you get confident with building
they are a lot safer than building direct on the mod.
1 Like
I have one of those, and although it works I would suggest buying at least one level better device
Link: http://a.co/80QfKgT
Ok guys thanks for all the feedback. Done a bit of research and @woftam has given me the lowdown in getting good wire here in Australia.
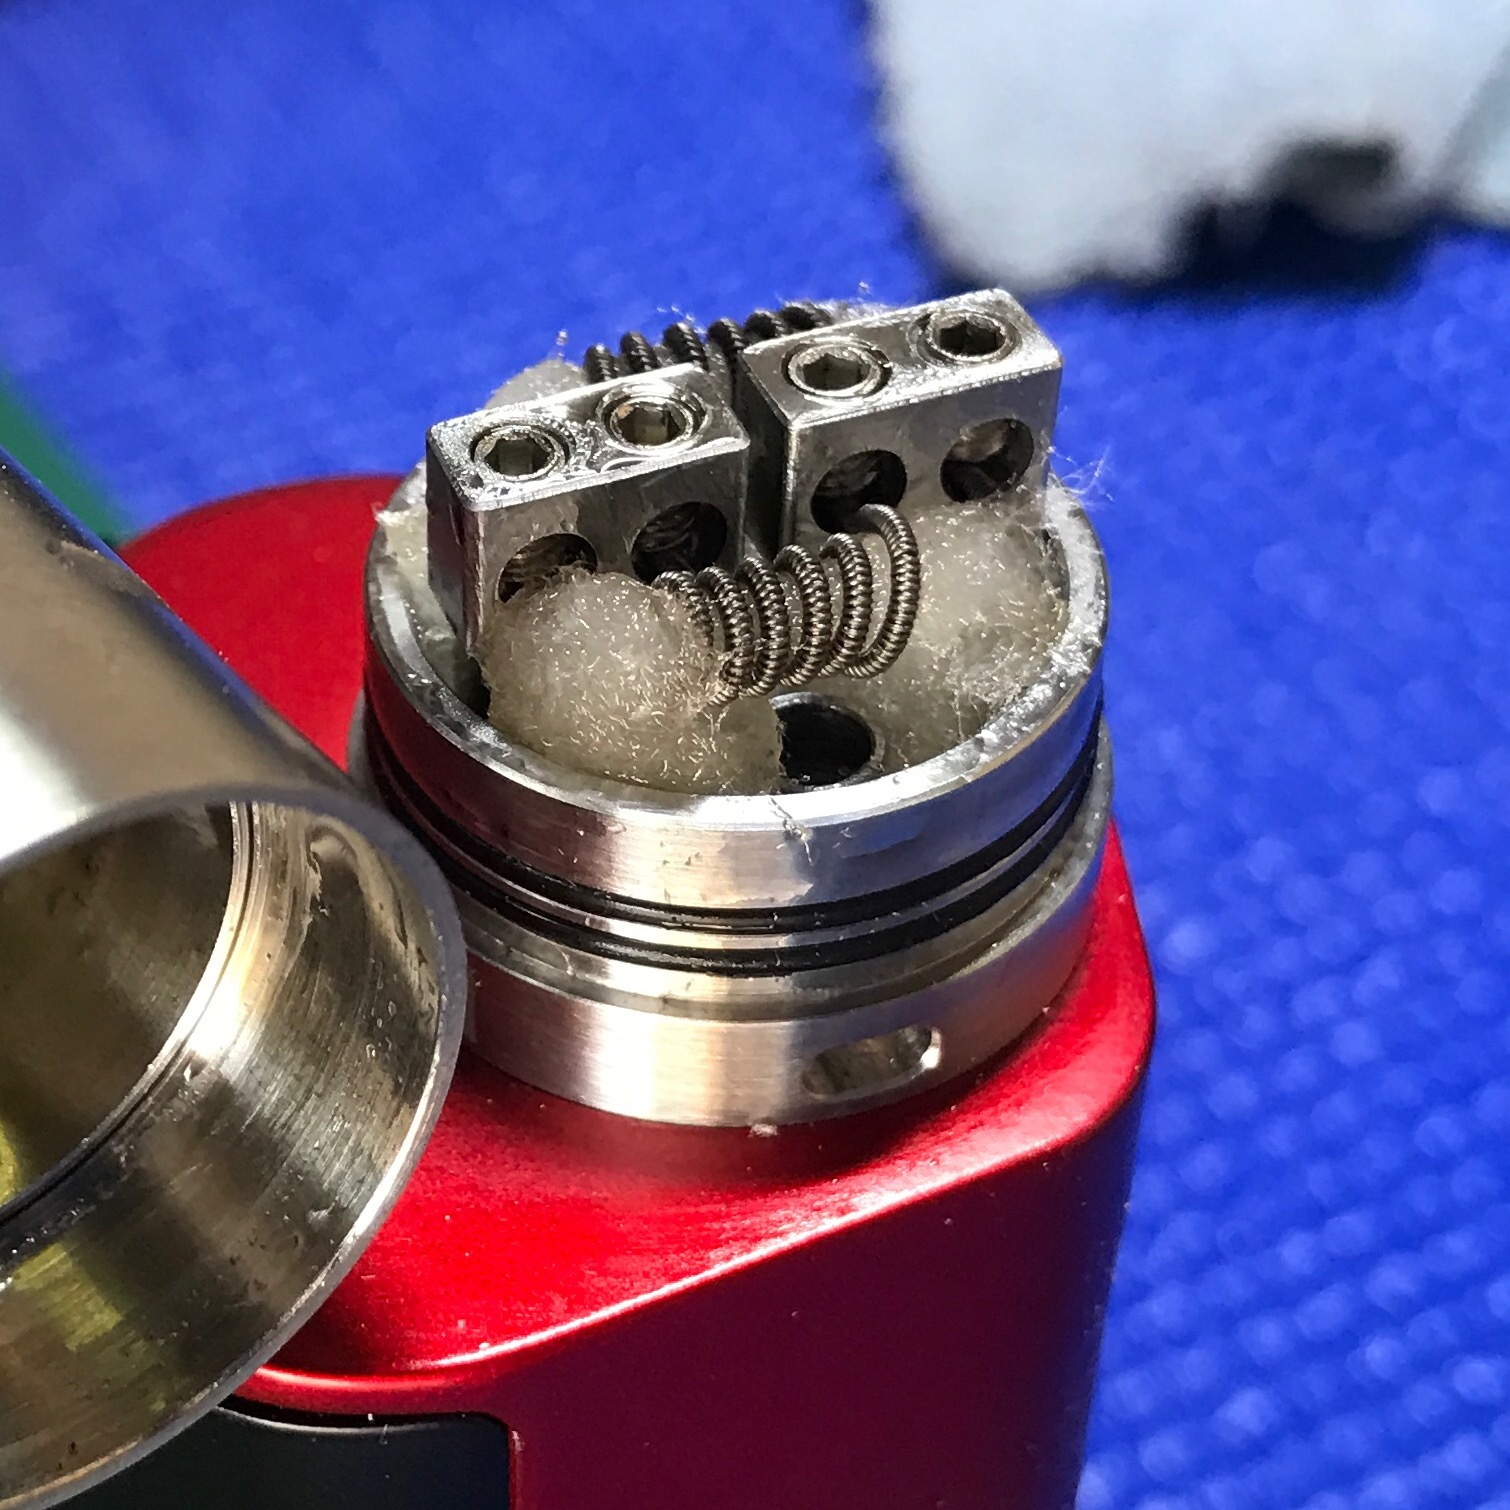
So I built some coils today, only made 1 before. Took your advice and made spaced coils with the supposed SS. I then made my first Clapton wire & a 3 wire twist with 26awg Kanthal. Clapton was 26awg w/ 32awg. Not totally smooth but not too hard either. Then made a selection of coils to try. I got the Ω I was expecting, which was nice.
Lastly, I’m hopeless at wicking definitely need more practice & now more cotton. The CLT IV is easier to wick & I can fudge my way through. My Kanger Protank4 is really hard. Going to start a separate thread on that one as I am getting a slight dry/cotton hit.
Thanks guys. Coil & wire builds are fun.
3 Likes
Looks like things are coming along nicely to me!
Surprisingly! Still in Wicking wonderland though!
1 Like
I found this post very useful when I first started to rebuild
Good day!
I have been seeing quite a few questions here lately as to wicking methods, so being new here I thought perhaps it would benefit some folks who are having problems with this necessary aspect of dripping and contribute to this forum which i like so much. I feel that there are a couple points that i often see overlooked that i believe are important. I hope it helps, because i pulled a perfectly good wick to make the illustration haha. Enjoy!!

-
Cut a strip of japanese cotton ALONG it’s natural “grain”. I generally cut about 3 times wider than whatever tool i wrapped the coil around. If i need to i’ll trim it a little later on. It’s of utmost importance to cut along the grain, or it will fall apart when inserting through the coil. And even if you managed to get it through the coil-the juice wouldn’t really go anywhere.
-
Roll the end between your fingers tightly, make a section a little longer than the coil. You may have to do it a few times as the cotton will probably puff back out after you let it go. It doesn’t hate you-I promise.
-
Gently slide the rolled out end through the coil. It should have a tiny bit of friction, but you shouldn’t have to fight this too hard.
-
Pull your wick through straight. By that i mean do NOT twist the wick as you’re pulling it through, take care to leave the grain of the cotton as parallel to the coil as possible. Just pretend that the wick is a bundle of drinking straws, if you want the juice to travel through it, you’re gonna want them as straight as possible. Trim the ends. Generally i trim at a slight angle, so the part that lays against the post is a little shorter than the part that touches the front of the juice well.
-
I find this step to make a HUGE difference in wick performance. Juice the coil and the adjacent wick BEFORE tucking the tails under. This keeps the cotton fibers from kinking and collapsing-thus allowing them to cheerfully pull your juice from the deck to the coil. It’s much harder to kink a garden hose while the water is running, same principle. It will keep the tiny channels in the cotton open during the next step.
-
The biggest reason (IMO) that a wick fails to perform is because of an obstruction in it’s path from deck to coil. Hold a tiny tool of your choice under the cotton next to the coil and support it while you tuck the tails under. If your cotton is kinked where it touches the coil, the juice will come to a dead stop right before it reaches the finish line. This has been associated with dry/burnt hits, anxiety, depression, loss of enthusiasm etc. Your significant other/dog/cat/therapist will appreciate the care taken during this crucial step. Leave a nice smooth path for the juice to travel, and let physics handle the rest. If your tails touch one another then you need to trim them. Leave enough cotton for it to sit on the deck, but not so much that they are touching. You want the juice to creep as evenly up the wick as possible, this cannot happen if the tails are laying on top/under/in front/behind one another.
-
Fire that sucker up and admire the ease with which your device will perform!
When this is all done properly you should be able to drip ANYWHERE through the top and wick will instantly soak up all the juice and bring it straight to the coil by the time you set your juice down. I am well aware of the various schools of thought on the subject of wicking, and this is what happens to work best for me, so i thought it would be nice to share it with the community. Cheers!
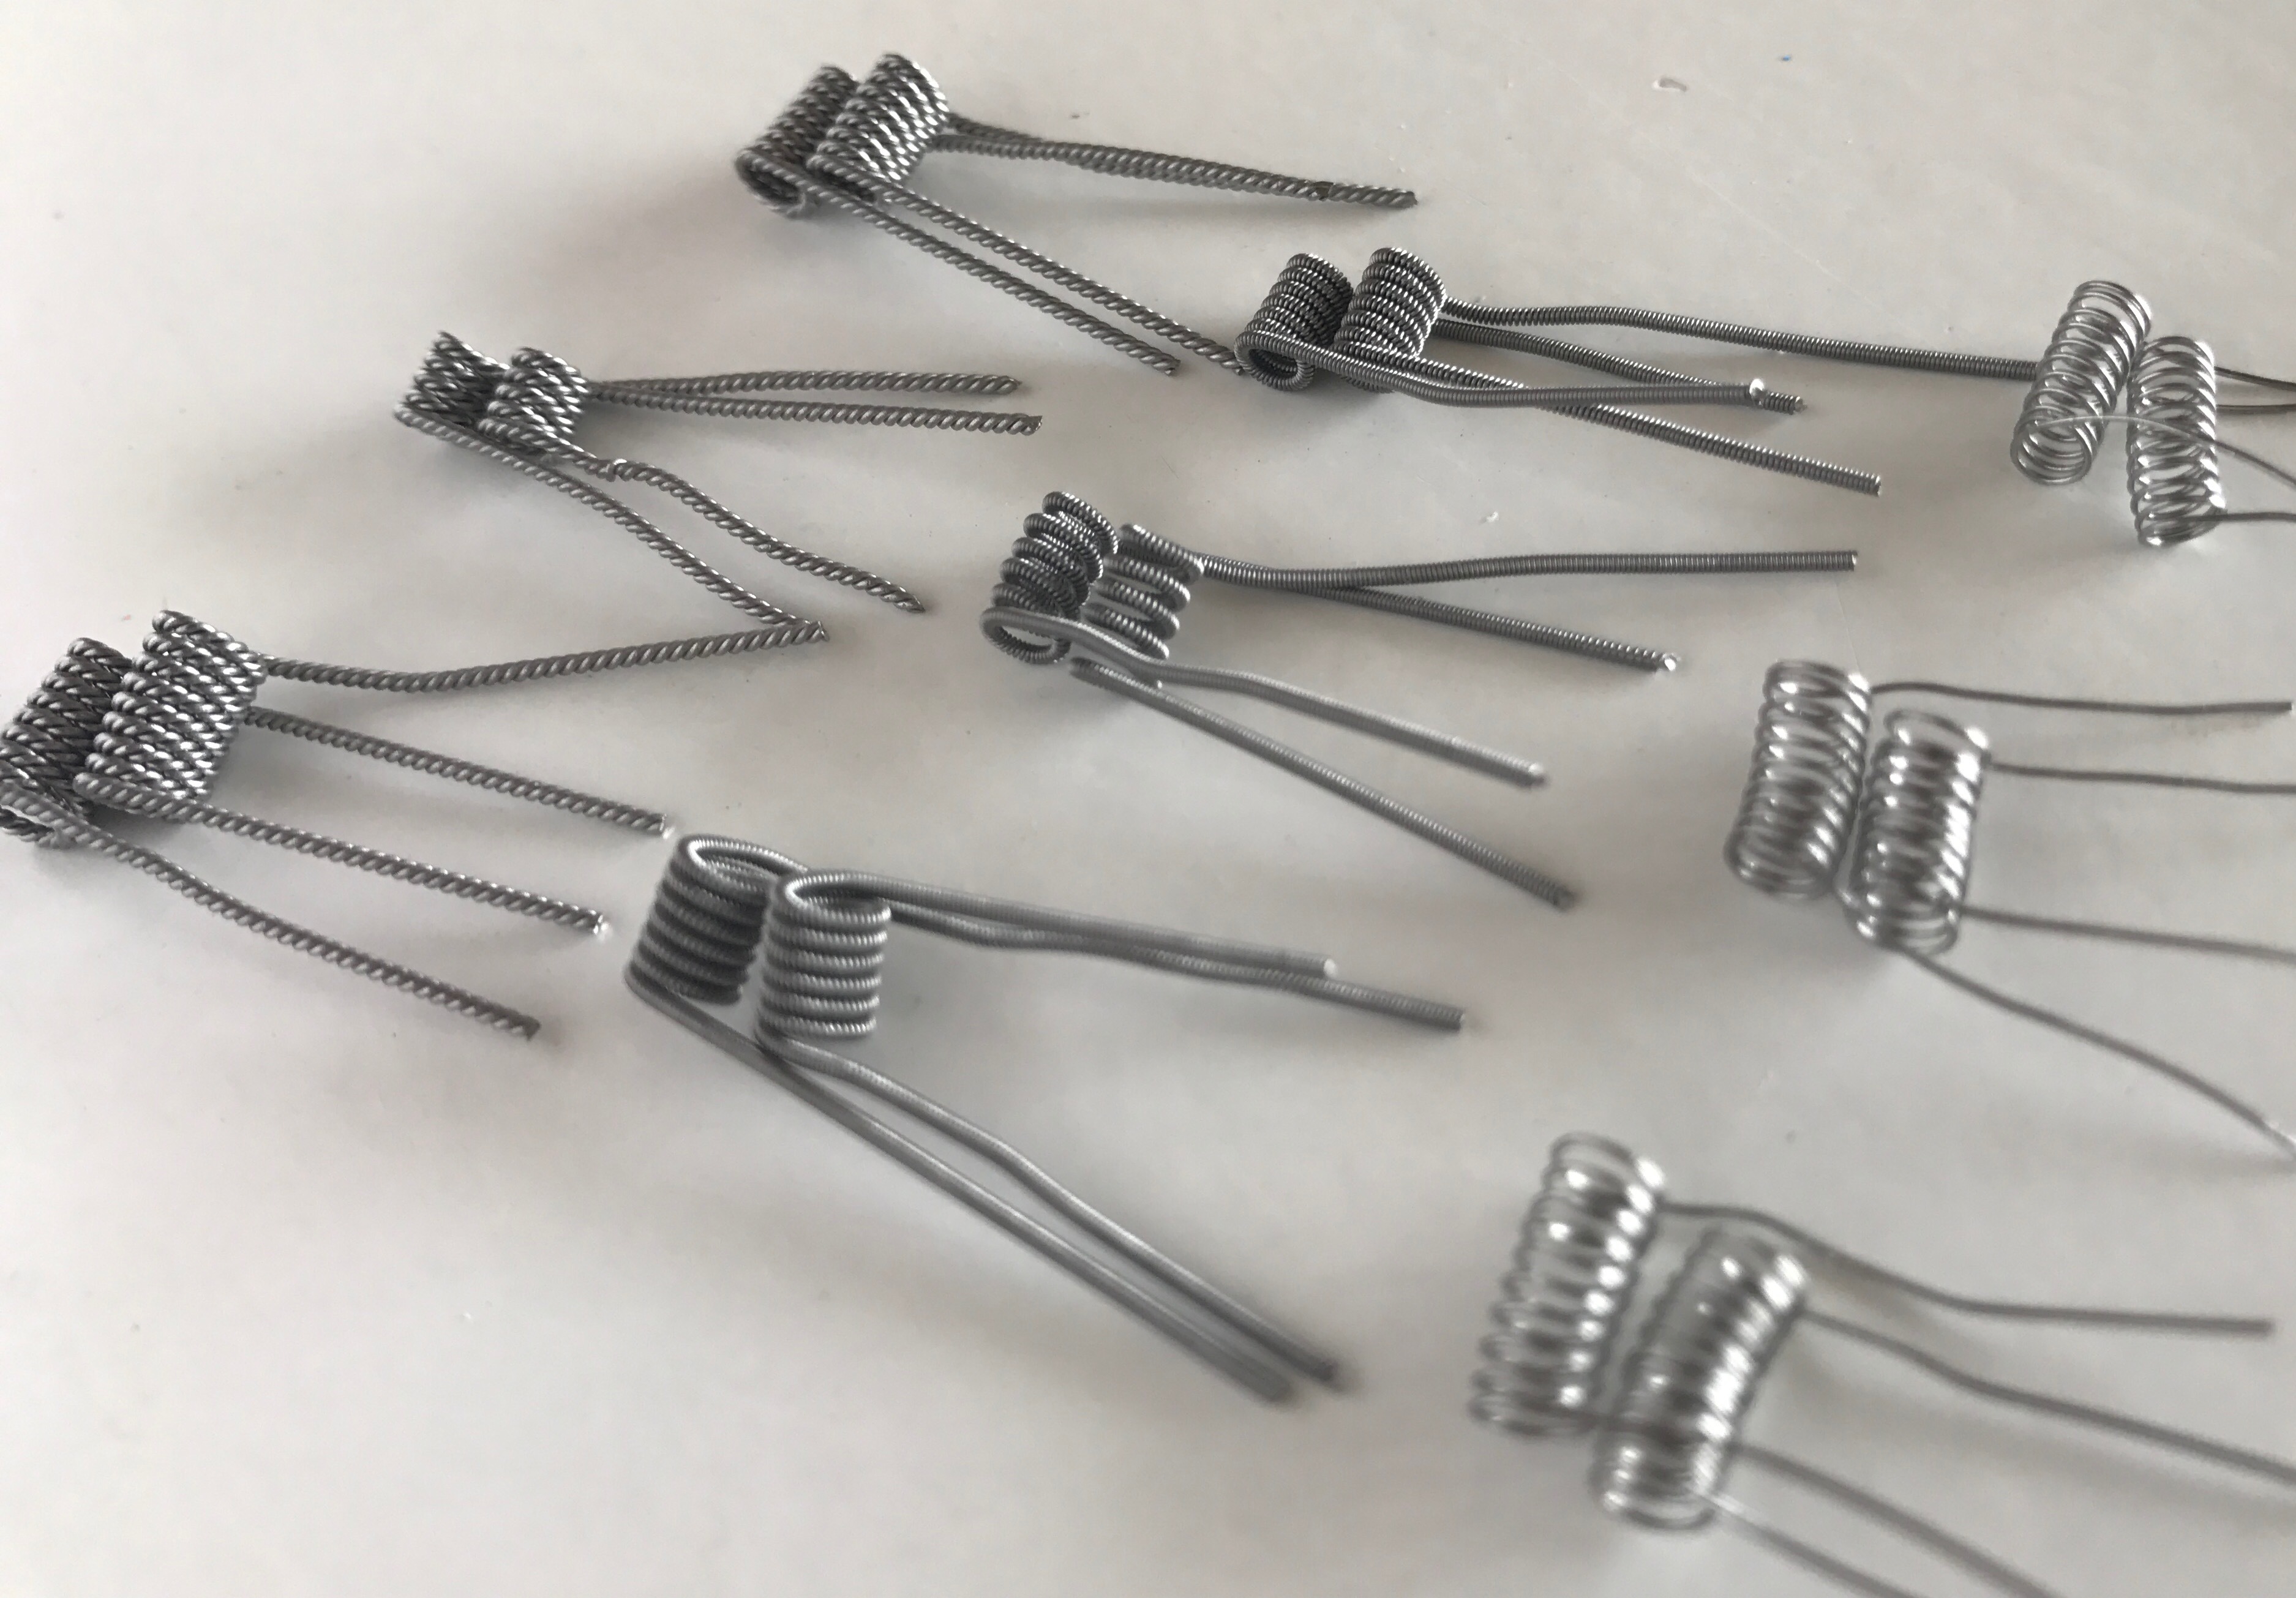
Ps-i used the Dotmod Petri RDA for this demo, with a parallel fused/stapled clapton coil. It’s not my prettiest coil, but it vapes all kinds of heavenly. Just look at the wick 
3 Likes
The RBA’s on the Kanger Protank 4 and Subtank mini’s can be tricky to wick, but practice will get you there.
Too much wick is the common problem, and creates dry/burn hits.
Too little, and they leak.
When they are good…they are very, very good. I use several every day, for years now.
1 Like
I think you are onto something. Prob too much. Not allowing any juice in. Small little area
I have been building these little Kanger RBA’s since they came out.
I don’t use Kanger pre-made coils.
Once in a while…my wicking is still too tight…but when it’s good…
1 Like
Thankyou @anon88729607 @ozo > i wicked my new Tsunami 24 today and had no troubles. I havent got round to doing the Protank4 again but feel much better about it.
Your tutorial was great @t5ta the most crucial part I had been overlooking. Grain, I was putting it along the grain and not accross it. SO it was terrible. I got a new pack of UD cotton today chucked in from my retailer for free as I forgot to order some. It had the directions on which way to cut too. If I had that with the cotton that came with the tank I would have probably done it the first time. But without really knowing why. SO i’m glad I stuffed up and asked as I have that now.
I think people should mention the grain thing a lot more in videos and all that etc. It’s not pointed out at all . Or i missed it.
Big thanks. What a help.
2 Likes
This is what changed my wicking way back when. The key points (revelation-wise) for me use more wicking (I had been too light on cotton prior to this video), and the ratio of cotton to ID of the coil (as a rule of thumb).
1 Like
That’s the one I have works great