Continuing the discussion from Restricted airflow atty’s:
I’ve long intended (as you can see by the date on my pics lol) to do a “my build tutorial” for the Theorem, as I’ve read about a lot of folks who’ve struggled with it over the last few years (or just flat out shelved it, or said they gave it away).
For those who still have one however… If you feel up to giving it another shot, consider trying the following build and see how it works for you!
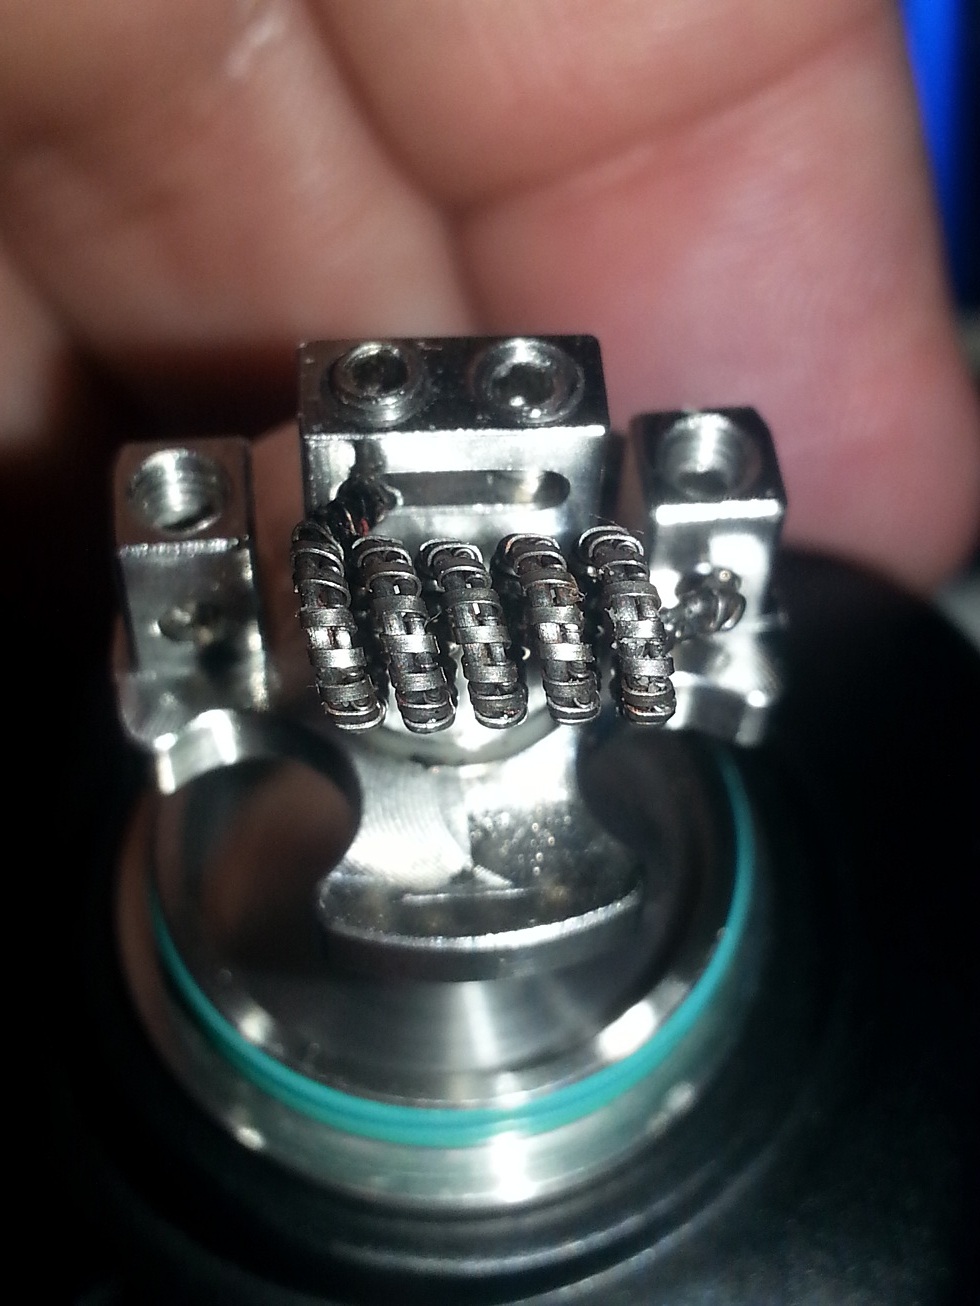
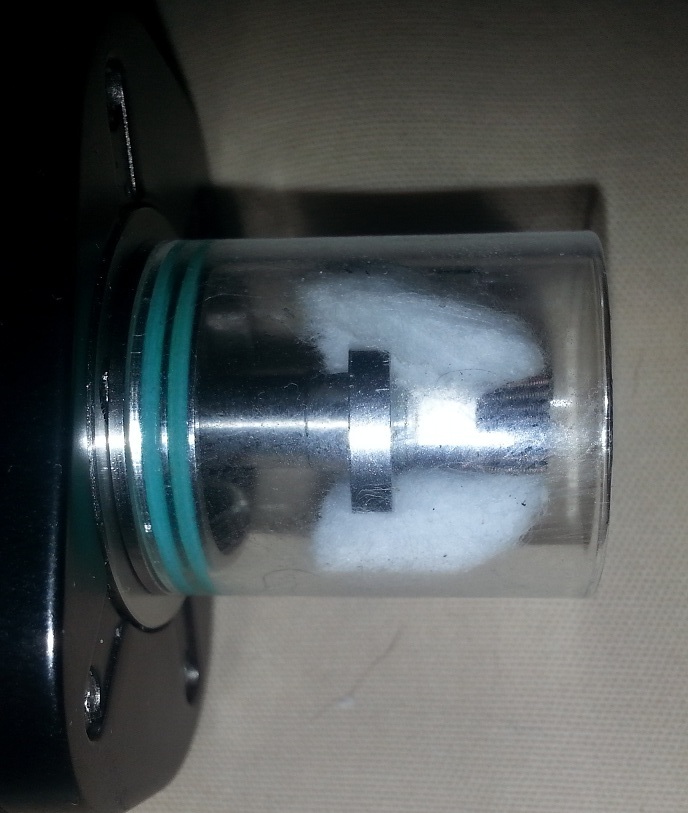
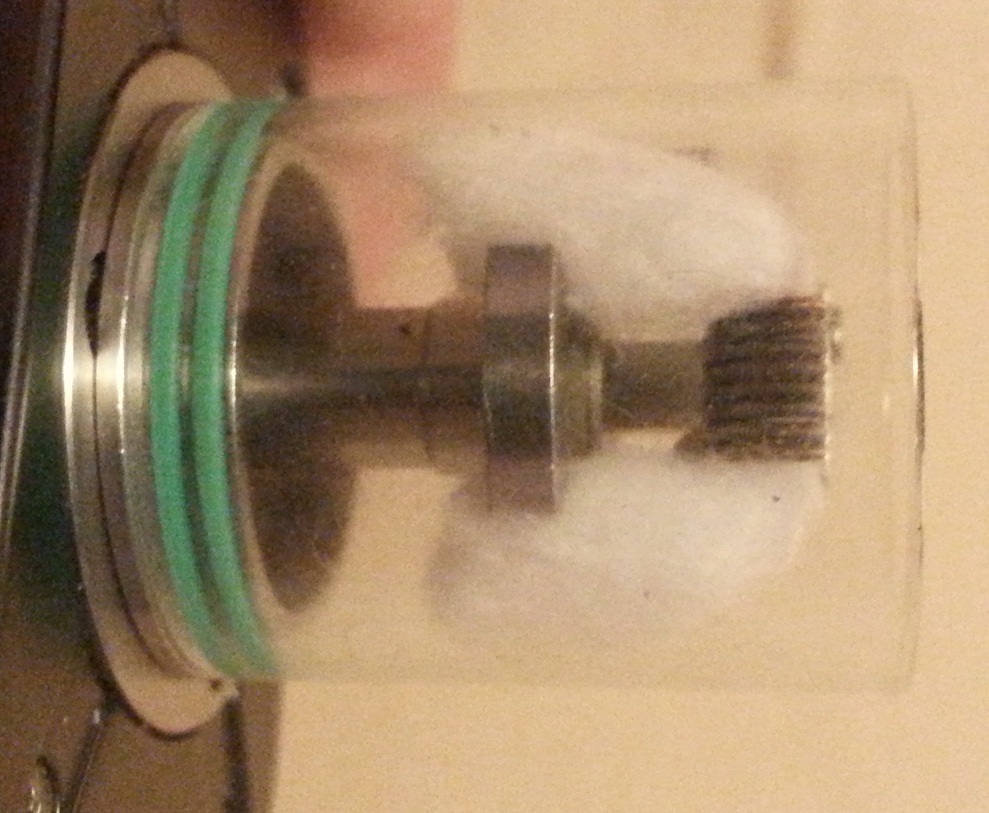
In the first pic below (20180709_200703), I was still using my ‘custom’ dual-parallel wraps (single clapton, SS316L 26/36). Basically, this was a single core clapton wire that I measured to length, then folded it in half, and then proceeded to wrap a ‘normal coil’. The diameter of wrap I use is 2.85mm (but a 3mm isn’t going to be that much different honestly).
The idea is (and it works immensely well IMO) to be able to lower the impedance of the coil enough, so that the coil fired fast (read as: got up to to temp quickly) but had minimal ‘overburn’ (read ‘overburn’ as: my way of minimizing the mass, so as to prevent excess length of time that the coil had to try and dissipate heat). In short, the coil gets hot quick, and cools down equally quick, because there’s less mass. In effect, trying to assist the life of the cotton even further, so that it’s not scorching while the coil continues to cool.
Keep the coil horizontally centered between the two inlets that your wick hangs down into!
You might be able to see that the end of the lead that’s trapped under the center post is the end of the coil that is folded back onto itself. (The free ends are on the lower right.) A bit of manipulation frequently had to be done (during initial install) to make sure that there were no issues with contact/hot spots with regard to the ‘loose ends’.
The "custom dual parallel’ method I used almost always resulted in a coil that measured 0.17 to 0.18 ohms, which I ran anywhere from 30-40w on average. (Sounds crazy to some I’m sure, as lower impedance usually means higher power. But this one gets nice and warm, fast!)
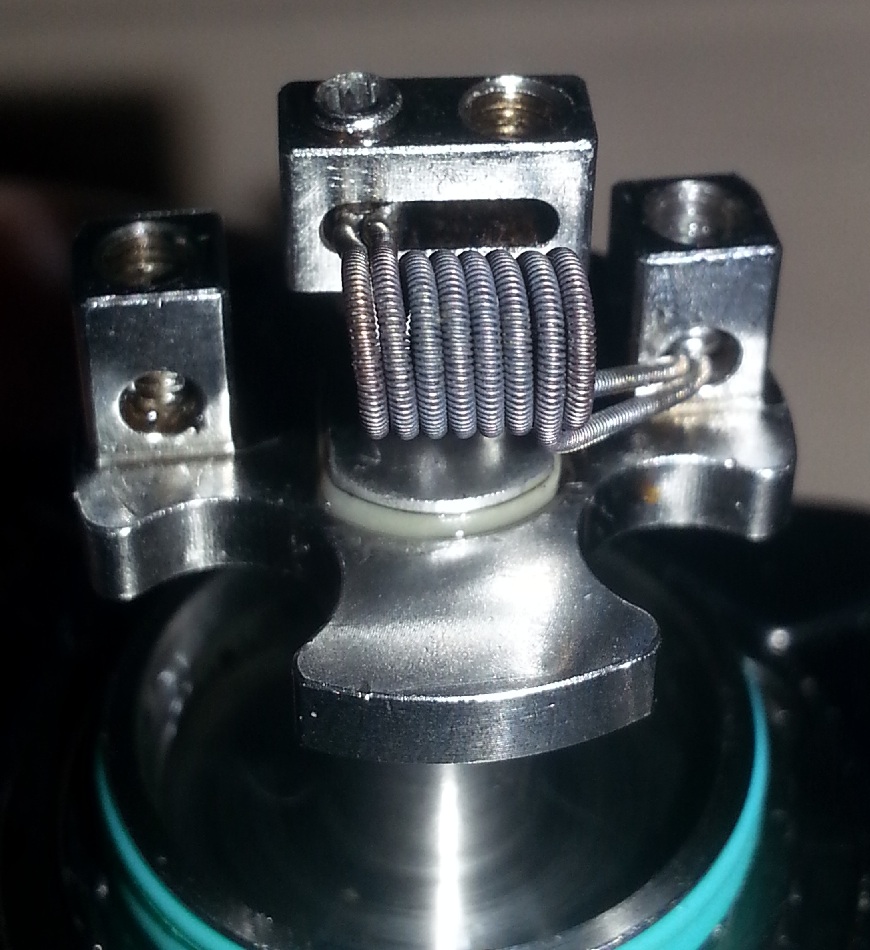
**Note: I’ve since moved on into dual core fused claptons 2x26/36 (though still using SS316 of course) for the simplicity of the build. 
The trade off is slightly longer cool down time, but I finally got to the point of saying “fuck it!” The little bit of cotton saved/life extended is just not worth the extra time.
Additionally, I change coils (and cotton) more frequently once I learned/realized that the crud build up on the coil has a direct effect on the difference in taste, including the way you mix, and what you are able to taste in a mix.
New folks: if you want to TASTE what you’re mixing FULLY, change your coils/cotton more often! (More/pics on that later?/another time perhaps?)
Anyways…
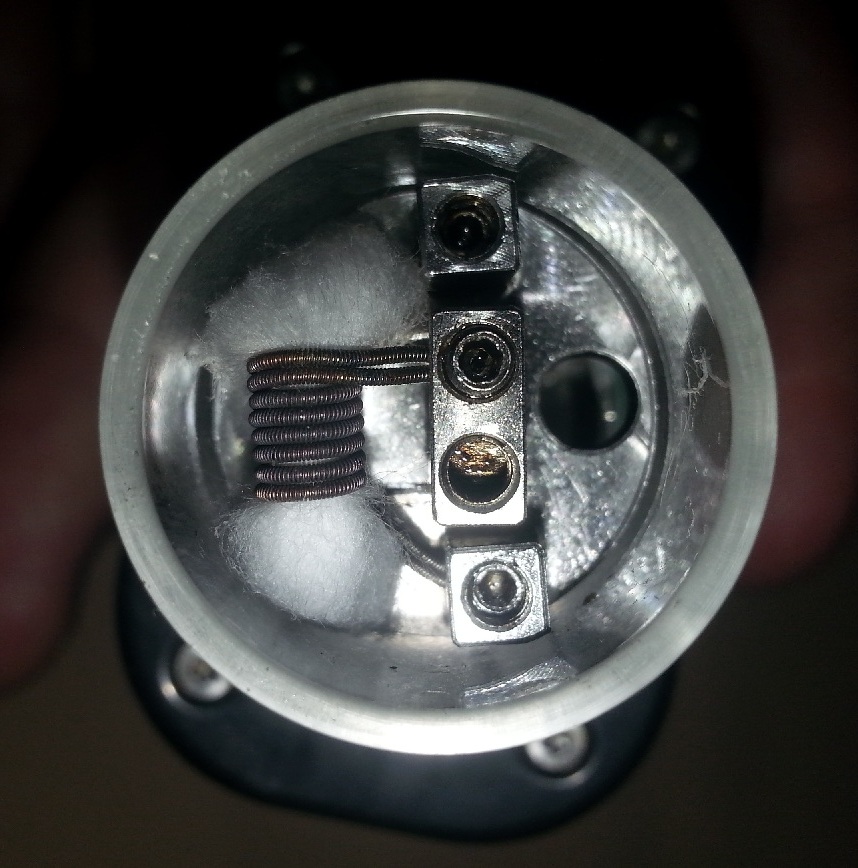
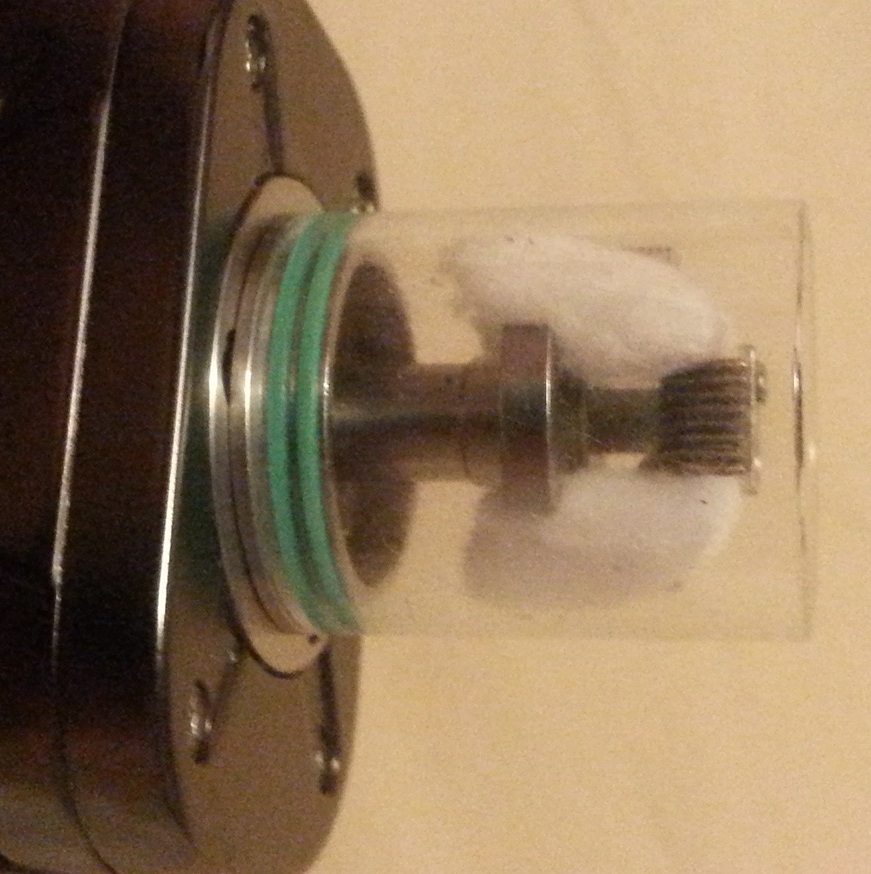
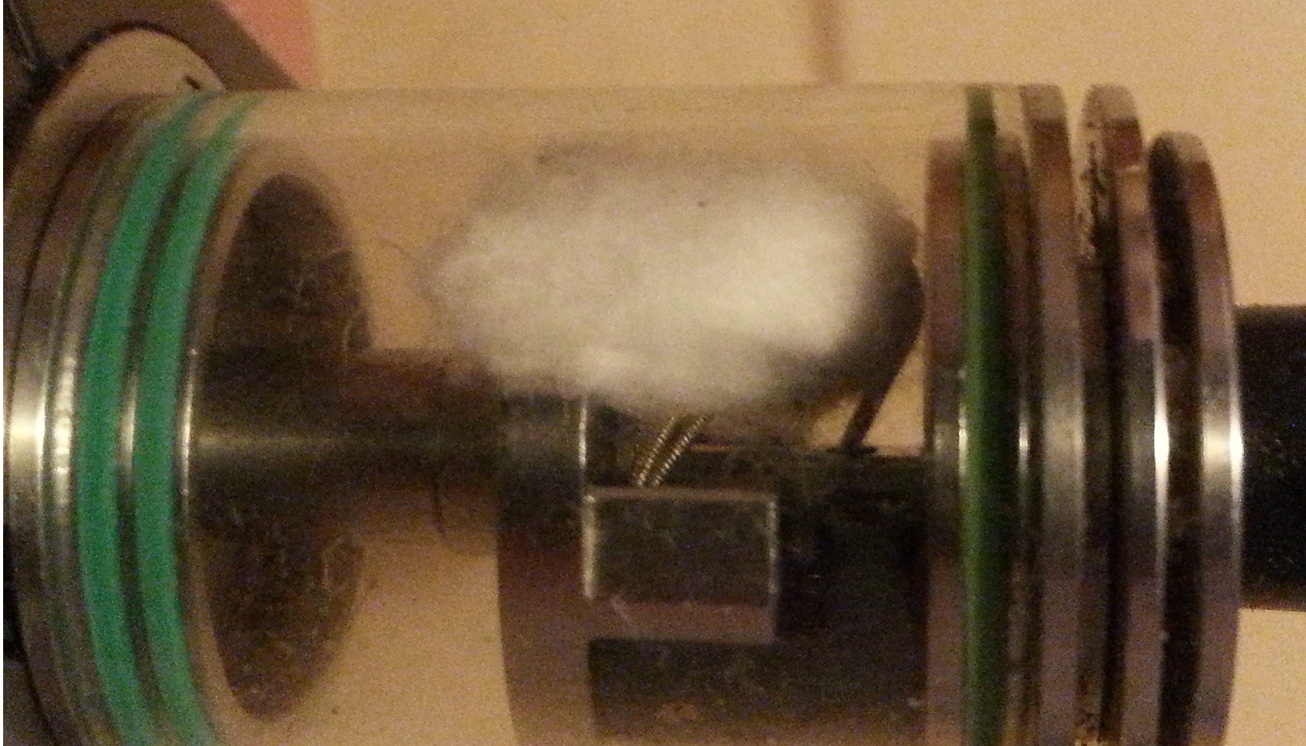
In the following pic, you can get an idea of the spacing I use laterally (that’s fancy speak for ‘side to side’). In other words, between the center post and the outer glass.
(Discourse is rotating pics again…/sigh)
This is a straight down camera shot.
As you can see, there’s slightly more room on the outside of the ‘air loop’ (more in a moment)

(Damnit Discourse!!!
 )
)
The idea of this is to split the airflow that’s coming in from the top, down under the coil, and back up the other side (out the mouthpiece).
Positioning the coil up higher (as shown), there is still a small amount of airflow that goes directly from the the air intake across the top of the coil (channeling vapor towards the mouthpiece), but the majority or air goes around the coil.
(Ok. I give up. Shit’s rotated way out of whack this time. T$#@UYHIN&(#%!@)
Folks, you’re just going to have to DL the pics and rotate them I guess. (Sorry!)
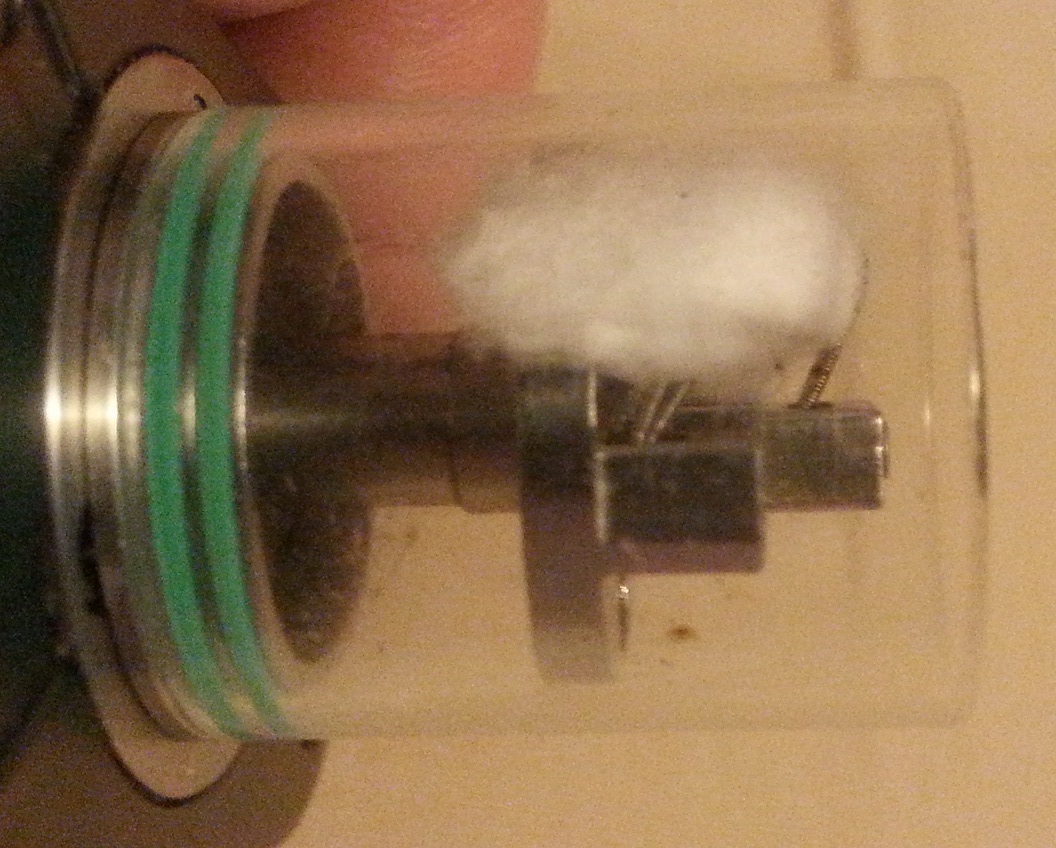
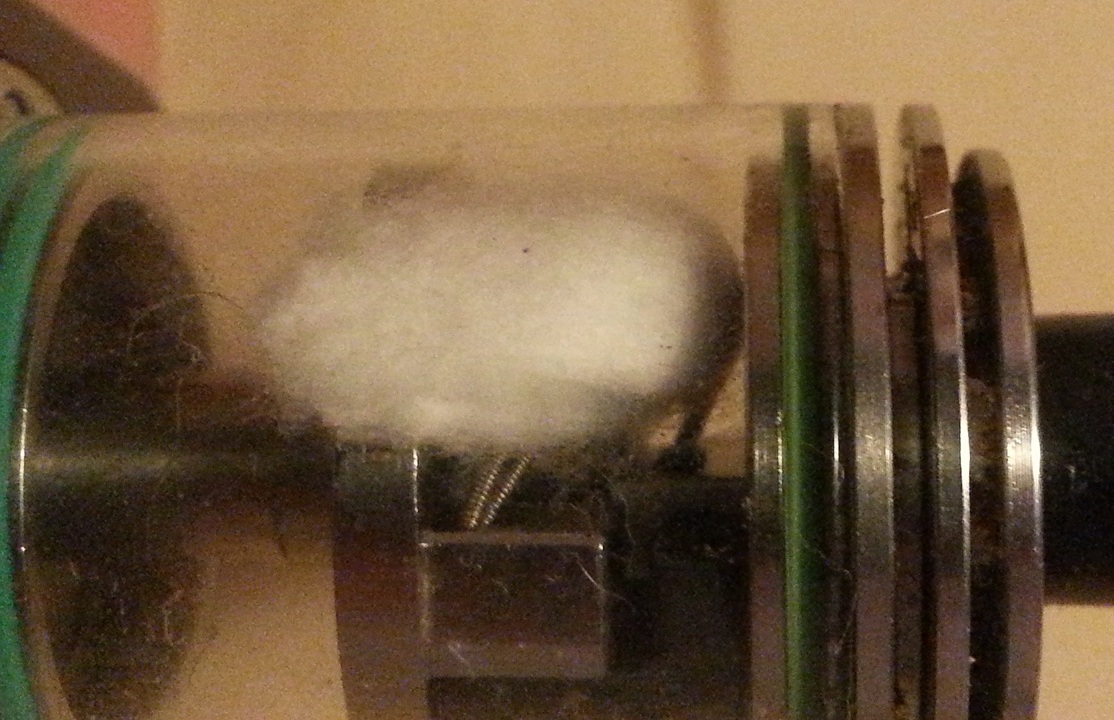
The above shot shows the height I normally try and use (as it’s a little lower in where it’s actually sitting in this build). You’ll see what I’m talking about a little better in the next shot (where the camera was more on a flat axis).
Most folks position their coils much lower (than what I show above) I imagine, just out of habit (and experience with other atties). But this one being the unique critter it is… By using the single airflow ring, and having it positioned DIRECTLY over the coil side (full open), and building high, I feel it gives the best flavor for this unique design.
I tried the dual airflow ring, and it just didn’t work for my tastes.
(Going from memory here, as it was 3+ long years ago when I started using this, but…) It seemed like it was a jumbled mess on the airflow. Not enough actual focusing on the air pathing like I thought it should be.
Using the single airflow ring on the “back side” (with air coming in from the small plastic channel, then up under the coil) seemed to leave the air on the front side of the coil ‘stagnant’ and thus led to one side of the coil being almost ‘super-heated’ and the other side remaining relatively cool (since the air seemed to flow on the inside of the coil, between the coil and the center post almost exclusively).
With neither of the above really ‘shining’, I finally started messing with the positioning of the coil, and the single airflow ring.
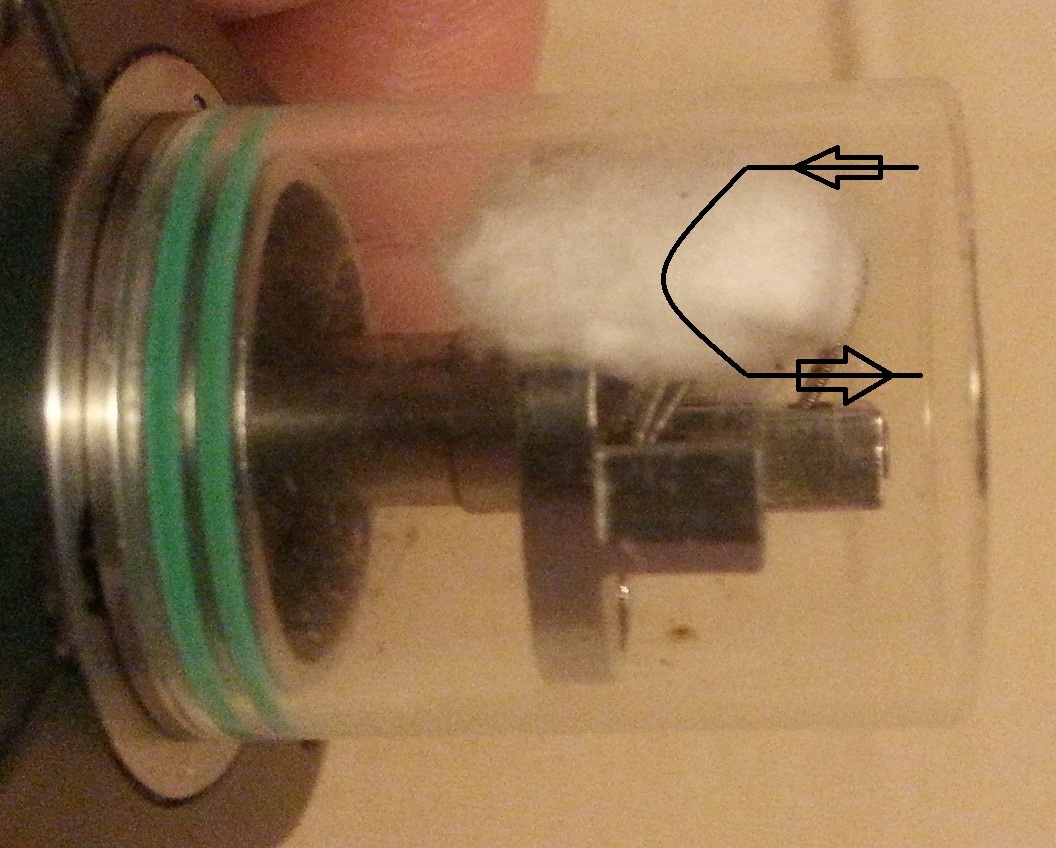
Same shot, showing the ‘air loop’ I was referring to before:
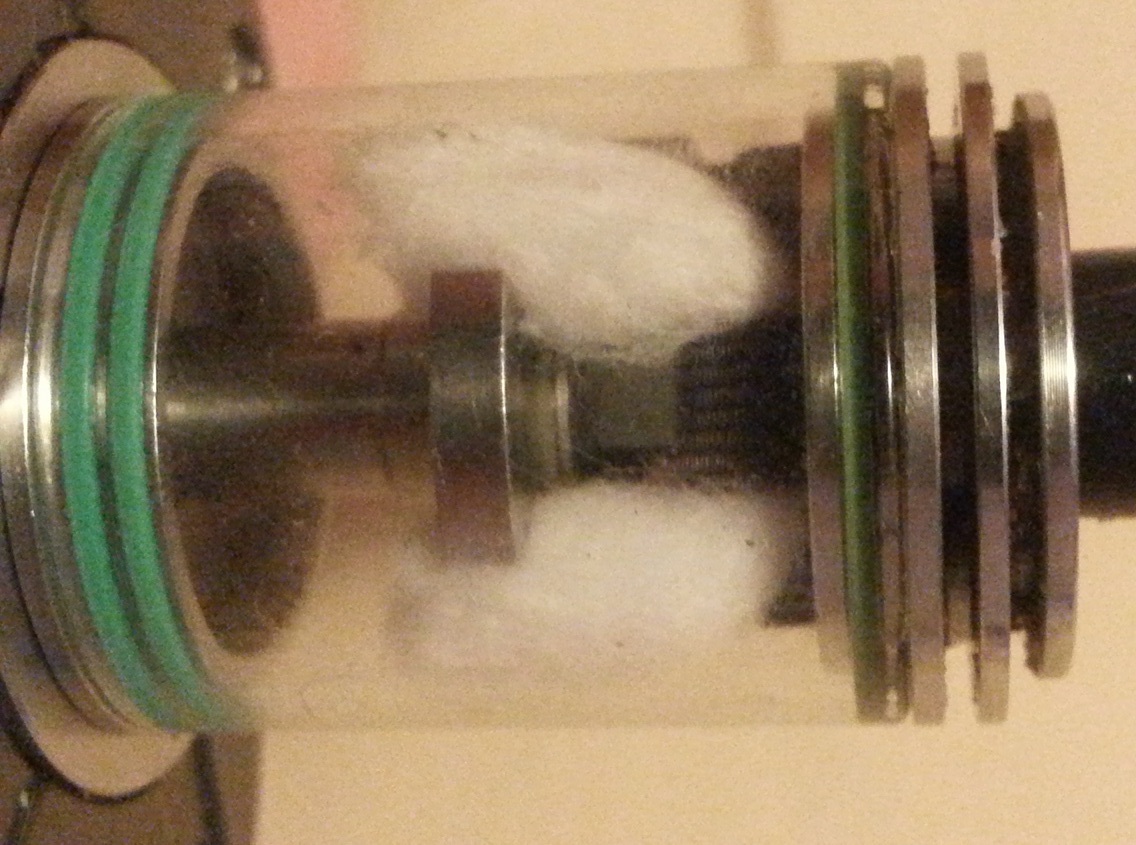
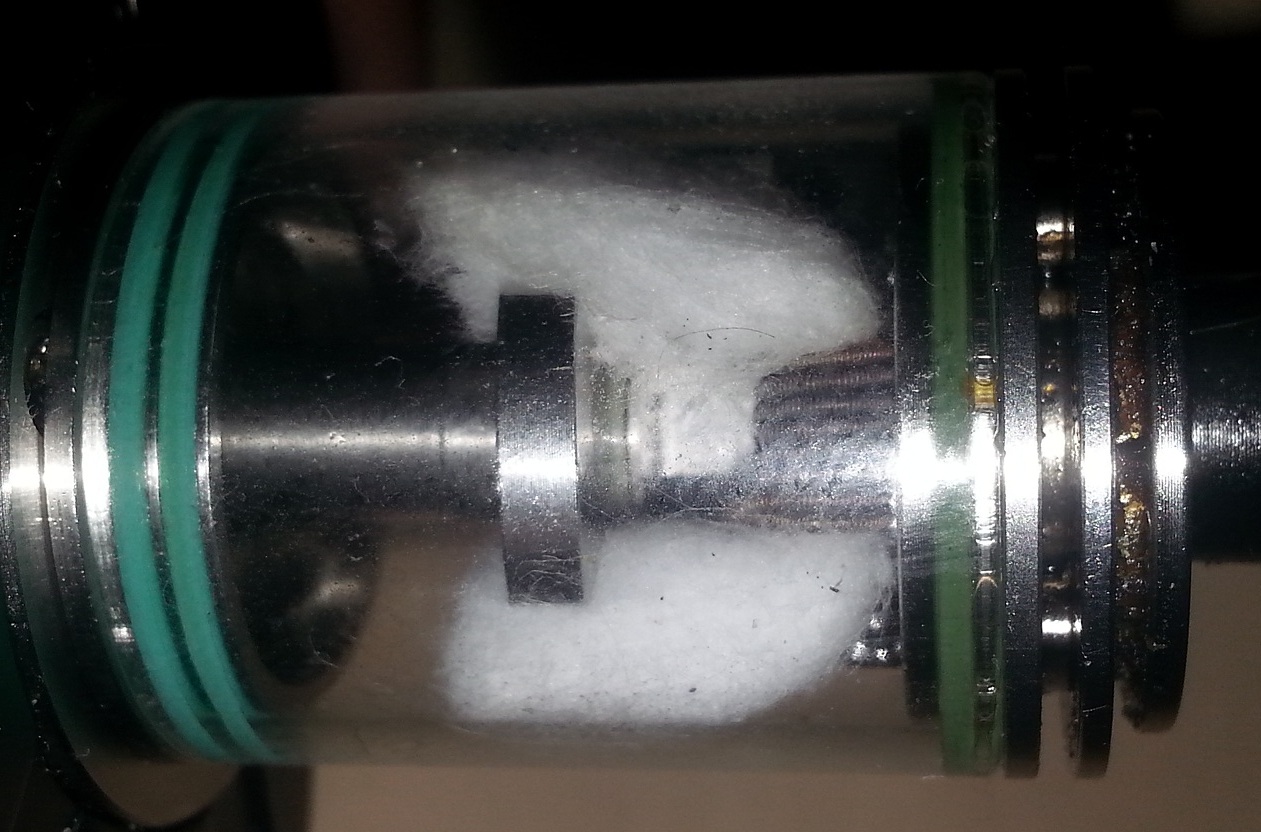
Another shot showing the height of the coil, with respect to the top of the center post:
Finally, I wanted to show the relative height of the coil with respect to the atty lid, and how it sits in relation (below).
In the above, you’ll notice that there’s the slightest of visible gap between the coil and the atty lid (damned near invisible lol). But in reality, it’s actually larger than it appears, because the lid is concave on the inside.
A bit closer look:
From the front:
From the front (w-flash):
Last couple of thoughts…
If you ever experience your ohms (impedance) drifting, try the following:
- unscrew the atty, and make sure there’s no moisture/condensation between the deck and atty.
- if that doesn’t work, disassemble the atty (once you’ve emptied it) and CLEAN the peek insulators, and the screw (as well as the post) that secures everything.
I’ve noticed over long periods of heavy use, that once eliquid starts to get into channels where it doesn’t ordinarily get into, things can go a little ‘screwy’.
In the case of condensation (relative to TC mode), when it starts to build up, you may find that ‘out of nowhere’ you start getting a hotter vape than normal. Checking for/cleaning any accumulated condensation may well be your cure!
As for impendance drifting (assuming the mod’s not having issues), clean your atty!! Externally AND internally!! Sometimes, it’s only a screw (or screw post) that’s loosened with repetitive use. Other times, you forget that “it’s been a while” since that last full field-strip!
Anyways, If there’s any questions, I’ll do my best to help answer them.
But I hope that this helps anyone who’s struggling/struggled with/given up on the Theorem atomizer!
Dig it back out and give this a whirl! It it helps, drop a quick note and let me know! If not, well, you gave it another shot! lol
No device is suited to every type of vaper! chuckles