I like the look of the transparent - but I’ll stick with colored - easier to see any damage 
EDIT: I meant to write that with stuff underneath it, though - that is actually pretty damn cool!
I like the look of the transparent - but I’ll stick with colored - easier to see any damage
EDIT: I meant to write that with stuff underneath it, though - that is actually pretty damn cool!
…those are some sexy batteries, but I don’t think my wife would cotton to those!  =wife
=wife
I ordered from Gearbest and got my order in 14 days to Indiana.
If they only came out with Batman logo wraps, I’d be all over it!
I purchased 10 pre-cut wraps from illum with my last battery purchase, they were only 1 dollar and I have yet to use any of them yet. The prices for both the pre-cut and rolls mentioned are a much better price but I don’t even know if/when I’d use the ones I already have or I’d be tempted to buy one or the other… lol
Oh wow, hadn’t considered doing that with my clear wraps, this is fantastic!
I had to wait 3 weeks before they even shipped my order, when I complained about it they thanked me for my understanding 
They reckon on 10 to 25 days for it to arrive. You probably got your stuff from their US warehouse. Most items they ship to Europe cannot be ordered from the US warehouse, only from China. Don’t ask me why.
No mine came from China, Got lucky for once!
Nice wraps!! Where they from?
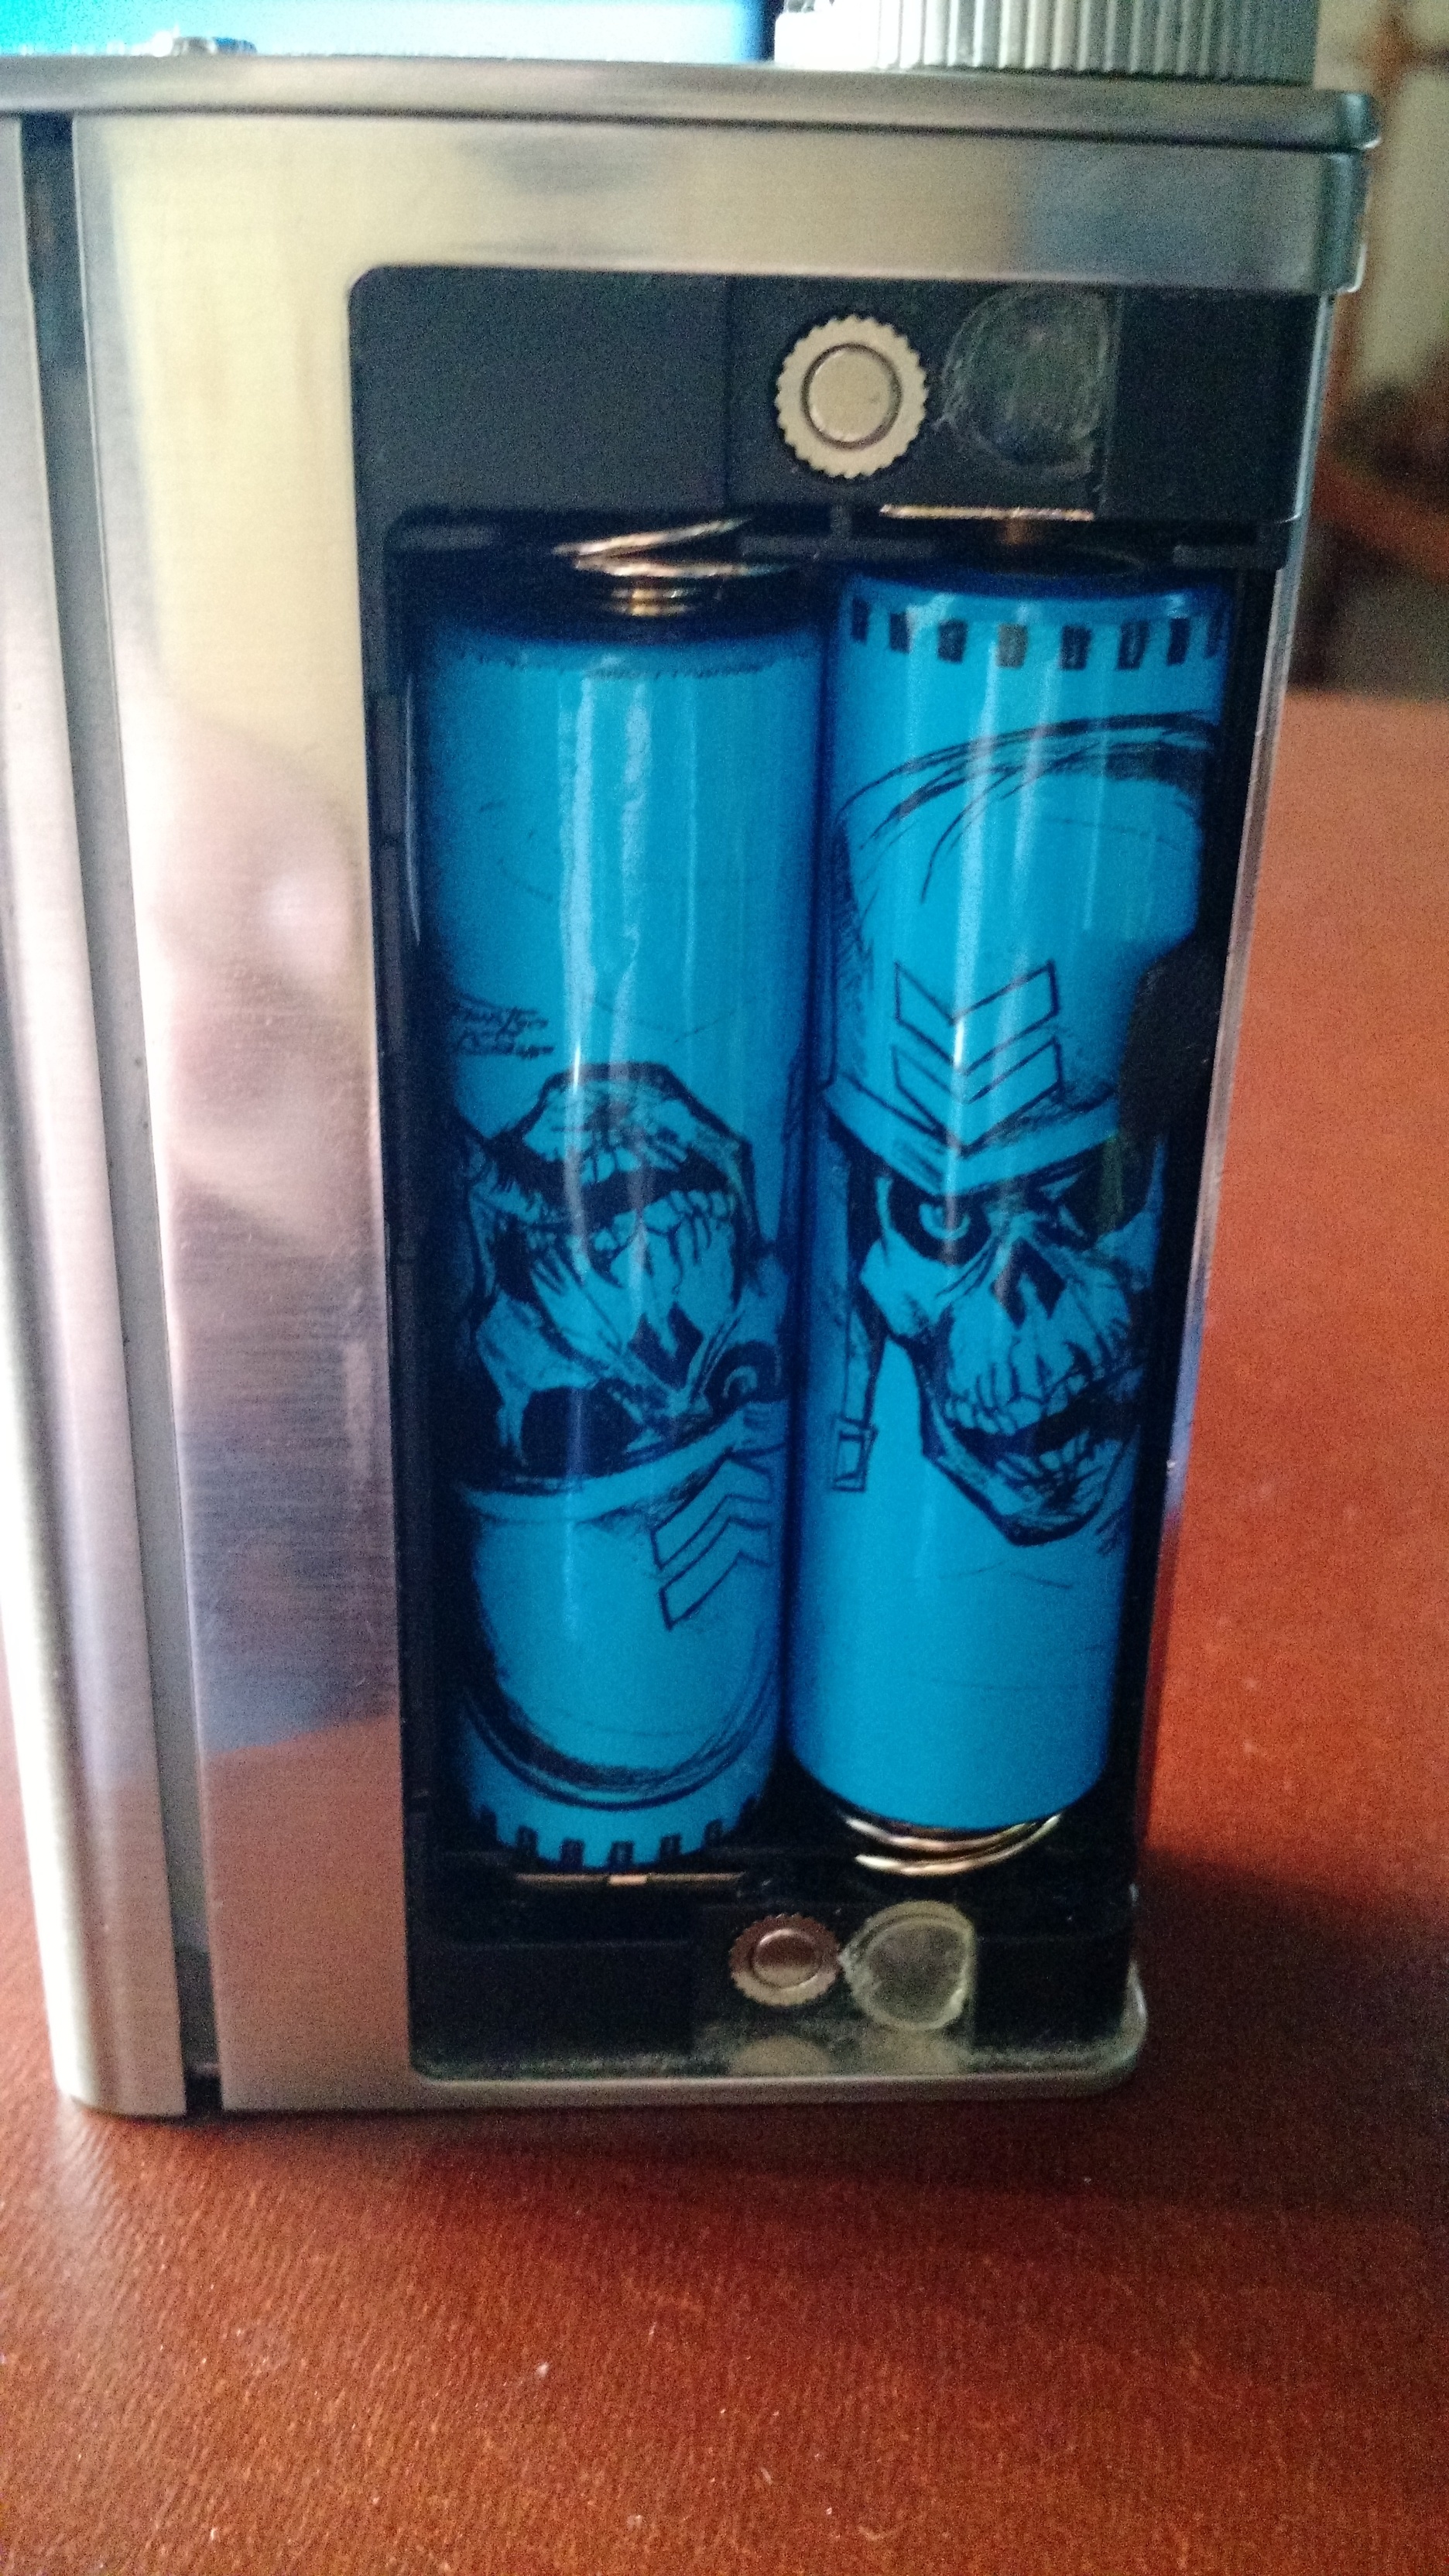
thanks the wraps are clear and clear blue the images are just printed from the web…
Just the info I was needing! Thank you @Jondamon! I am loving the Wismec Reuleaux but it is a 18650 battery wrap ripping mother of Satan.
@Jondamon Excellent tutorial Thank you
@SirRisc and @quitter1 I really like your wraps a lot so trying that myself. Thank you both for the ideas.
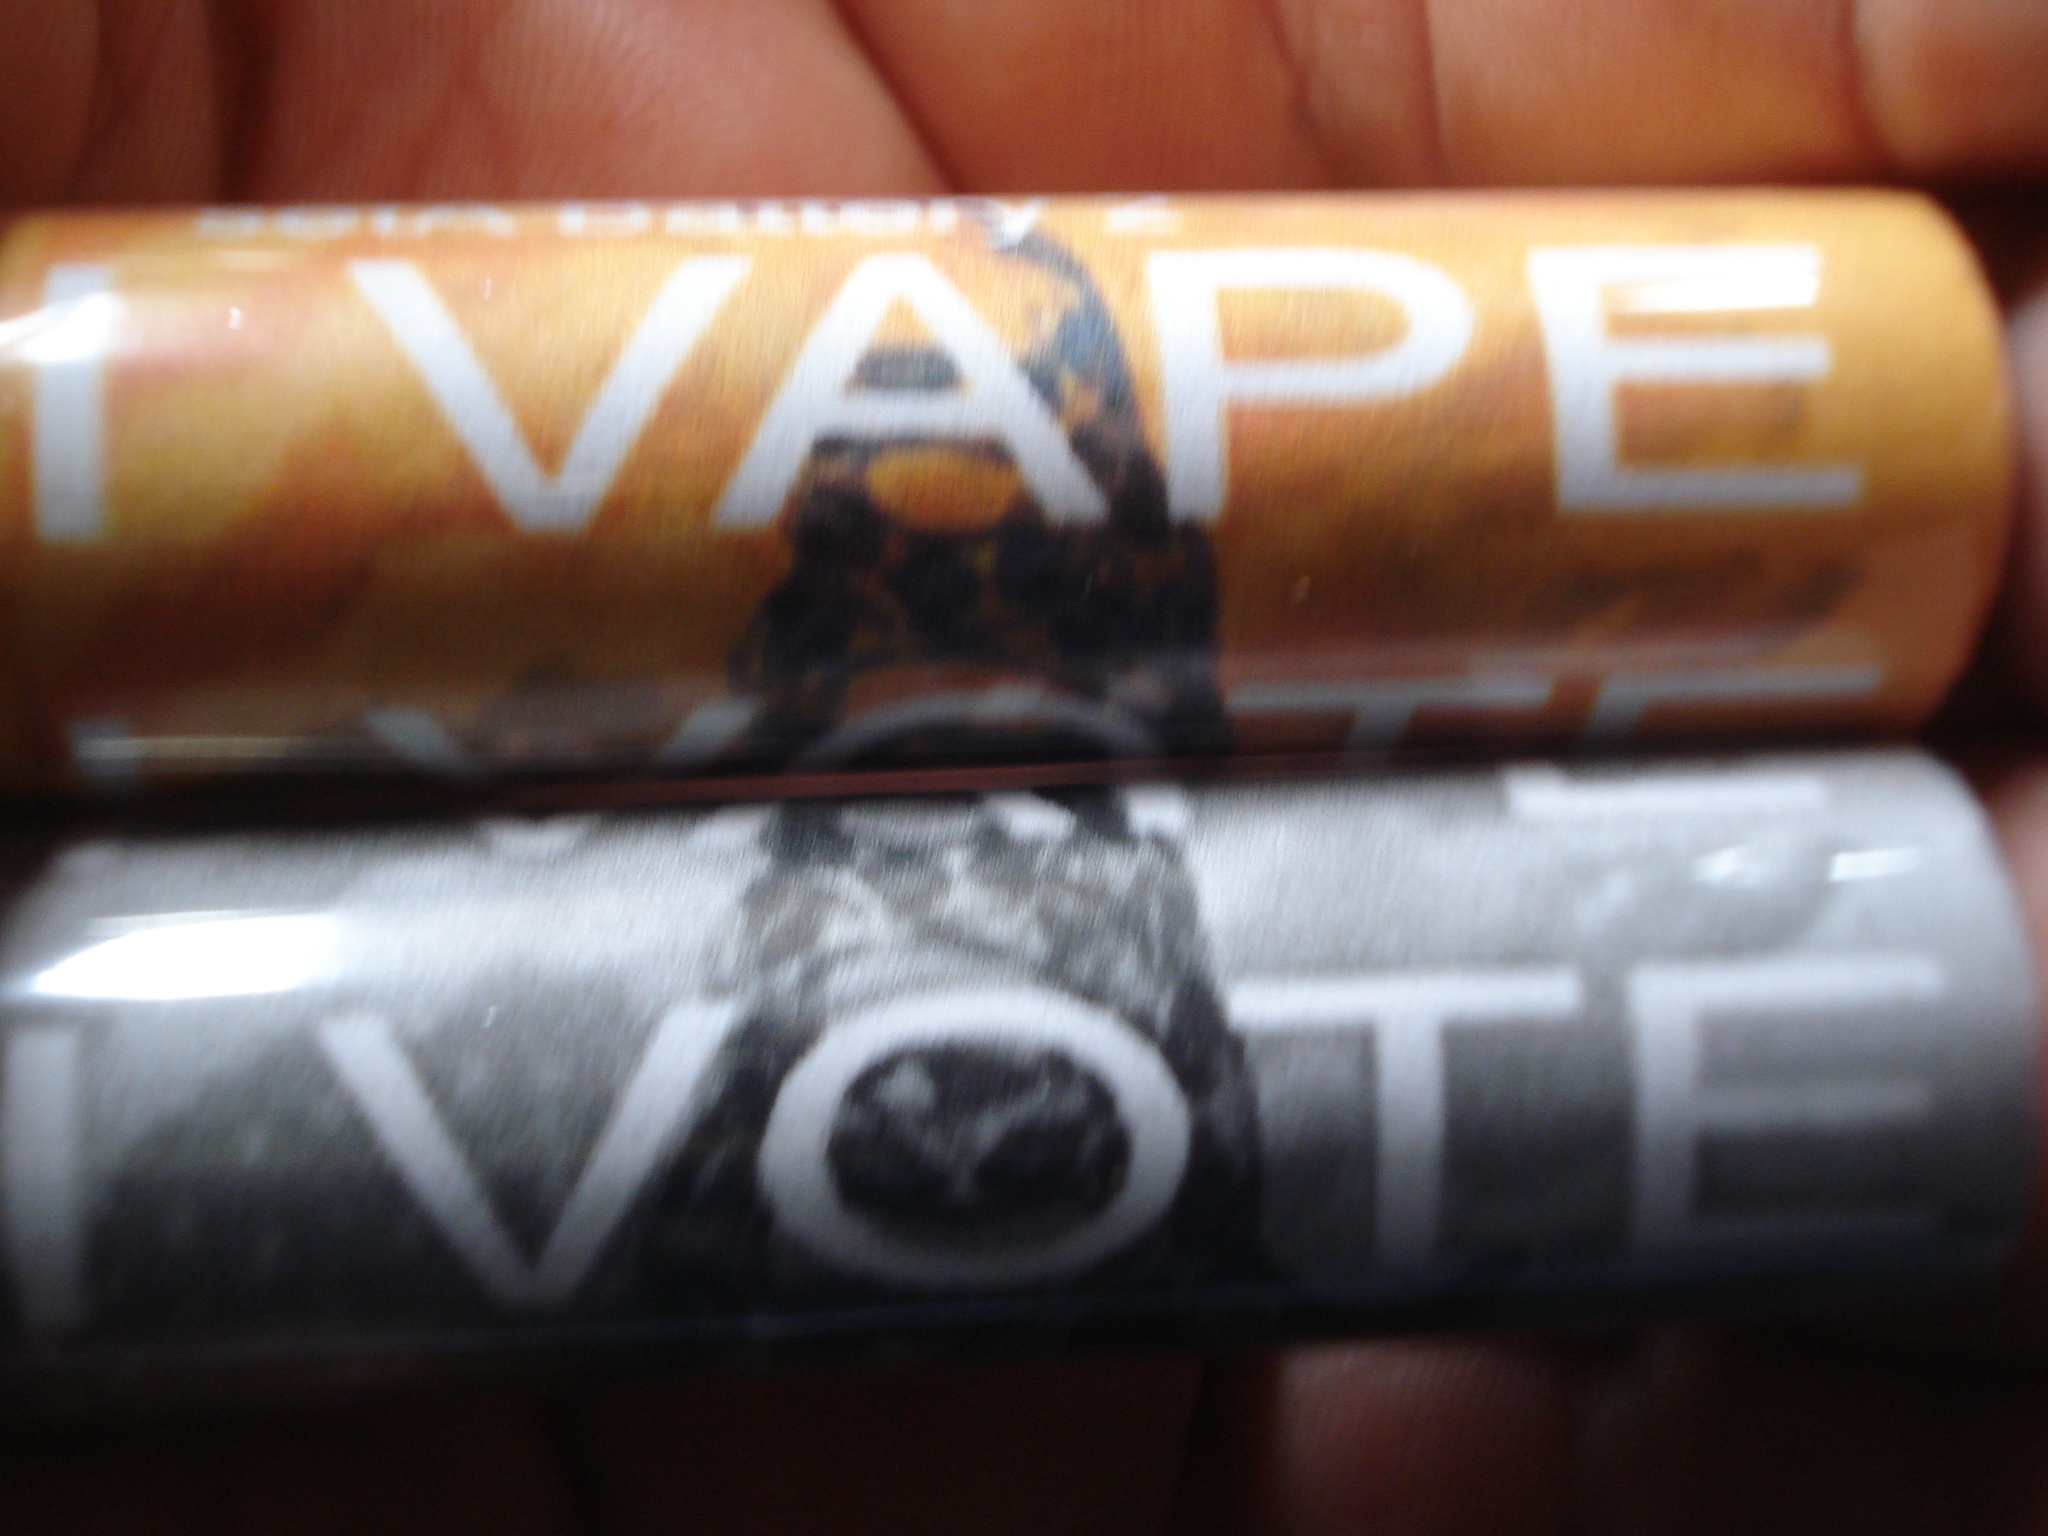
Ok folks just figured I would share my first attempt at this. Folks keep in mind my hands and fingers have arthritis fairly bad so for me to be able to do this was a chore.
That being said I would like to share a tip I figured out as I tried to accomplish a picture under a clear wrap. I failed miserably with my first 2 attempts but came up with this idea to help with getting the wrap on with the picture inside.
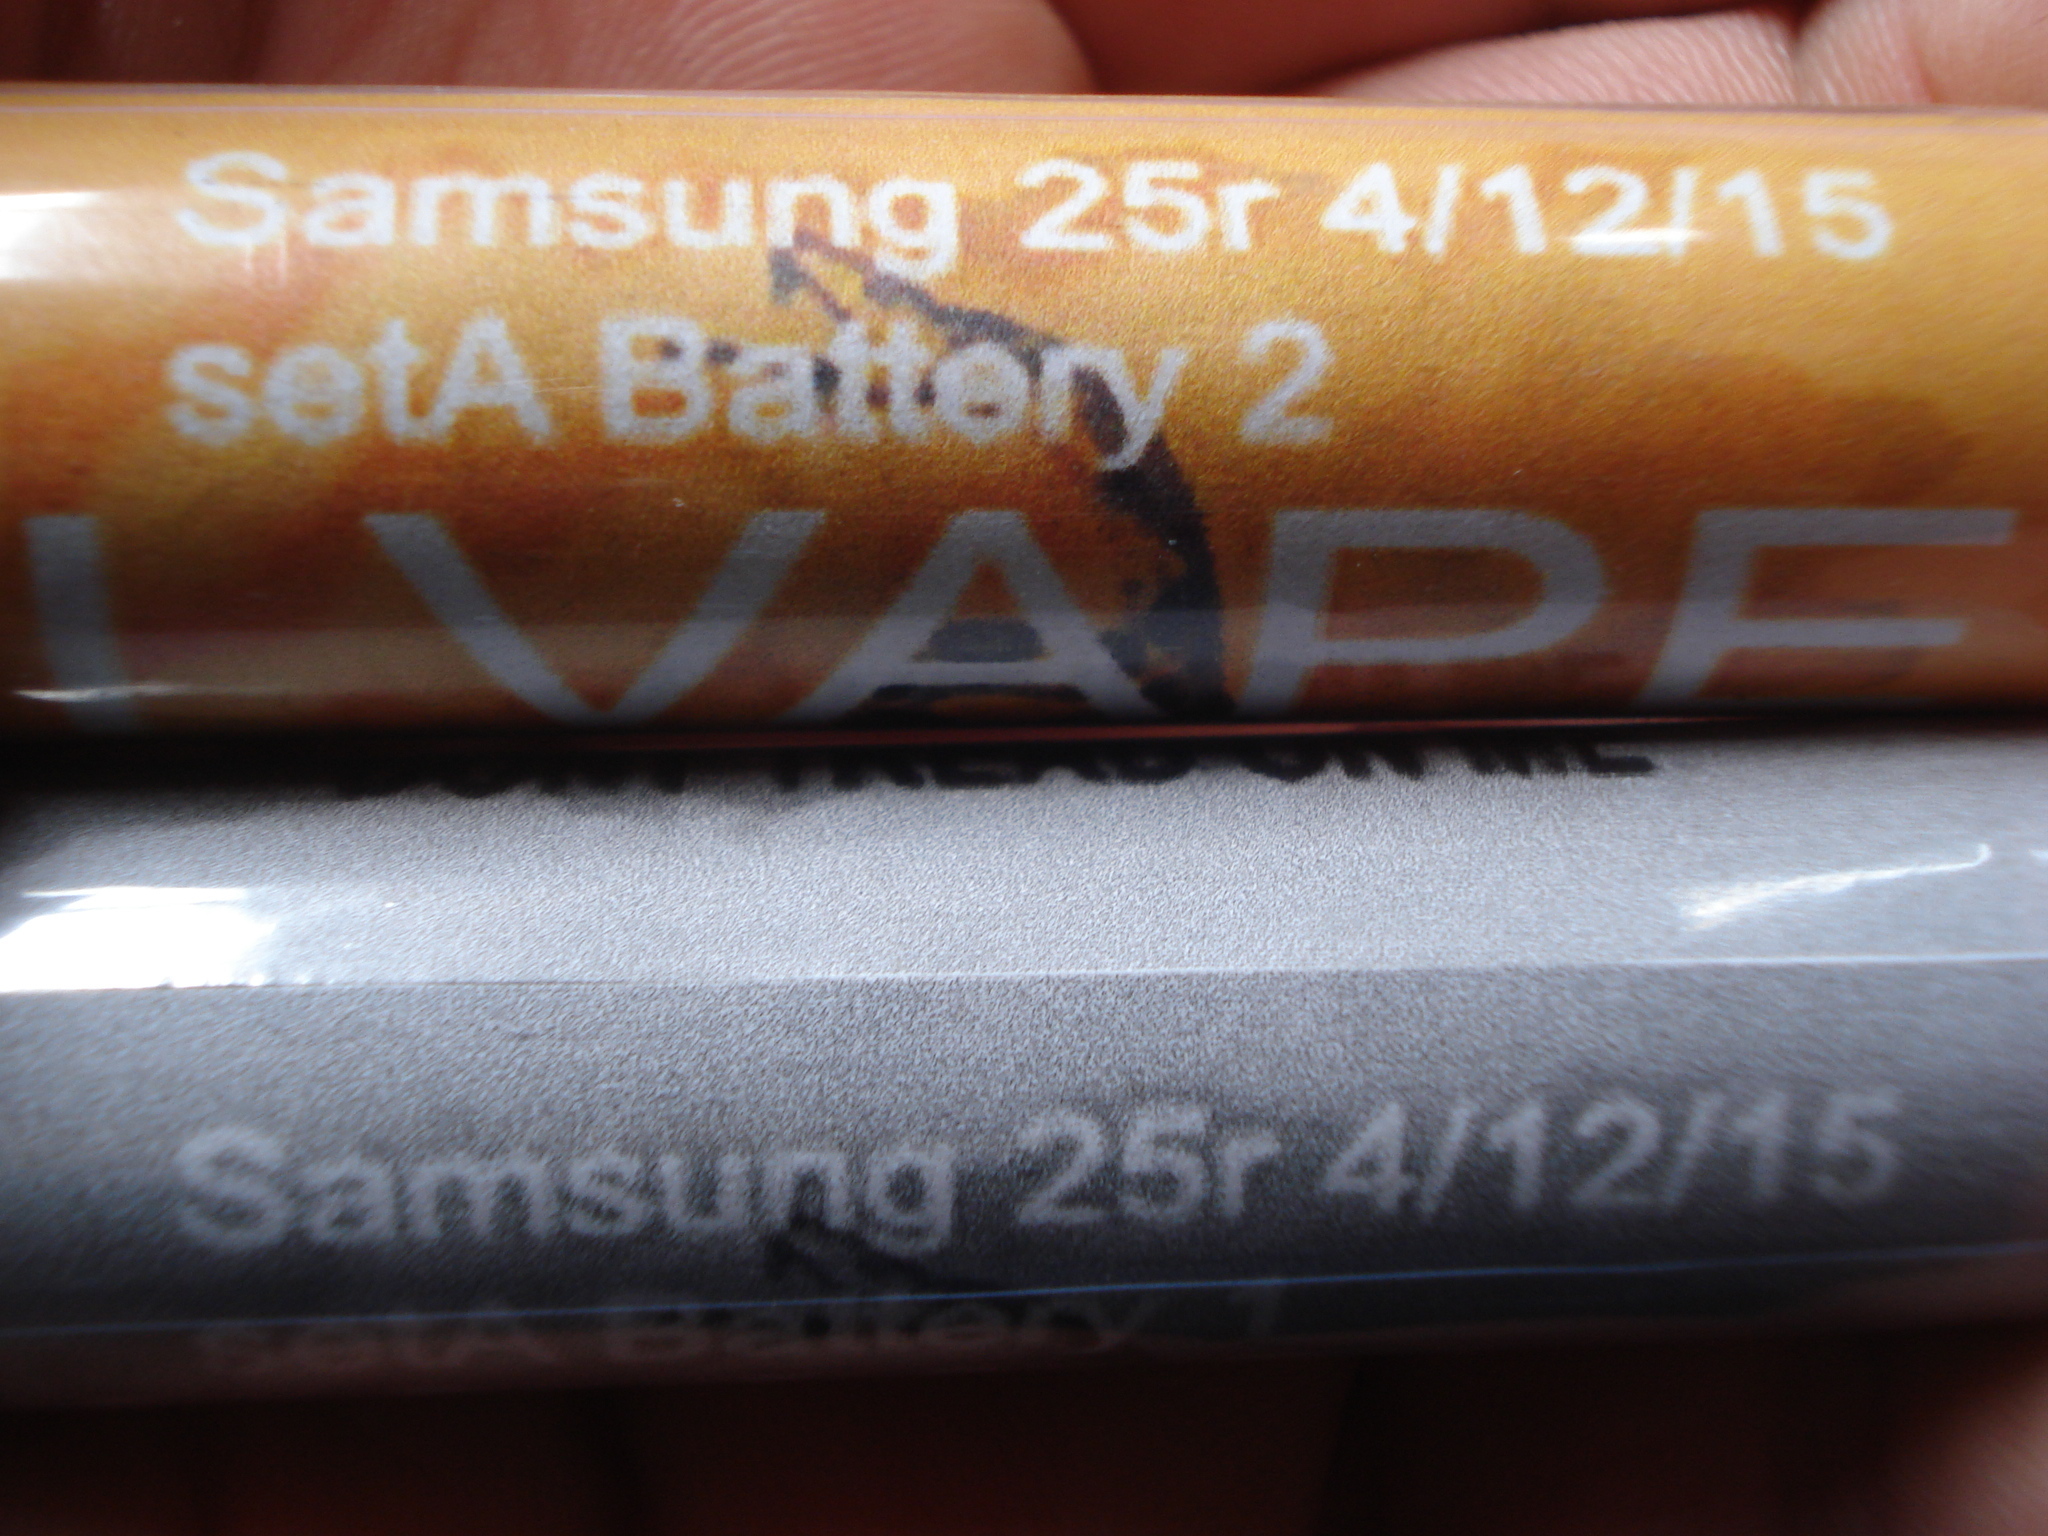
I used Photoshop to make these.
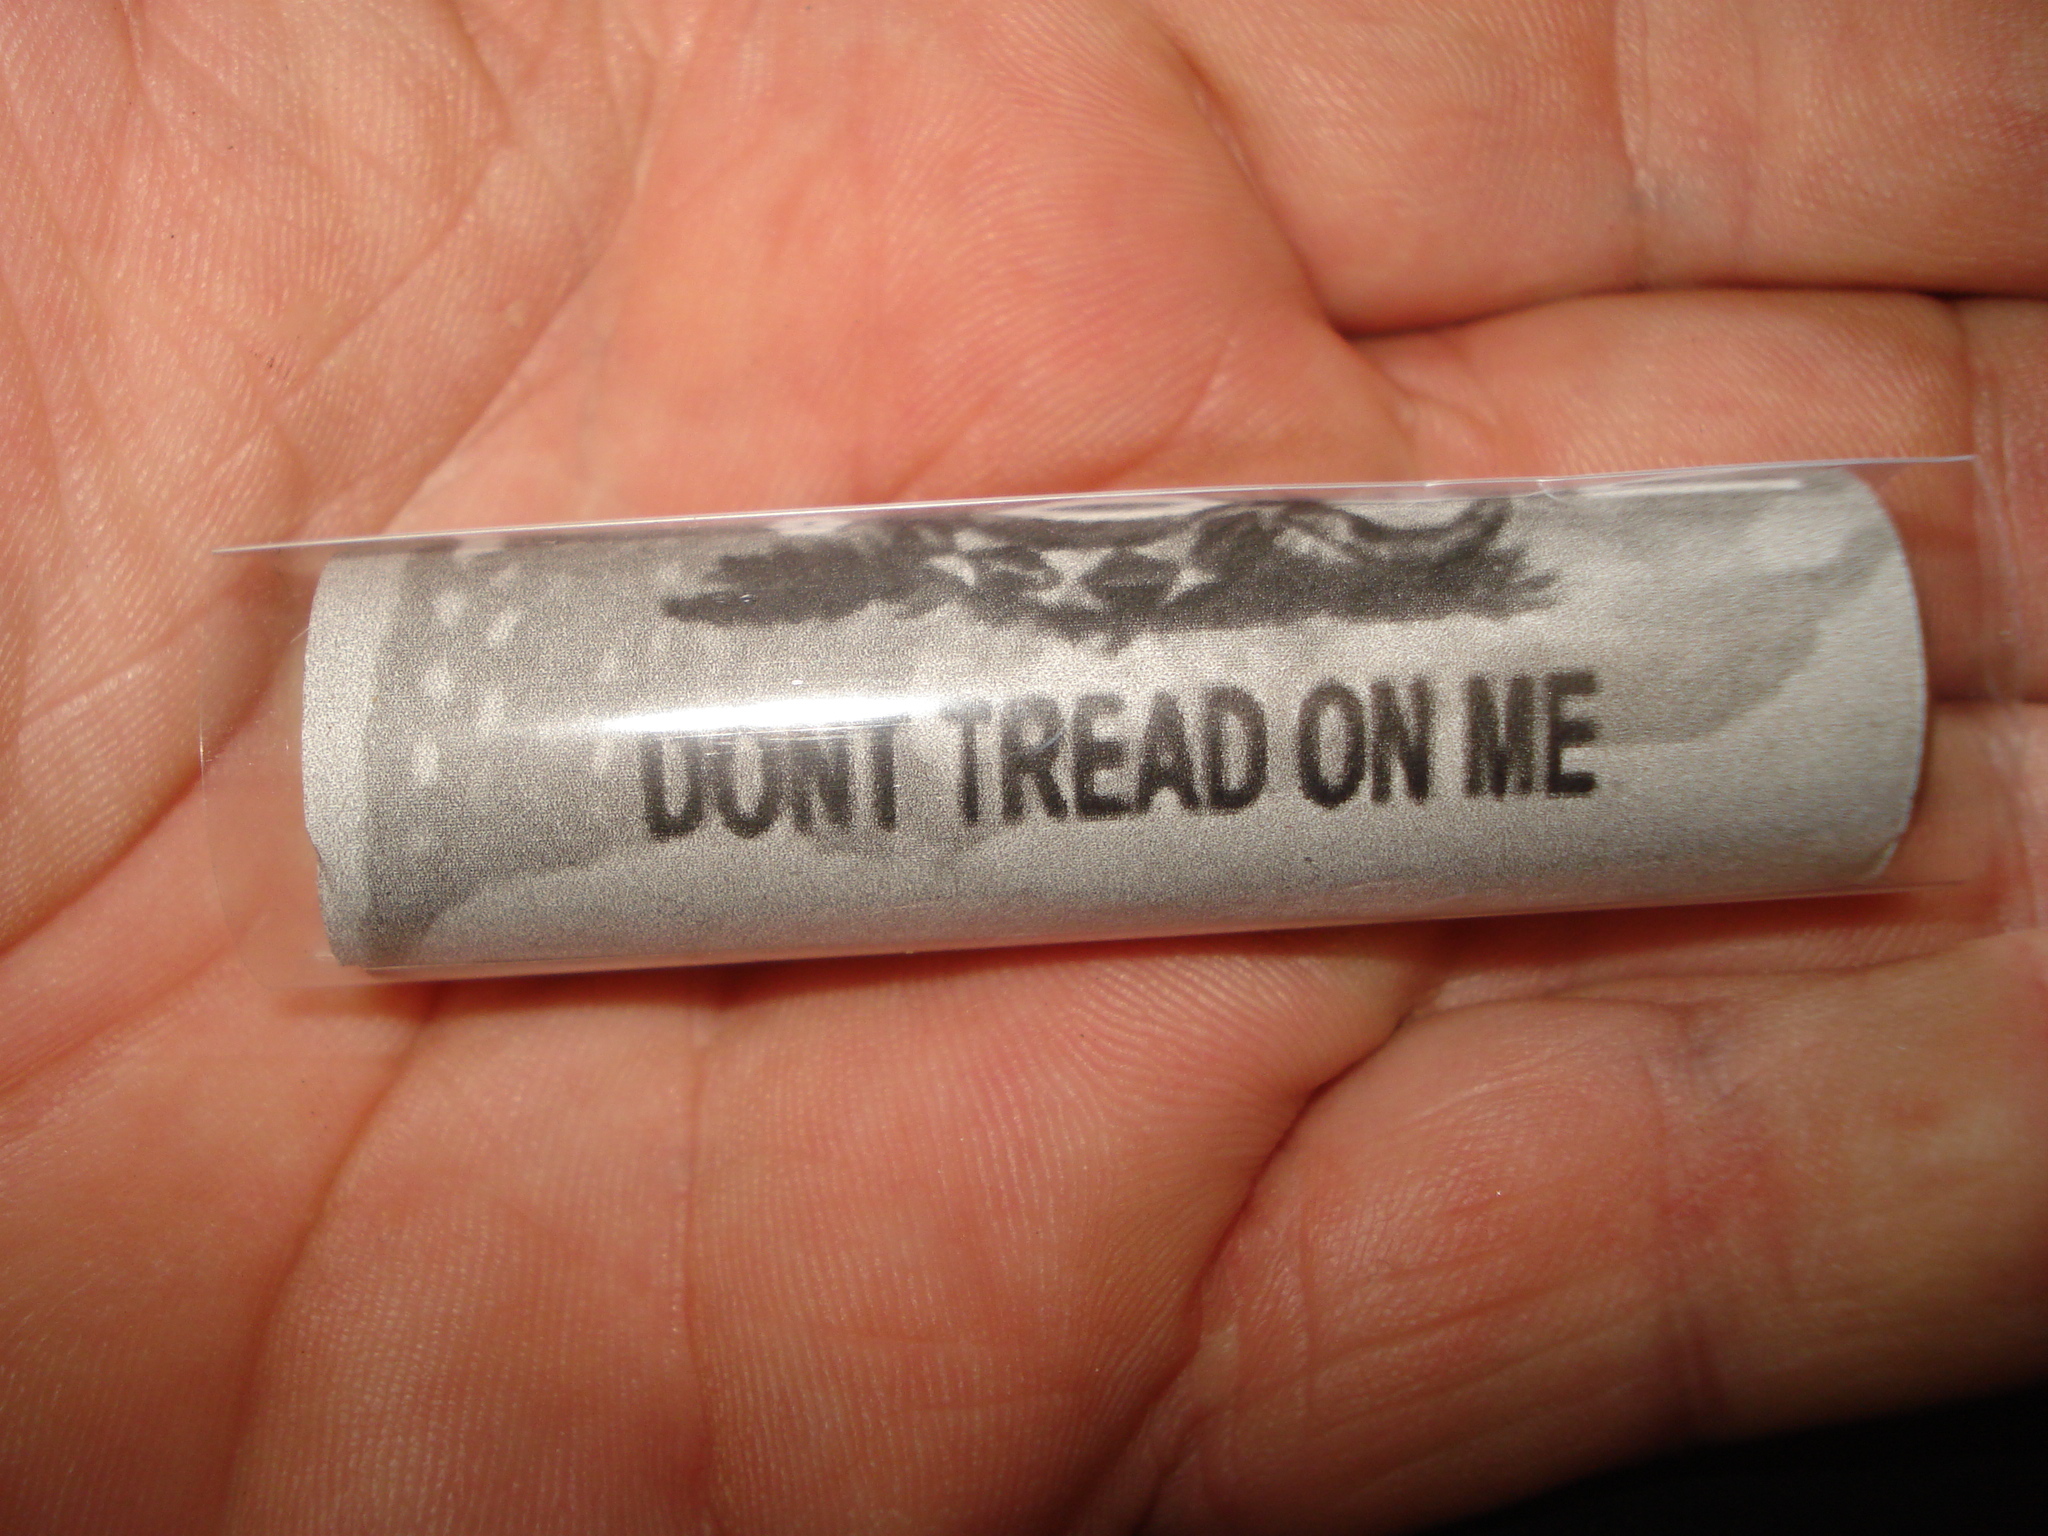
Now for the tip to make this a little easier to accomplish. When you go to put the picture and wrap on the battery start by keeping a little of the picture out past the battery allowing you to insert that into the wrap easier. Then by sliding the battery back and forth a little you can get it all ready to heat much easier.
After a little bit of manipulating it all back and forth this is what you end up with.
I used my wife’s hair dryer to shrink that wrap but we will keep that a secret. This is the finished product.
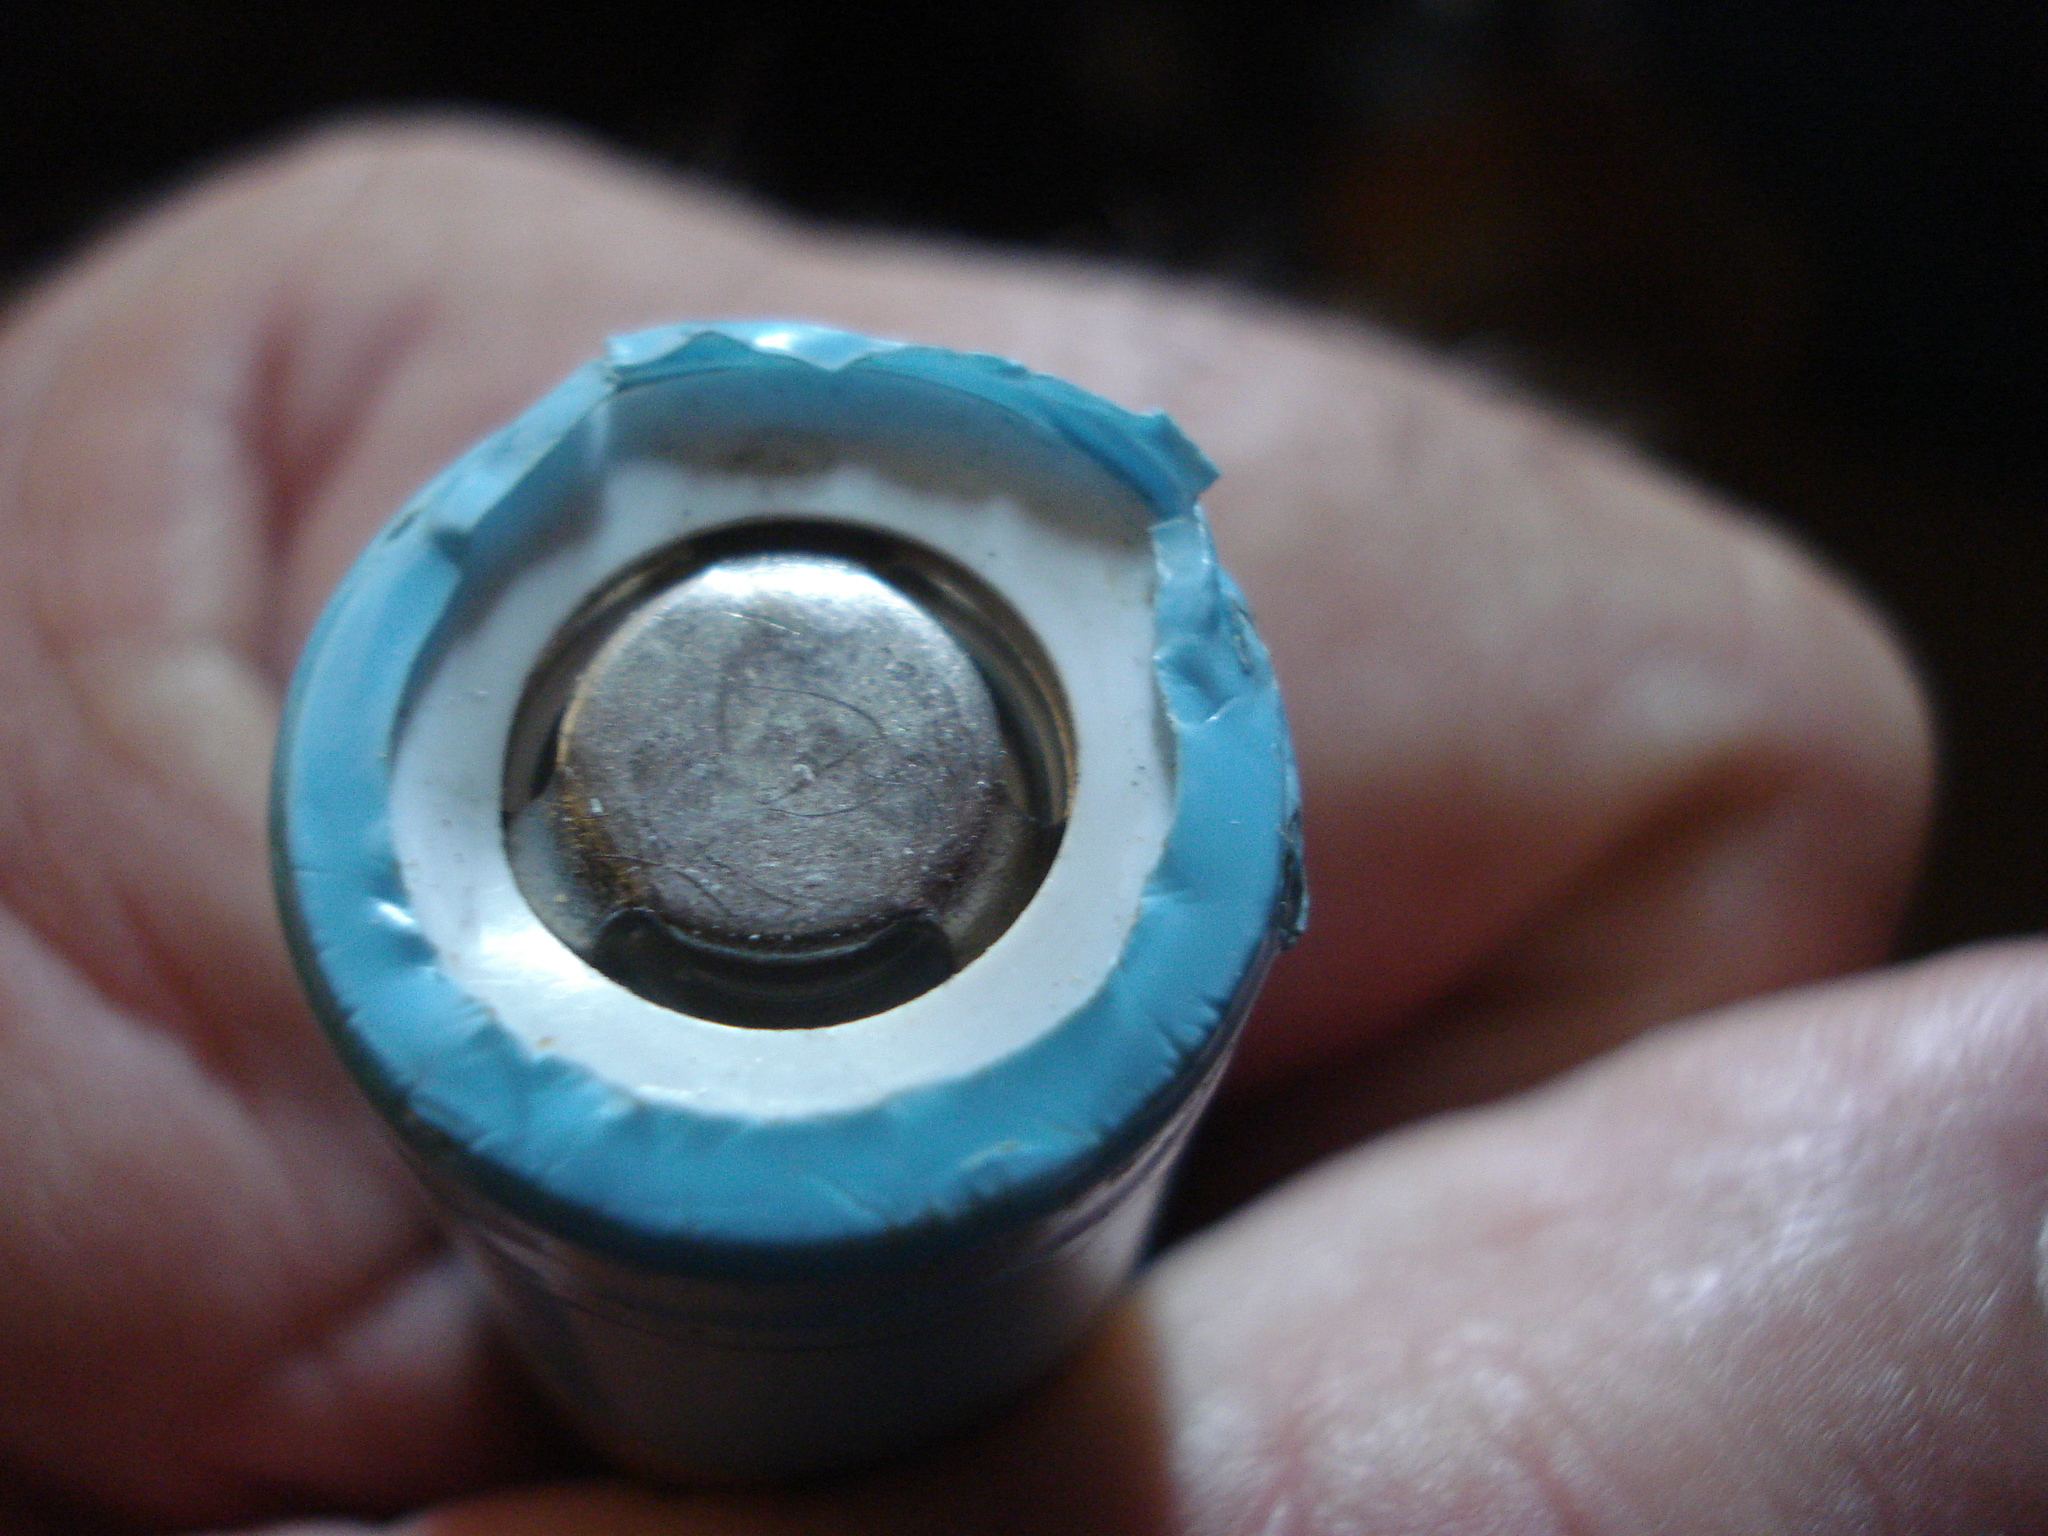
Before
After
Now off to wrap some more. I hope this helps.
Nice tips and very neat using a pic under the wrap.I was thinking they were printing the wraps , LOL!
I also like the hair dryer , I ruined my first three wrap attempts using a zippo.
Yep did that also ![]()
I think it happens to us all ,we are always trying to find a good reason to use our trusty Zippo for one last hurrah!
Yeah, I would recommend using an actual heat gun rather than a torch or lighter. You can get one from Wally Mart for a few bucks that’ll work great. Don’t need the Craftsman for heat-shrink.
nice job! I have no problems wrapping them. The problem I have is getting the batteries into the battery tubes. I can’t get any of my re-wrapped picture-insert batteries to fit in my Cuboid and my other mods don’t like them as the battery door isn’t sitting flush. Damn shame cuz I had some nice WWII airplane nose art on some of them. The photo insert is printed on plain paper and cut with no overlap. Maybe the wraps I got are too thick?