I finally received some wire that allows me to build a coil in the 0.8 Ohm range required for the IPHA Zing POD system. The POD’s are not made as rebuildable but are made as refillable. I was pretty impressed with the performance of the IPHA Zing I won from a giveaway here provided by @Heavengifts and have ordered three more POD’s that are still on the slow boat my direction. Unfortunately it was my first order from them and I made the mistake of mixing in-stock items with pre-order items thereby holding up my entire order. They are very clear on there web site how that is handled and even offered to cancel the order and let me redo it but I decided to just wait.
Without anymore babbling I took some pictures during my rebuild to share.

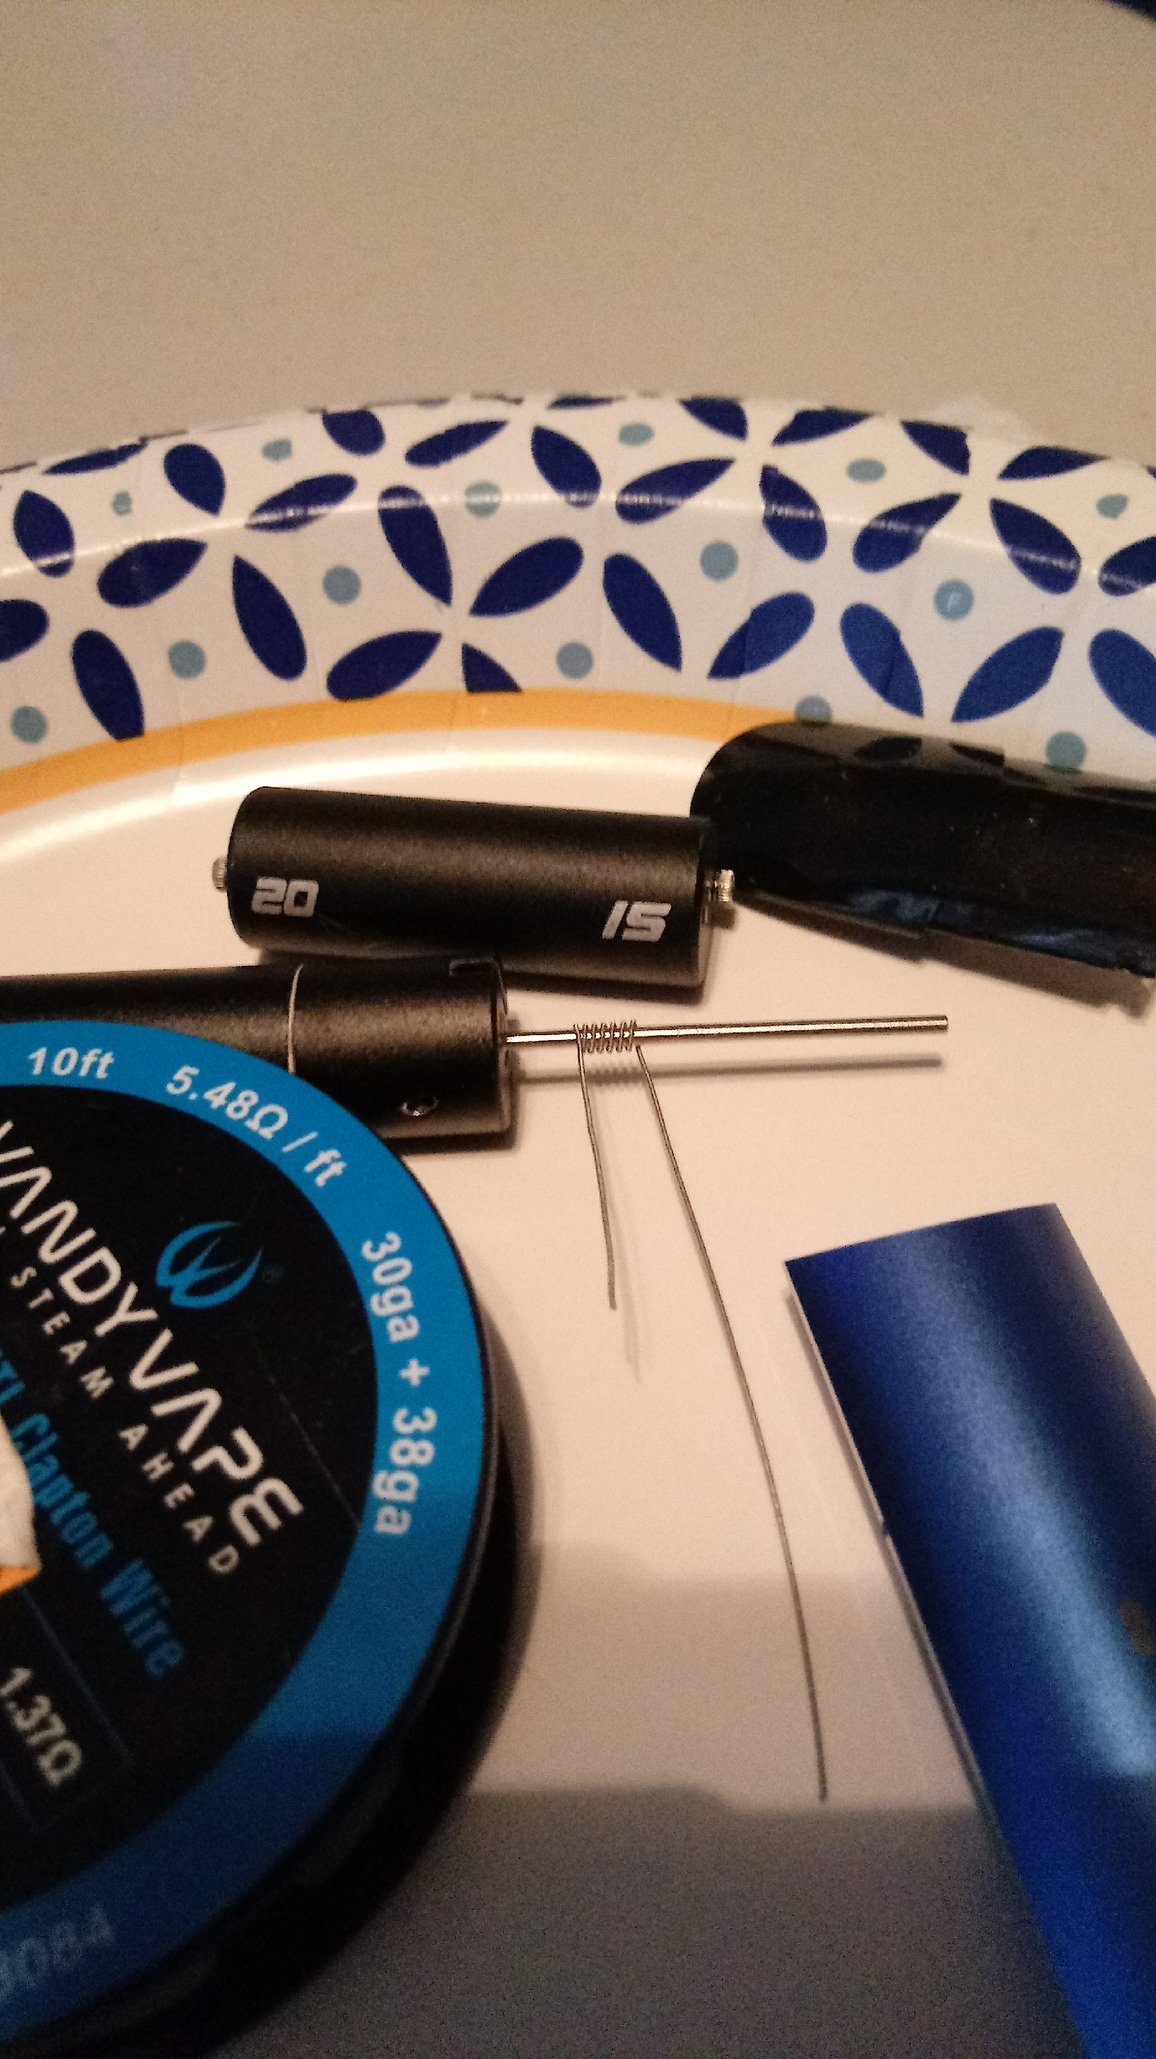
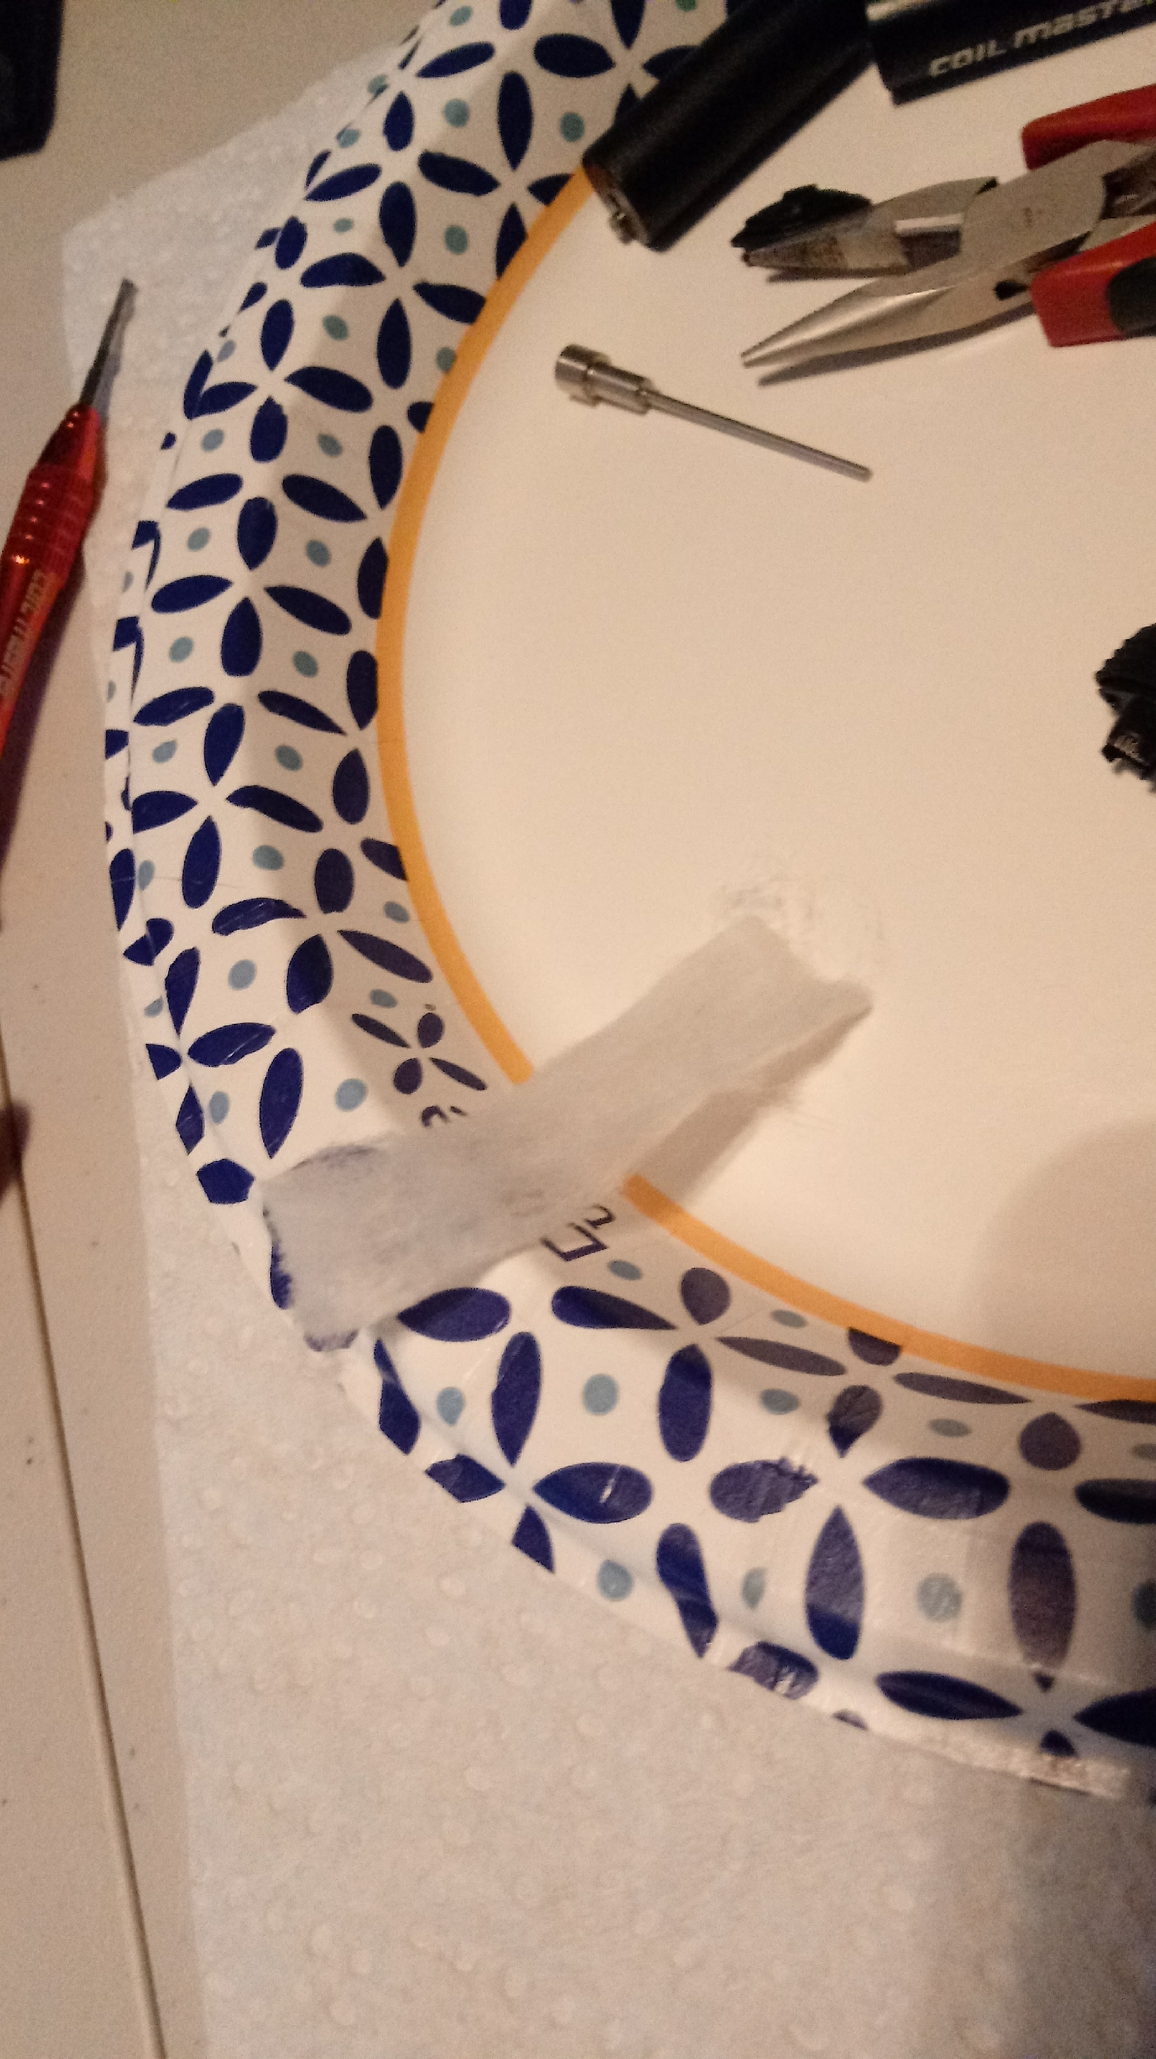
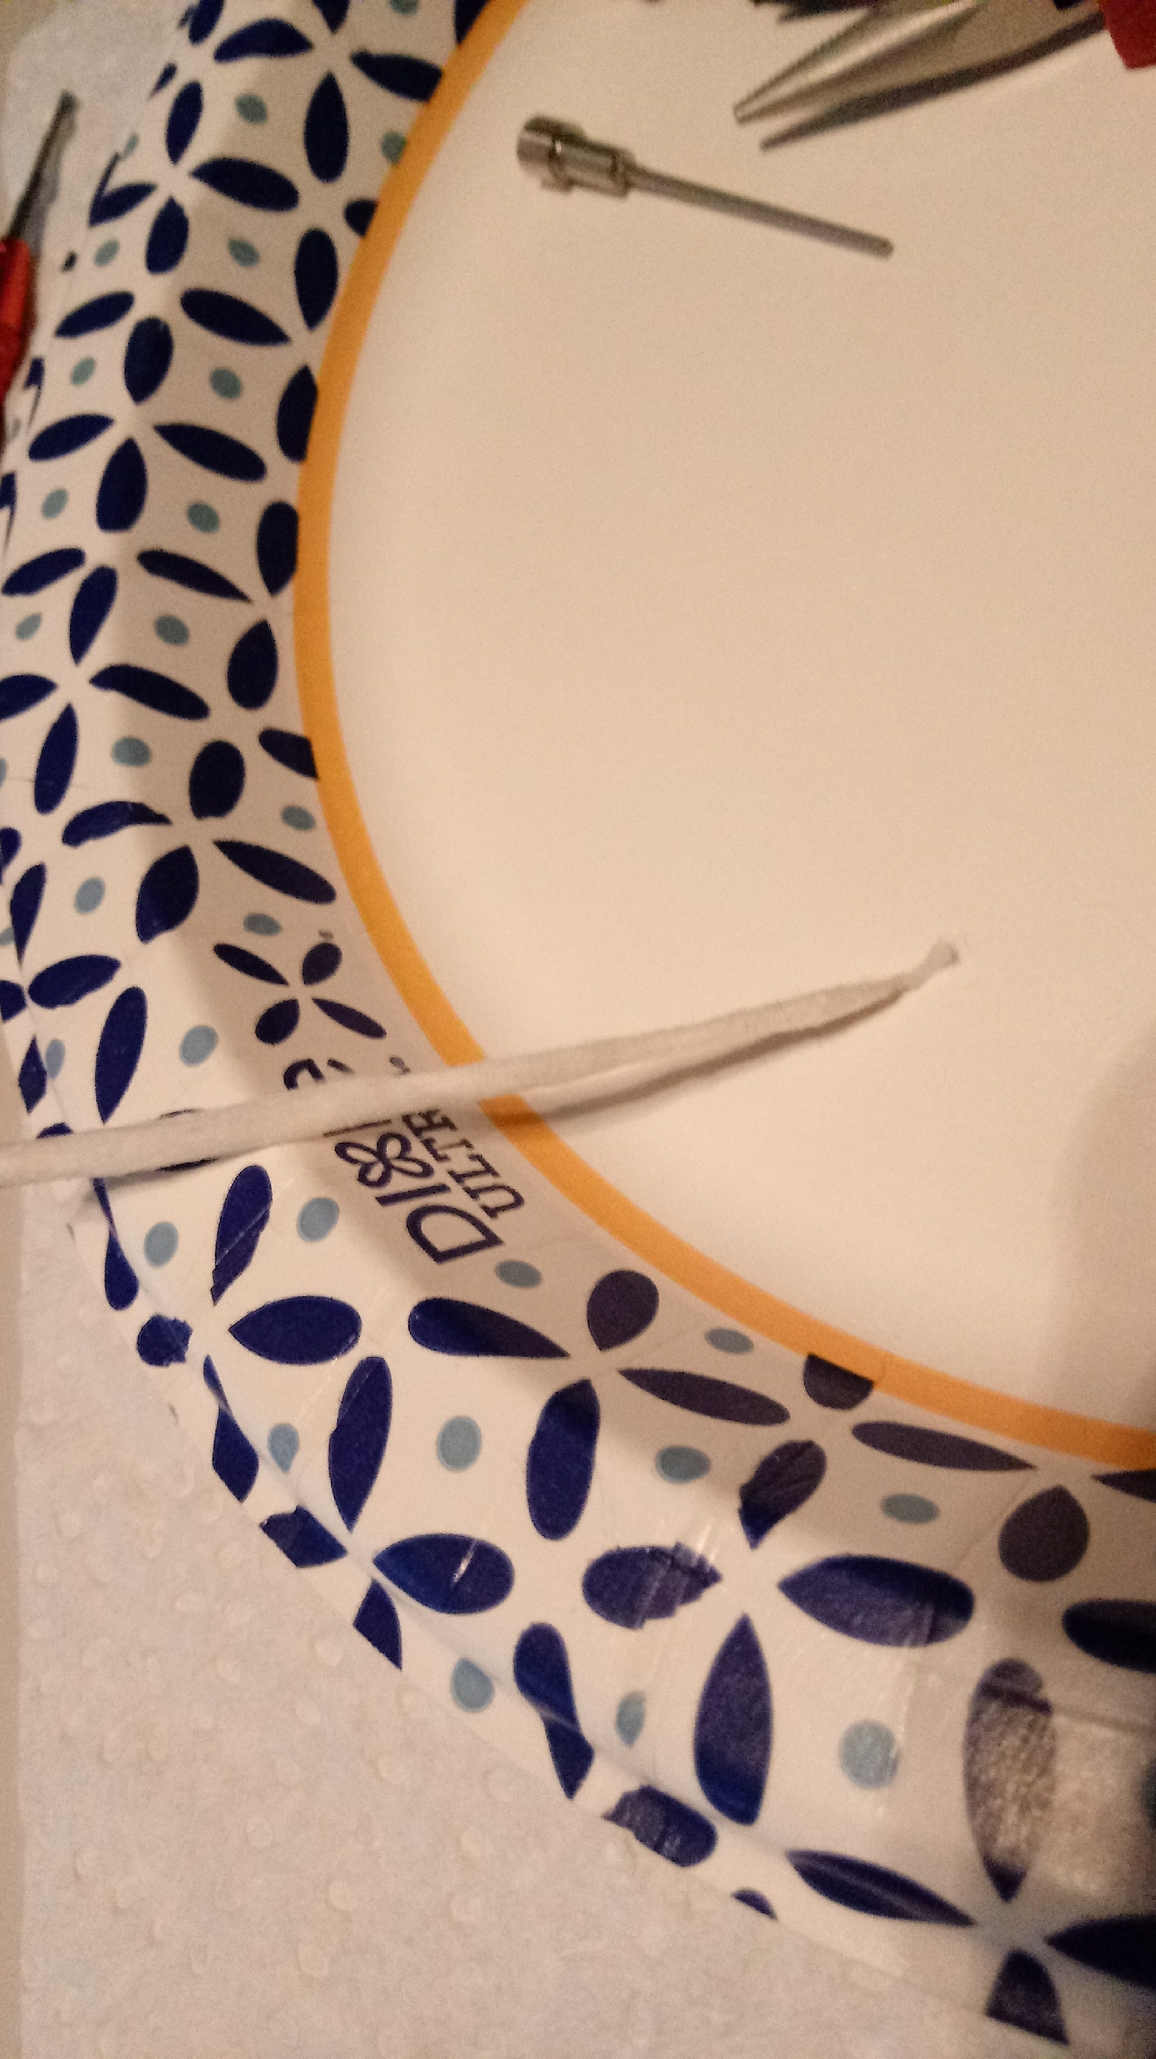
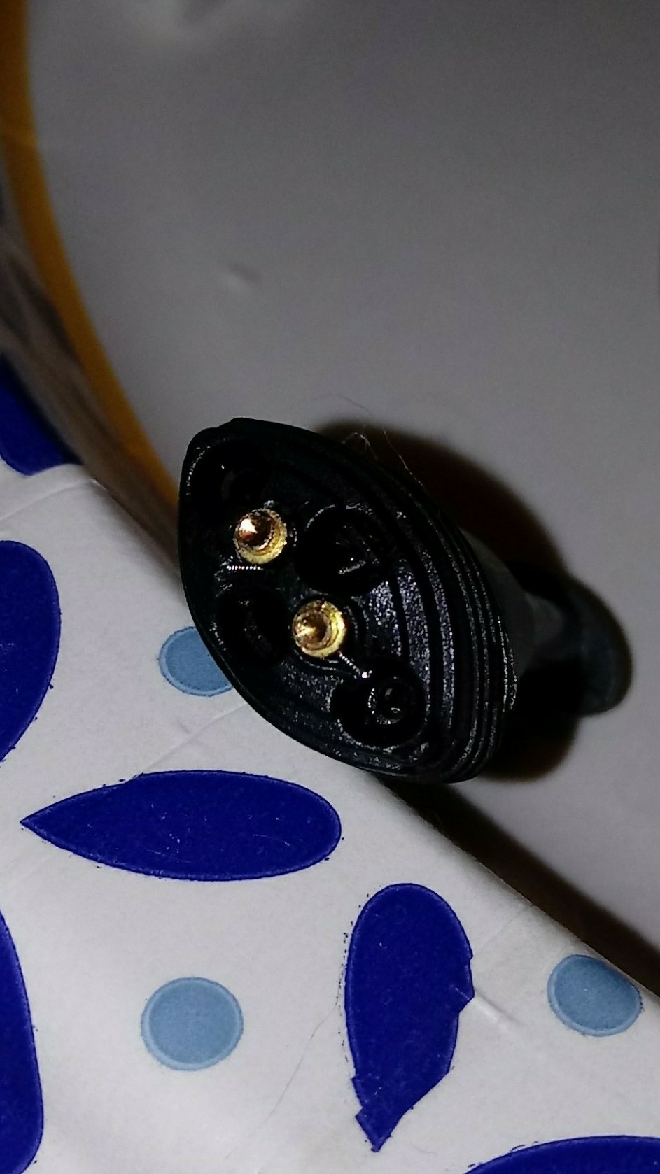
This shows a layout of the disassembled IPHAZing POD
For the new coil I’m using 30ga. + 38ga. Clapton Stainless steel 316L, 5.48 Ohms/ft. wire from Vandy Vape.
Wrapped coil
I wrapped on a 1.5mm jig and was incorrectly shooting for 5 1/2 wraps but i ended up with 6.0 wraps because the wire legs have to end on same side. The result was a calculated 0.867 Ohm coil instead of the original calculated target of 0.817 Ohms. I wanted to get as close to the factory 0.8 Ohms as I could.
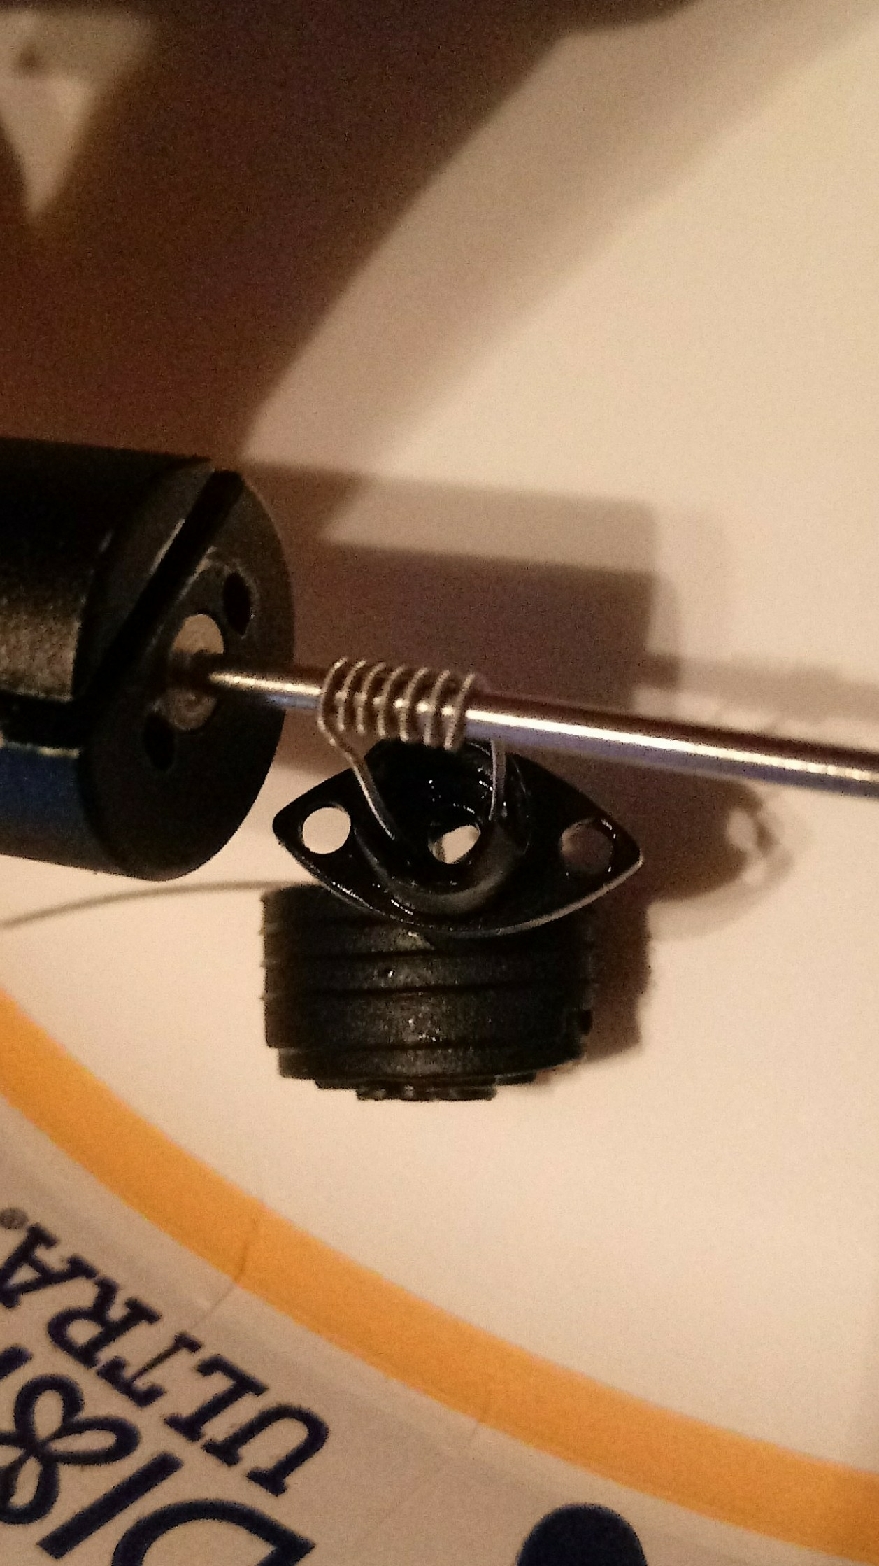
Inserting coil legs through tiny holes in the plastic chamber base and rubber boot

Showing coil position in cradle of plastic chamber base
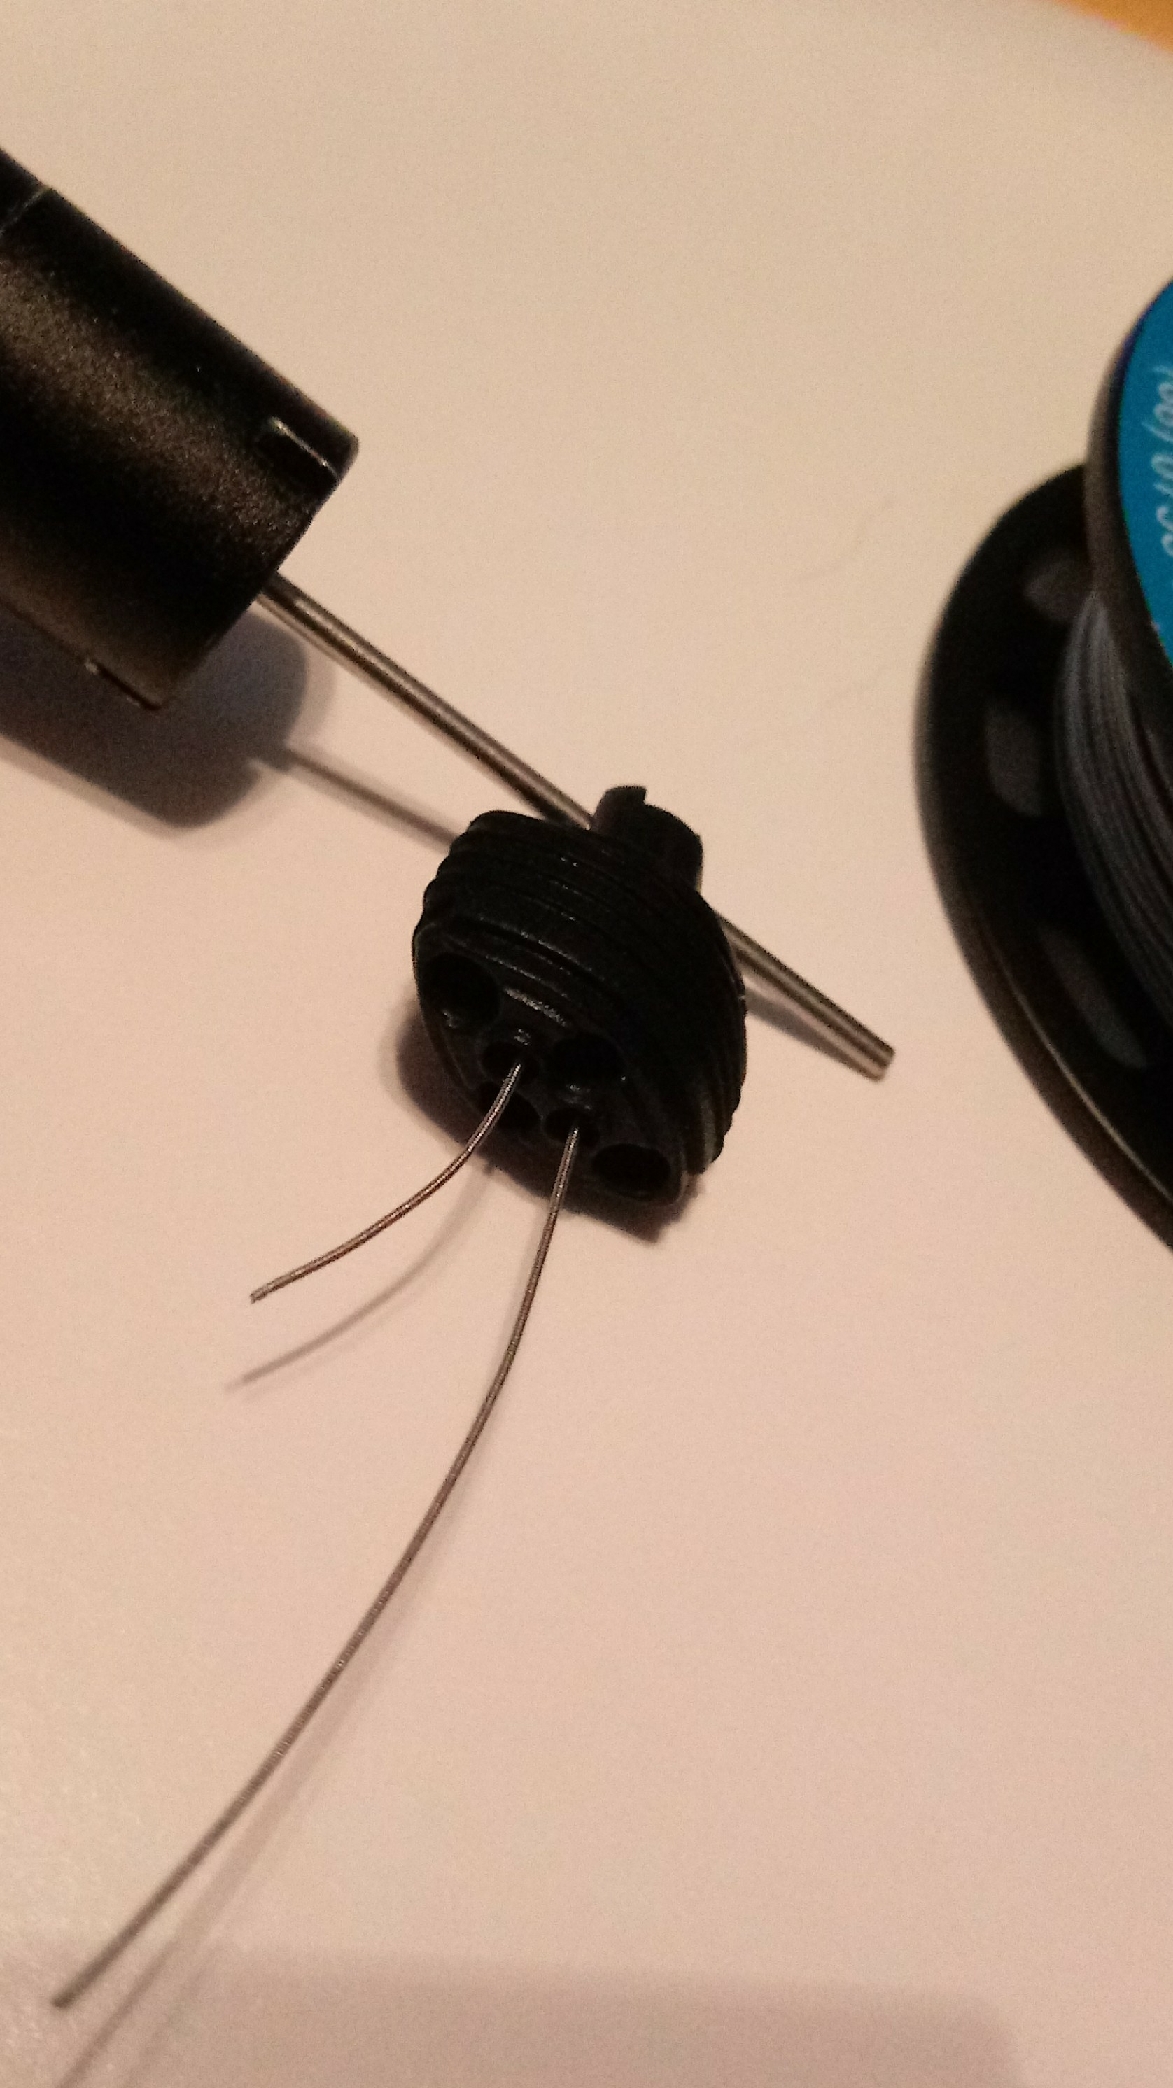
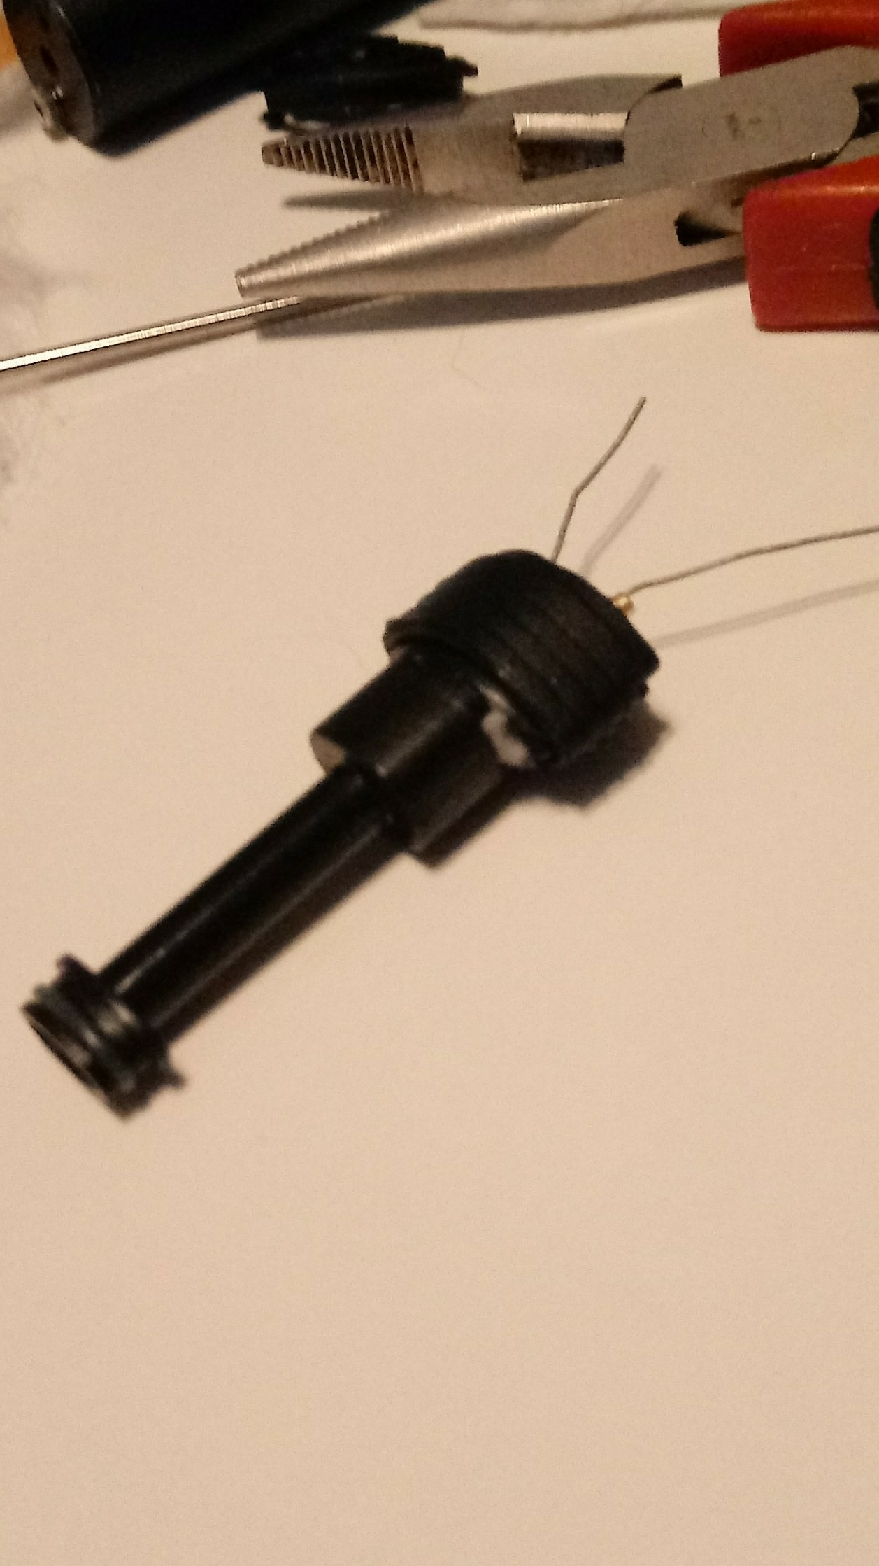
View of coil legs exiting the rubber boot
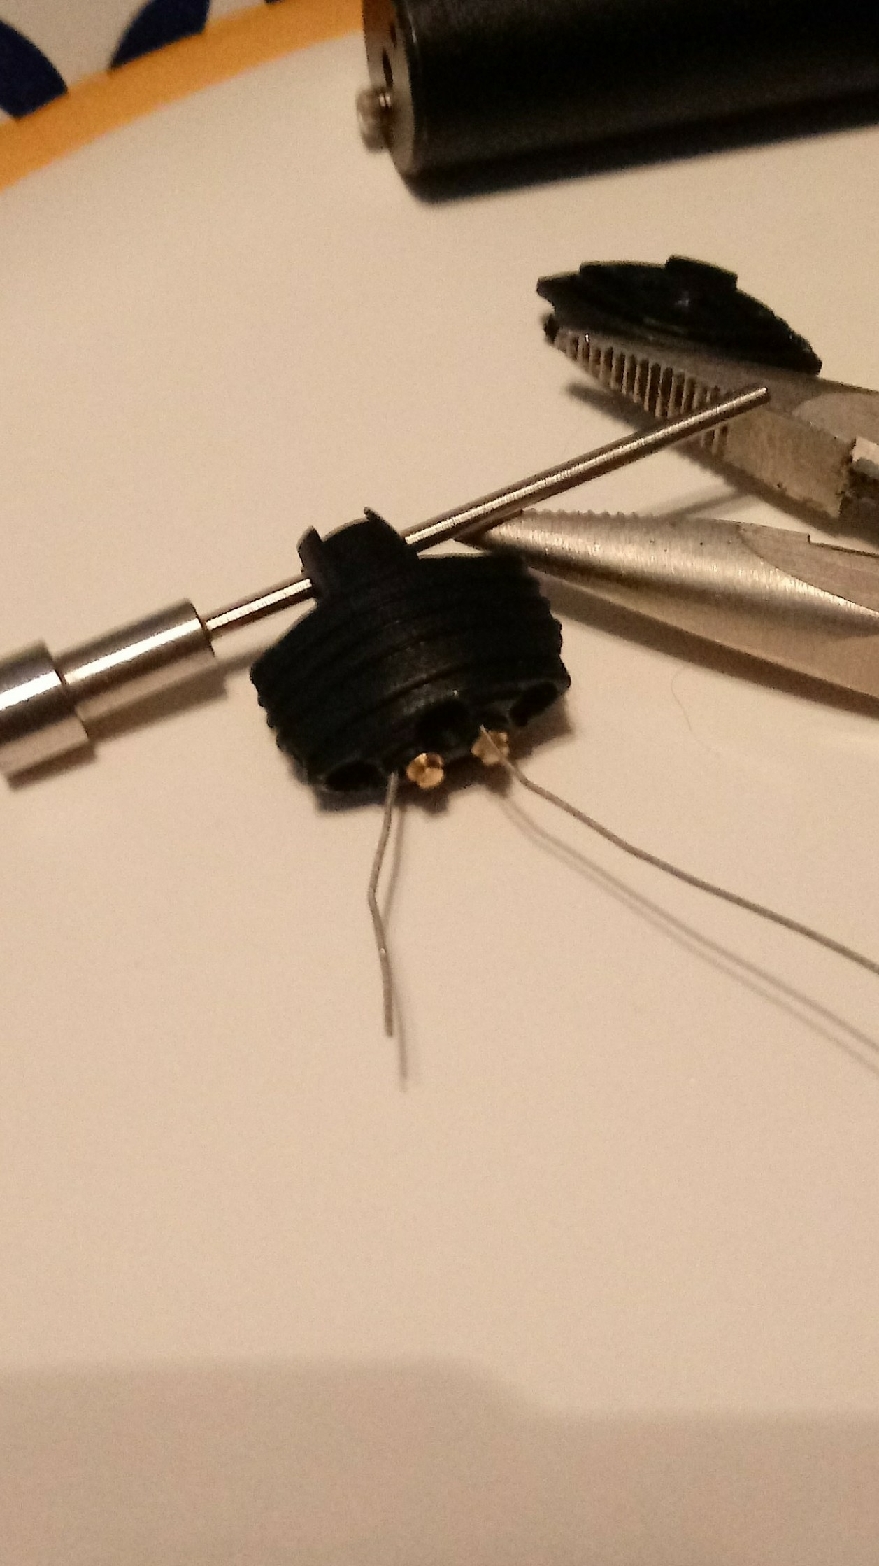
Tiny connection pins are carefully pushed in between the wire legs and the rubber boot. Carefully not to lose them, they are hard to hold on to. I used needle nose pliers. This is the hardest part of the rebuild
Scrap of Japanese Organic Cotton square
Prepped and ready for insertion


Rough trim
Final trim
Bottom chamber assembly mated with top chamber/chimney
First trim of coil legs
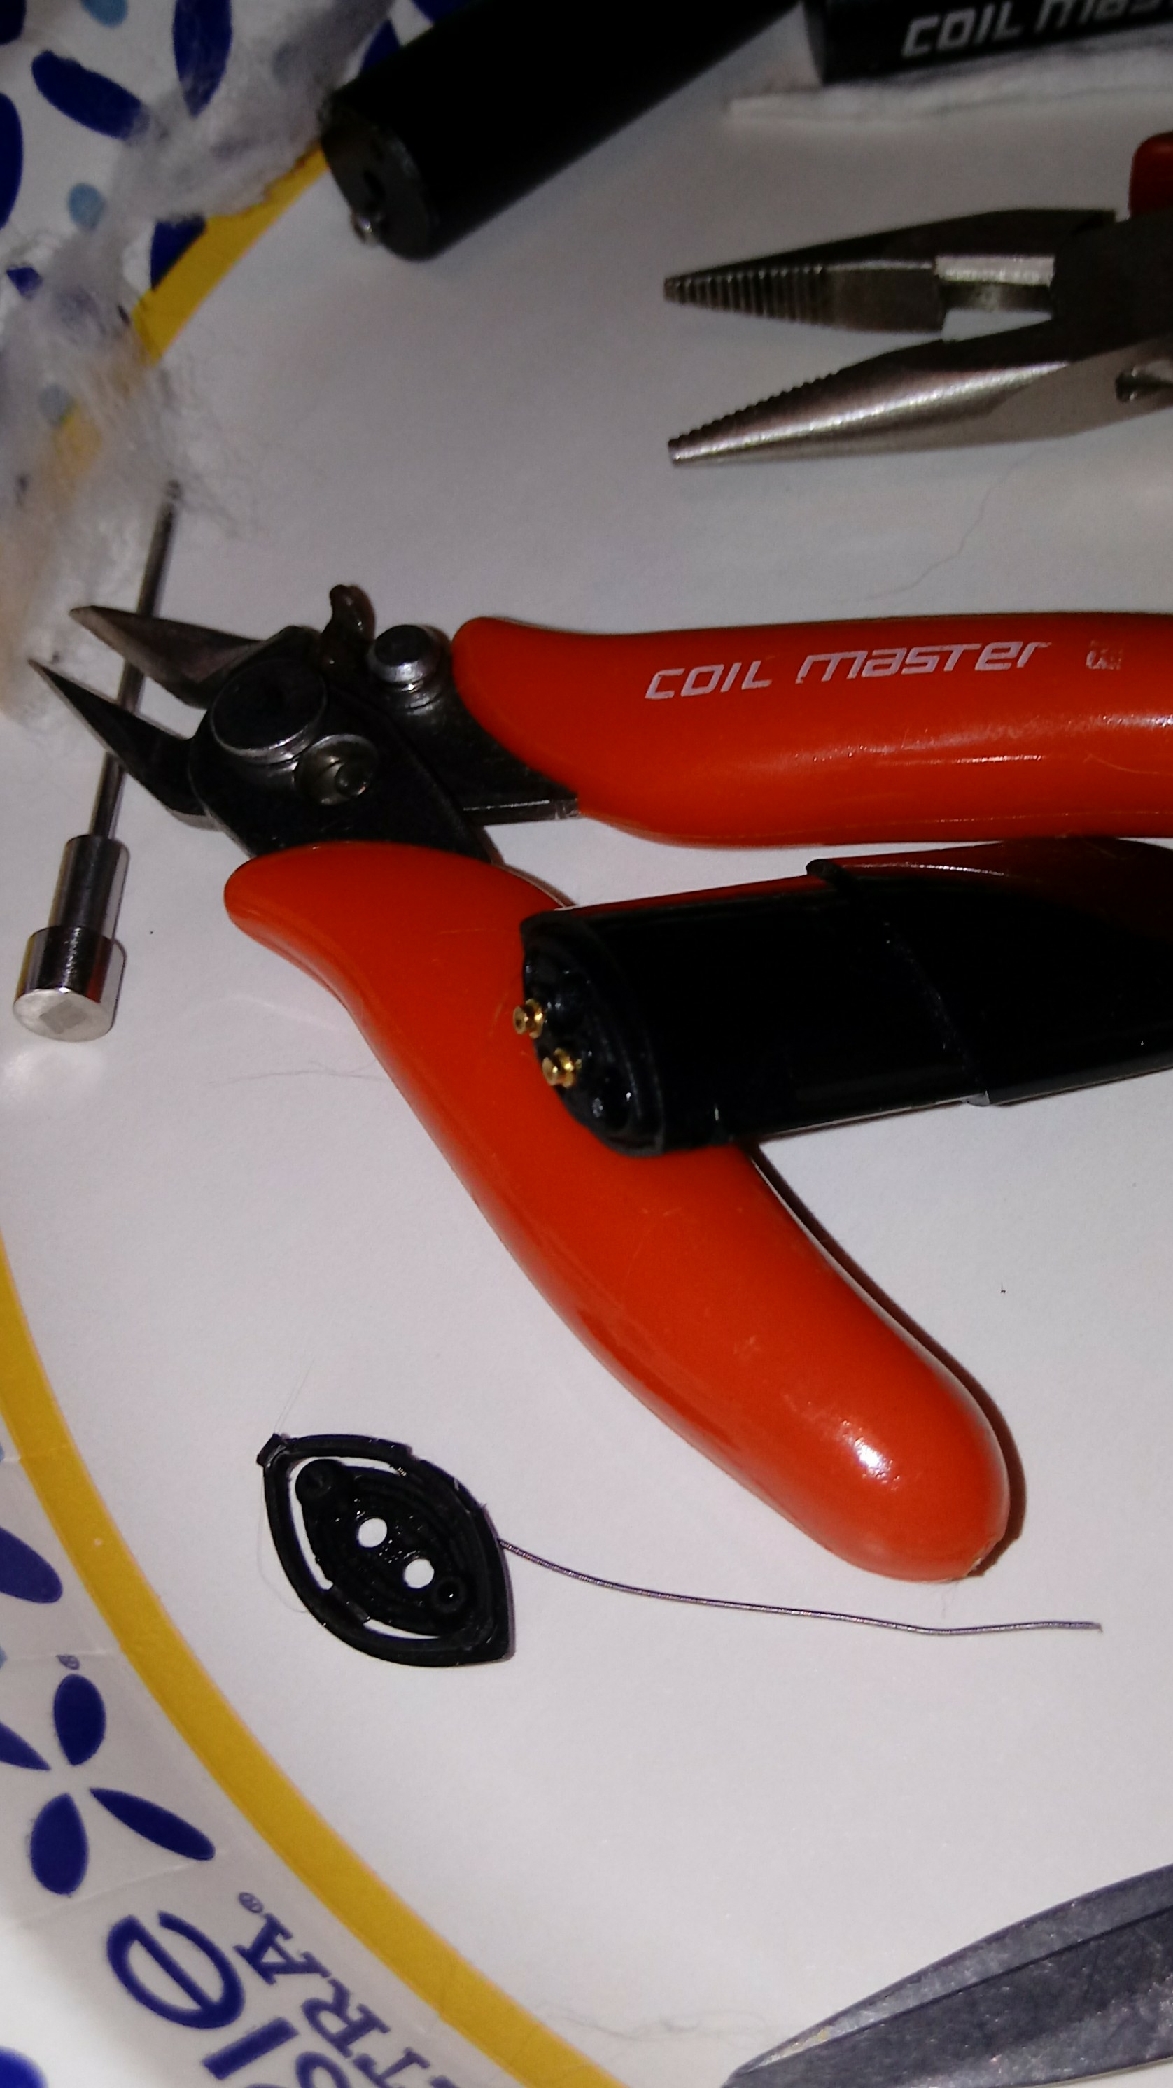
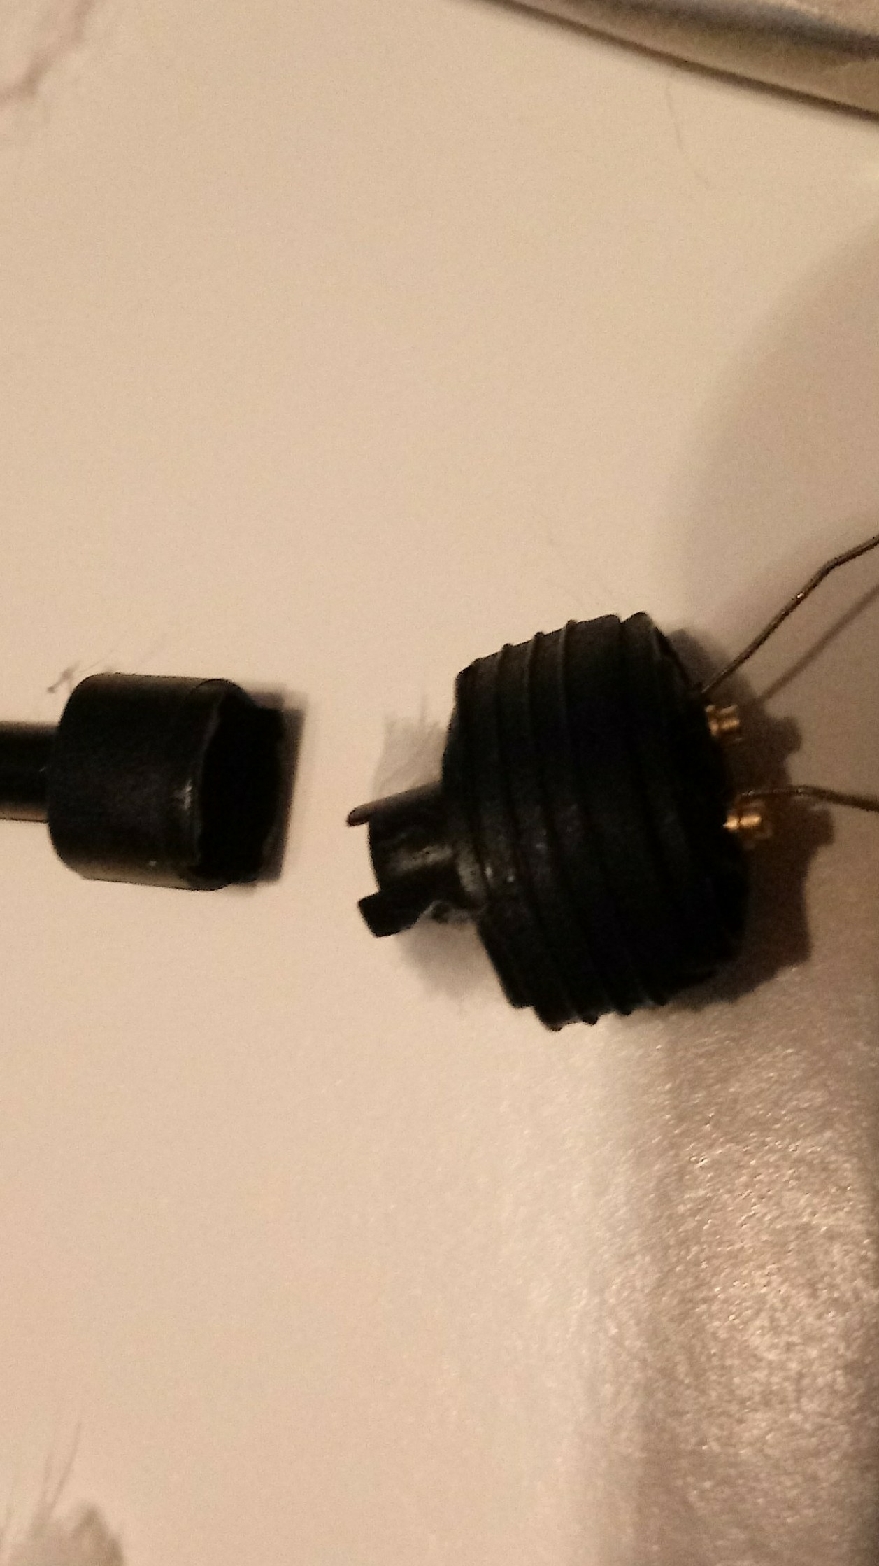
Rubber boot ready. Plastic boot cover price with flip up fill lid pictures below
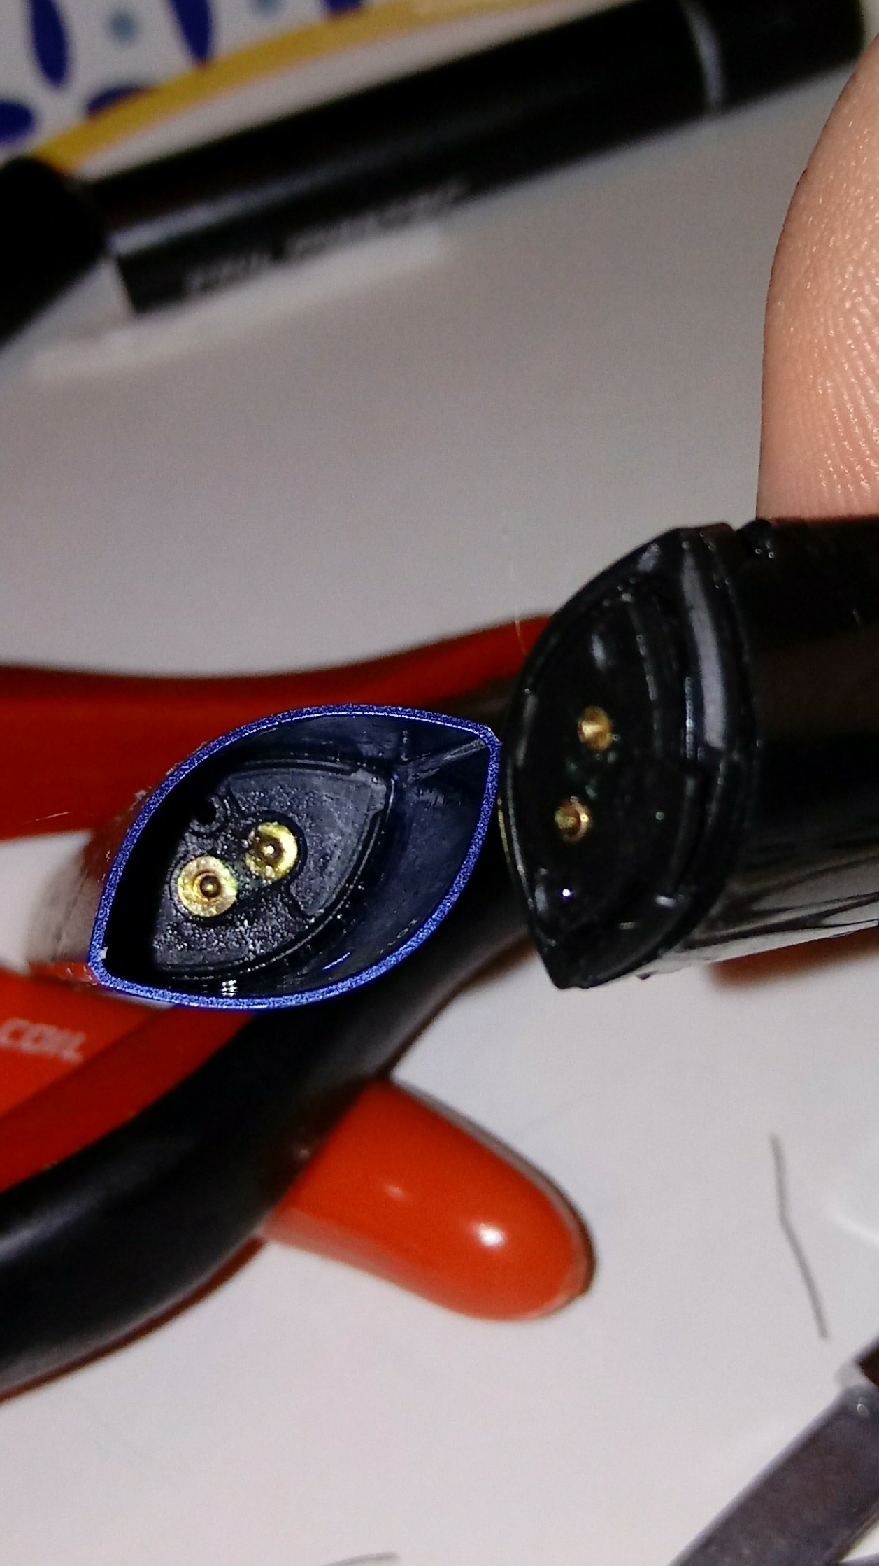
This picture shows the battery pins(filthy but I later cleaned them with rubbing Alcohol and a Q-tip™) and the POD pins with plastic boot cover snapped in place. At this point the POD is complete
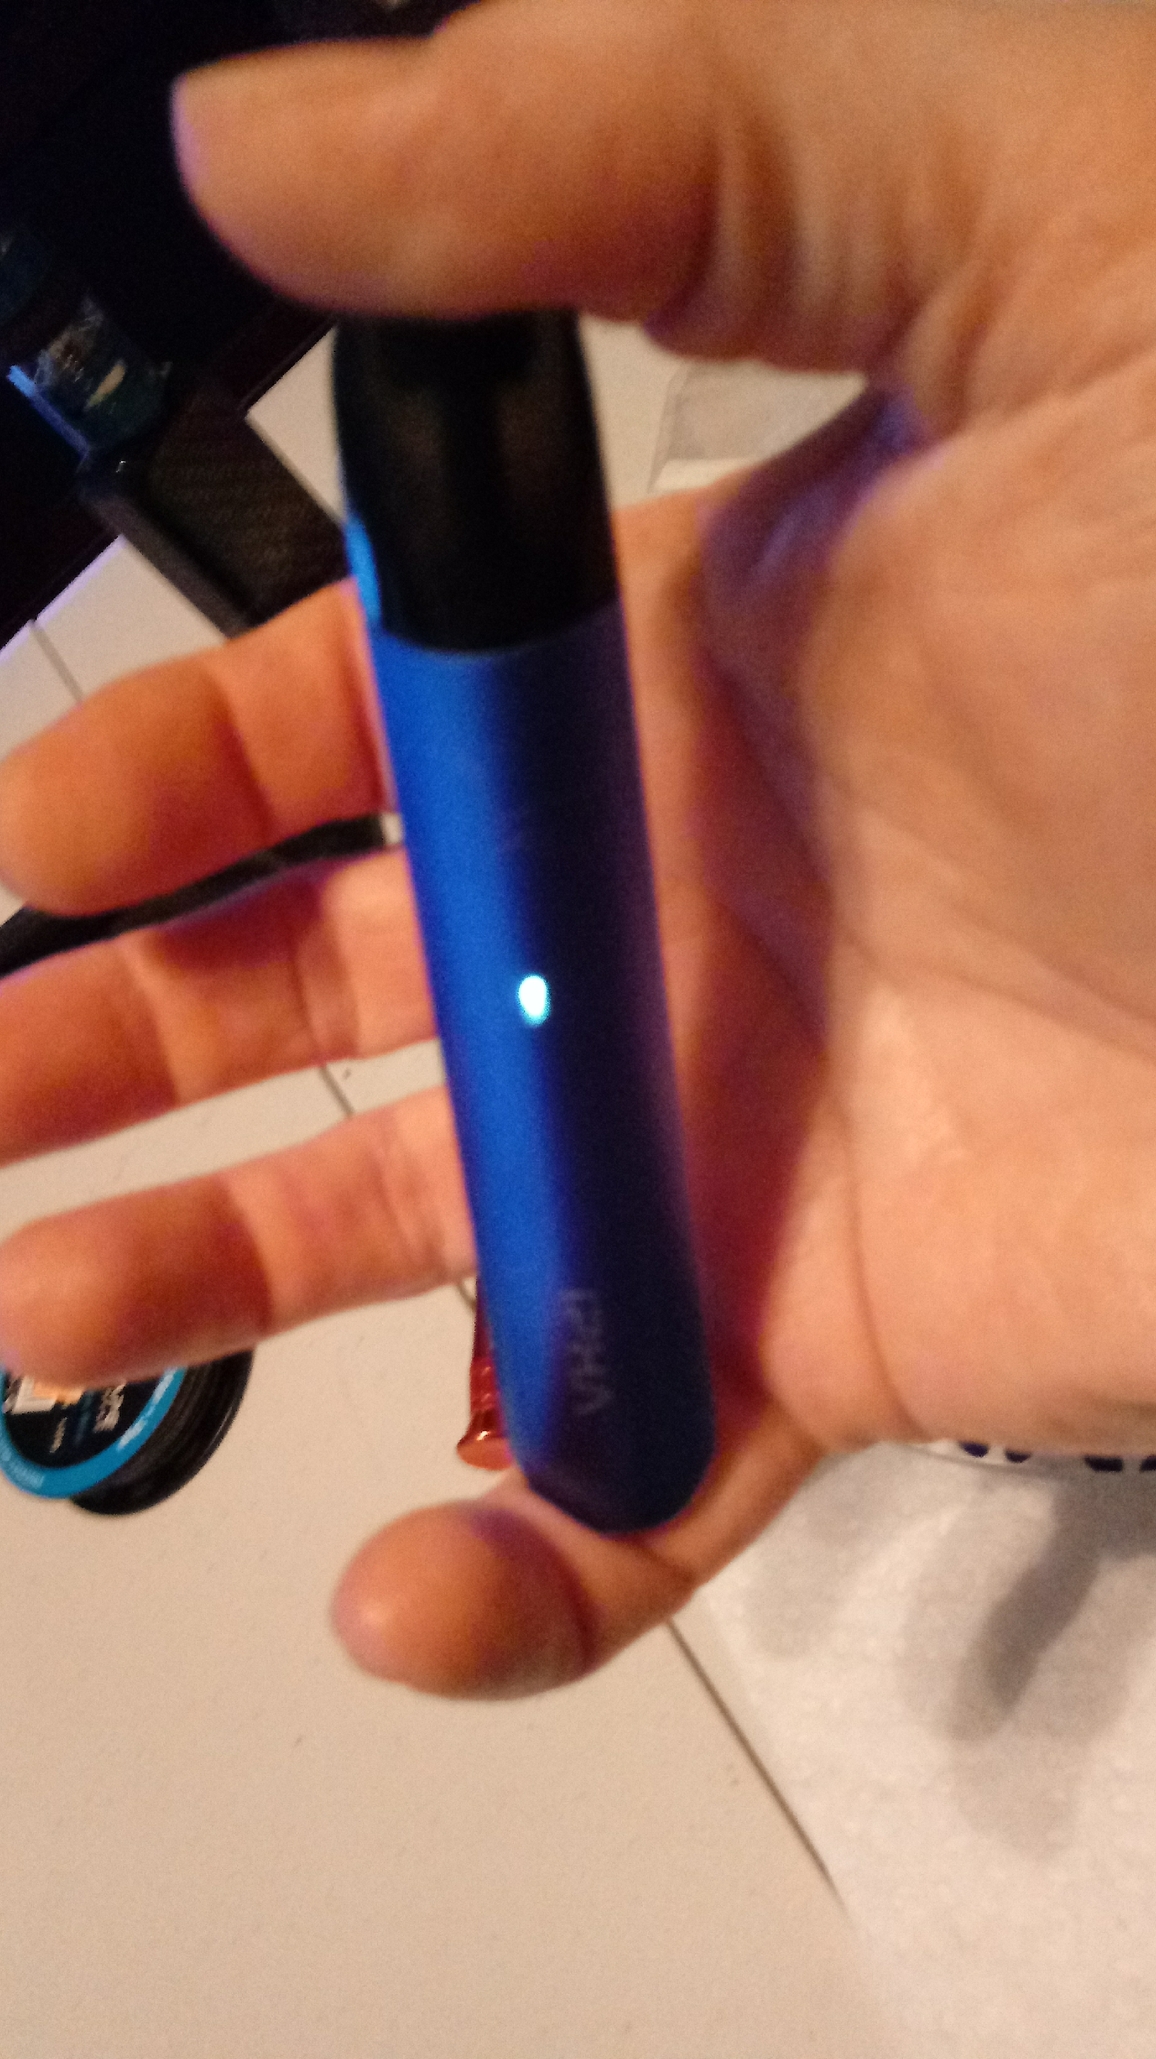
First connection test. LED indication is a positive sign that the connections are a good mate and it senses a resistance that is within the operating range

Filling with juice
Rebuilt IPHA Zing in action
Final note: The performance of my first rebuild, although adequate, is not as good as the original prebuilt POD. This may be due to overshooting the 0.8 Ohm coil resistance target by 0.067 Ohms calculated or perhaps my wicking needs some tweaking 