Hi All. I wish you all Health and Safety in these hard times.
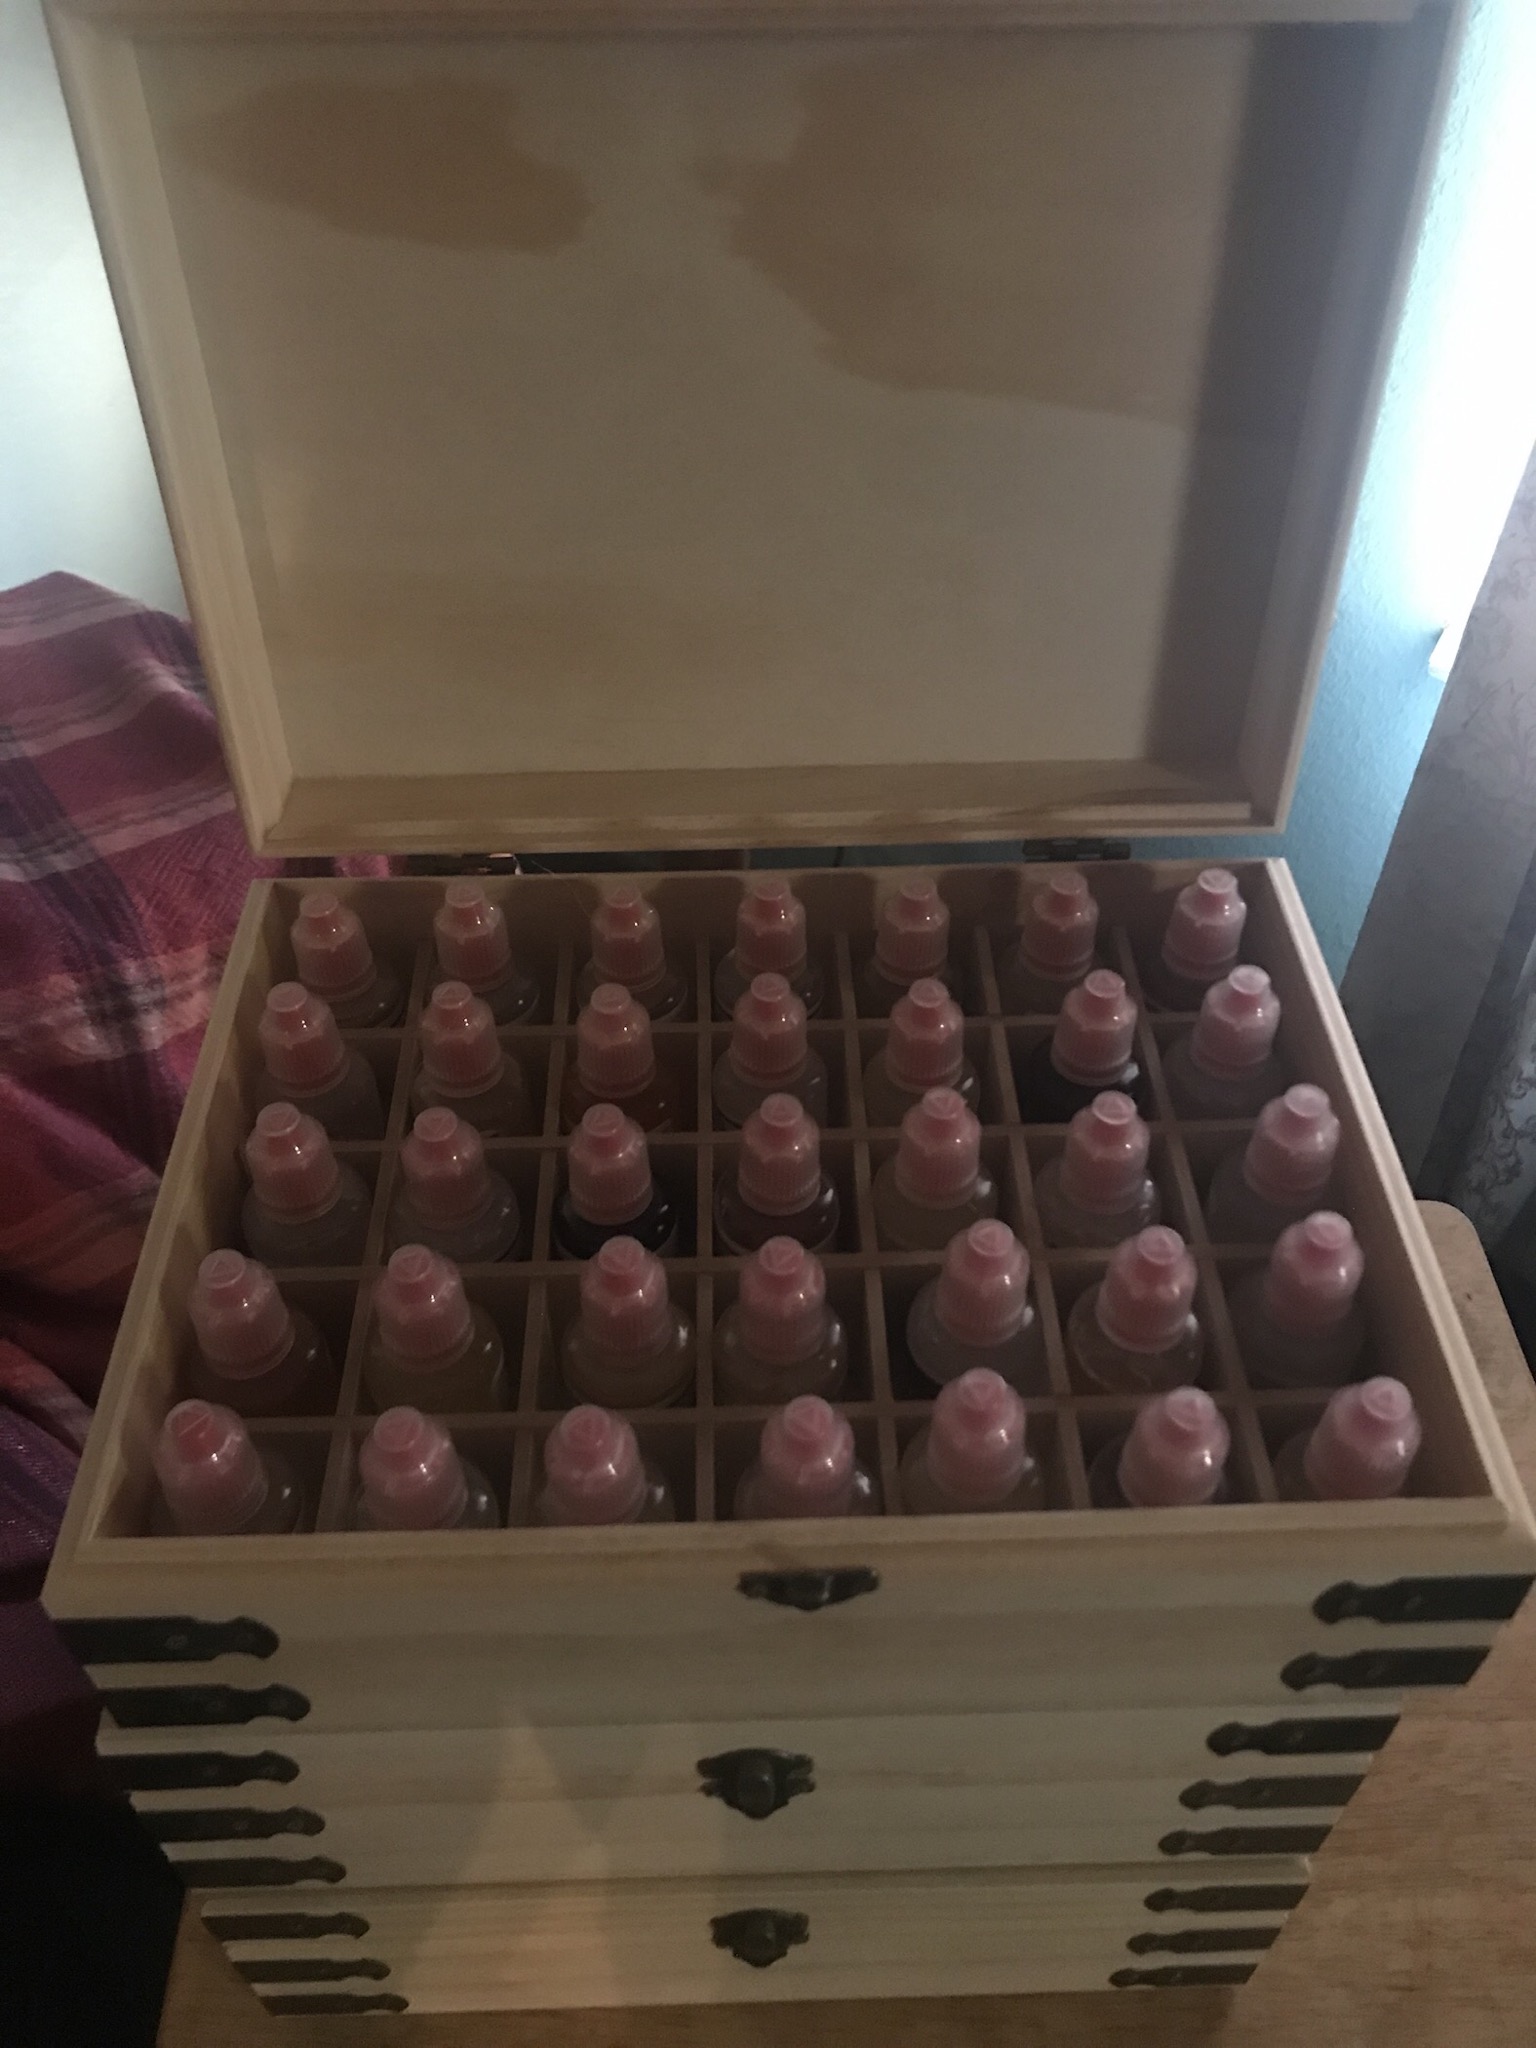
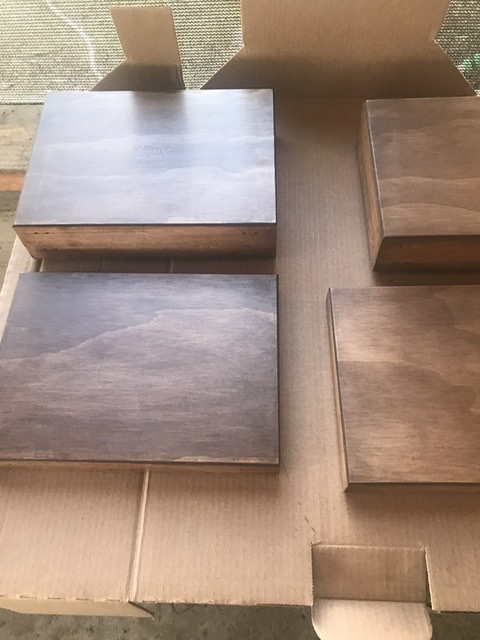
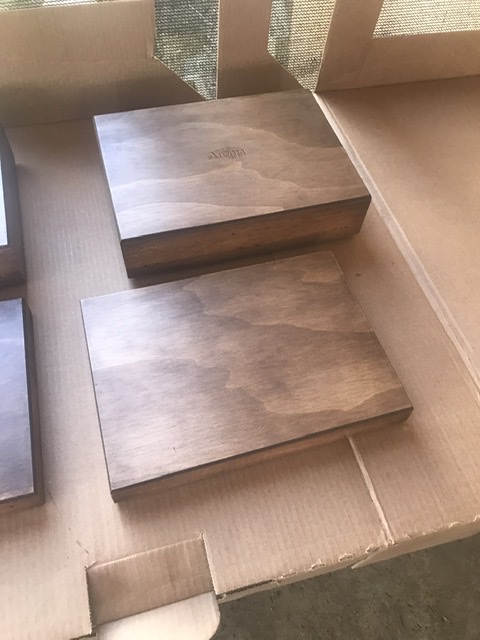
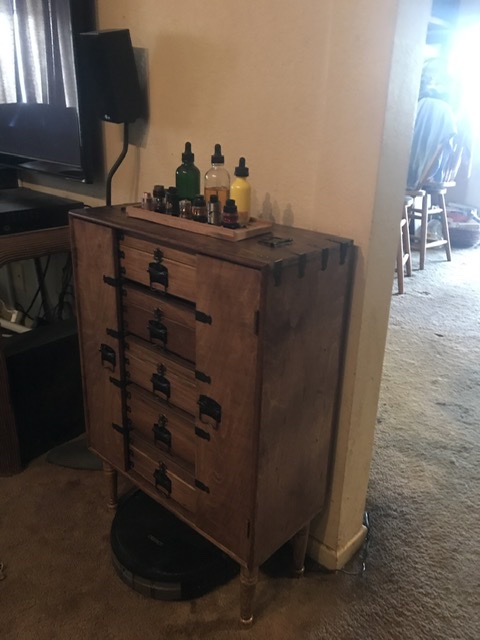
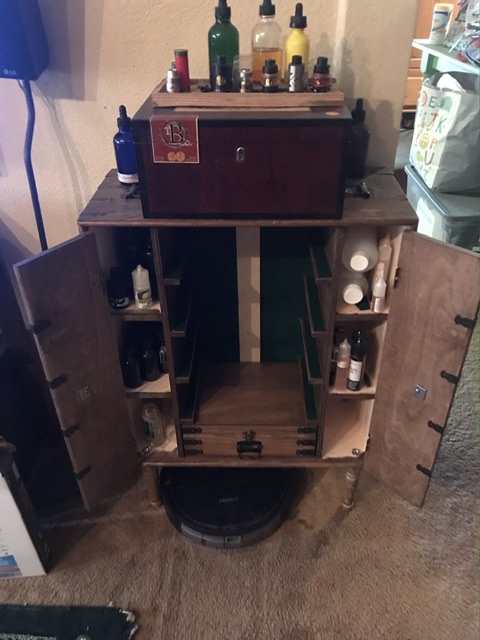
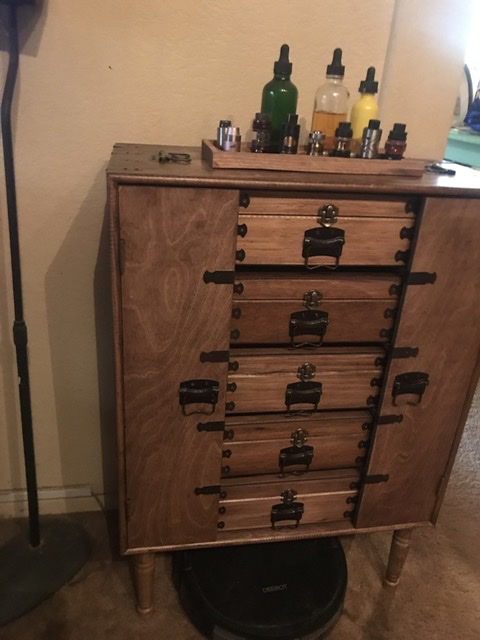
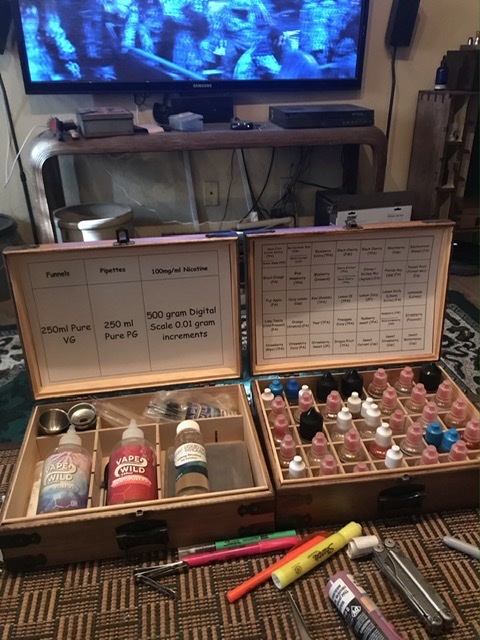
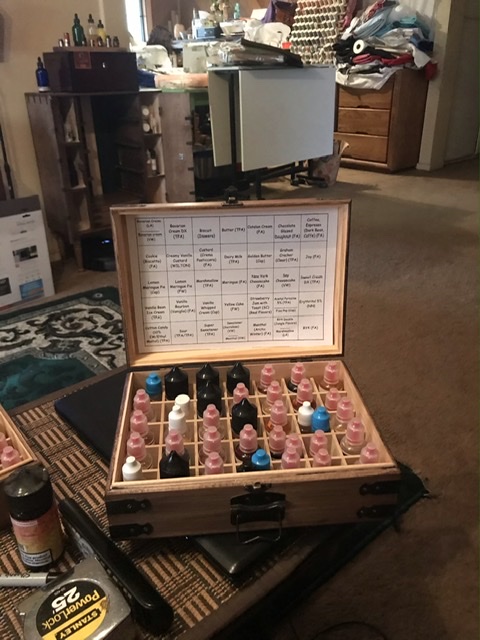
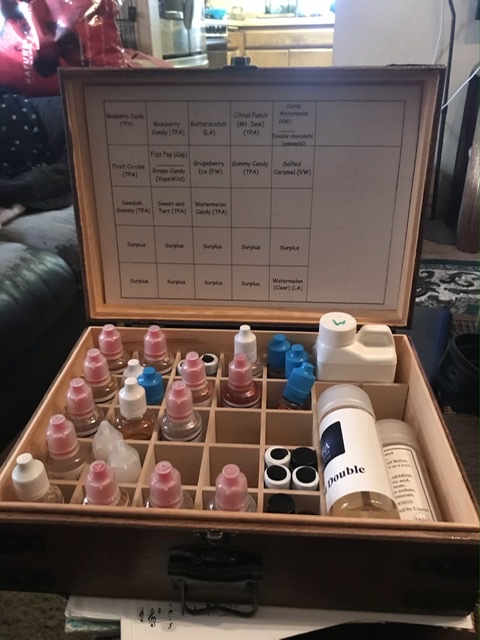
Here in Southern California my family and I have been sheltering in place for a little over 2 weeks and I’ve had time on my hands. So I thought I’d share my DIY project for my DIY vape supplies. First I purchase 5 pine Essential oil boxes on amazon.
So I hope we all come through this pandemic Healthy and with a few projects on our to do list complete.
To you and all your loved ones,
Best wishes and be safe
Sorry Steve , I guess i should have anticipated that question before I tossed out my notes.
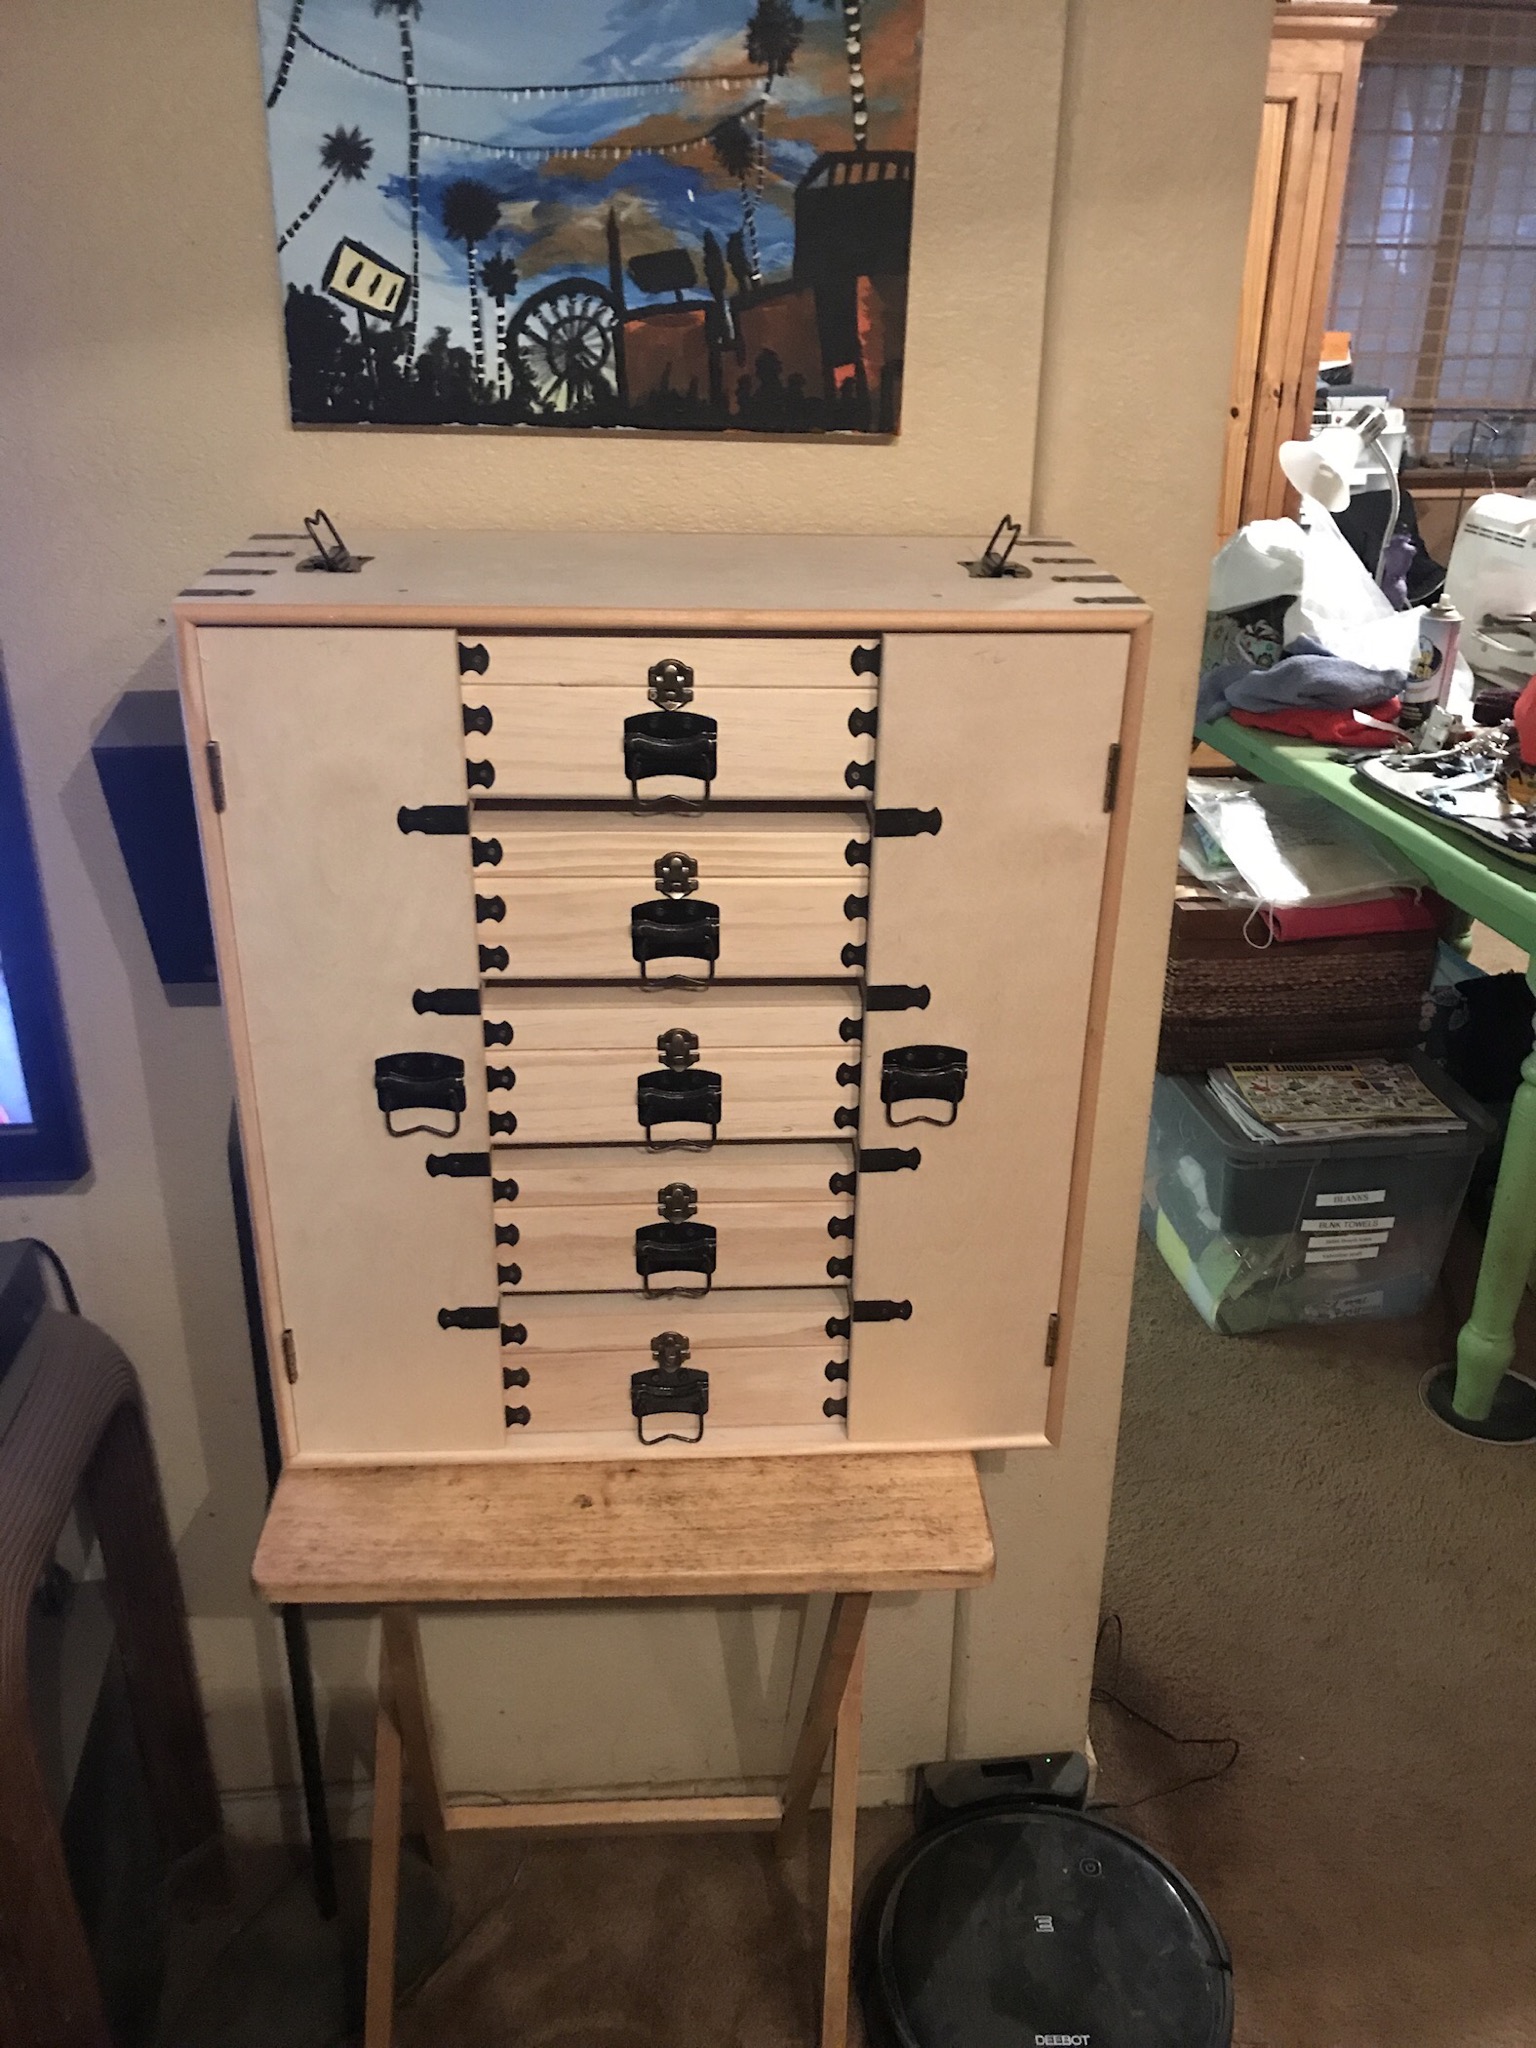
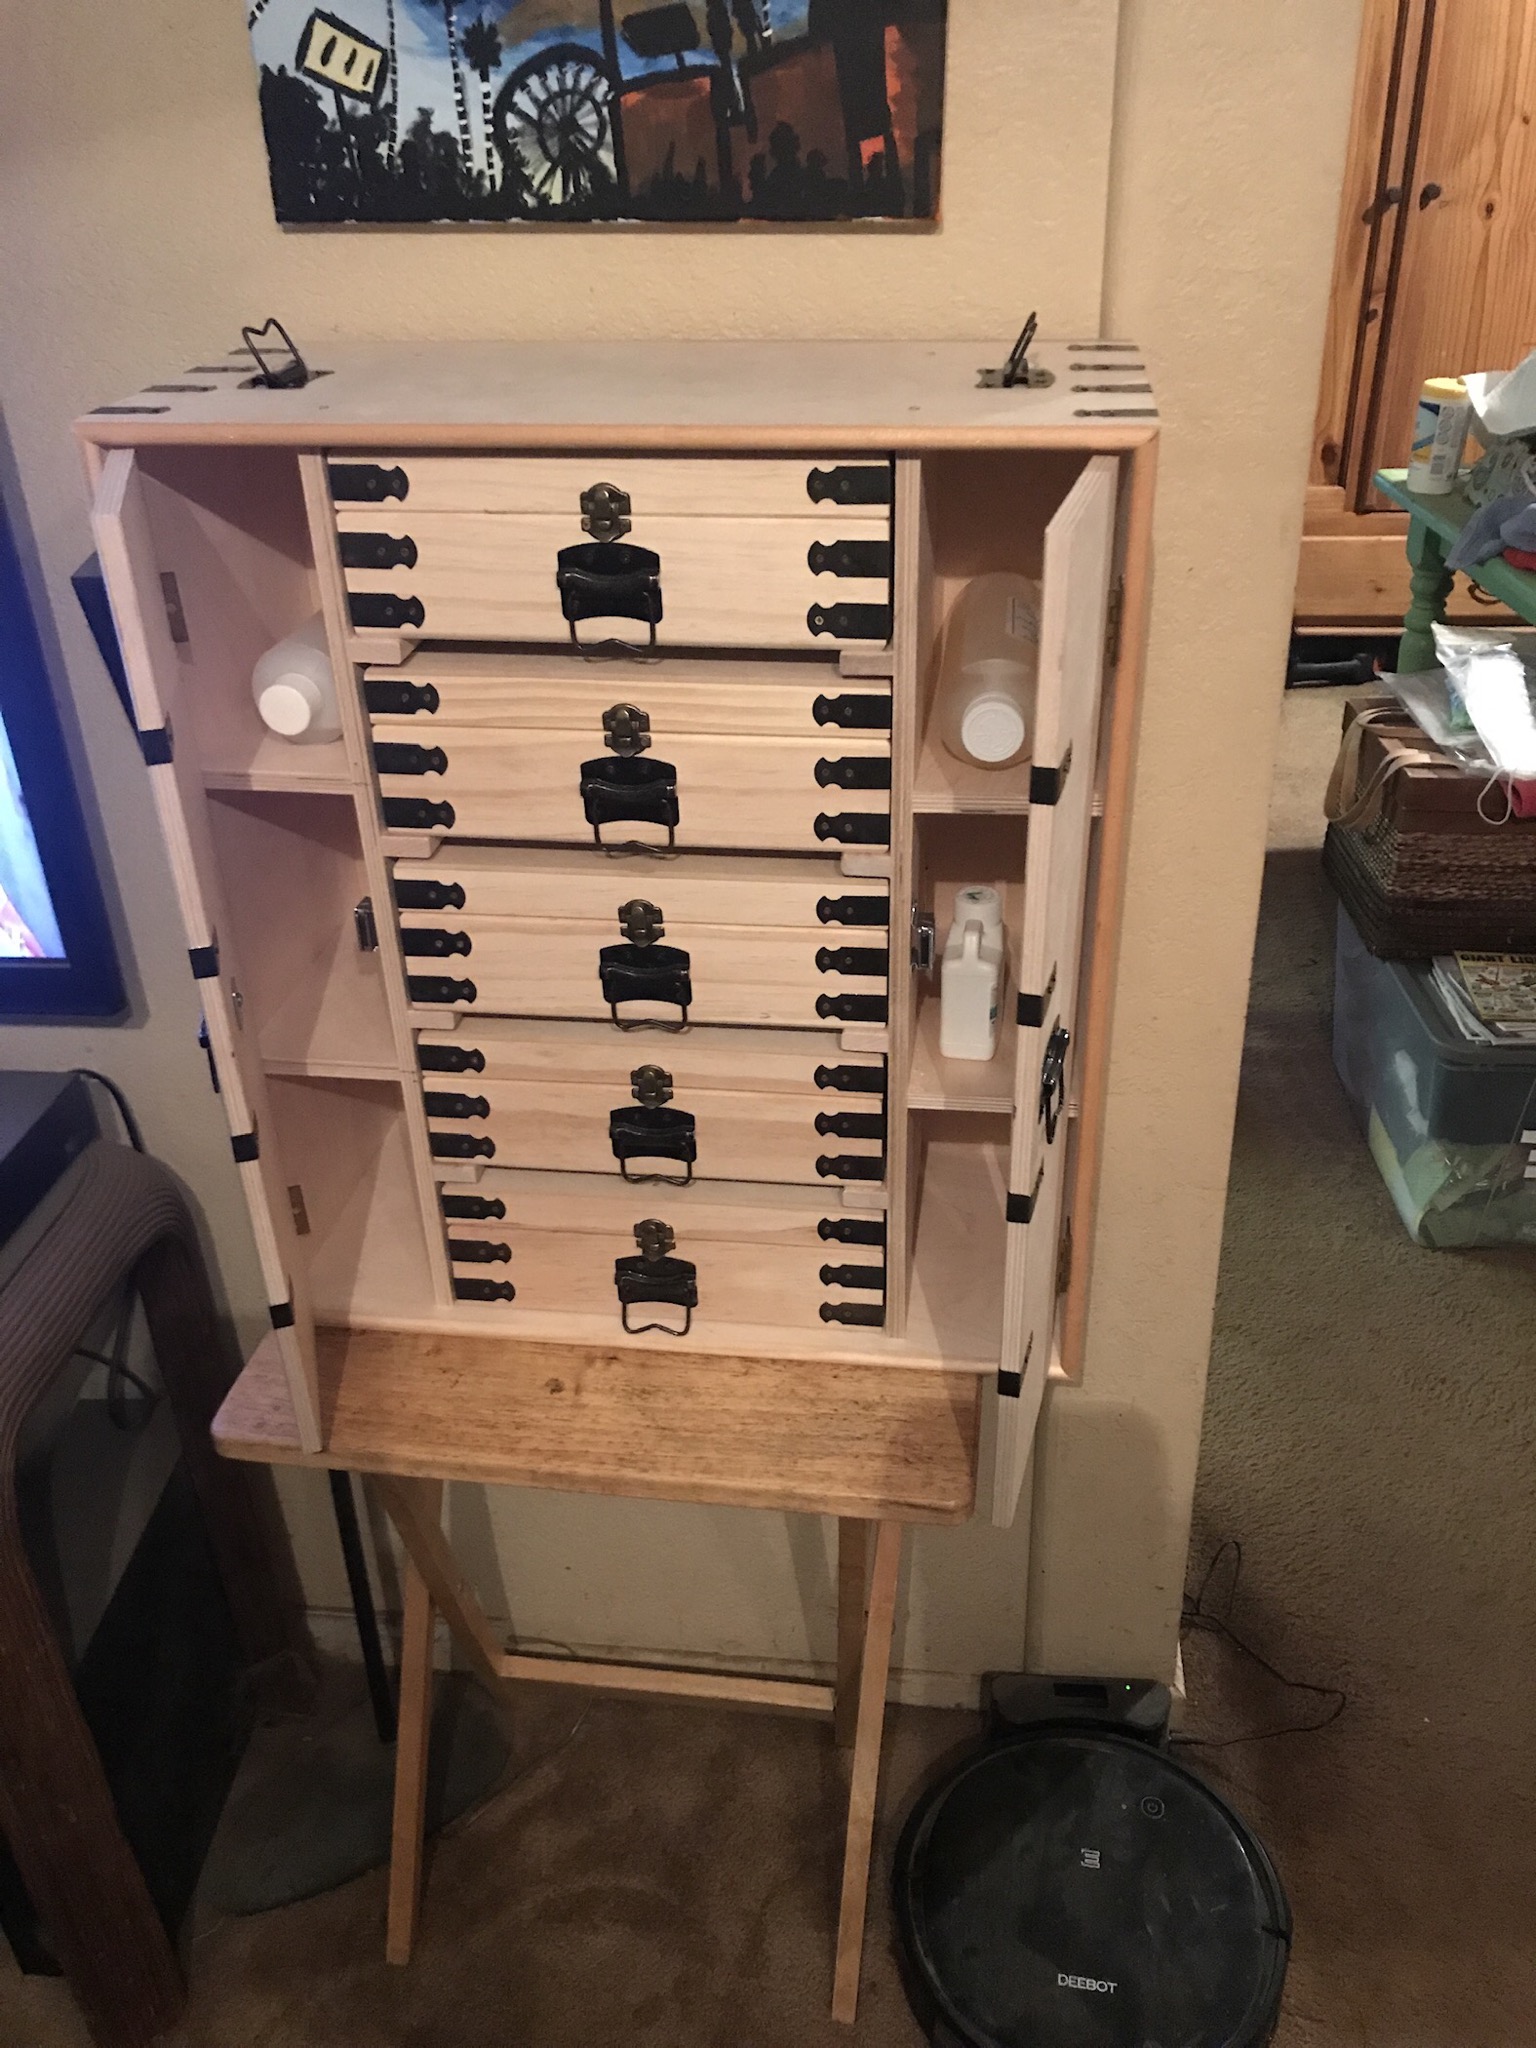
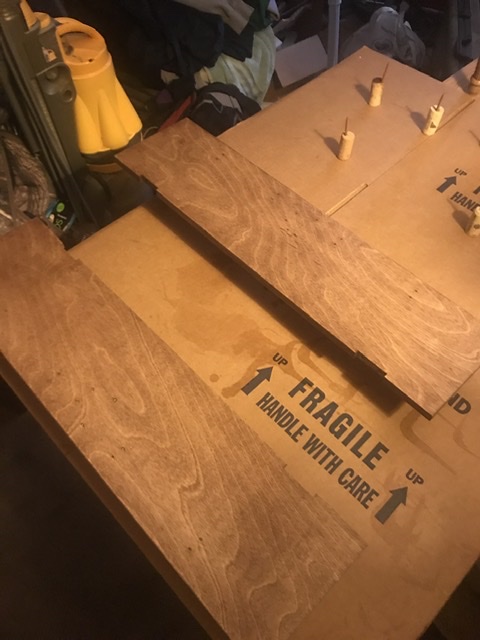
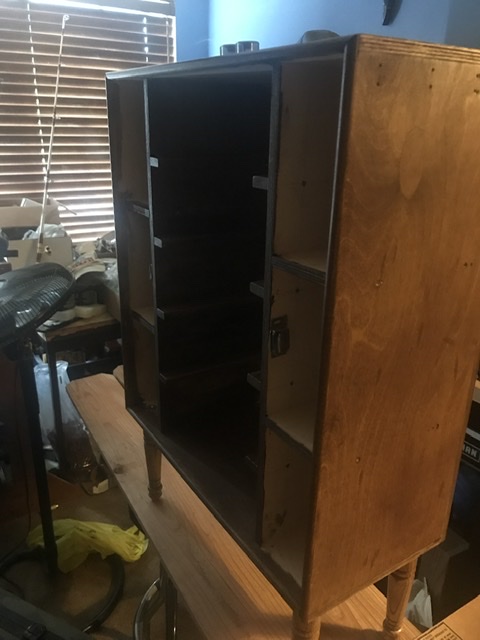
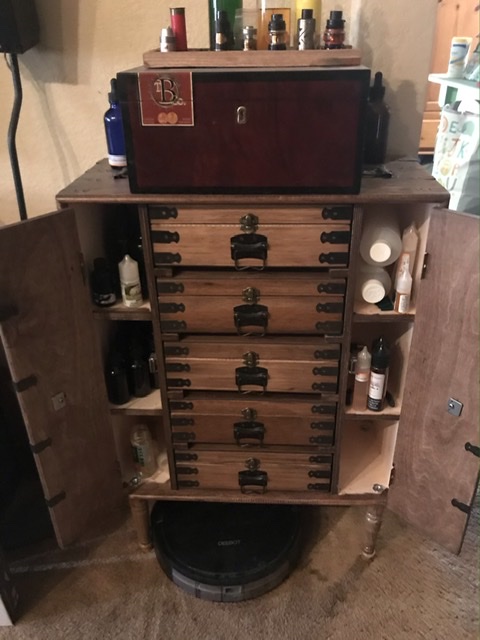
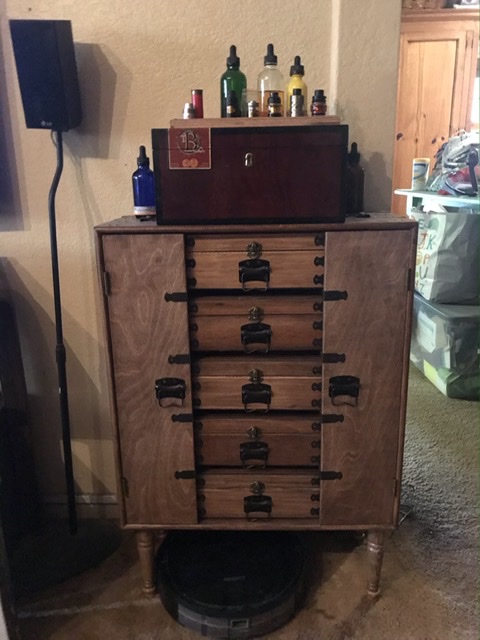
However i just built the cabinet around the boxes and added the extra 4in shelves into the plans.
Now that you asked, i might have to sketch it out again.
Sorry
Bill
Very nice!
I know i need to build something also, but a little larger as most of my flavors are in 60 and 120 ml bottles.
My flavoring collection is getting bigger every month
Top job. Organised equipment makes mixing a real pleasure as well.
Had mine setup beautifully a while back, added some shelves to an old welsh dresser in the garage, laptop, every flavour labelled with a number on the shelves, and larger bottles stored in the numbered drawers. Used the notes on the recipe side to add location, i.e. “shelf 47”, “drawer 3” etc. Nice, as you can pop the recipe up and just expand the notes for each flavour to get location.
Then the inevitable happened. Ran out of shelf space and drawer space, so now my notes contain “box next to golf balls” etc…
I’ll add reorganisation to my lockdown list after seeing your excellent effort!
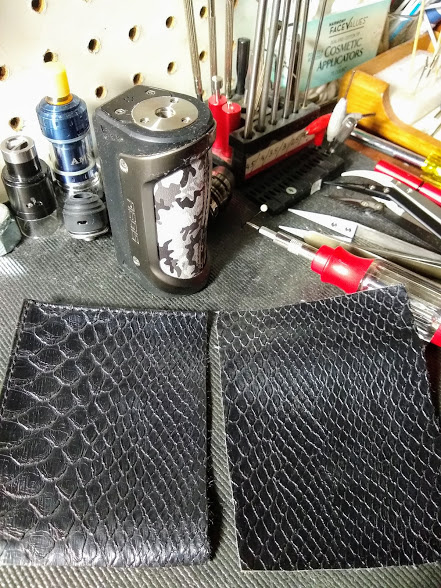
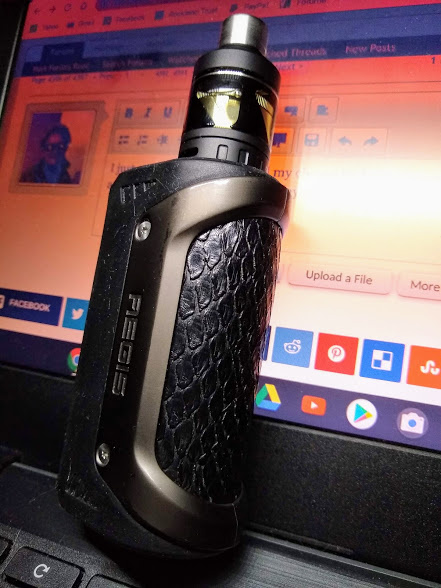
I did a little project. One of those things that you never get around to. Decided to change out the grip on my Aegis with my own materials. This is one of them. I also have other materials I can use; different colors, textures. It’s one of the easiest diy projects if you’re getting tired of looking at your old Aegis.
That is a great idea and yours turned out very nice, I’ve got the Legend, and didn’t even think that could be done! I might have to add that to my project list.
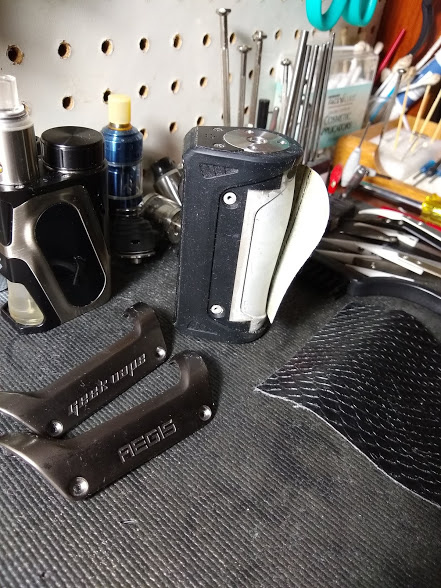
Thanks, and there are youtube tutorials on the subject but really you can figure it out for yourself. Once you remove the skeletons just peel away the original grip and use it for a template and trace around it. You don’t even need adhesive, just fit the new one on and the skeletons will hold it in place.