I better move my a$$ you are beating me to the punch again. Nice build bro
1 Like
@Volition could you be more specific? I have not idea how it works at all. I only heard it mentioned on a conversation I was eavesdropping on. 
Why, thank you, brother!
Yeah as an example. so if you have your light source coming from the left hand side only. Think of an orange, the left side is all nice, but on the right is dark. By placing the bag just out of shot on the right side and even behind too. This bounces the light onto that side. Da da.
It can look a lot better then adding a light source to the right as that can look unnatural sometimes. Having 1 major light direction and filling in the other side can really make a object shine.
You can use any white card, paper, or even shiny metallic stuff like inside cooler bags. Get creative in how you can stand it up. Or if your co-ordinating hold it.
For your own example do one with and without as your eyes adjust to light so well and quickly you may not see how it’s working until you done it a few times then you’ll get the hang of it.
This guy does something similar in this video I’ve added the timestamp in the link.
Yea @Dan_the_Man I want a light box too. I have a buddy that says lighting is the key to awesome macro shots. Outside in the sun is also really good for pics (he says) but I’m always at work when the suns out and building coils at night. If you find a good one let me know! I might have to give @Volition idea a try. Sounds like a good cheap fix…and cheaps my middle name lol
1 Like
Im thinking of taking one of those white bags, cutting a hole out of one side, flipping it upside down over the coils, and then putting a desk light over the top (which would be the bottom) of the bag. That should distribute the light all around 360°. Thanks for the idea @Volition! To Wal-mart we must go!
1 Like
Btw use the same methodology when in sunlight. However, remember that sunrise and sunset is the best time to shoot outdoors. Photographers call them the golden hours. The light is a lot more pleasant. Direct overhead light is crappy for photos, if no choice bounce the light back upwards.
Photography is the playing with light.
2 Likes
Personally I would not want 360° 2 lights on the left 1 back 1 forward fill the right with a reflector. I like to have a clear light source direction and then fill in the shadows. Would be my ideal setup.
They are so cheap go and have a play. Try it all, and find out what you prefer. Maybe look for a windscreen sun protector while you are there. The one with the metallic surface they fold so you can get them to stay put. Gives a slightly different light. And last thing different colours bounce the according light. So a red bag will give a red hue.
Bounce!!
TBH framed staples wrap pretty easily due to the fuse wire holding it all in place.
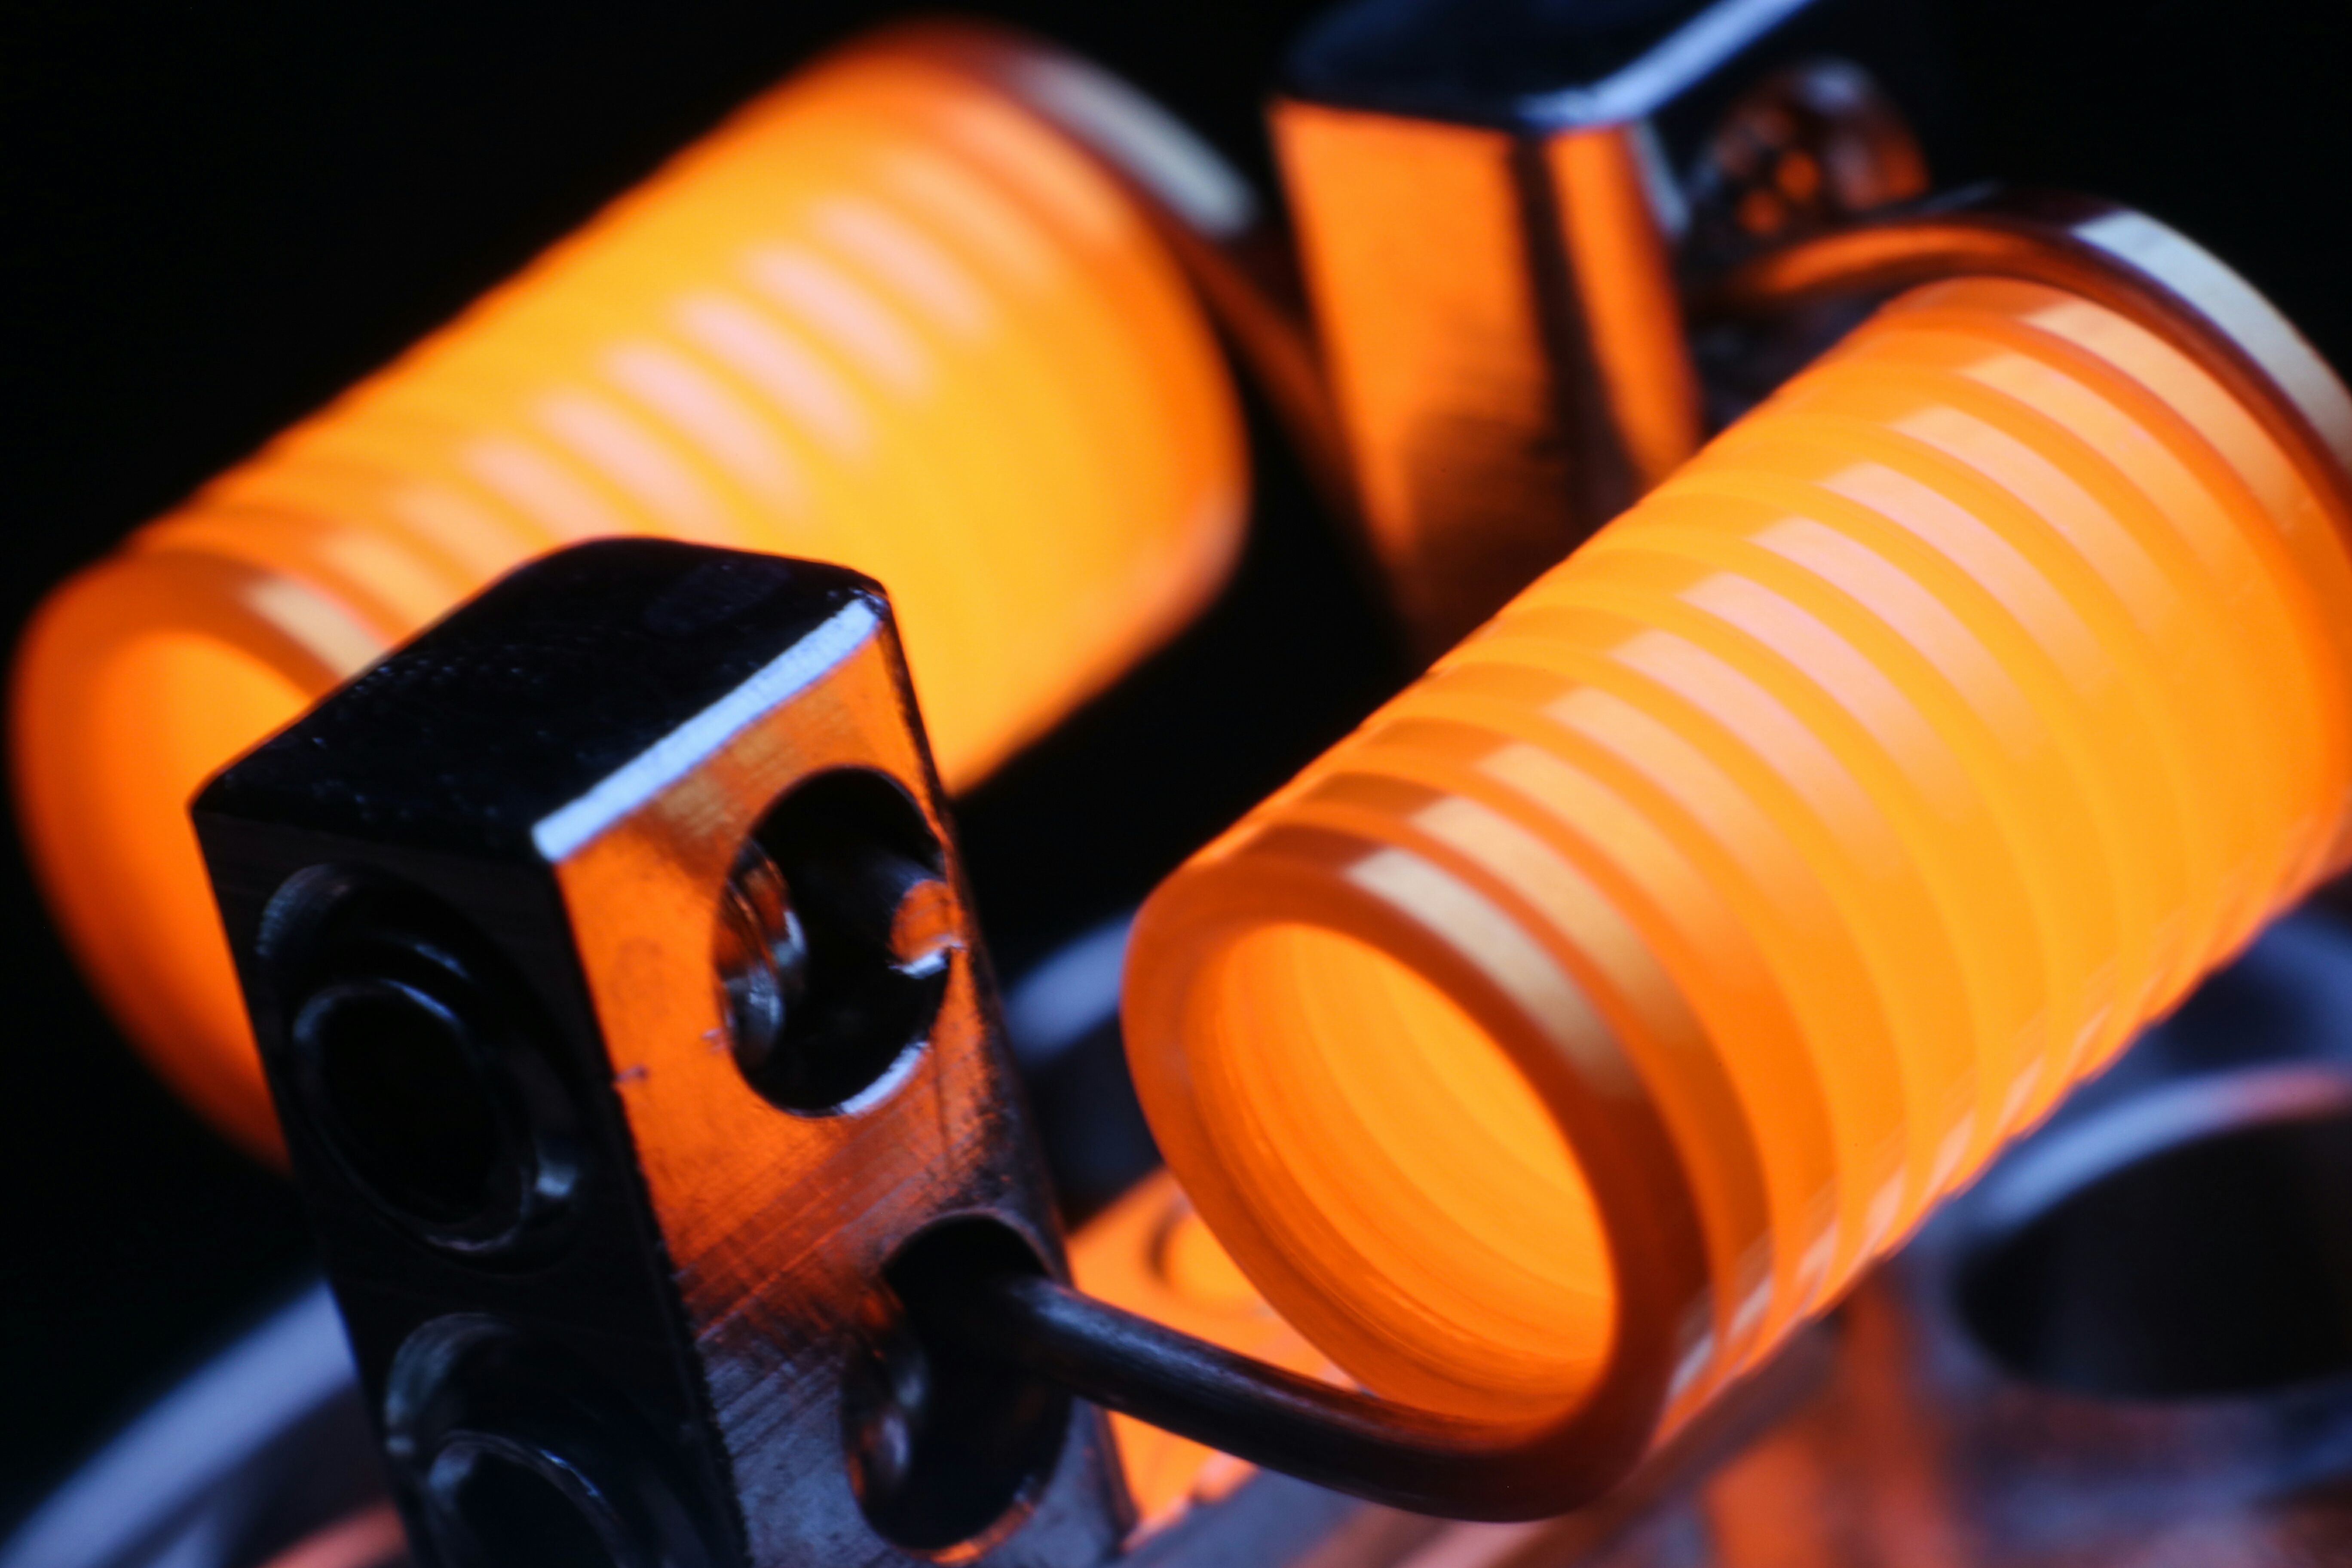
As for my lighting setup etc.
I use 2 pieces of black Welsh slate one as a base and one as a back plate.
Then I use some A4 white paper to diffuse my utility room lights that I angle straight down at the setup.
The pictures I posted above are unedited, only 1 is edited and that’s the one with the tags on it.
By diffusing the light with a piece of paper above the RDA it helps stop any shine or reflection from the lighting source.
I use my iphone4s and a shitty clip in macro lens.
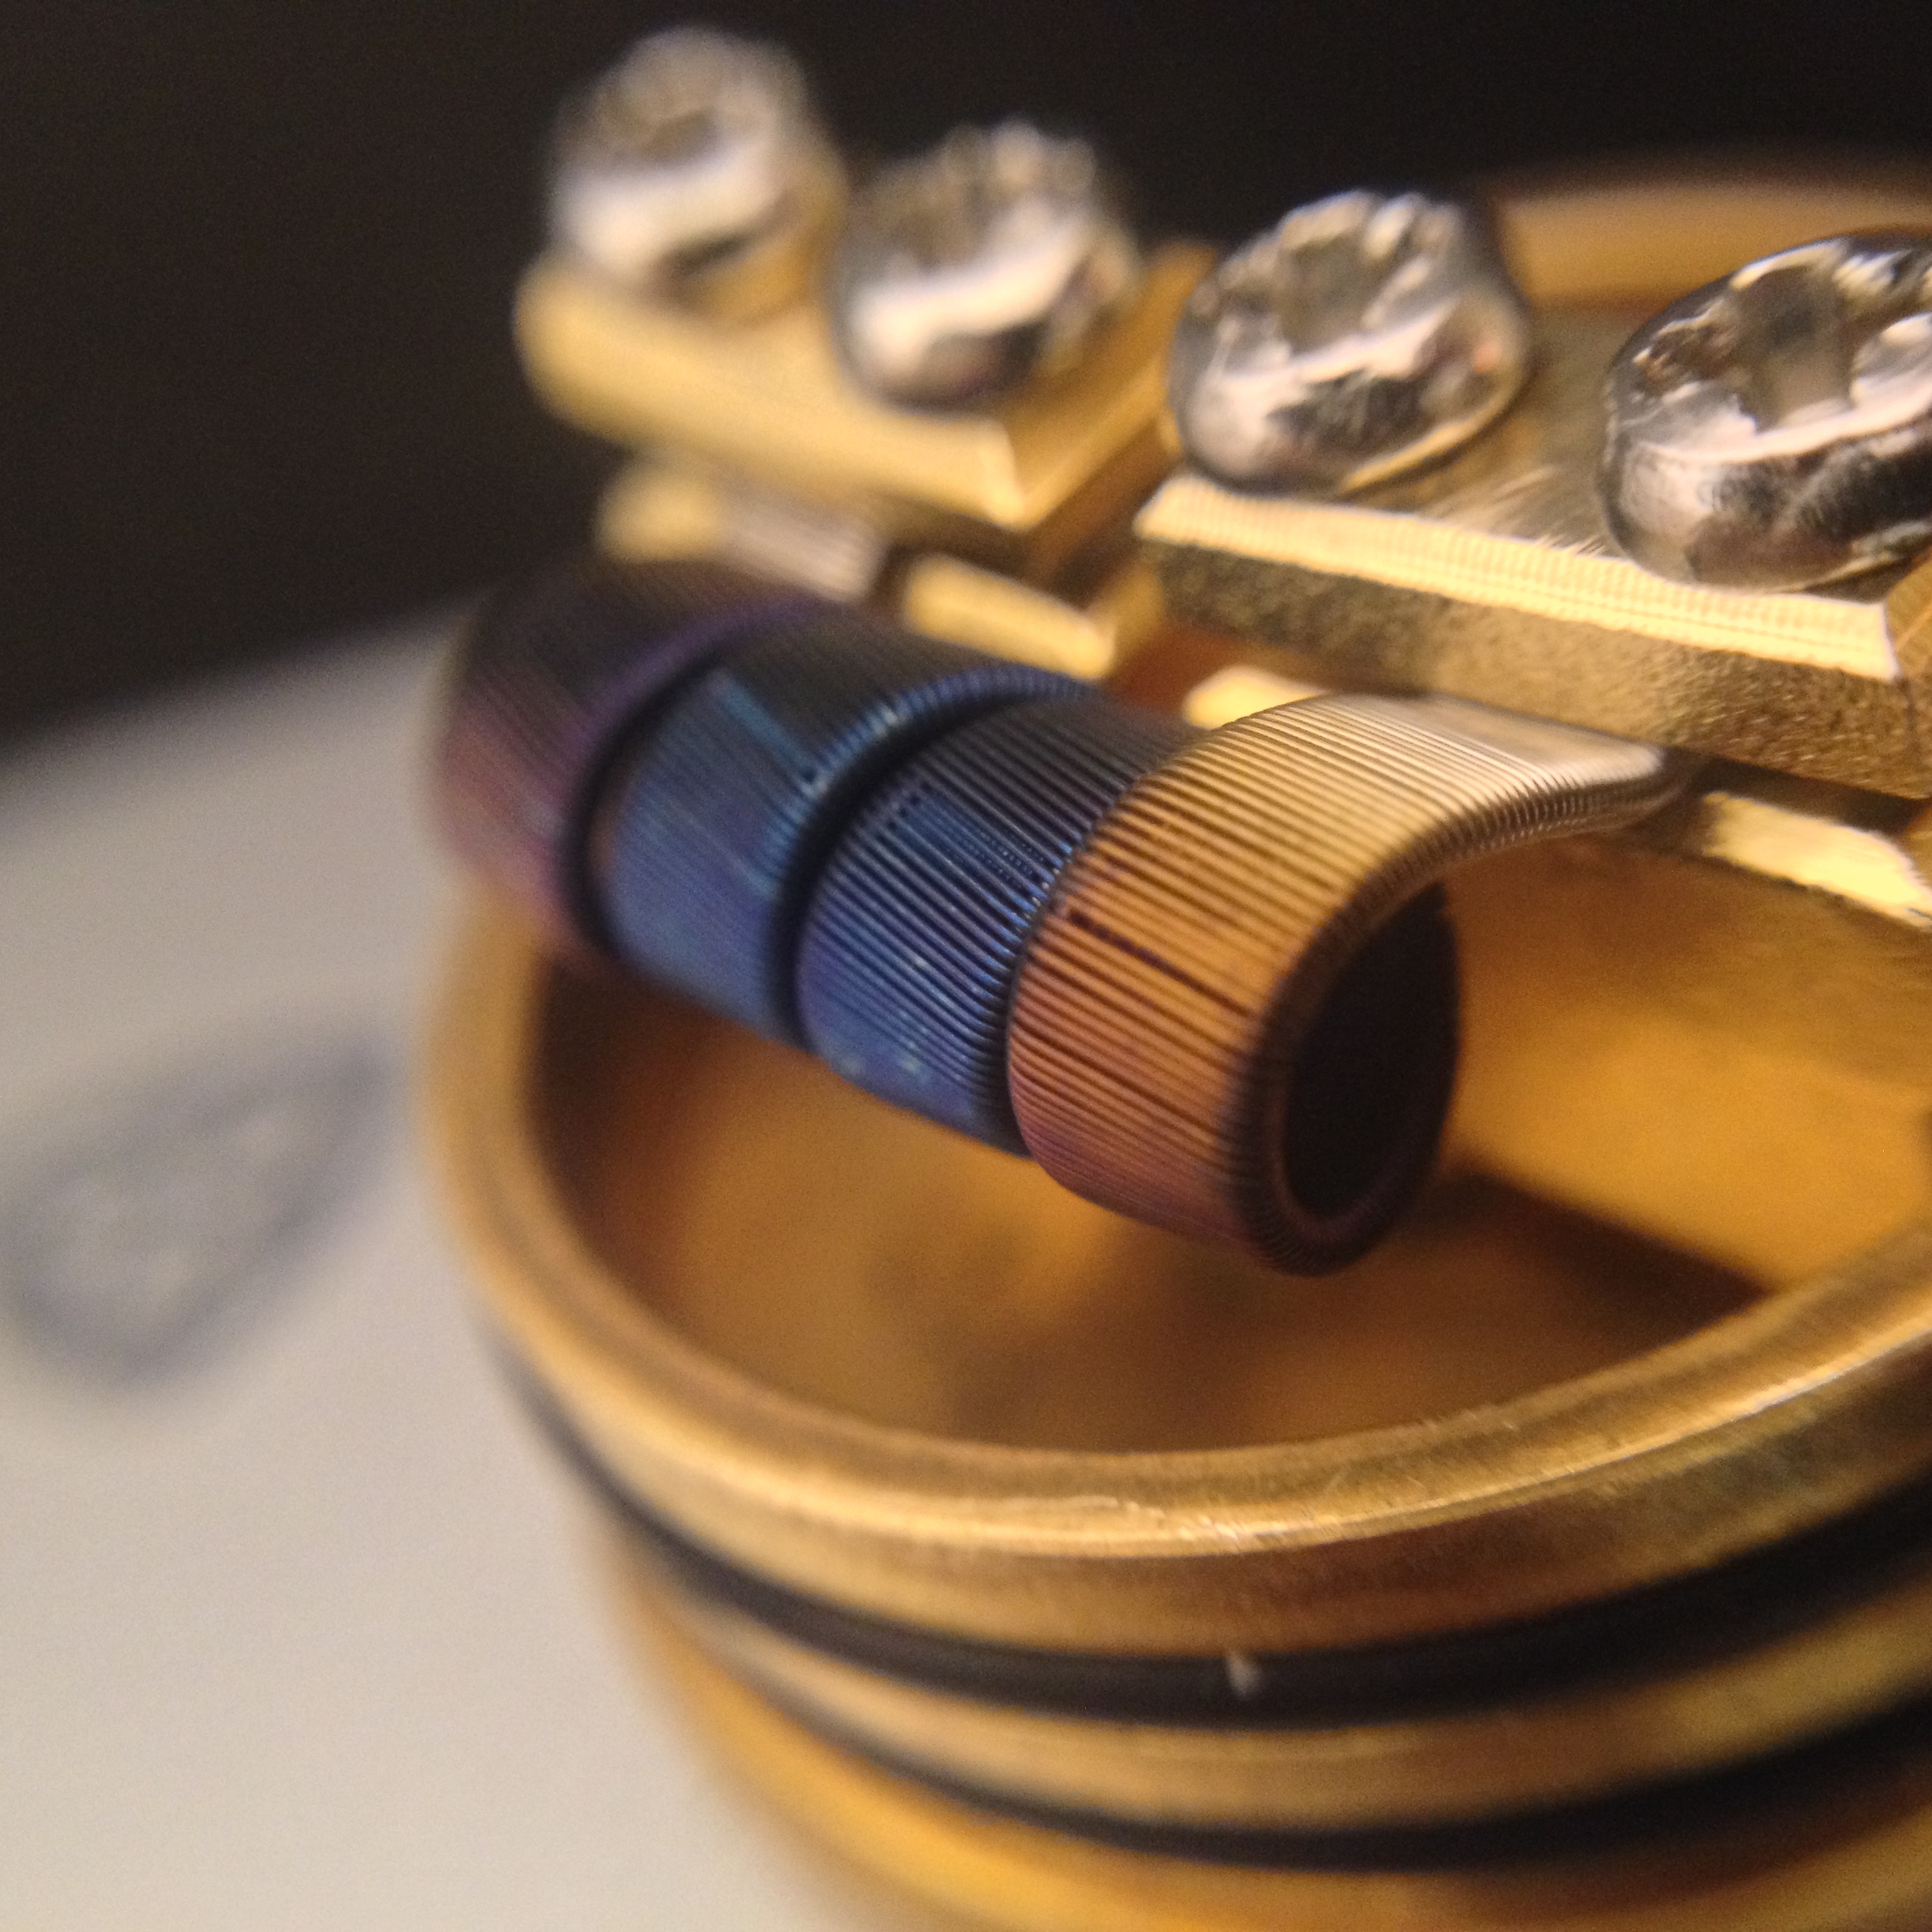
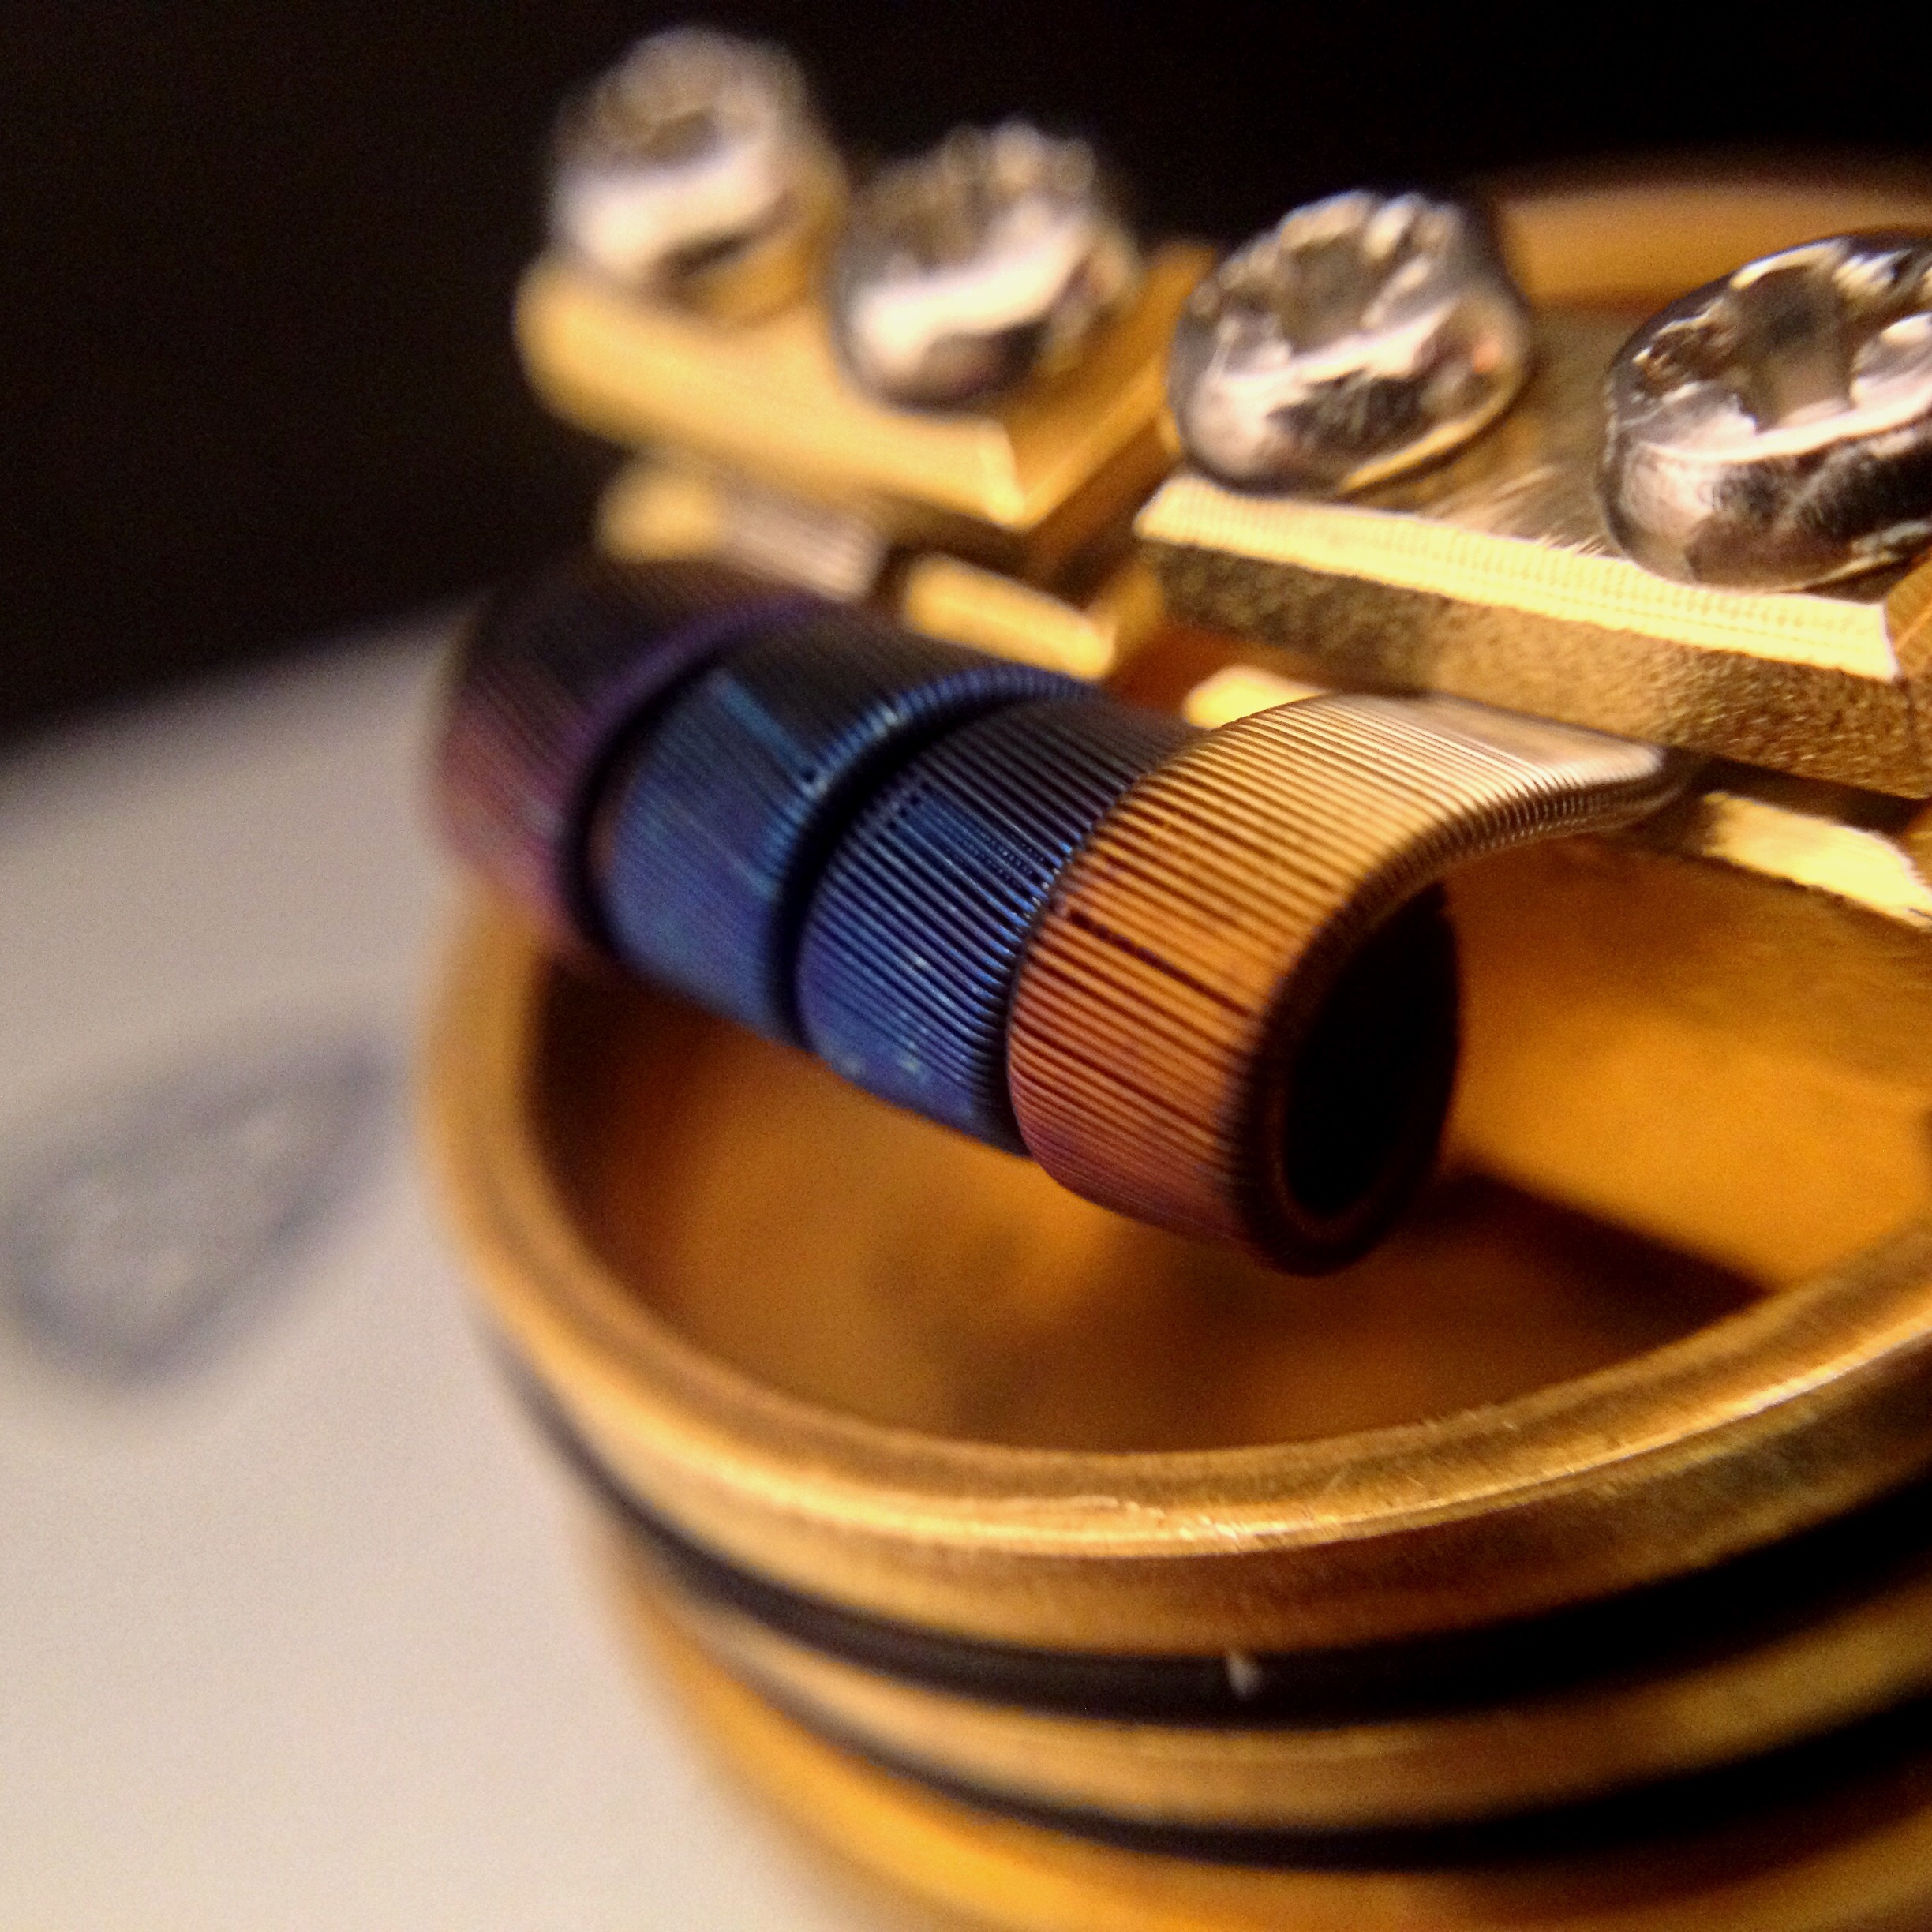
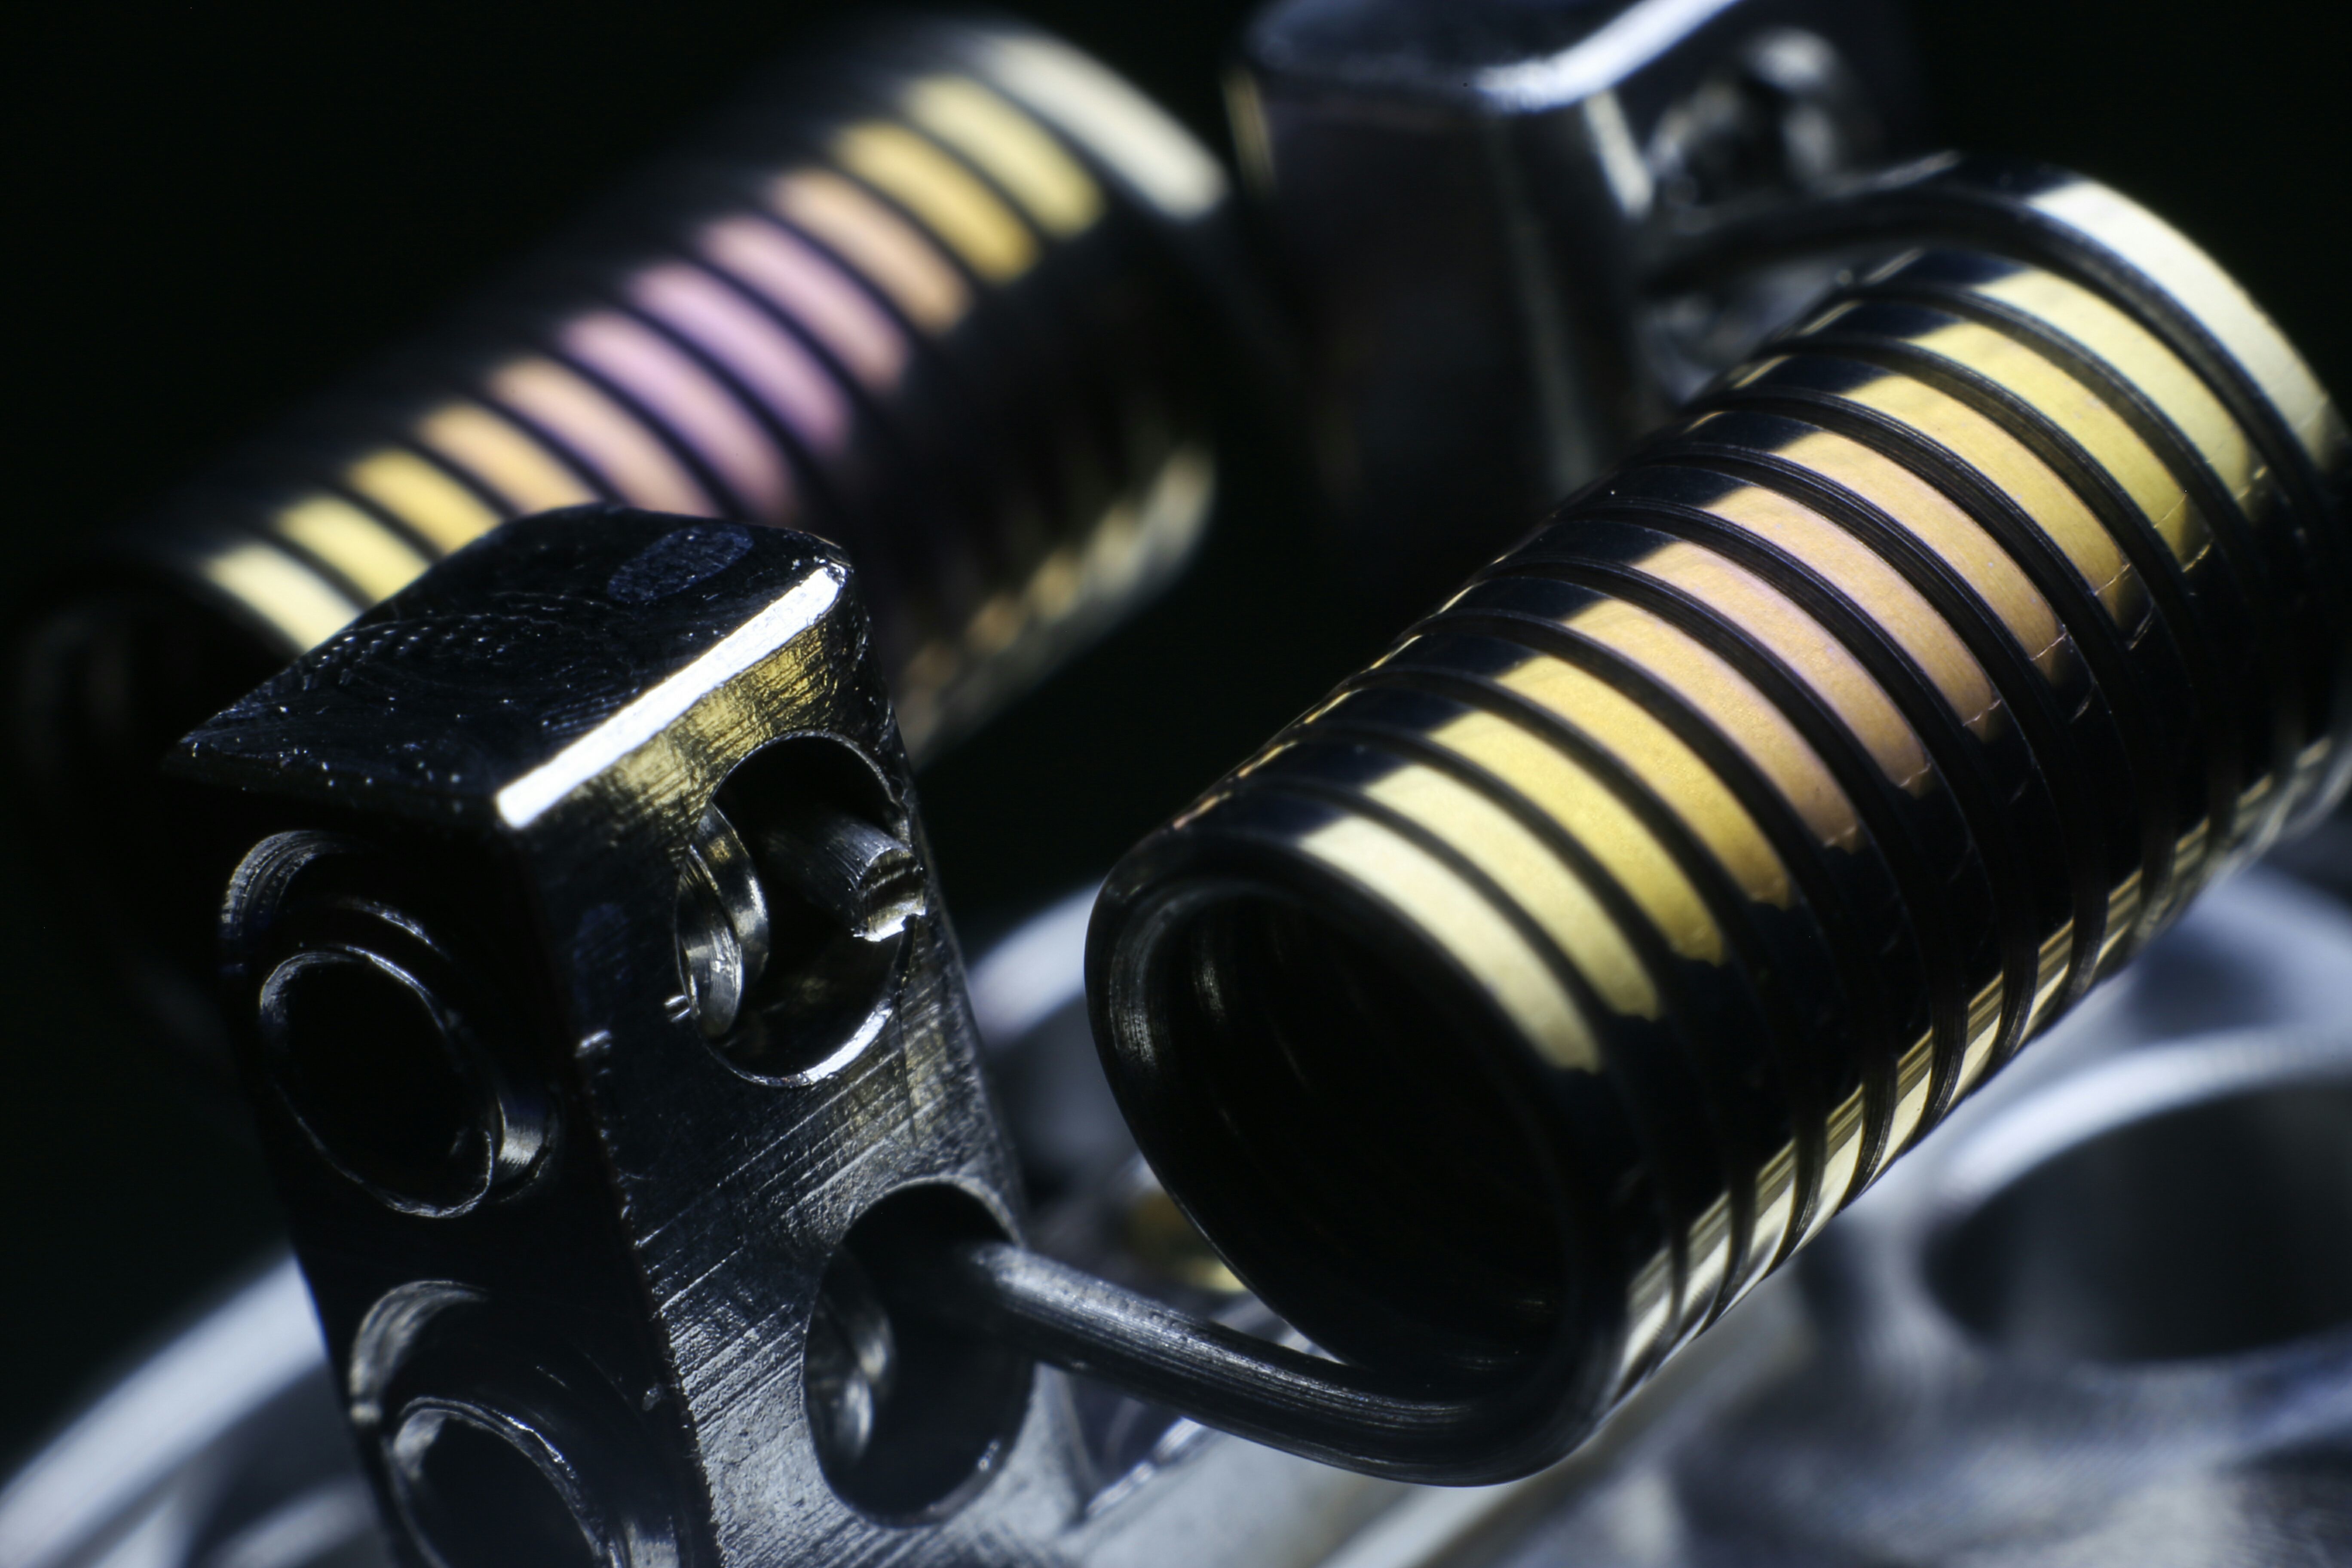
I use a DNA200 device to colour all my builds and start at 12w and begin pulsing.
Moving up to no higher than 30w while pulsing.
By pulsing on low wattage it allows the coil to heat up slowly and by heating up slowly it helps to bring out the full spectrum of colours.
Once you notice the beginning of a colour change to the wire stop pulsing and allow it to cool.
If the colours are vibrant take some pics, if not then pulse again.
CBJ
1 Like
Thanks bro. I got the pulsing part down its getting it to show up in a pic that I have a problem with. But that helped me understand a bit. I have been meaning to research it. I just keep finding more interesting things to do. oops. Anywho, I appreciate the explanation it helped a lot
1 Like
Was a joke, fame in the coil world is not fame. My little thing, whilst I respect and admire you and there creativity, ingenuity, etc. They are equals, too many put on pedestals. Like “famous” Youtubers. Just my thing.
Ok, yes diffusers. @Jondamon try some baking paper for a diffuser, you won’t lose as much light as copy paper. It’s cheap and easy to get if you don’t already. There is also a fridge paper that’s translucent, lots of options around the supermarket. Something to try.
1 Like
Cool I didn’t know that thanks again
Here’s an example for you of before and after editing.
Before
After increasing contrast slightly and increasing saturation a smidge.
And thanks @Volition I’ll try some baking paper next time.

2 Likes
I cant wait to try some new pics. The photography is starting to be as much fun as the builds! But my LG stylo 2 phone is NOT great for pics…it really sucks tbh
Wait, what? What happened to you? That looks serious. Damn, hope you recover quickly!
Loving the forum. New here, been vaping for like 6 months. Now trying my hand at diy juice. A fun experience so far.
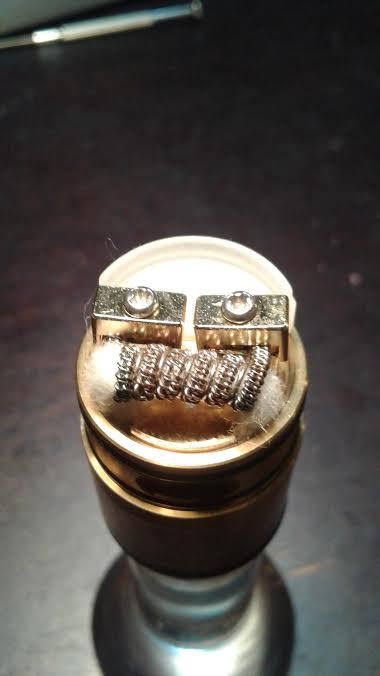
One of my current builds, mirror finish dual coils in the obs engine RTA
8 Likes
Wow. Awesome job!