Step 1) Don’t listen to me, I’m some dummy on the Internet. I do not represent Game Changer …but I do own and operate one. I came on ELR because last mix session I had a problem and was hoping to get some repair/advice, but I can’t find any new convos re: the Game Changer. Any Updates?
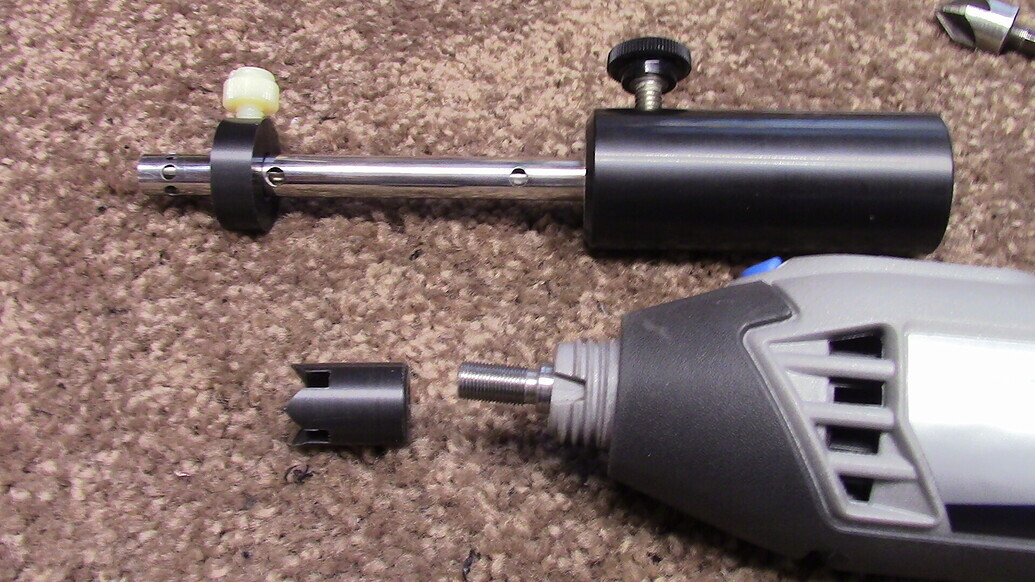
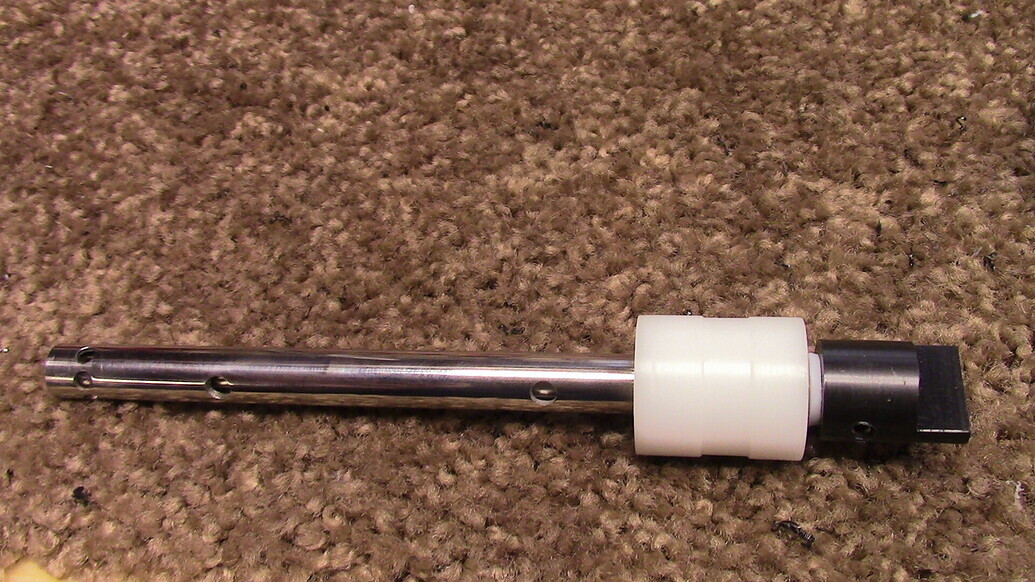
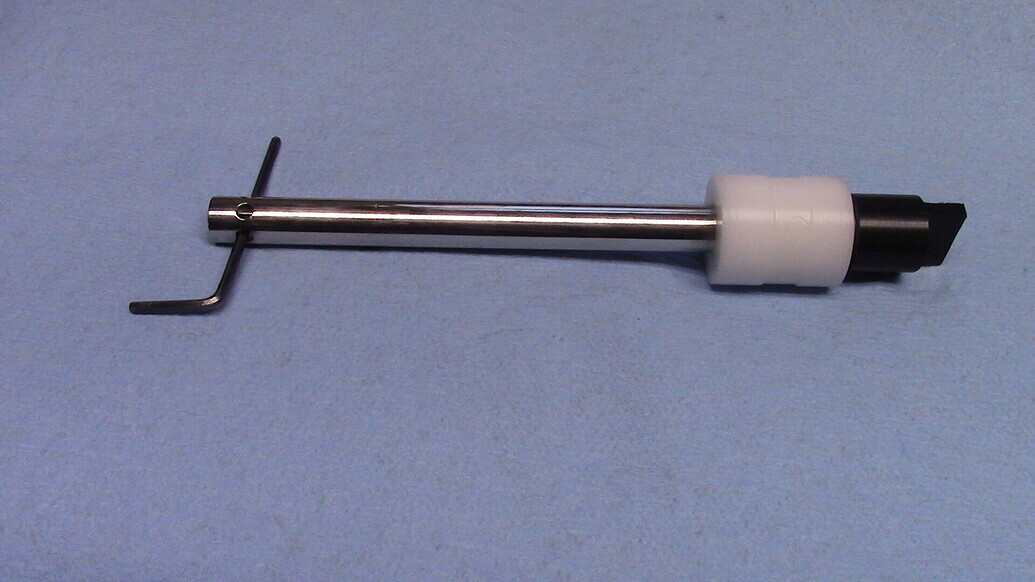
My problem. I was mid-mix (homogenizer on) and there was a sudden speed change (audible). After analysis/disassembly it appeared I had a bearing issue (did not turn easily with my finger). The small bearing is visible right on top of the shaft assembly. Me? I’m somewhat of a micro machinist and sell tools and electronics online. They don’t work usually when I buy them but they’re like new when I sell them. I can fix anything.
After poking around here it didn’t sound like the GC guy was available, but his post above gives you everything you need to FULLY disassemble/clean and properly maintain your Game Changer. Best is what NOT TO DO (remove grub screw). That’s actually the most important stuff to follow. Haha like NOT following my advice 
OK here’s my advice and how I fixed my aging Game Changer. My problem was I was being lazy in cleaning, but also the bearing was struggling lubrication-wise. I remember back when a ball bearing made in the US and they were always PACKED with grease. This small bearing spins at a relatively high RPM (5.000-ish RPM at half Dremel speed). Having tried it for a second or two at higher RPMs on my Dremel dial I saw ZERO increase in “homogenization” and instructions warn against high speed use ever.
I had never fully disassembled as described above and it was “unclean” inside the shaft/rotor when I did (just now). Water getting/laying all up inside while stored is easily blamed …oh well I’m to blame …never more! Talking about bearings from China …they’re famous for having minimal lubrication. I have found myself repacking almost every bearing I’ve worked on for the last 30 years for this reason. It’s actually easy but requires you break some rules …and you MUST have the proper grade high-speed grease. Me? I collect that stuff from Grampa’s Garage sale(s). I have every lube/grease/oil/solvent/glue …because I use 'em! Heh I had some Carbon Tetrachloride from some old guy’s garage that was like 50 years old. Can’t even sell that stuff …came in handy tho
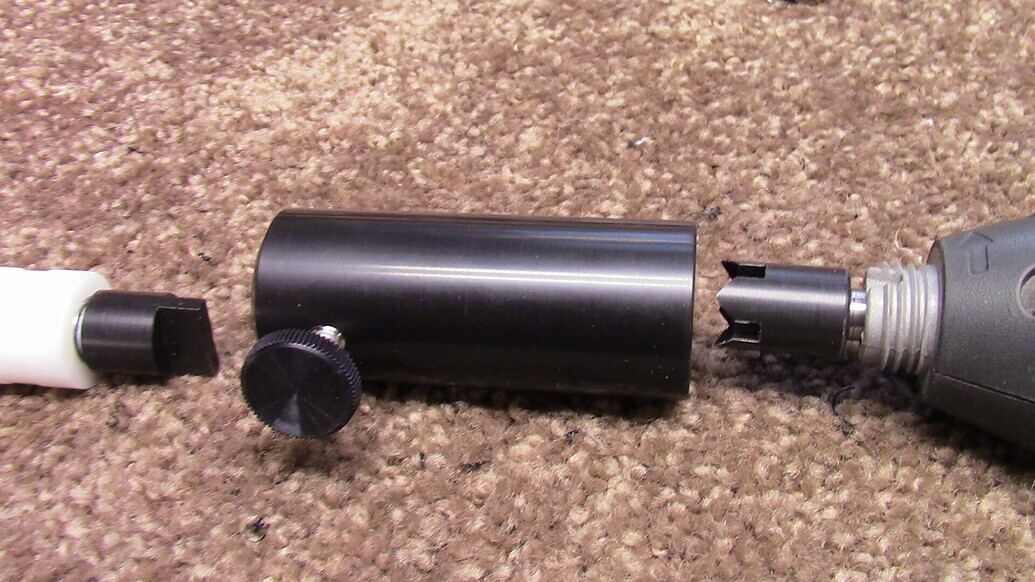
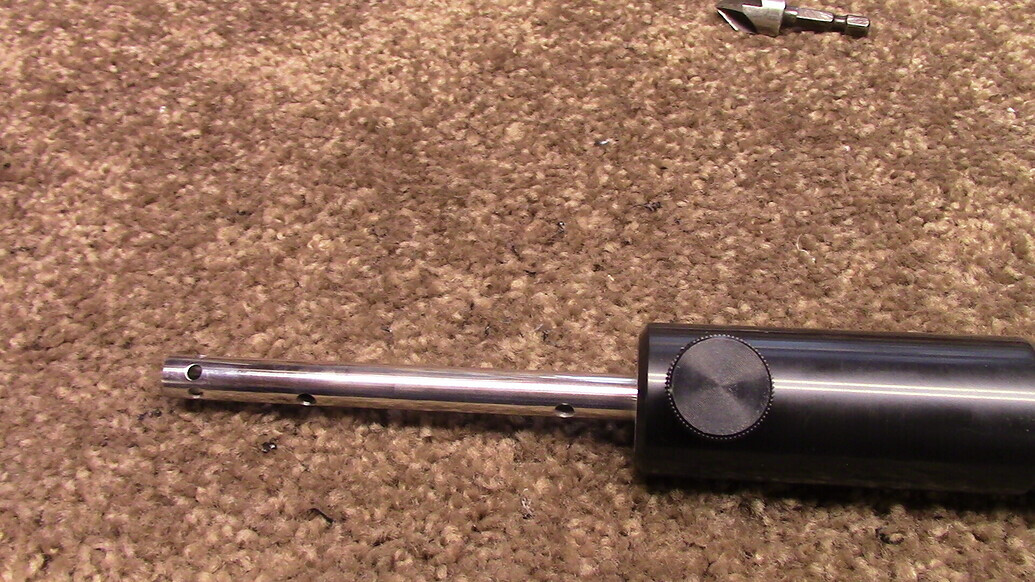
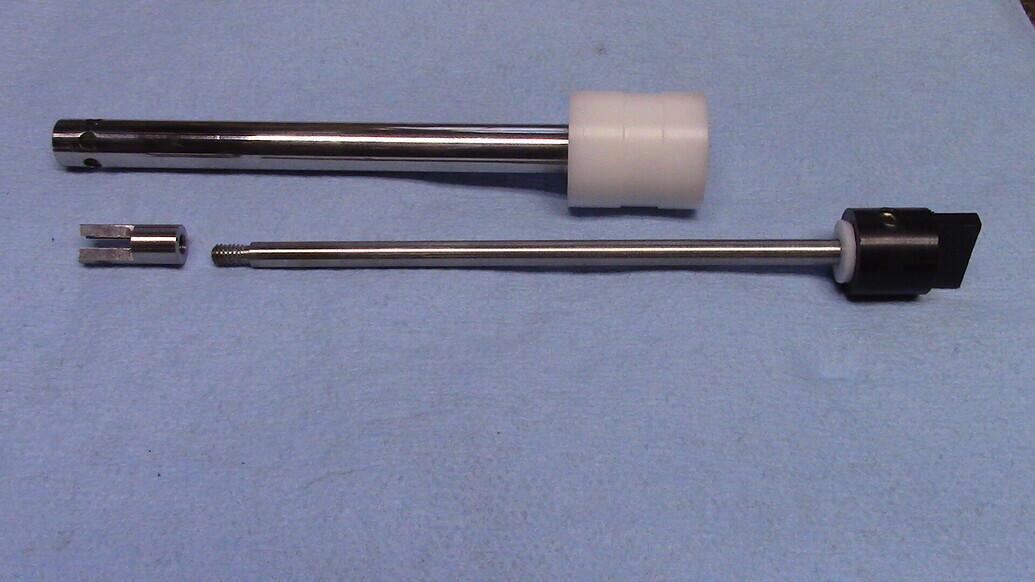
Ok here’s what I did that you shouldn’t. Do at your own risk. While fully disassembled as pictured above you can see the bearing at the opposite end of the shaft from the homogenizing end. Remove the metal rod to have clear access. The bearing is clearly metal but mine had a dark blue seal of rubberized metal between the two rings of shiny metal …the bearing races. You need to lift out that seal to access the actual balls of the bearing, oh look grease. Bend or damage that seal and you’re toast. It’s a very thin washer specially coated with rubber so it seals out water and seals in grease, and it’s very small when removed. So how to do?
Metal to metal load bearing surfaces create incredible friction and your enemy is DIRT of any kind. Even lint. Anything but fresh grease is simply contamination and doom. Wash your hands before you start and have a clean work area. Wipe off the exterior end with the bearing with a lint-free cloth. I gently ran a toothpick around the outside of the seal too because there was substantial junk …likely the source of my problem …never having fully disassembled for cleaning.
The seal comes out easily! The trick is not damaging it. No knives/pliers/screwdriver etc. I use a corkboard pushpin! Nice little handle thingy for control and all you need is a small point to get just between the outside metal race and the outer ring of the seal and pry a tinniest bit and it should lift slightly. Unlike a knife, a needle or pin gets between the metal and rubber and doesn’t have a sharp edge that might cut that outer rubber edge of the seal. Dont poke the rubber, get between the metal and rubber of the seal. Hey? you gotta put that thing back in there!
First thing I noticed was a lack of lube and all the visible grease was hardened and black. Very carefully I removed the grease from the underside of the seal with a lint-free cloth. Then with a clean corner of my cloth I wiped and that top surface of the bearing assembly (balls under a ring). Be careful not to get any fibers inside. No need to get super clean! No solvents! You don’t have access to the other side of that bearing and seal. Add your machine-grade lube, but do NOT overload, leave space between that new grease and the seal you are about to replace.
Too much thick grease can cause enough pressure against the seal and make it pop off in operation. I only added what might have equaled two matchheads and worked it in by spinning the inner bearing ring using the central shaft laying near. Moderation is critical here. My bearing was looking very dry and toasty at first but now it spun smoothly and freely. The seal pops right back in place with ease. Make sure the rubberized side is visible facing out, not that inner track ring of visible metal which should now be holding in the grease inside, and see? Not cutting that edge with something sharp when removing the seal also keeps the water out and keeps it in place securely.
So? At first I was sure my bearing was blown (chipped balls) but it was just dry and dirty. It took me longer to write this than it took to actually fix. Hey? If you have an Apple watch and read all the way down here? Put yourself down for 1.200 “steps”. I hope this helps anyone who had a similar problem and I will likely do annually to keep getting the most outta my GC for years. More importantly keeping all the inner and outer spinning parts squeaky clean is very smart.
What not to do? Don’t overthink it. Go slow. Safety First. Never do something you can’t undo. Remember you can’t get to the other side of that bearing/seal. No need to get squeaky clean, that always goes badly (try and remove all the dirty grease, uh no). More is not always better, especially when it come to grease! No Q-tips etc …new grease must be 100% uncontaminated …no little fibers.
Boss man if you’re still around and don’t want this here, feel free to have an Admin move or whatever. I posted this here as it seems relevant and is the last Game Changer post I found. Man! I panicked when I thought I was outta the Changed Game~! Thanks guys! Now I gotta go MIX! YES~!