I have some Cotton Bacon now… I want to try a scottish roll. If you get a chance, post your method of flattening your cotton.
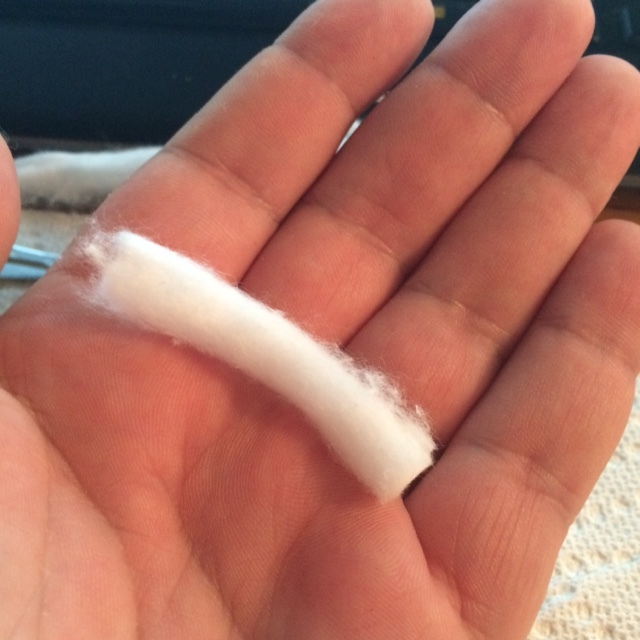
I can already tell I’m going to feel dumb as a brick trying to explain this. Ok, I don’t flatten it. My method is more or less by feel from doing it so much. I have no real way to meter the cotton I’m using and sometimes waste a little when I’ve pulled to much off, sometime have to add a touch. So, I have a kind of feeling for how much I need for 2.5mm ID. I’ll hold the strip between my fingers until what’s exposed seems right to me. Then grip that exposed part and pull it away from the rest of the strip. If done carefully it will pull a strip rather evenly so that it’s as thick on one end as the other.
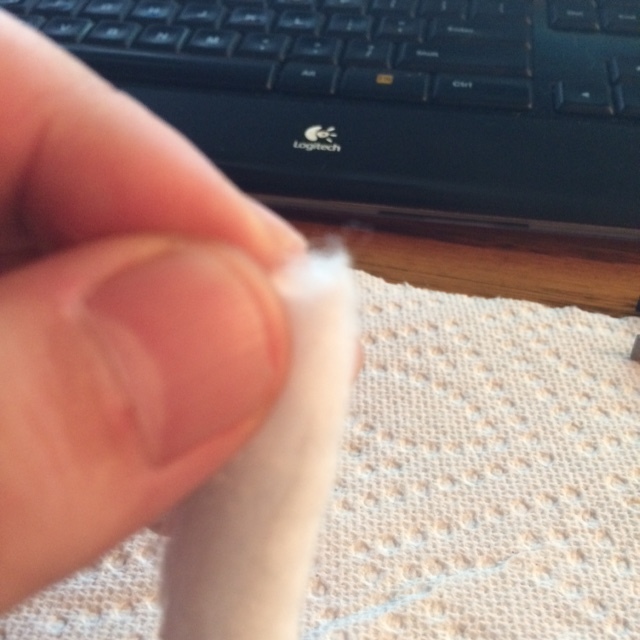

Then I cut that strip I just pulled in half. I’ll lay the half piece in the palm of one hand then with the other palm, roll it between my hands. I’ve found that you can actually roll it kind of tight and it will still wick like a champ, but I don’t try to roll it super tight, just till it’s uniformly rounded.
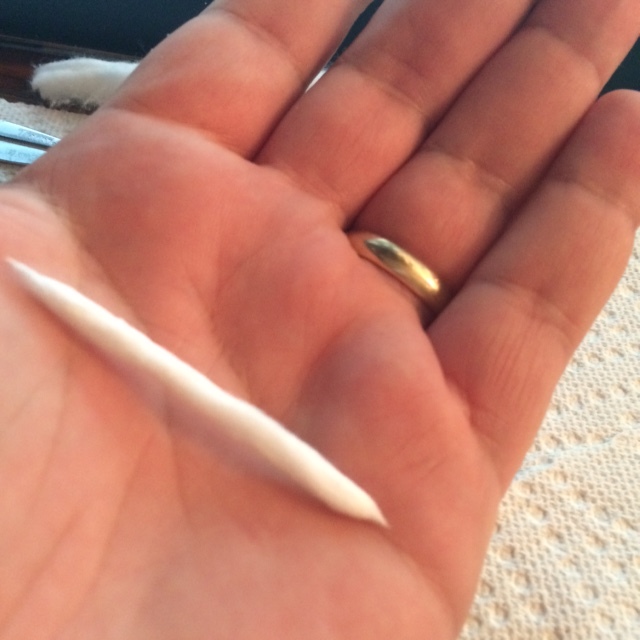
What I find is that once inserted into the coil and trimmed, then ends are surprisingly fluffy. Ok, this is where feel comes in and I’ve learned to “eyeball” my work. If after I’ve rolled the wick I cannot pull it through the coil without holding the coil, it’s too much cotton. If I can move the wick around (not side to side, more like up and down against the inner walls of the coil) then I haven’t used enough cotton.
So yeah, I’ve gotten a feel for this but I’m not recommending it to anyone who gets their panties in a bunch over wasting cotton. Both the Scottish Roll and now the Sushi Roll methods will waste less…at least till you figure it out with the Cotton Bacon. I only started doing it because I prefer the CB over Japanese.
6 Likes
WOW exactly how I use BACON cool
2 Likes
I keep doing similarly combined methods…where the Scott throws 1/3 away…I just peel it into 2 equal pieces, and lately have been using halves(or a 1/4 over all)…I stretch it out and then roll…but then I feed the pointy bit through one coil til it won’t go anymore and then cut…at this stage I still have half of this cotton tube with a tip and I feed that through my second coil, even less waste.
BUT, not all Japanese cotton tastes the same in an RTA…I used straight up discarded skins in an RBA and never notice flavor of the skins, but somehow in a tank I can…so sometimes, depending, I peel both skins and discard into a zippered baggy and save it for my RDA builds (and those are rare).
What I’m most curious about issssss…how do YOU trim your wicks to fit, sayyyy, a Goblin mini or Billow (or Orchid) type build? There is no “just enough to touch the bottom”…you gotta trim it to fit a chimney.
I’ve seen some folks fluff the ends and just drop the chimney down…and some who trim neatly aiming for the top of the channels on deck, and some who trim and soak and then guide the ends to the desired location just above the channels and away from airflow holes.
How do you do yours???
I happen to have oily skin. I think the cotton square skins are far more apt to pick up oils from our hands. That’s why I wash my hands thoroughly before wicking. I’ve tasted that “off” taste when I haven’t washed up good first. Not pleasant but it goes away after a few good puffs.
I build 2.5 mm on pretty much everything. It’s my go-to size for coils. With the GM this translates into a very tight fit. So I just do a kind of bow tie looking wick, saturate, then often will trim at an angle so that the longest par of the wick is what comes off the bottom part of my coil. I tuck just a tiny bit in the wells making sure the rest sits flat on the deck. Works every time. For the Subtank Mini and Lemo 2, I trim so the ends of the wick sit flat on the deck. Saturate then gently tuck those up against the block portion of the deck. After putting the chimney on, I’ll use my smallest precision screwdriver to make sure the wick is back away from the juice channels and not resting against the chimney walls - as much as possible. For the TF-R2 I do much like the GM, but I make sure a bit more cotton is in the channels and the wick is slightly longer than needed to sit flat on the deck. I find this and the GM to be the bigger pain in the butt when wicking, but when done properly they wick much better than the Lemo and Subtank mini.
I watched a vid or read someplace the issue with the Lemo2 wicking is most often tightening the top cap to much and pushing the seal up in the juice channel and semi blocking the flow. I tighten the Lemo tanks I have only to the point that the glass will still turn but it is snug.
Hope that might help
I don’t have problems with wicking. But thanks for the tip. I learned some time back not to tighten things more than they need…pretty much a rule of thumb for anything.
Hey, I got my Velocity clone in today and it reminded me I said I would try that build on the Aromamizer. Ok, sure the Aromamizer RDTA has the Velocity style post design, but the huge difference is the width between the posts on the RDTA is about half that of the Velocity. I didn’t even attempt it because I’d be looking at a 2mm or small ID on 26ga wire. Not going there. I also didn’t try it on the Velocity clone either since I was really only interested in trying it on the tank. So, I think that effectively squashes that idea, for me anyway. But that Velocity clone…best dripper I’ve ever used. Started with a dual titanium build but then ran across some 24ga 317L wire I was sent as a sample. It’s pretty darn good, and even my little eVic VTC Mini is hitting it nicely in temp control. This RDA may have me dripping more than I have been. Certainly it will take the place of my stand by Freakshow as my tester topper of choice  Great chunk of metal here.
[quote=“SthrnMixer, post:28, topic:38208”]
Ok, sure the Aromamizer RDTA has the Velocity style post design, but the huge difference is the width between the posts on the RDTA is about half that of the Velocity. I didn’t even attempt it because I’d be looking at a 2mm or small ID on 26ga wire. Not going there.
[/quote]Well I guess that ain’t gonna work for the remedy on that project then.
I do like the build deck on it the most out of all that I have had but as you already know I like single coil even on a dripper so the rest of it is not the best design for me However with this build it is working great. I have only taken it off the evic for the time it took to go do a few things in town. Vaping Jimk’s Fidels Private Stock in it now and loving it. I like the velocity much better this way then the way I was using it with the modification I did. The reason is the cotton wick now helps to stop it from leaking juice where the slot for air is so now I do not worry abut tipping it on it’s side while hitting it. This style setup is totally un-necessary for anyone that likes big air flow and dual coils but in my opinion is the perfect solution to a slightly restricted air flow and single coil builds.
Sorry for the thread jack.
Can you post some pics of your wicking on the Goblin? I just bought one and my first try cost me a tank of juice and covered my freshly cleaned iPV D2 in the process. My second wicking went much better. But I still don’t feel I got it quite right because I am getting very slightly dry hits.
1 Like
In for wicks topic*
If one is started I would be glad to help with posting pics but the only 2 atty’s I use right now are the Velocity dripper and the original Lemo which is the same as the Lemo drop but not the Lemo 2
The velocity will not do that it, has notches that lock in place with the air slots facing where the coil is in a normal dual coil build. It was not designed to be used for single coil builds
1 Like
Not true with the clone I got from Fasttech. No notch. Kinda disappointing.
If my old brain will engage tomorrow and I remember then yes, I will do a complete rebuild with photos. Too pooped tonight.
1 Like
Interesting, Mine is a tobeco clone but has the notch Local Vape shop had them for 19 dollars so I picked it up there.
Mine is probably a clone of a clone. 
4 Likes
Now that’s just funny
2 Likes
Mine doesn’t have the notch either, but I wish it did. Mine also came with red o-rings (I think the Tobeco had black) and no extras in the box. Really wish I would’ve got the authentic clone. Seemed like the Tobeco had a lot of stuff in the box with it.
1 Like
My Tobecco came with the Allen wrench and a bunch of O-rings also the wide bore mouth piece and the 510 drip tip adapter. I think it also had 2 of them funky pre made coils wrapped on silica rope.