Yeah I feel your pain!
Once you go down the rabbit hole there’s no coming back! ![]()
3 Likes
That’s what my wife is afraid of lol at least thats whats going through my mind whenever i buy new stuff, but right now she supports me and my DIY mixing because she hated the stink Stix 
3 Likes
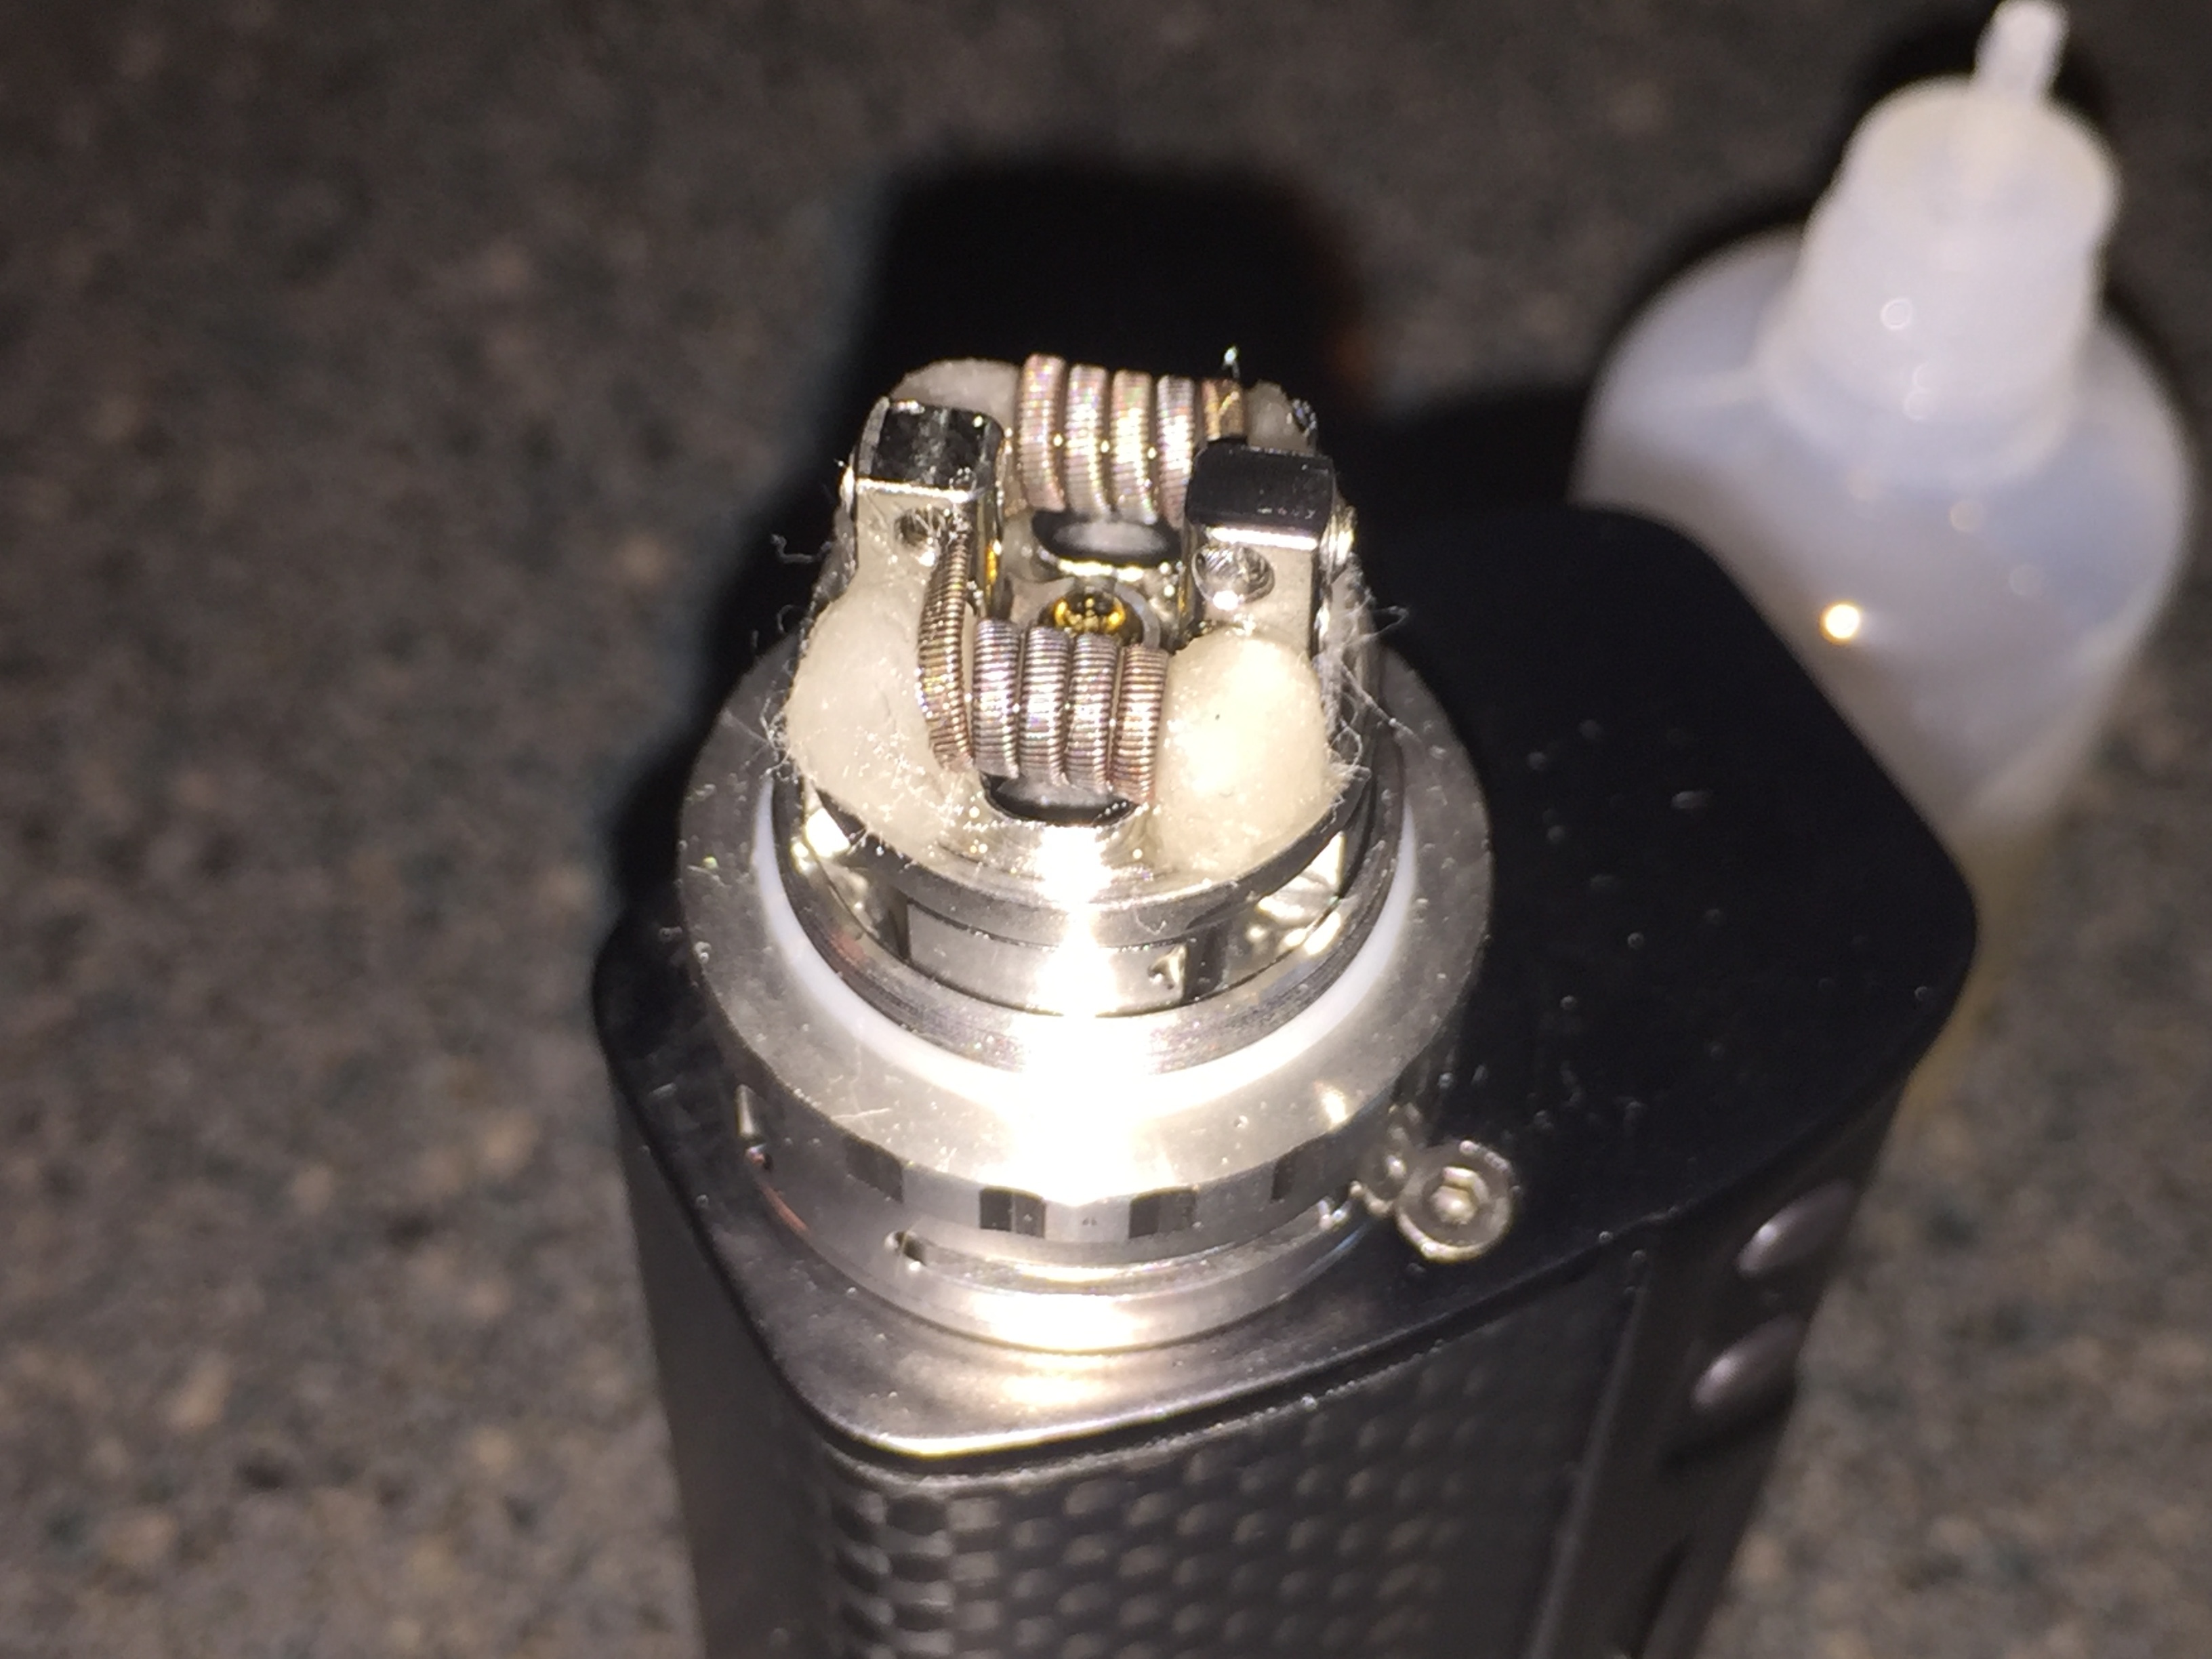
4 or 5 wrap?
Suckin’ vape sauce like a Hemi V8~! …heh good thing you make your own 
1 Like
best tool ever for wicking my Griffin …small thin pointy curved toenail scissors
Don’t necessarily recommend buying these from here but they need to look like this …likely available at local drug store for $5. Search Ebay/Amazon for curved toenail scissors ($1!)
Wet your fresh wick with a little juice and get it started into the juice channels …screw on the ring, then with the pointy razor sharp scissors you can cut inside the juice channels just under the ring, and even poke at your wicks with the tip to get them just so
…only tool necessary, just don’t get too cheap of a pair, obviously they need to be stainless and sharp, but it’s the thin pointy curved tip that makes it the perfect solution for the Griffin
3 Likes
I use a straight set of those small scissors for the same reason. I use them for everything from cutting the cotton to poking the wicking into the juice channels if I don’t have my ceramic tweezers handy at the moment. One of the key things about these is that they are nice and firm, not flimsy.
1 Like
Have 2 grifiins besides holes in top which i dont want whats the diff?
The Griffin 25s don’t come with top airflow unless you order them that way.
Differences:
22mm
Airflow holes: 2.59 mm x 4.34 mm
Deck size: 16.1 mm
Capacity: 3.5 ml
25mm
Airflow holes: 3.5 mm x 4.4 mm
Deck size: 17.0 mm
Capacity: 6.2 ml
Other benefits of the 25mm:
Wider space between outer build deck and glass wall. Allows for more juice flow and air bubbles to move up the tank more efficiently.
Large juice flow holes allows for more efficient wicking especially with higher VG juice.
Wider chimney allows for more airflow.
(2) Ceramic blocks for single coil builds (with airflow & without)
Hardened post set screws
Better post screw tool
2 Likes
I have actually noticed that if I fully open the top airflow and leave the bottom airflow only half open that the flavor production is at it’s best. The top airflow is not just open holes at the top by the drip tip. It flows down the side of the chimney and exits next to the coils for an airflow “similar” to the Aromamizer. It’s not completely from the sides like the Aromamizer but close. Now you get “side-ish” airflow and below the coil airflow which I find to be great for flavor and vapor production.
2 Likes
Thx. More juice capacity sells me on at least one.Q. any improvement on leakage?
Zero leakage so far with mine. Proper wicking is key.
I’m new to the group here…Thanx for having me guys n gals!!! Just got both Griffin’s. The original and the 25!!! Love them…had some leaks at first…then I’m thinking too much cotton inside the retainer ring…thanks to whoever posted this video https://youtu.be/9PQsmfi1EwM …I am definitely doing it like this on the next one I build! I don’t DIY juice yet…but intend to get into that soon!!! Bout time been vaping for over 2 years now
2 Likes
[quote=“Scottyjoe9201, post:34, topic:65430, full:true”]
…thanks to whoever posted this video https://youtu.be/9PQsmfi1EwM …I am definitely doing it like this on the next one [/quote]
This method is what I use and I have zero leaking and zero dry hits.
3 Likes
How’s it going bud? Did you start doing your builds? Just wanted to check in and see how that’s going.
You asked @wildtxn if the photo he posted was 4 or 5 wrap. Here’s a a little insight which may help you later on if you start using something like Steam Engine. You can see in the image posted by @wildtxn 4 complete wraps. What you’ll also notice is on the coil closest to you, on the left side, is the wrap that turns into the lead. Same is true on the right side only it is under the cotton so you don’t see it. Those aren’t complete wraps and so this would actually be a 4-1/2 wrap coil. To be full wraps, the leads would need to extend on opposite sides of the coil. That type setup can be found in things like the Kanger Subtank RBA, Lemo, Orchid, Kayfun etc. Most always it will be single coil tanks. It’s really more a technicality than anything - that is of course until you start getting very low resistance builds and where you need to make sure you’re building within the limits of your batteries.
One more thing and I’ll shut up. It’s important when building dual coils that you build each as identical as possible. Making sure you have the same number of wraps is easy enough, but also pay attention to the length of the leads once you install them, and if they are spaced you want to try and space each coil the same, as much as possible. This will result in even heating. Otherwise you can end up with one coil getting up to full power faster than the other, and this is especially problematic in TC as you will get just a crap vape.
3 Likes
Unfortunately i have yet to get wire to start building because work has slowed down and the vaping budget was obviously affected lol.
I’m a Nicotine River VG fan but had to go to Essential Depot for my VG purchase this time because i was able to get 2 gallons with free shipping for under the price of 1 gallon of NR VG Shipped.