One of our clients runs a large fabrication welding shop, so they hooked me up.
12 Likes
That’s a very nice thing to do for your neighbor. Also, it’s better to refurb/rebuild than throw away.
7 Likes
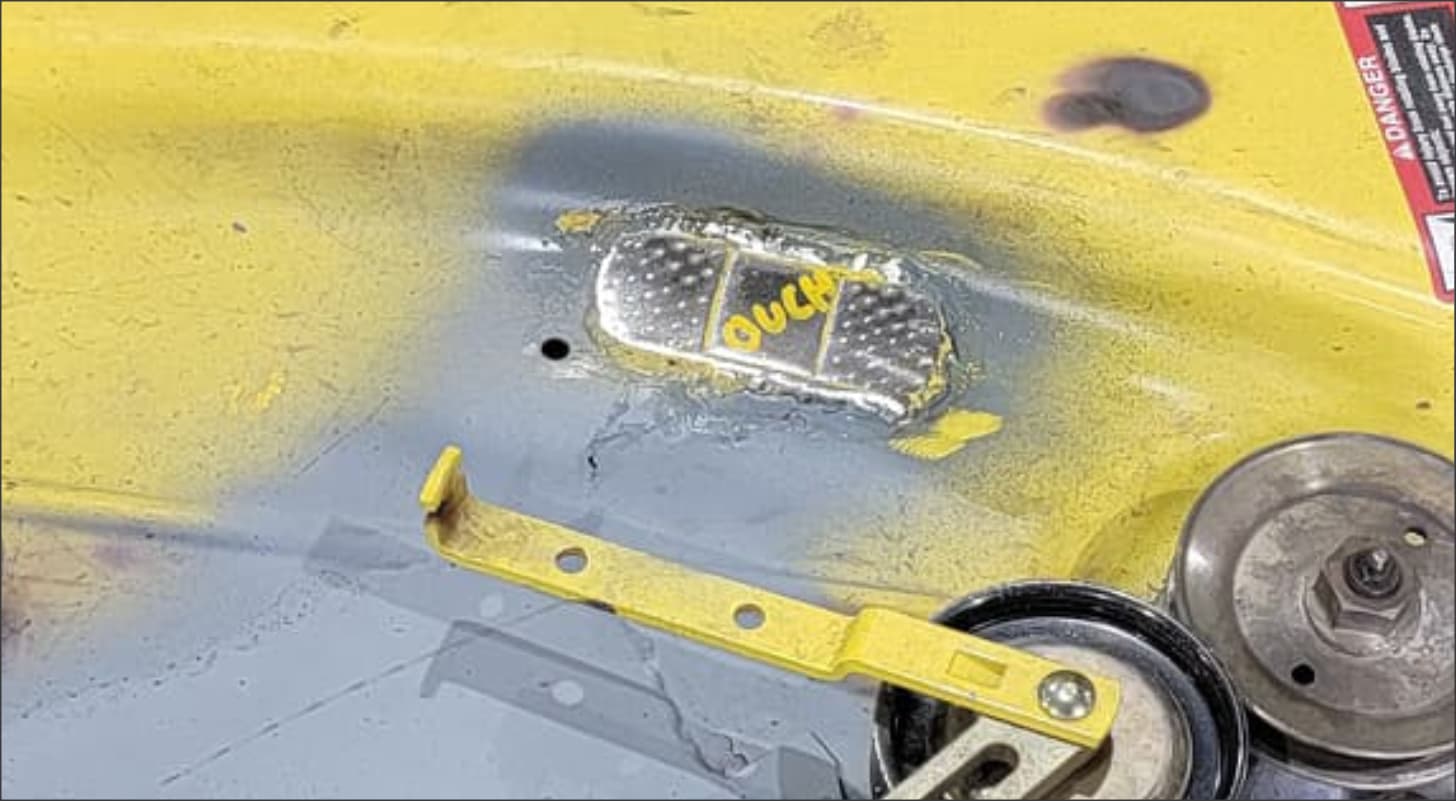
Very cool and love the ooch label. ![]()
![]()
![]() Motivates me to get the mower cleaned up for the rainy season.
Motivates me to get the mower cleaned up for the rainy season.
5 Likes
Oooo looks like you are treating yours far better than I do mine ![]()
- I’ve a D105 … came with the house. I just start it, mow, then park it.
4 Likes
Hehe @DaveJ I guess I KINDA treated it ok. It’s a 20+ year old LX280, and I rode it with the mulch kit from day one. GREAT cuts and striping but it caused a lot of wet grass to hang under the deck, which I didn’t really keep up on, and finally rusted out.
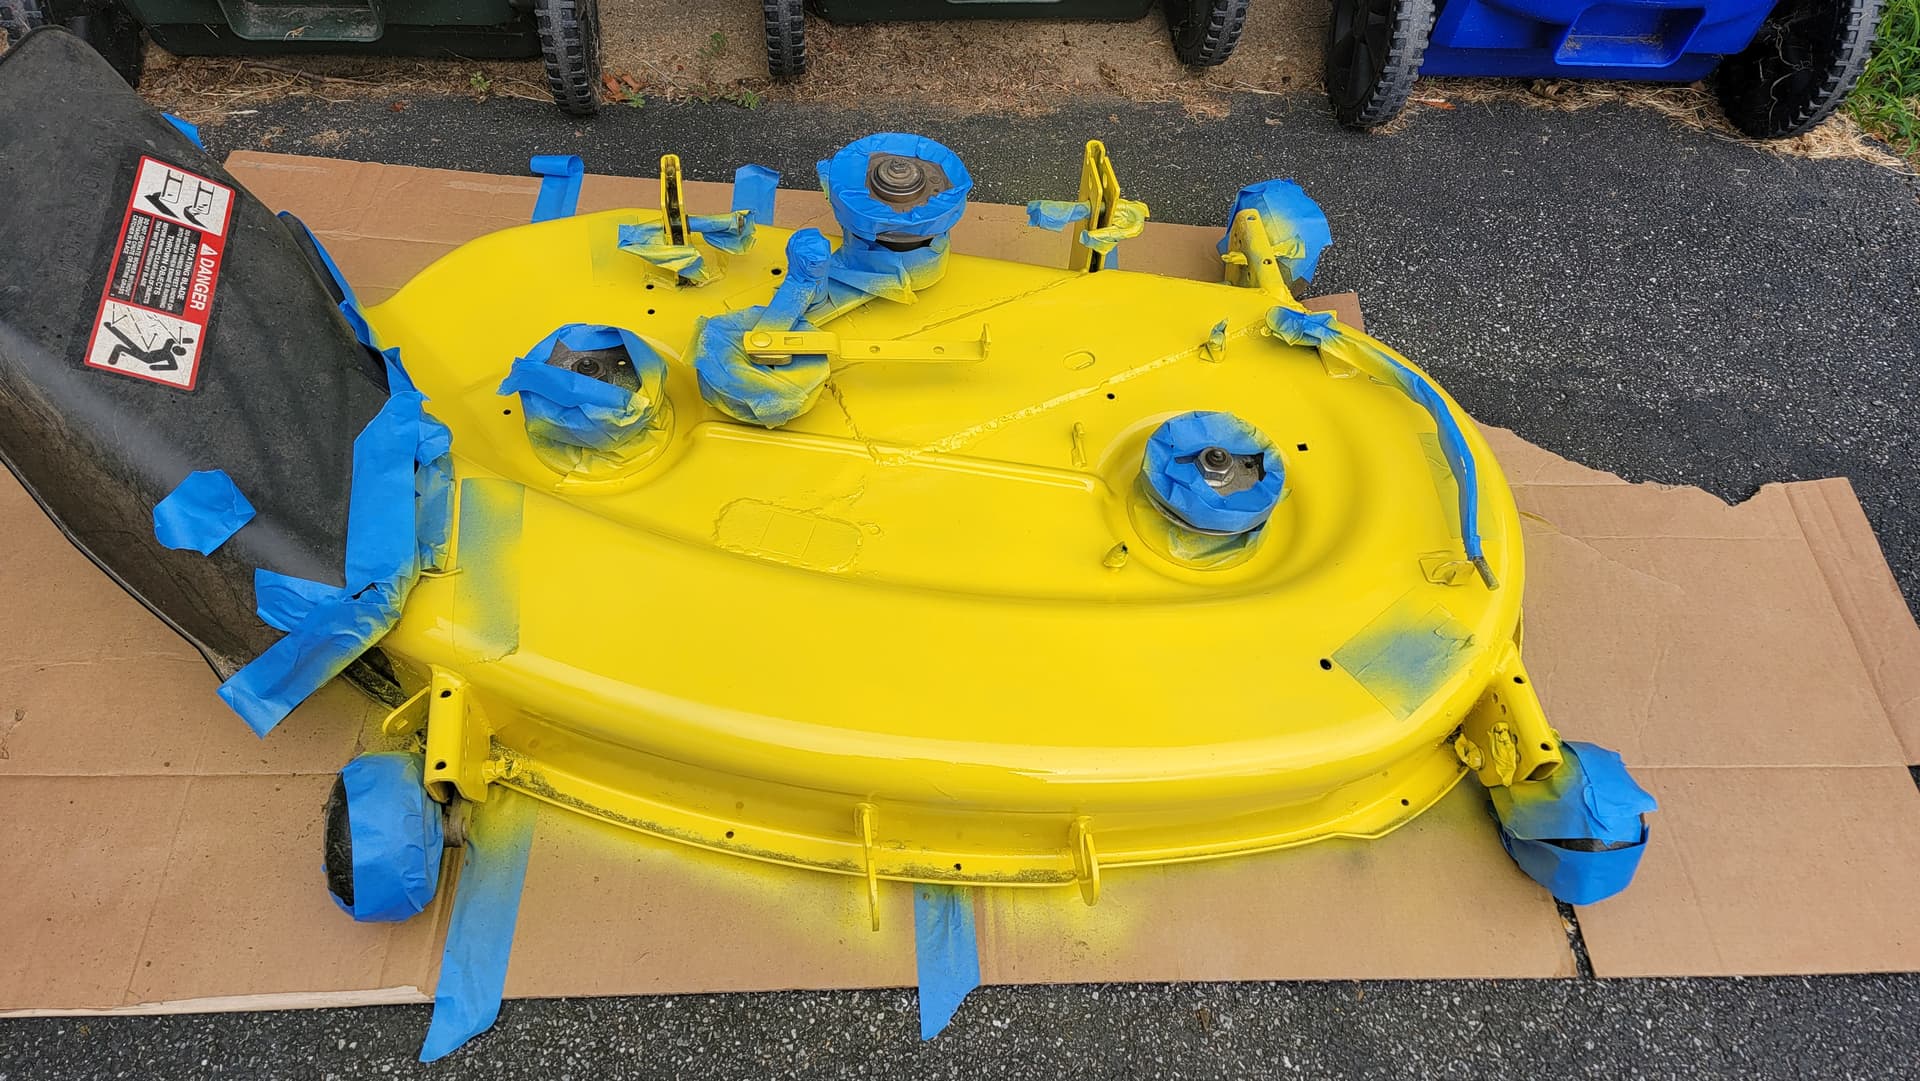
Had some plates welded on the top, triple fiberglassed the bottom, shot all rust with Rust Restorer, and now top coating with John Deere yellow.
I’ve been mowing multiple yards for forever now, and am trying to get this “loaner” set for a neighbor, so she can do her own, and take some load off of me. ![]()
4 Likes
Oh, somewhat older than mine then. (Not quite sure just how old mine is though). I suppose, after 20 years, some TLC is prolly in order ![]()
My grass/yard isnt really up for all those nice quality finishing things (striping), I just want/need to keep it down … and somewhat sorta under control.
Say - what sorta things might one post here in this “hobby” thread that may be of interest to others?
2 Likes
Sometimes less IS more. I don’t use a roller, but after all the work, try and keep it tight.
Anything you’re doing.
3 Likes
Just an accidental Aurora while at the mountains.
Amongst a bunch of hikers and star gazers people were watching the milkway along with me. After wrapping up and brushing my teeth I was like…why does the sky look so bright over there…pointed my cell photo to see if there were colors and there was.
Finished up getting ready to sleep in the truck…busted out the camera gear and walked a half a mile for this….

15 Likes
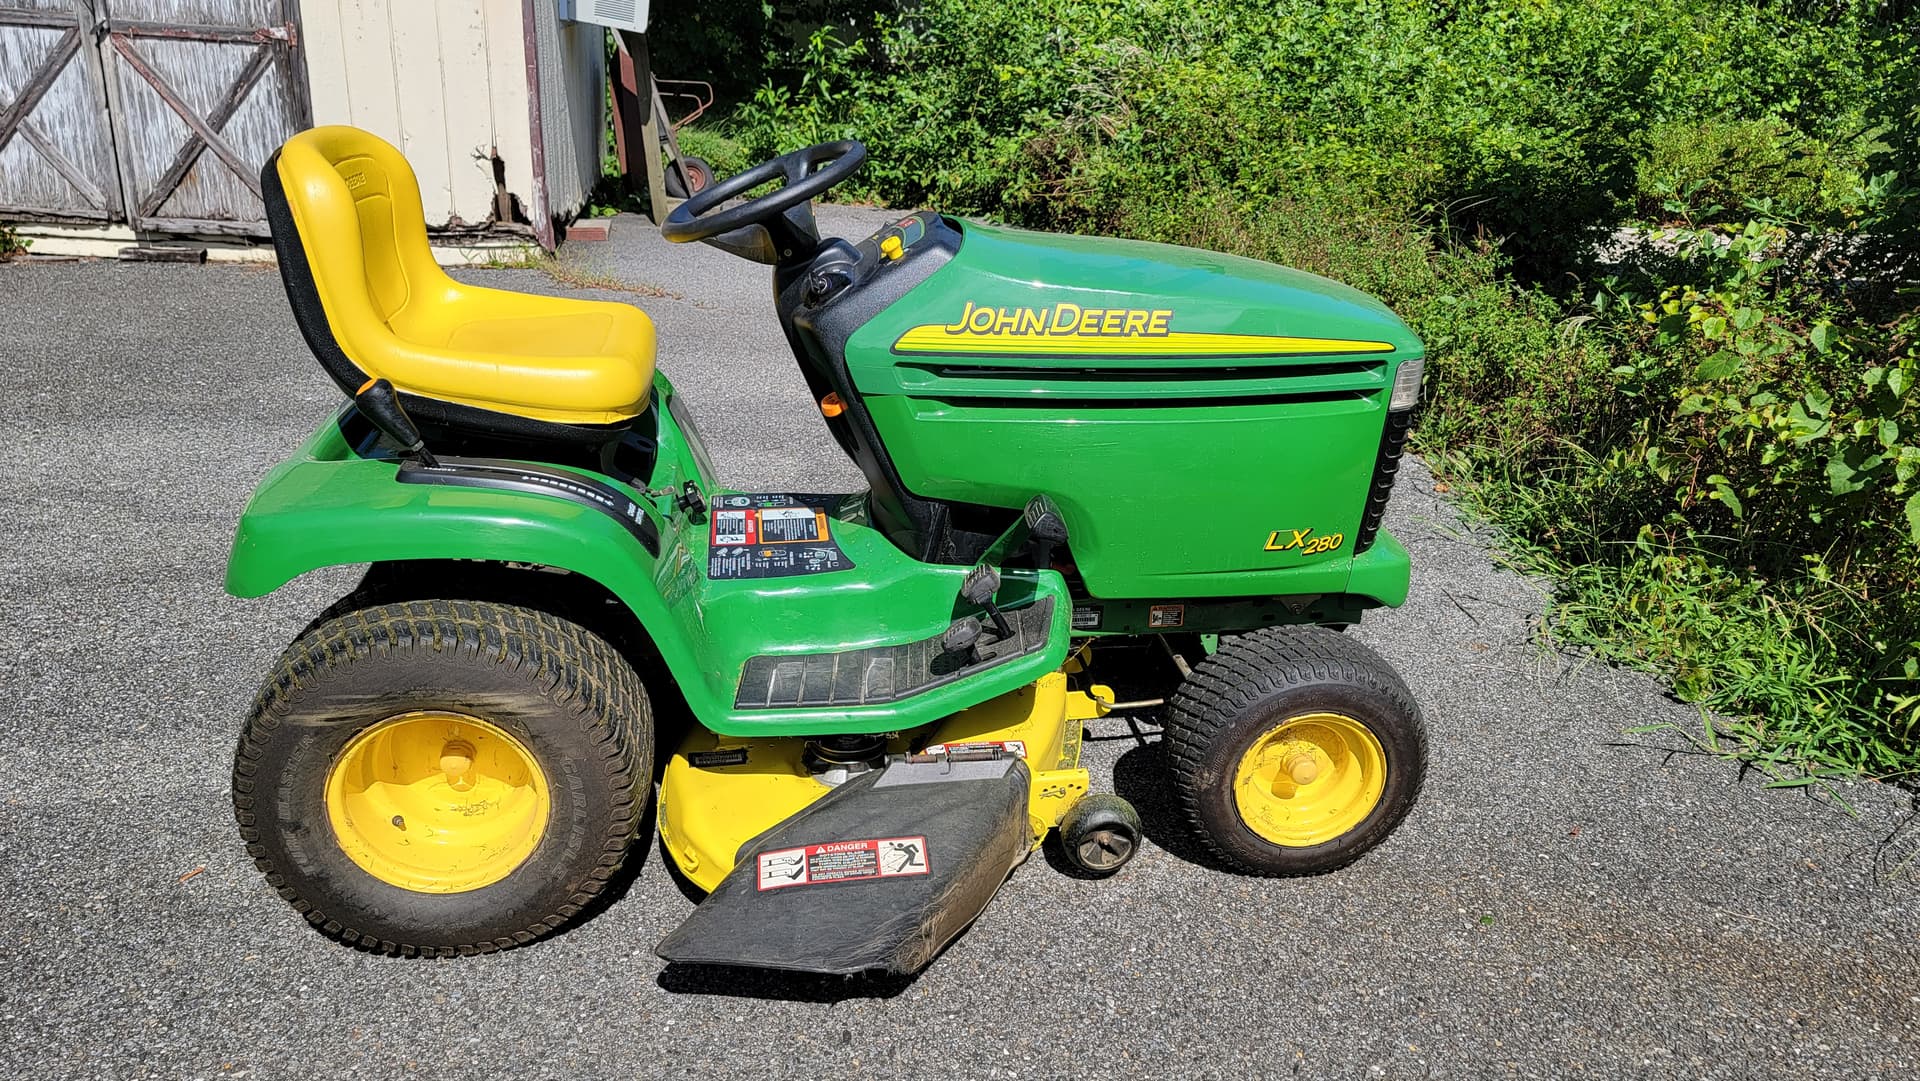

Dam looks like brand new, nice job. Could make for a nice little side hustle.
6 Likes
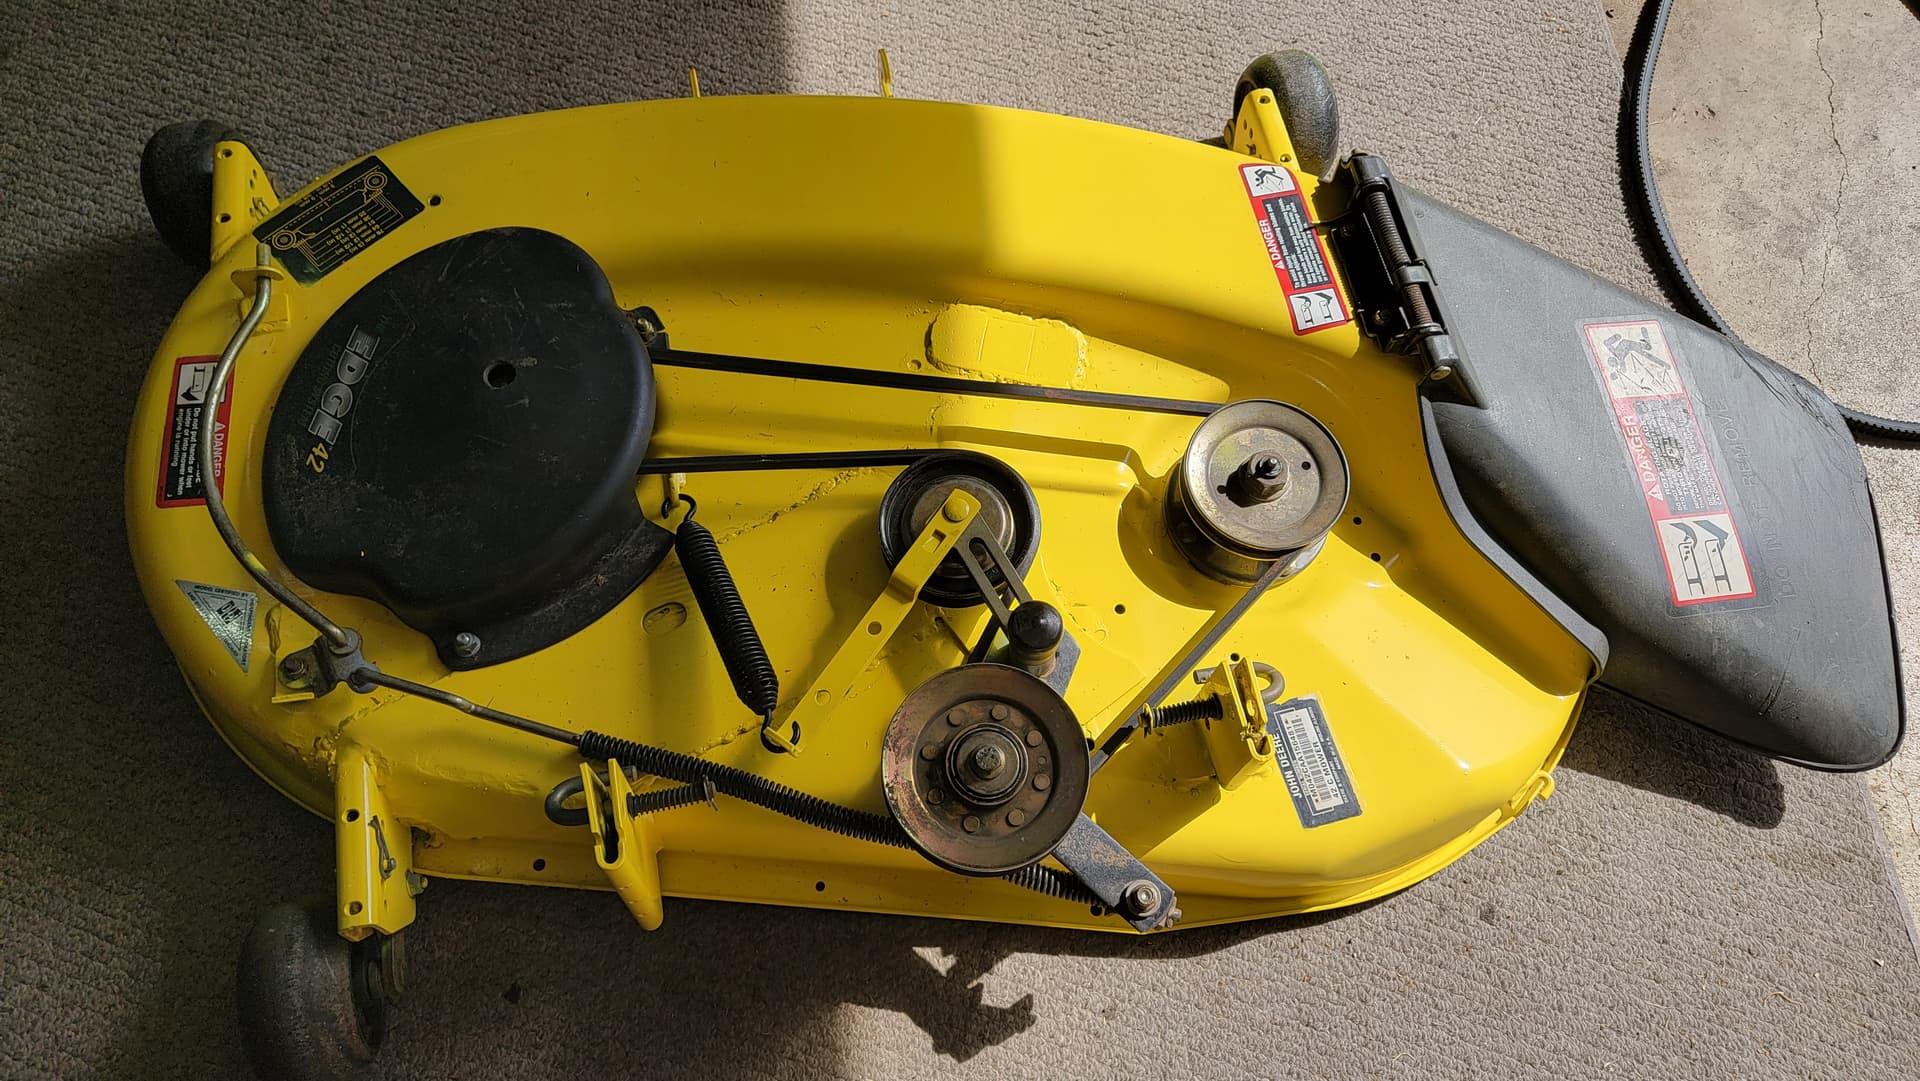
Excellent result AND it cuts. Winning! ![]()
Observation: Your control for the cut height and your “cup holder” are on the reverse sides to how they are on mine. (Mine the cut height is on the left, the cup holder <err, vape holder> is on the right)
Donno if that is because mine is a different model to yours (although they look pretty damned similar) or if it is an Australia vs US thing. Doesn’t much matter though…
6 Likes
We’ll see iffn I can figure how to post pics (first time in this place - so, quite likely, I’ll mess up - in which case the term you might use is “Jafa”. “Just Another F**** Aussie”! grin).
I do some amateur woodworkie stuff. Hobby only. Not now nor has ever been my day job. Of course, vaping offers some options for “things to make”. These two are early items but both are still in frequent use years after being completed.
Way, way back, people wound coils around drill bits - and commercial jigs had barely started to appear in places like Fasttech. So I rolled my own.
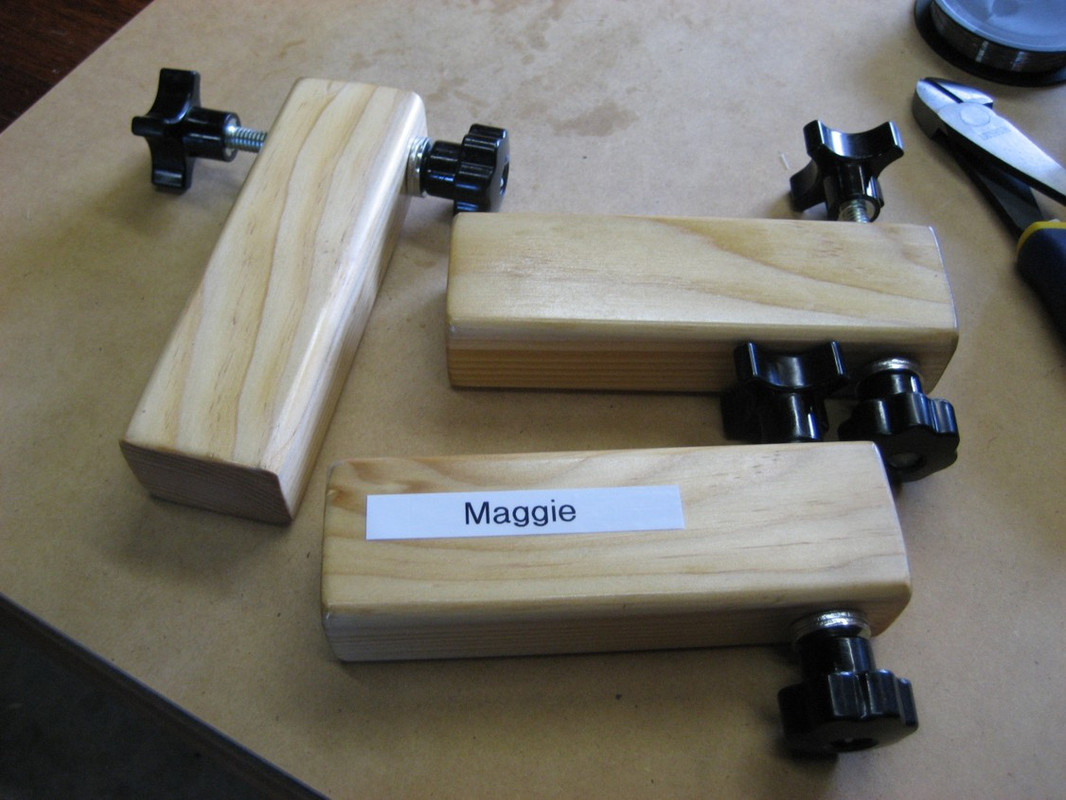
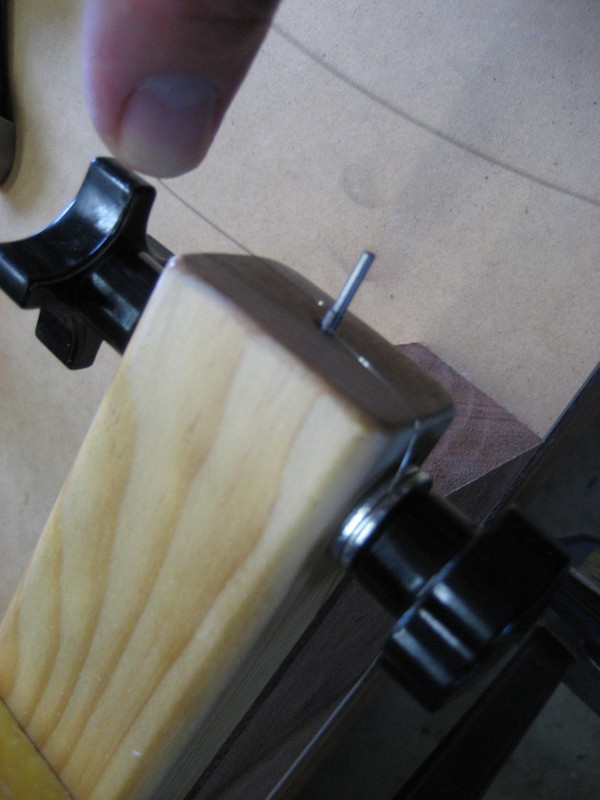
At that time I did 3. Two were gifted out, I still use the third to this day.
<woohoo! looks like I can just paste the pic links! Full screen editor for the win …>
Battery rack. What to do with the 18650s you have lying around? There are about as many battery racks as people who design them. This is my take on the idea:
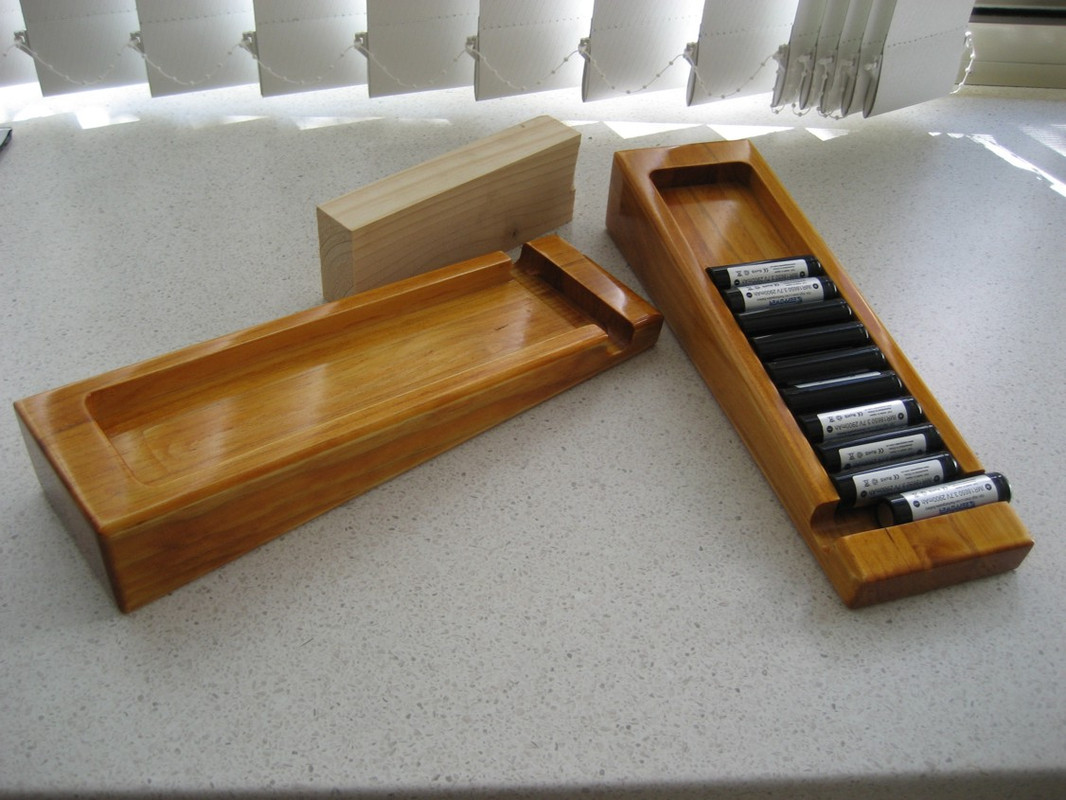
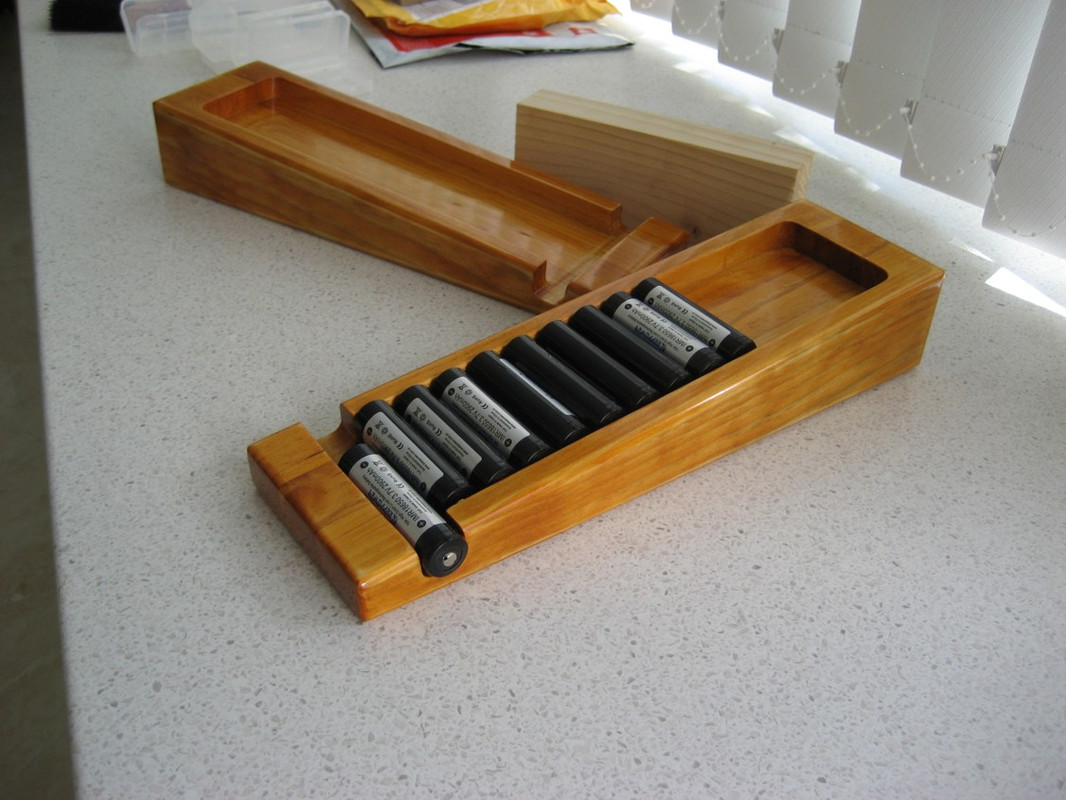
These were made up from off cut pine from the scraps bin. They work …
17 Likes
Many vapers have thought about making their own mods. I thought I could do the “body” stuff, but the techie details about the board and electrics left me wondering and it was this that always made me pause.
One day a friend from “over east” gave me the push I needed. I did the woodie bits and he did the electronics and provided much advice about what I needed to achieve. There was a LOT of emails and pic forwarding between us thro this and all the bits and pieces had to be mailed back and forward. It took some time, but we got there in the end:
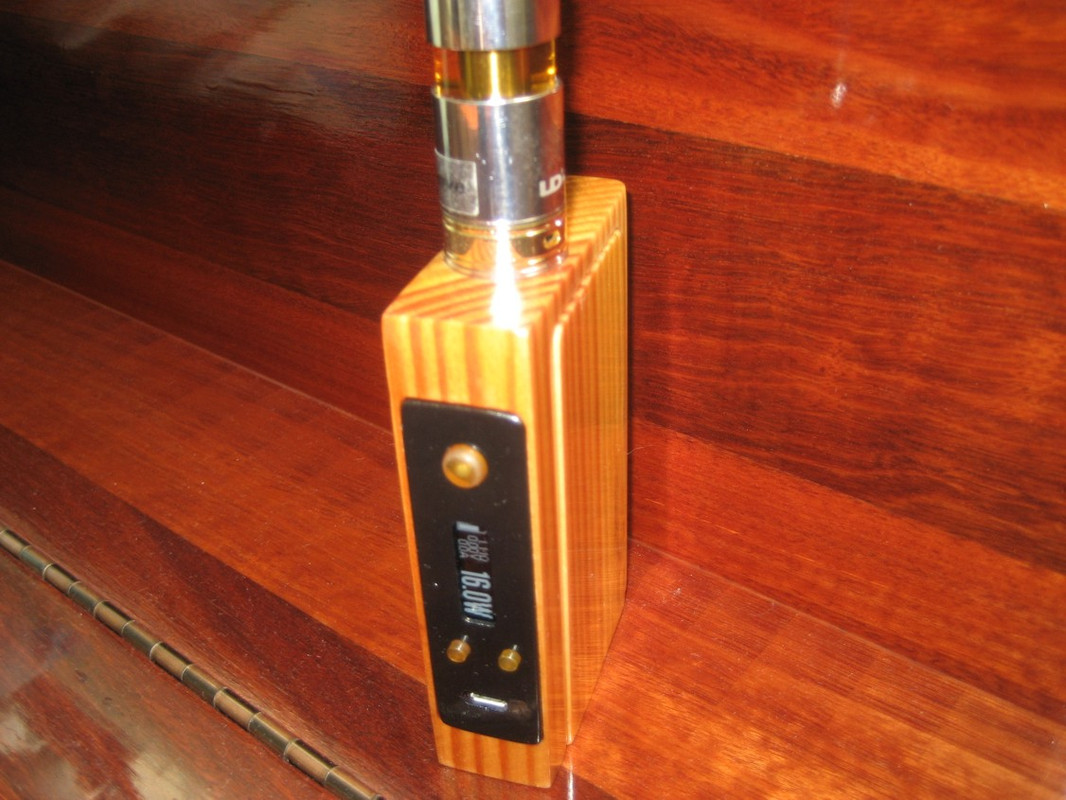
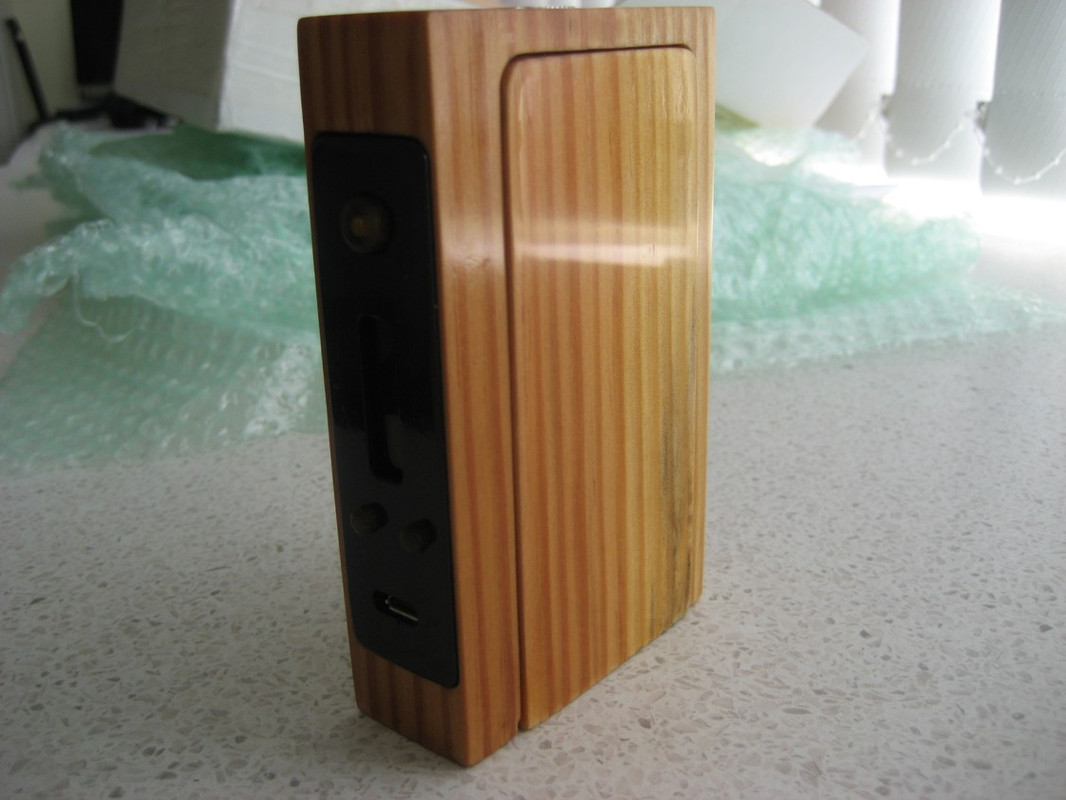
We made two - one each.
And (if a link to a PDF works) this is a (pic heavy) PDF which tracks the construction with many “work in progress” pictures.
Cheers
Dave
18 Likes
Bahahahahahha!!!
Dude… You are going to be a wonderful addition to the forum/family bud. I LOVE seeing such detail in ones work. Thanks for sharing!! ![]()
12 Likes
Thank you.
It took me a little bit to work out how some of this forum post “reactions” display. New and different (to me) forum software … never encountered those reaction icons at the bottom of posts before … “likes” yes, but never those. I’m learning ![]()
If you guys liked those little projects, I think I can find a few more pics to post up …
8 Likes
Well done guys ![]()
![]()
8 Likes
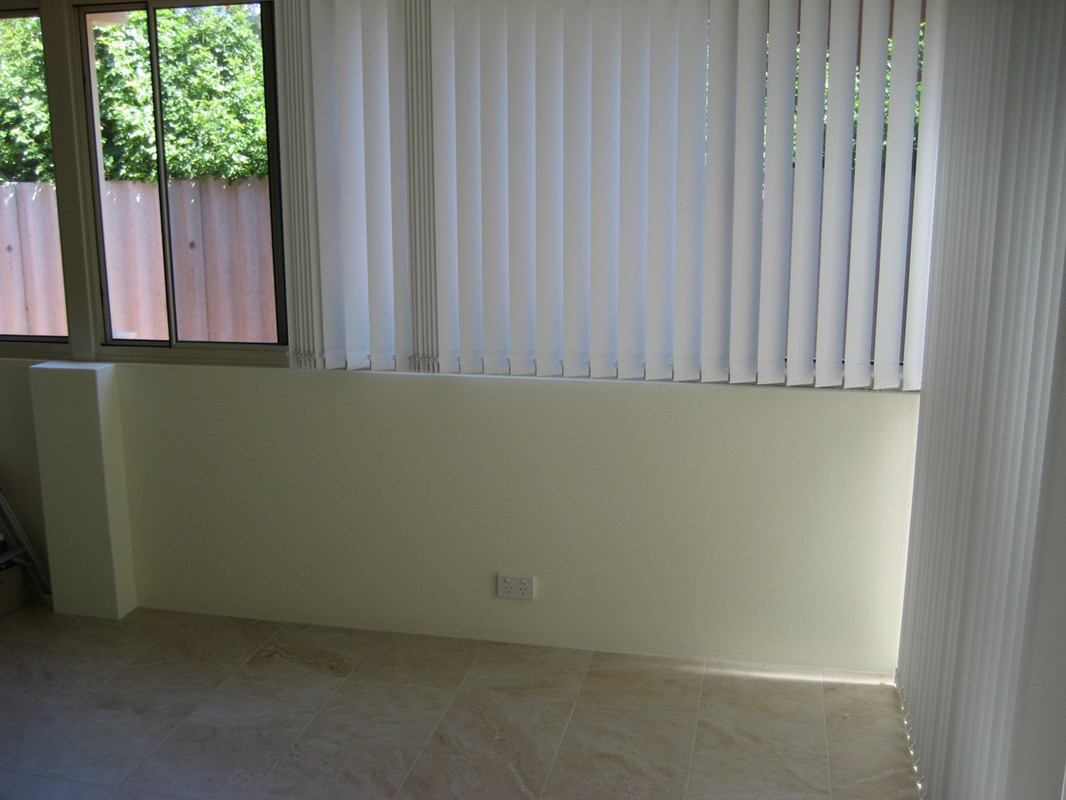
Windows Box Seat - Pt 1 - the base.
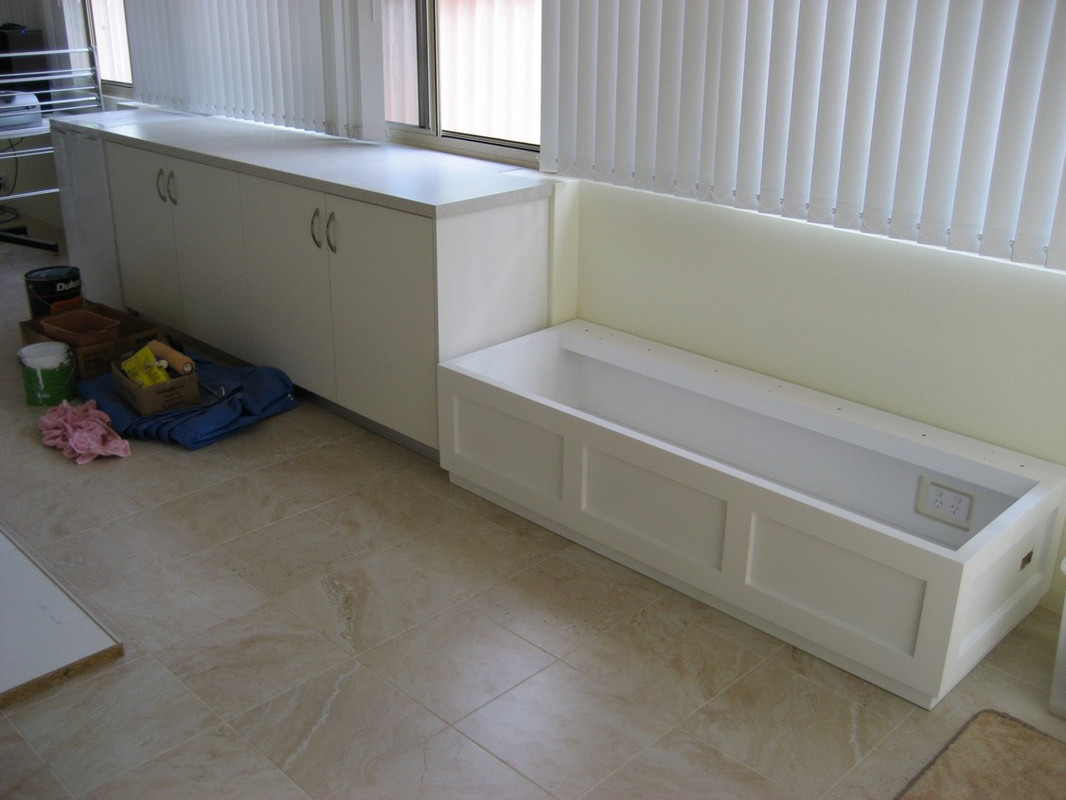
A long while ago (in our last house) we re-did our “sunroom”. Basically an enclosed patio which was pretty rough until we completely rebuilt it. After all the dust had settled, there was a spot that needed … something. I/we thought a “box seat” would be the go. Some storage (always a good thing) and somewhere you could sit or throw stuff …
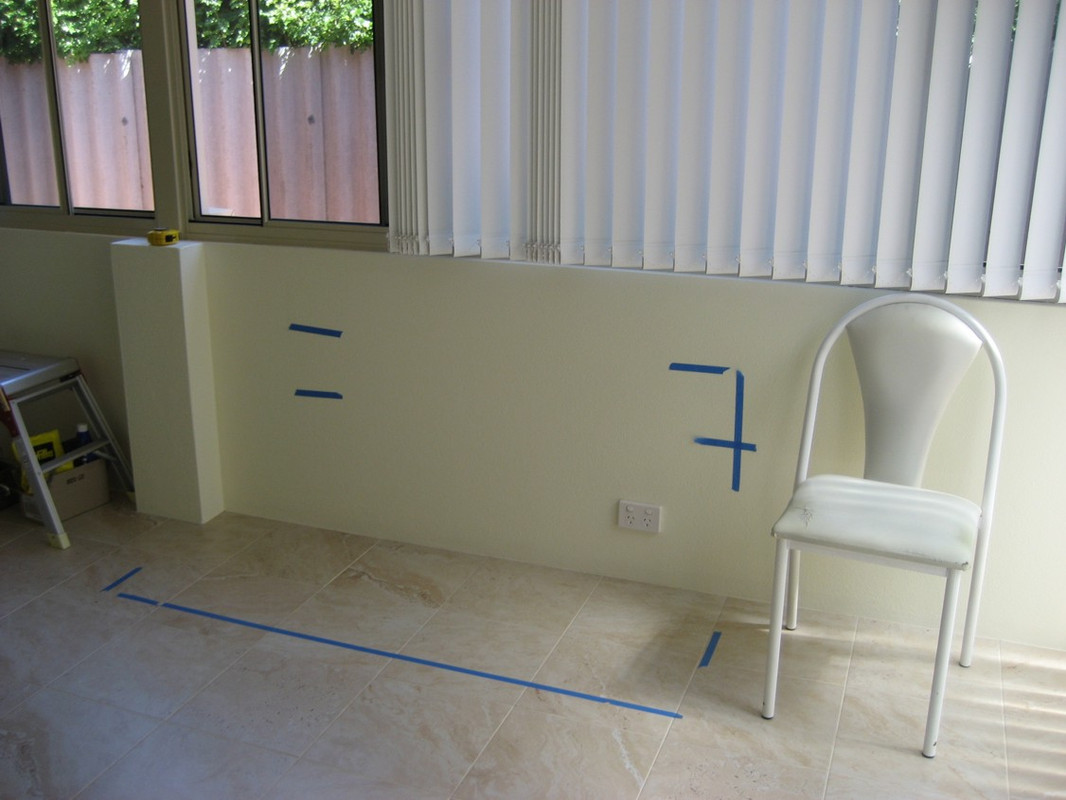
This was the spot
I marked out the area - to help visualise where I was going. (painters tape is so useful)
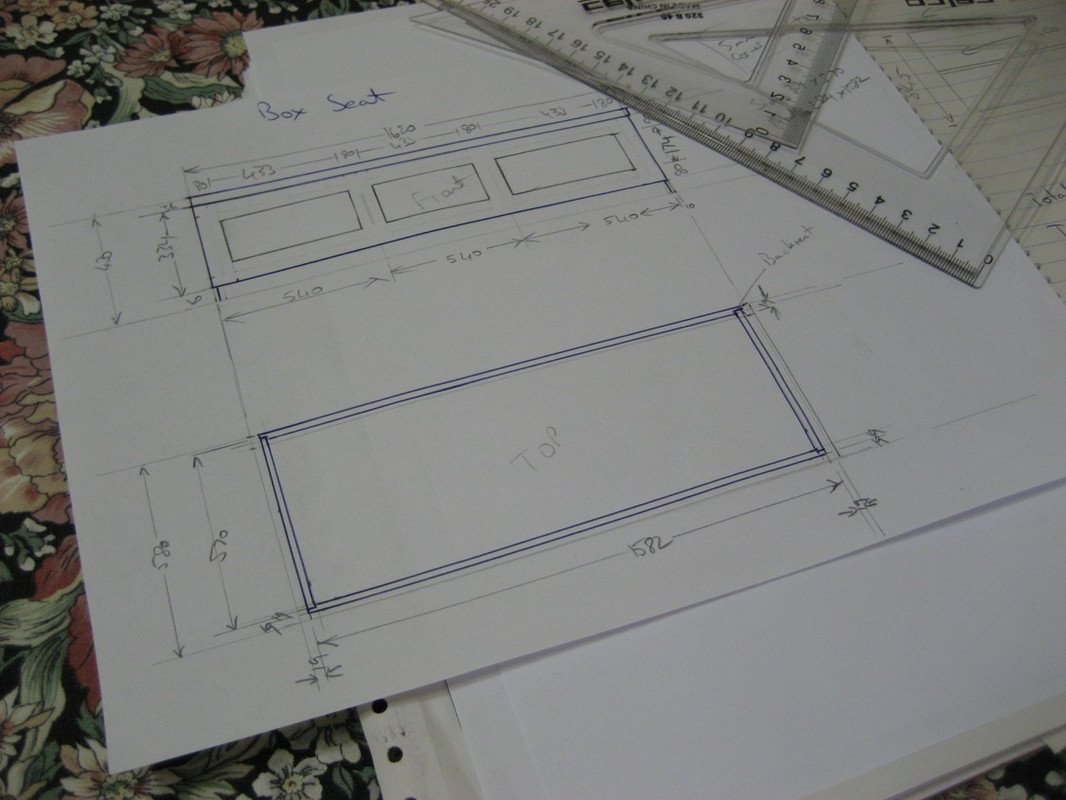
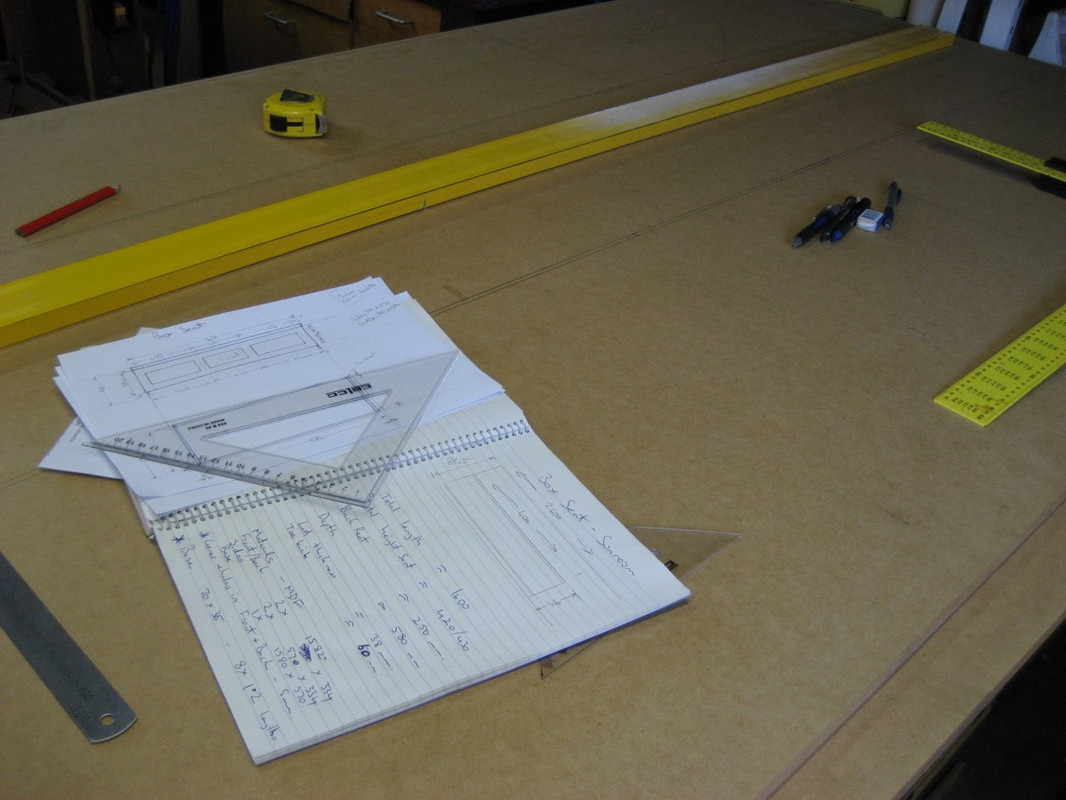
Then started drafting some plans - yeah that be pencil and paper. I’m old ![]()
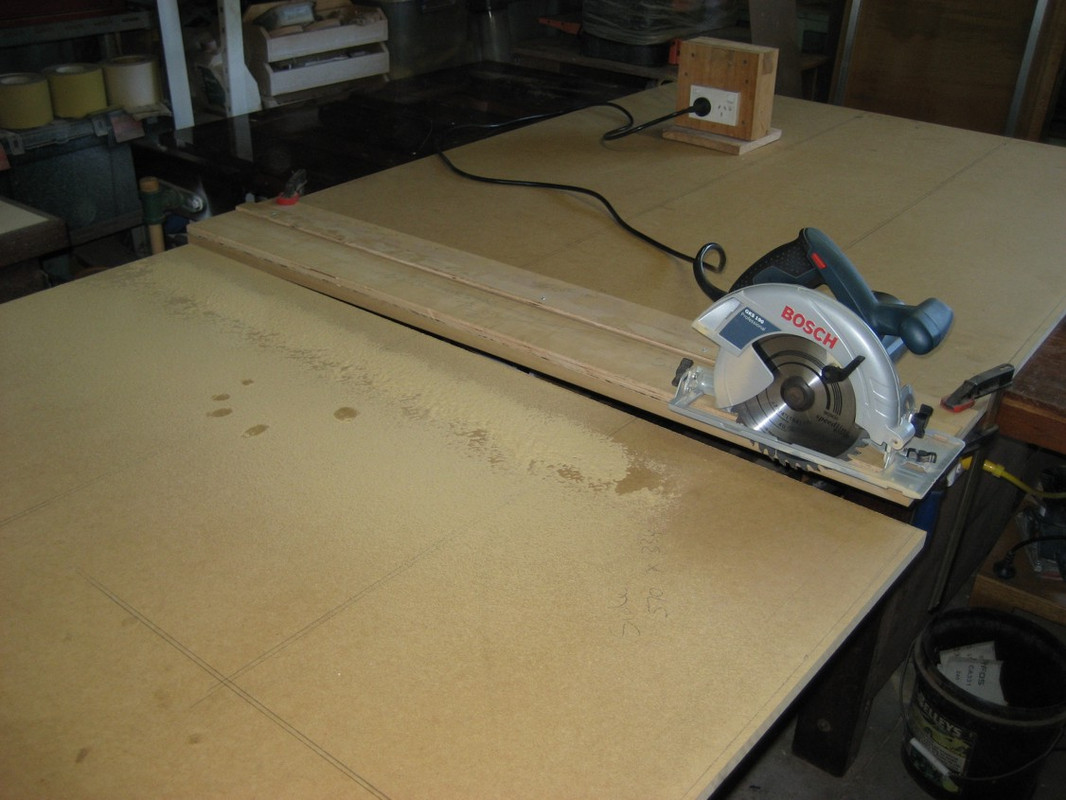
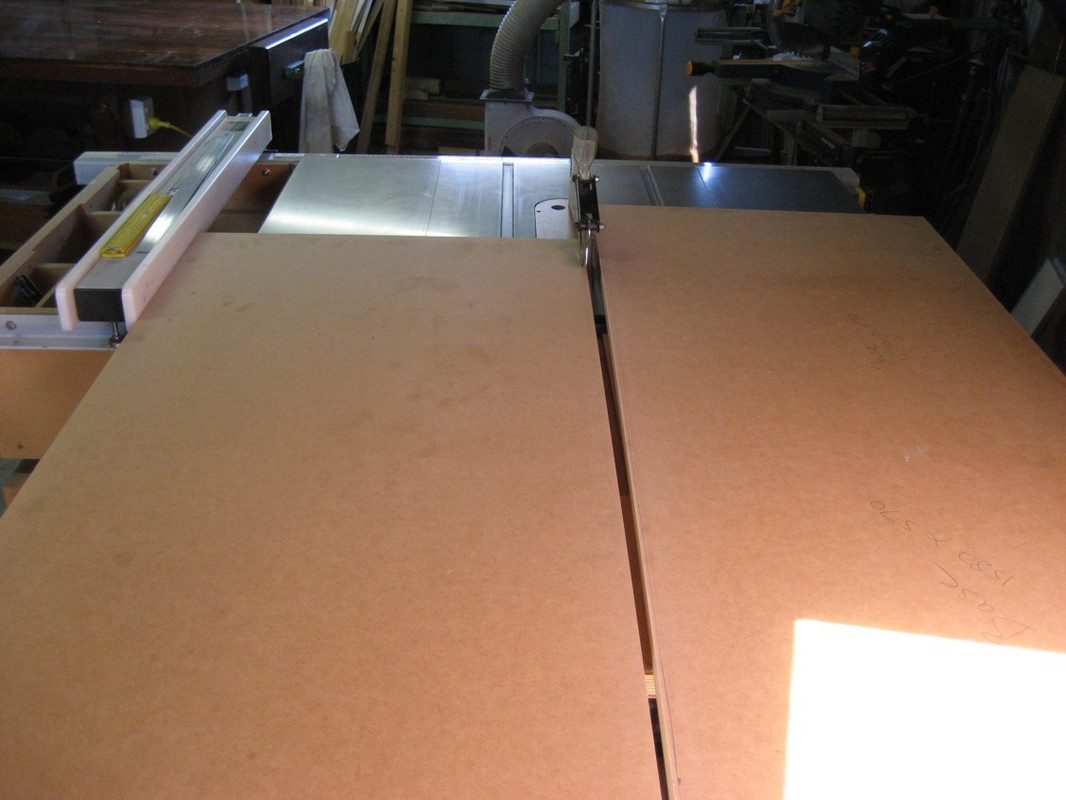
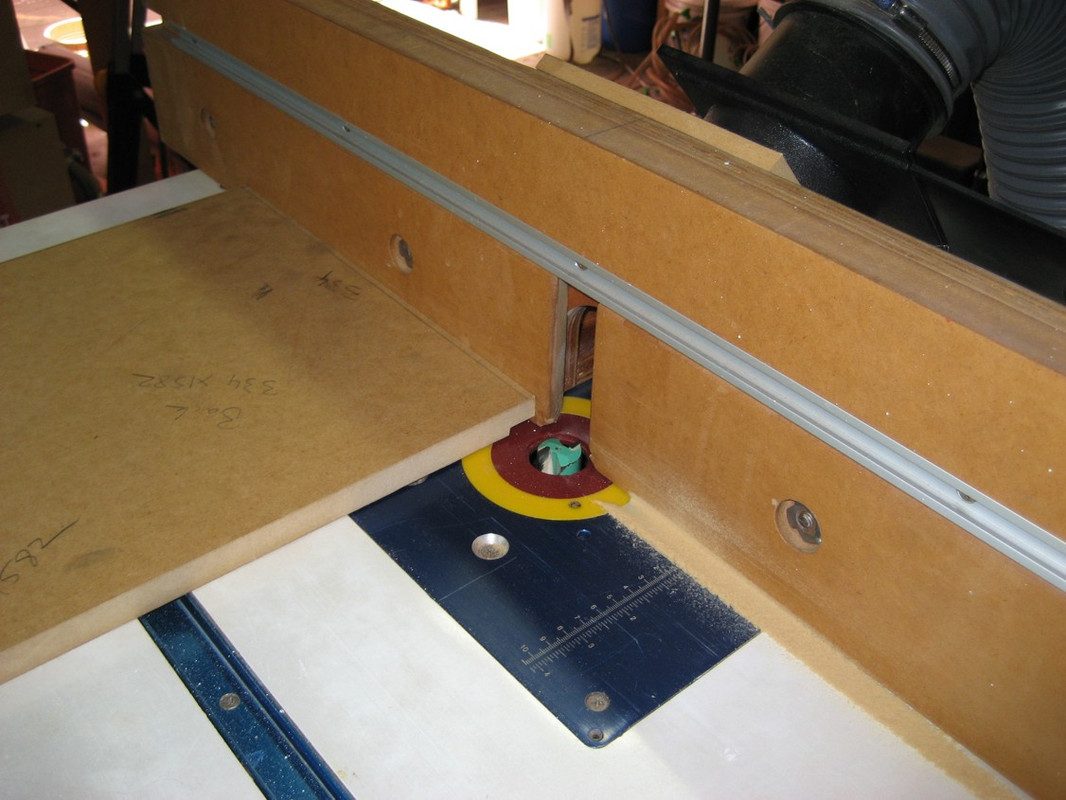
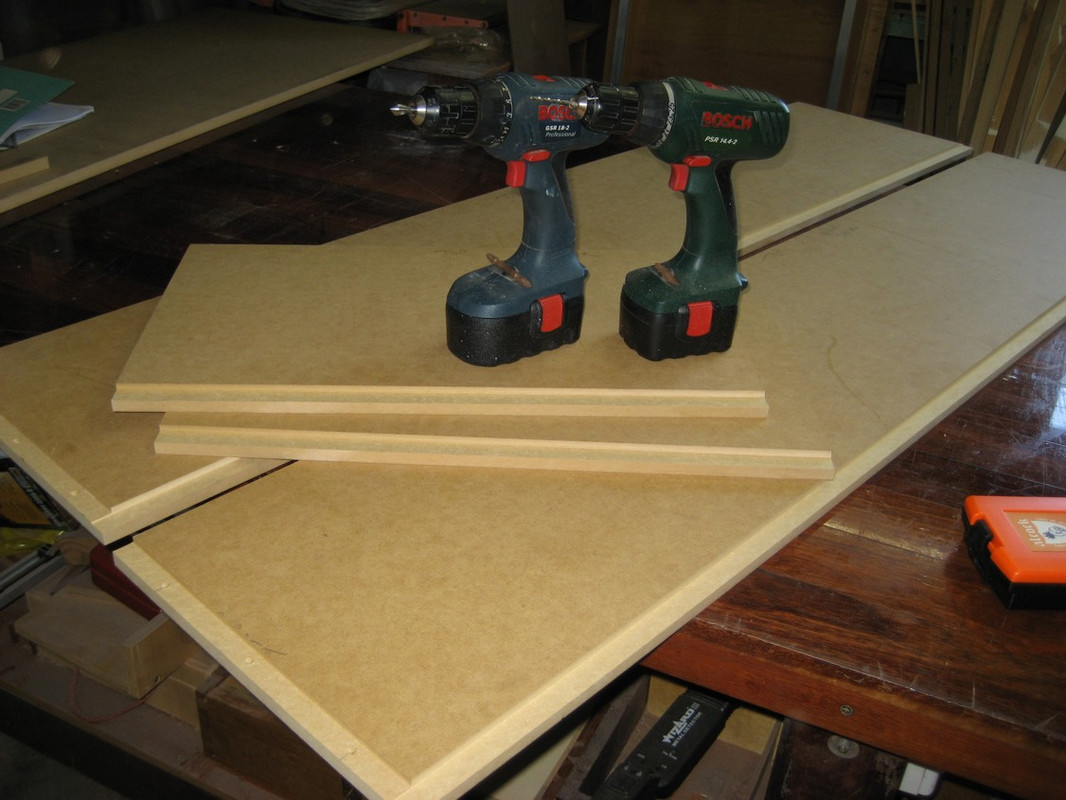
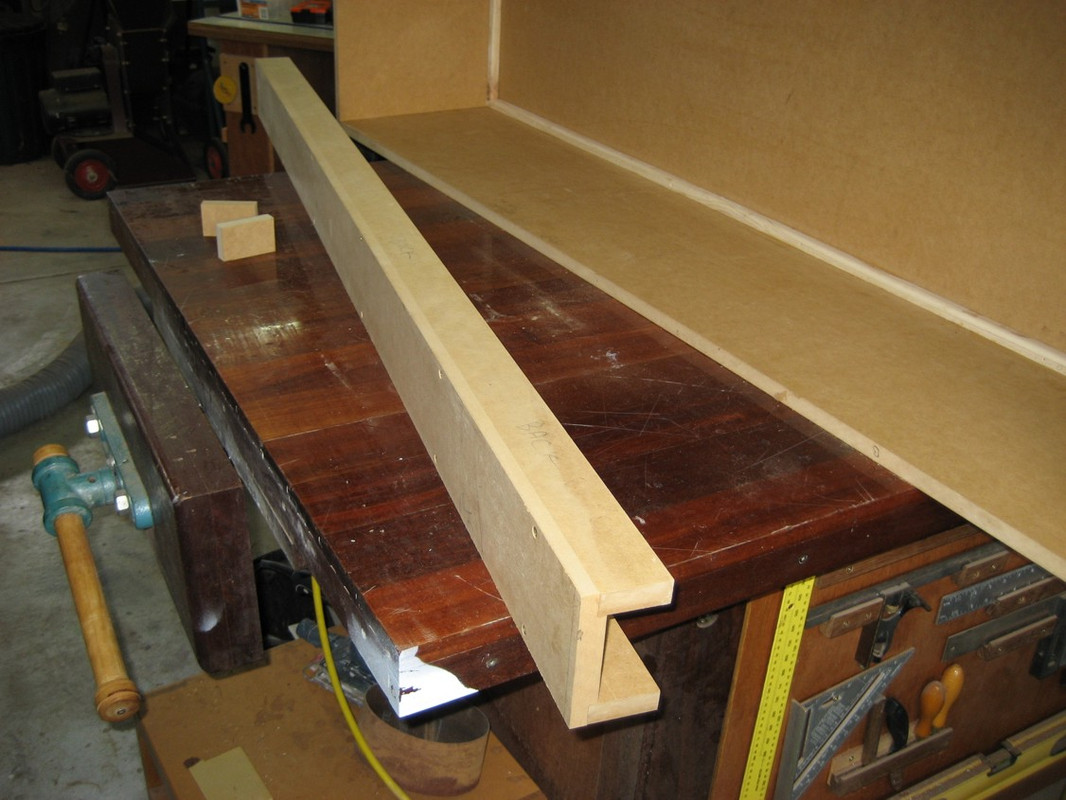
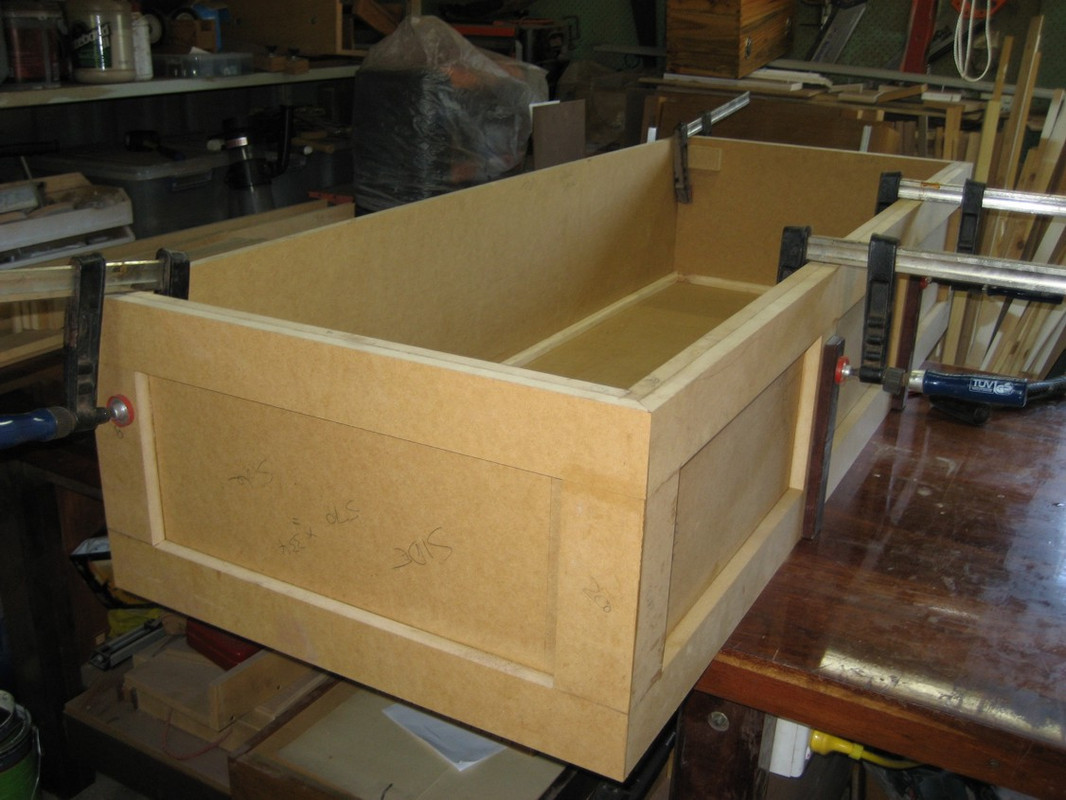
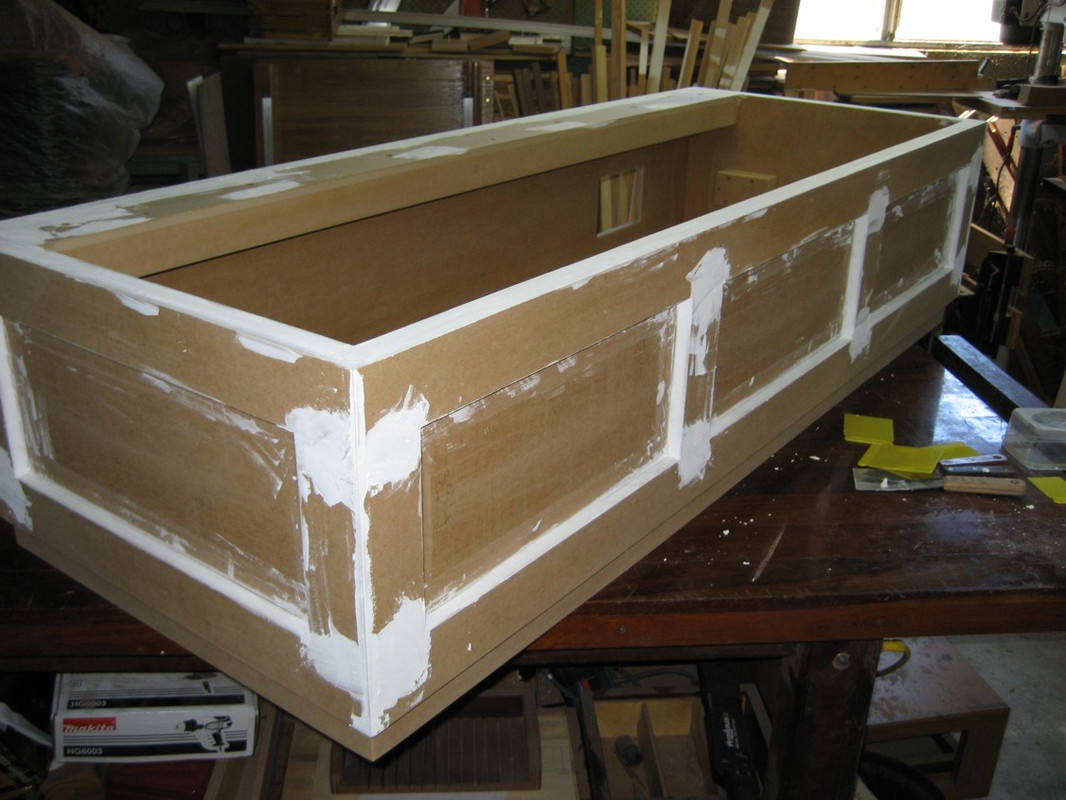
Transfer dimensions to MDF and start cutting, milling for joinery and so on
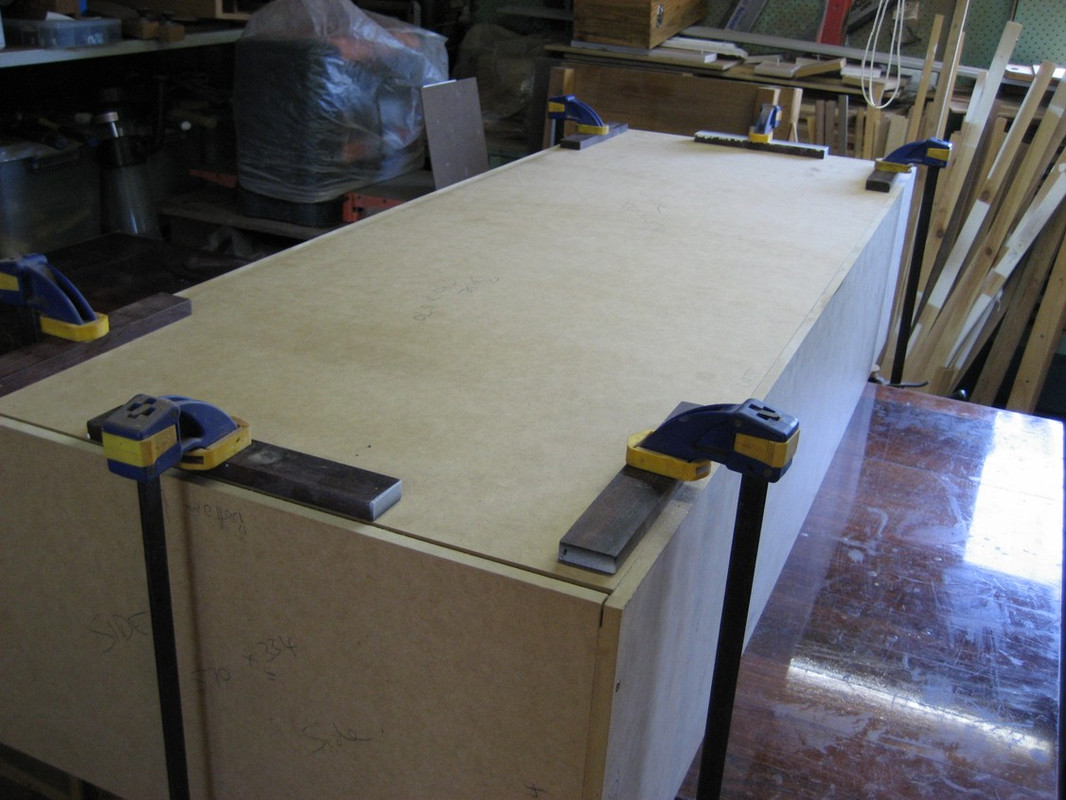
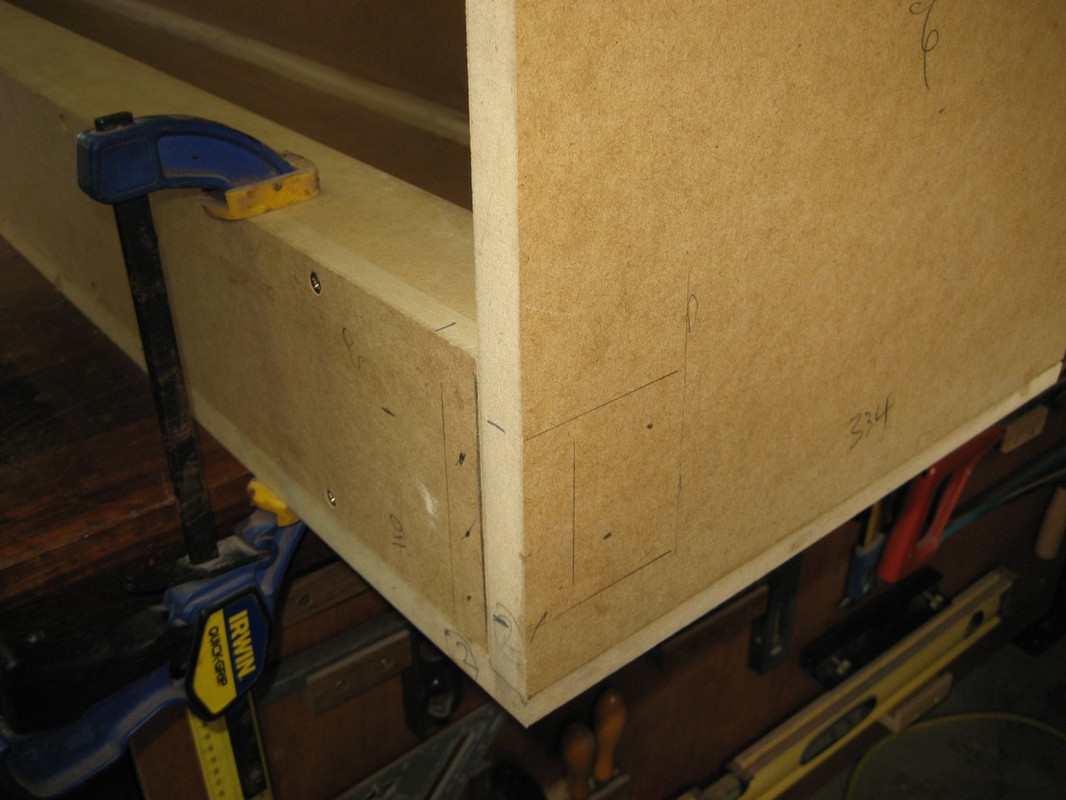
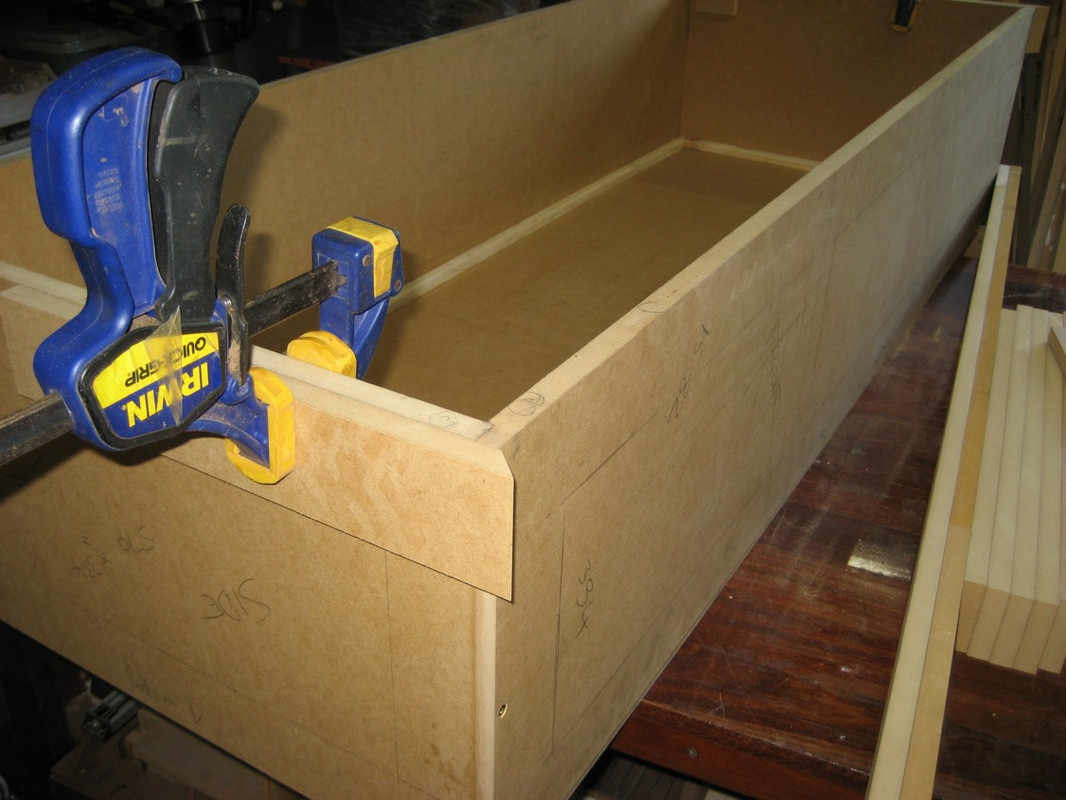
Then assembly
Make up a mount for the lid/top
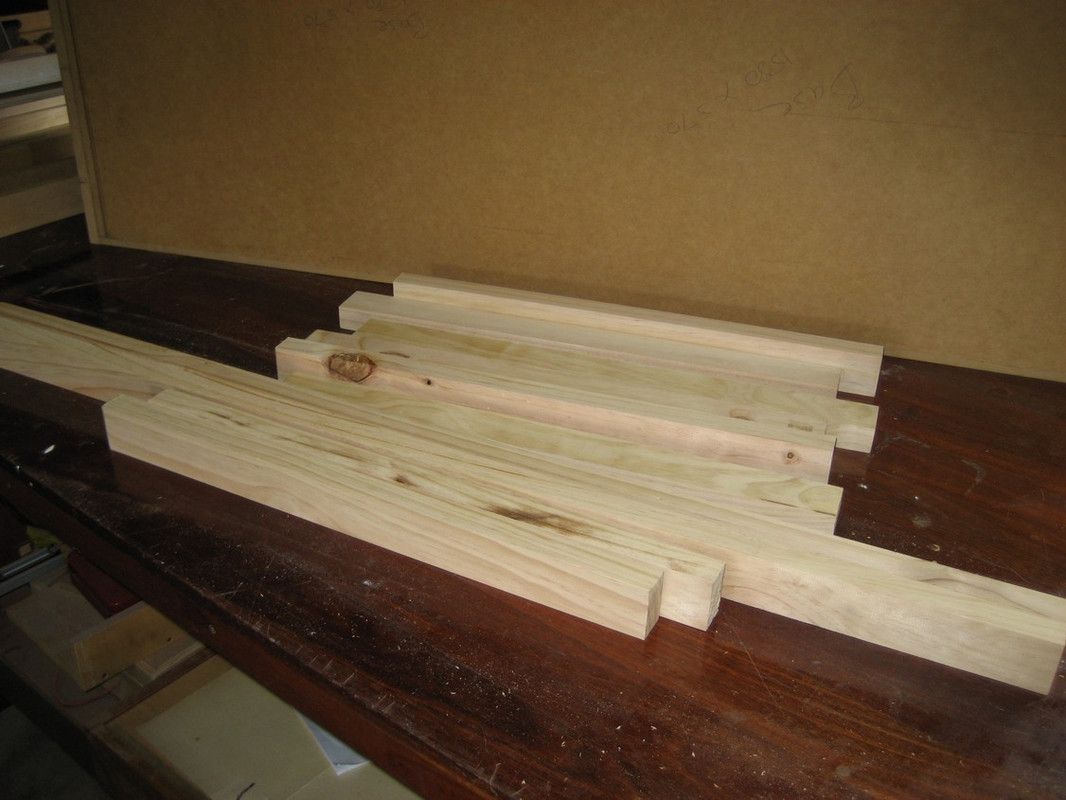
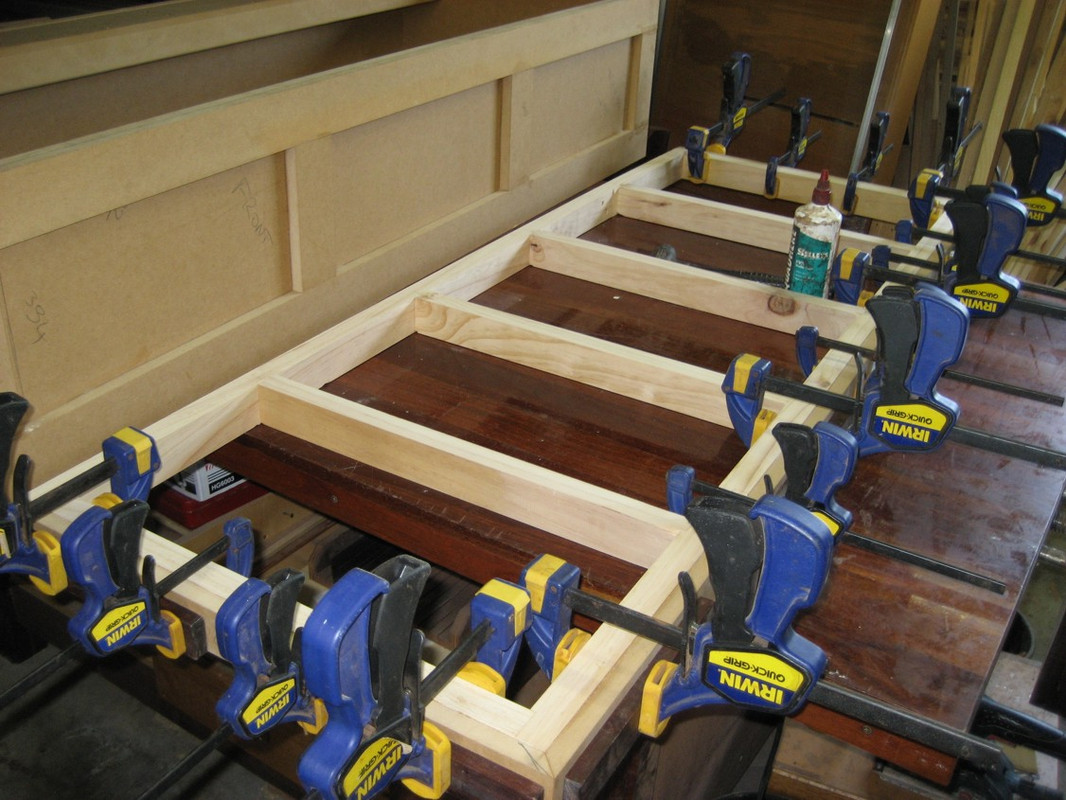
Some decorative “trim” to create a “frame and panel” look
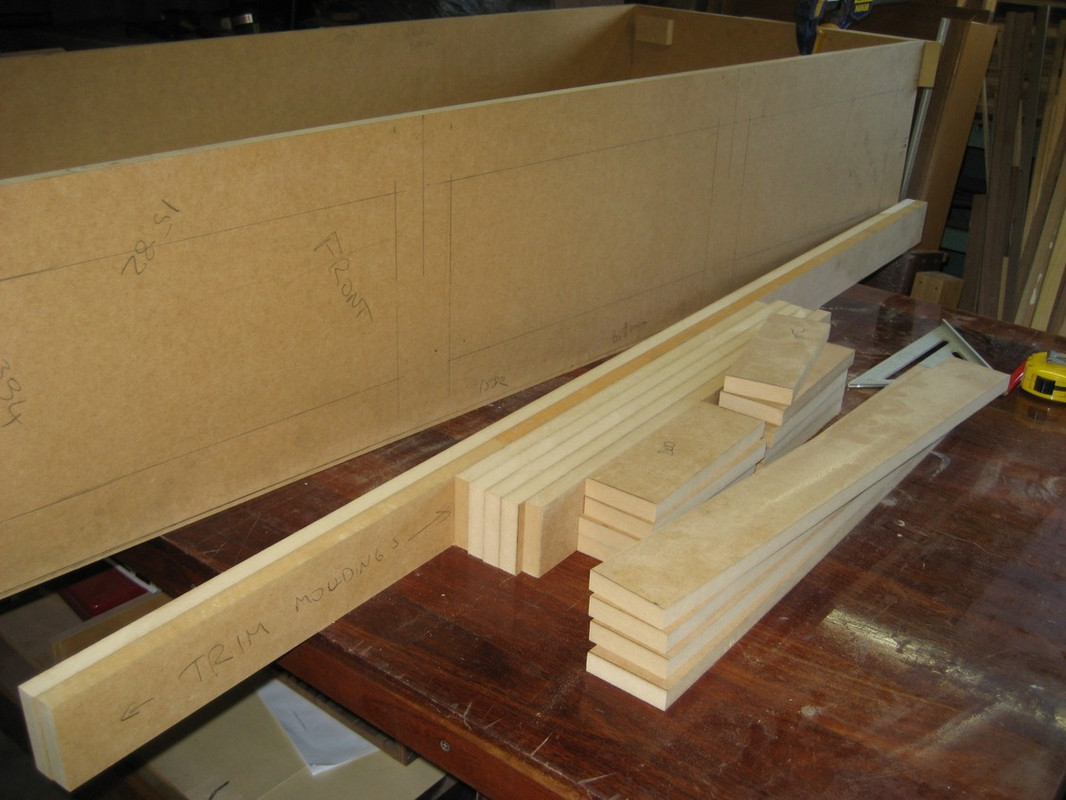
Make up a base/toe kick


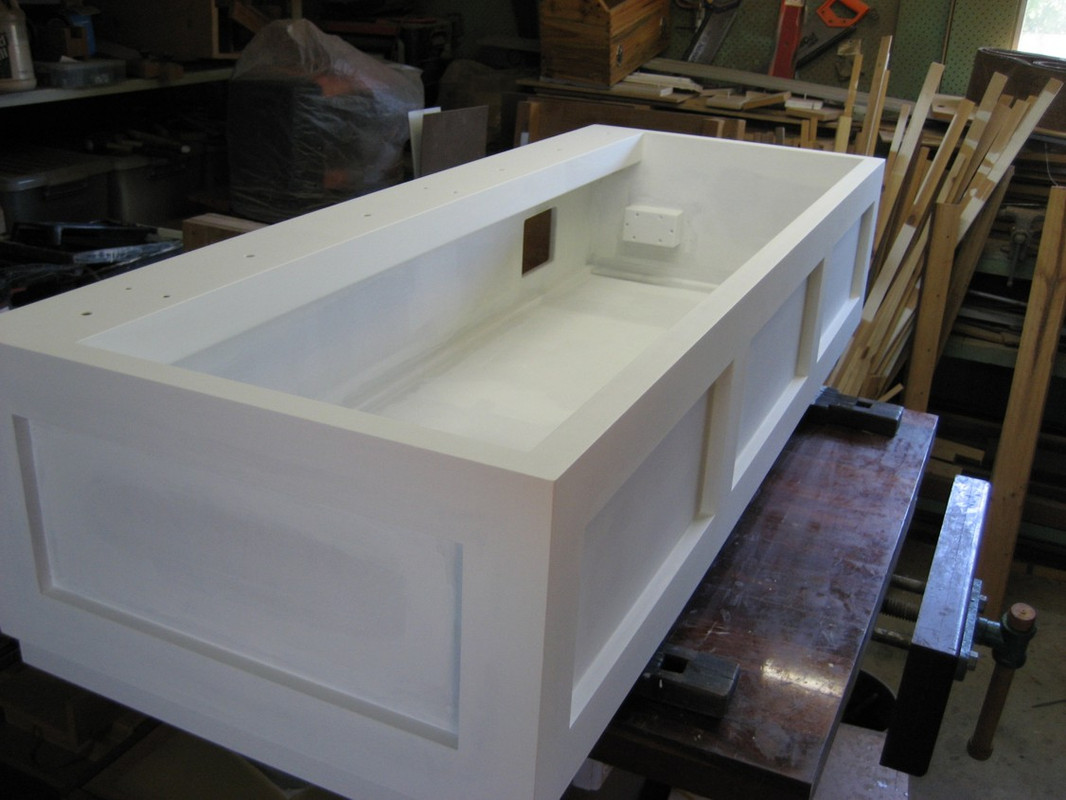
Fabbed up a mount and backing for a power point, cut hole in back to access existing wall mounted GPO and permanently mount the lid attachment point/bracket
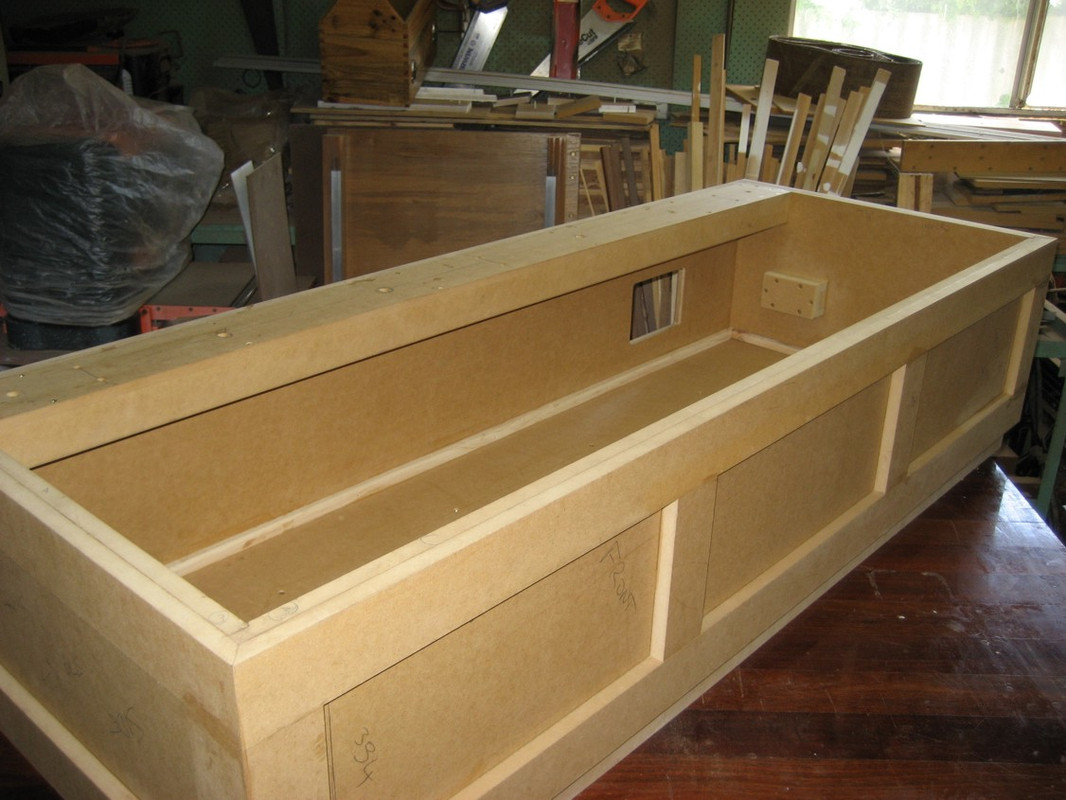
Patch, prime and paint

And, lastly for this part, throw on some loose boards - from which I wanted to make the lid/top. I was trying to see how my ideas and reality compared …
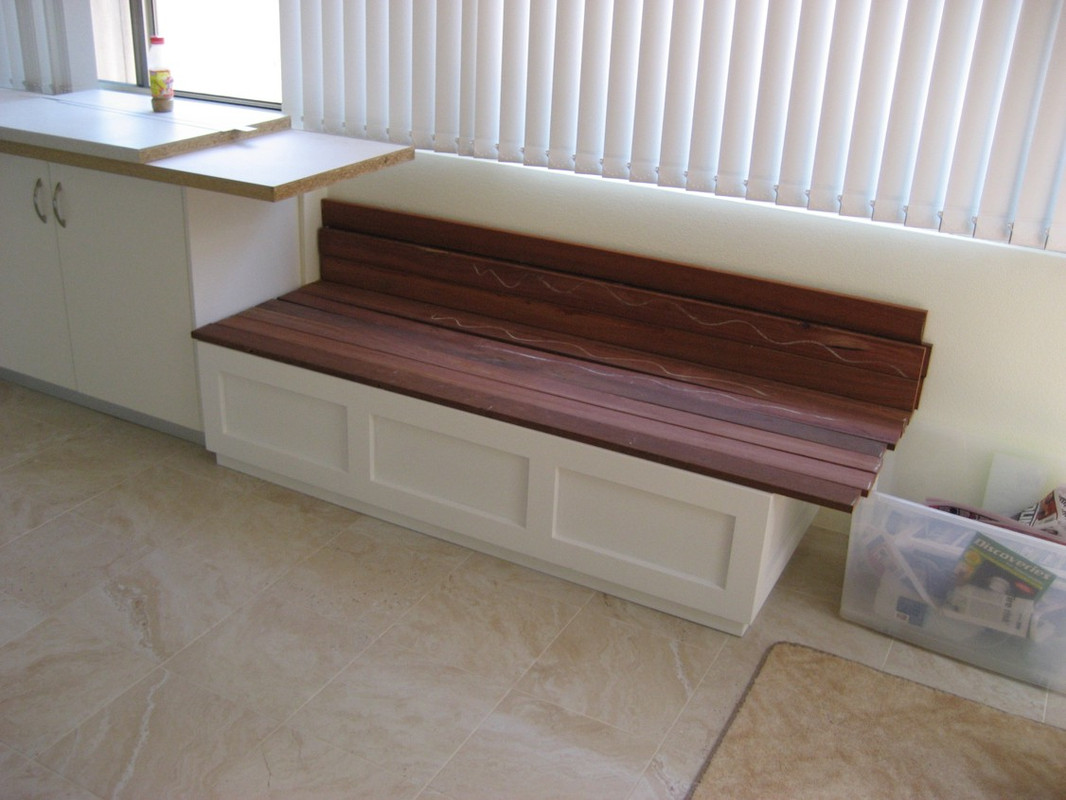
That’s it for this post. I’ll soon put up a Pt2 which sees the lid sorted - but not without some problems along the way.
- Don’t be scared if you have any questions - shout out.
16 Likes