Photos of your latest hobby work!

Windows Box Seat Pt 2 (the lid)

I had the base complete, time to make the top. I was going to glue up a lot of boards to make the required panels. I had a bunch of Jarrah boards (Jarrah is our local native hardwood - [Eucalyptus marginata - Wikipedia])

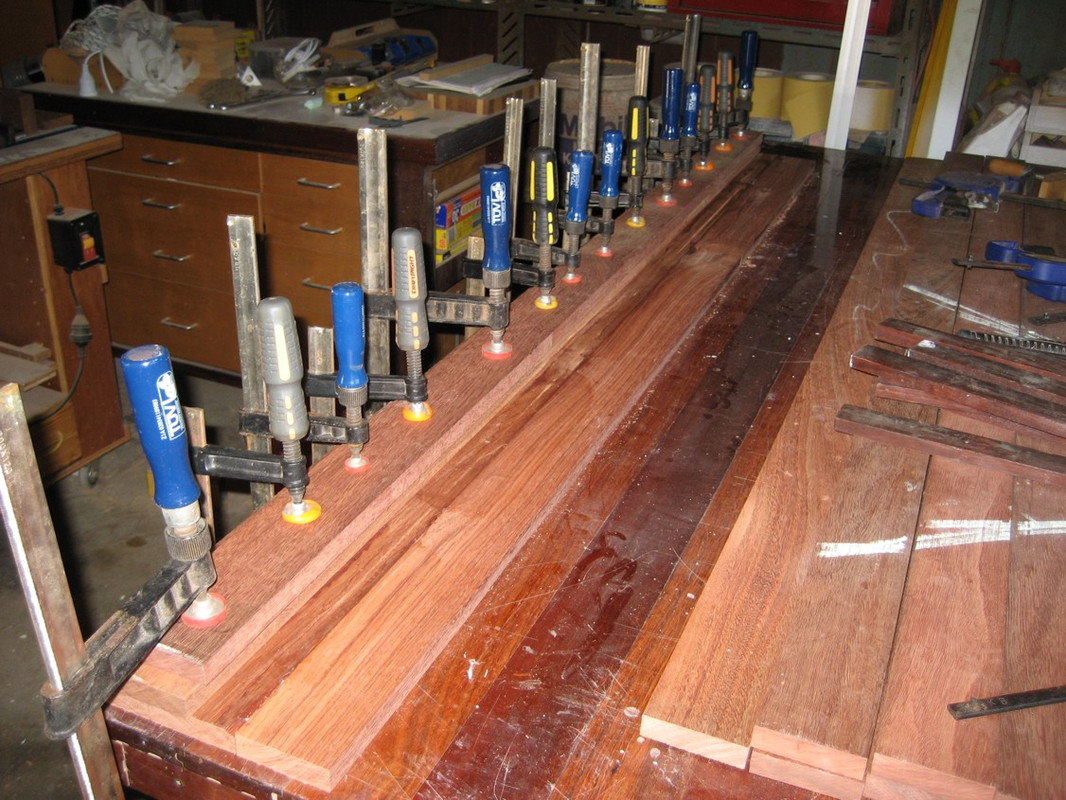
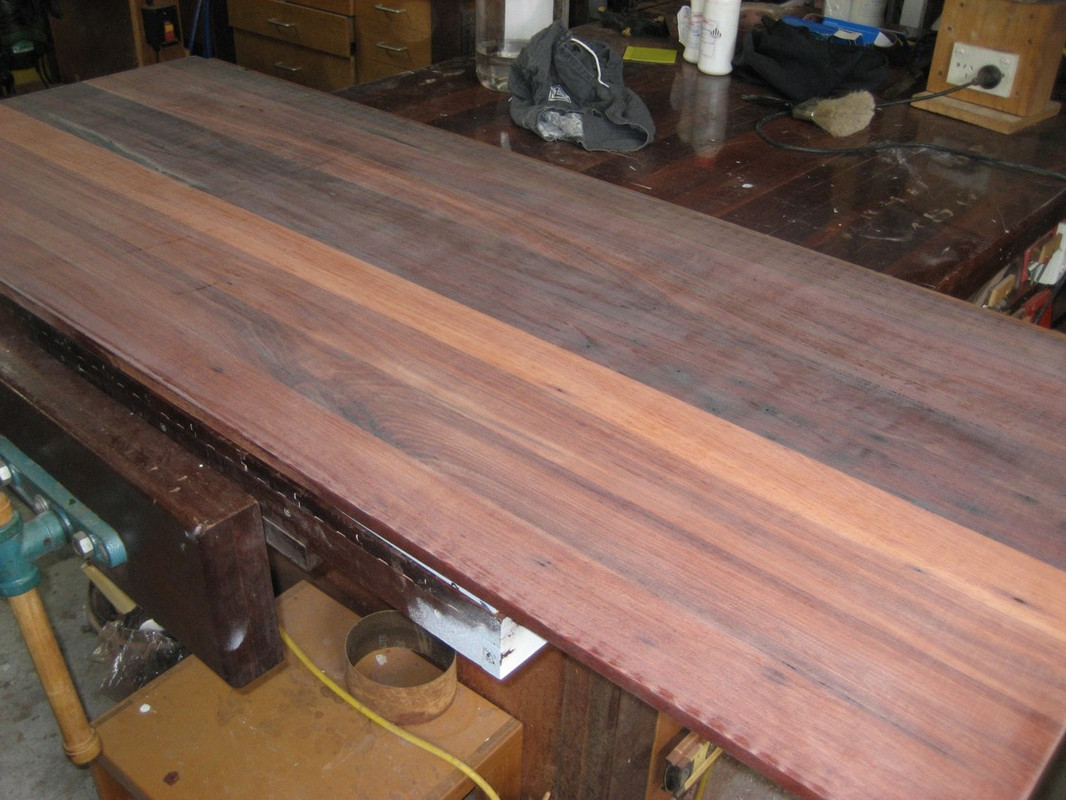
I started by laying out the boards, then commenced gluing them up.


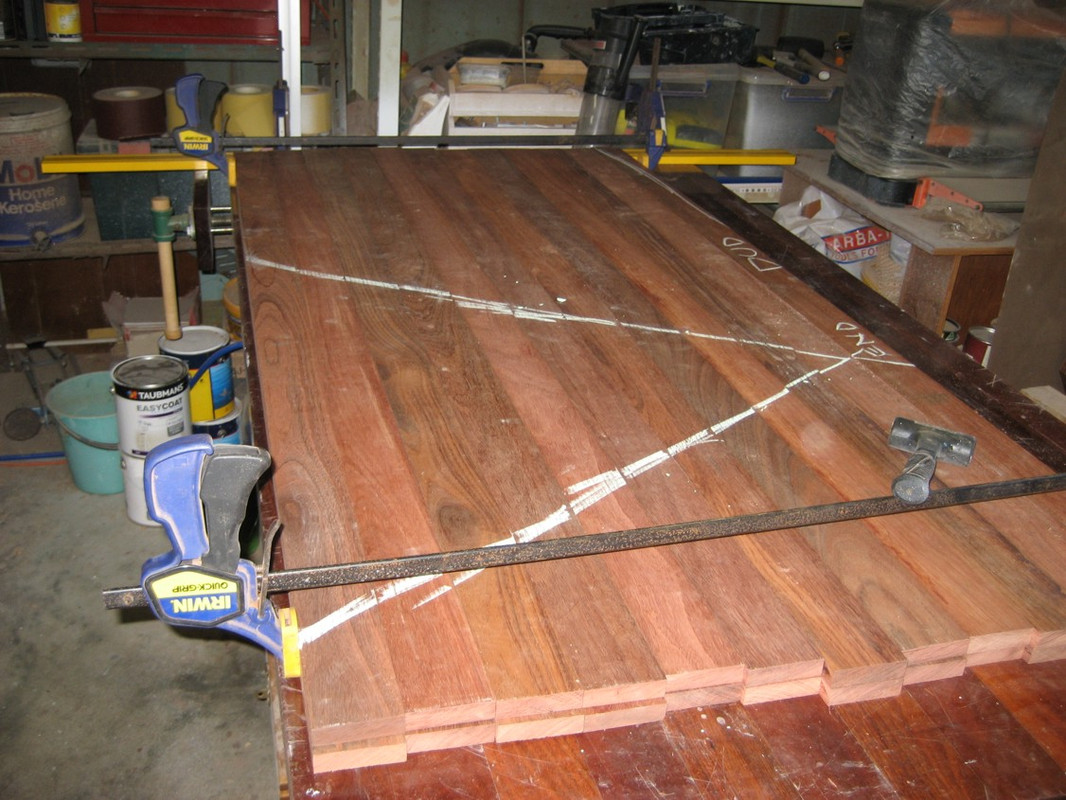
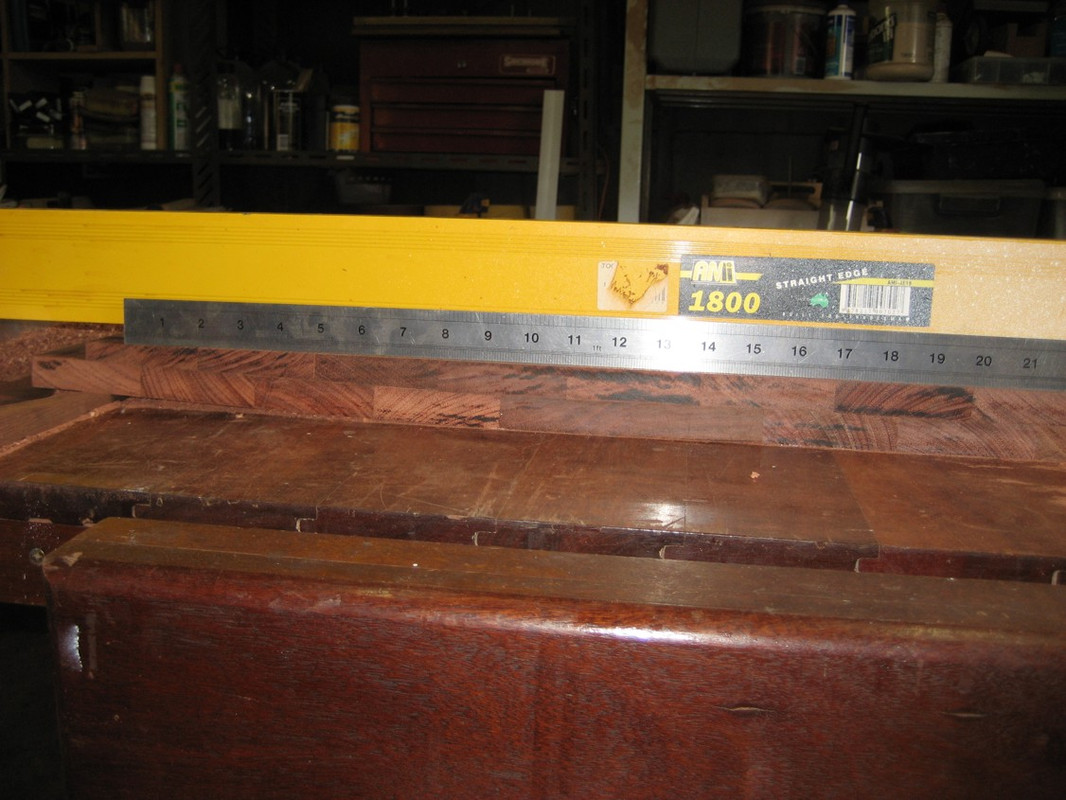
BUT the final panel was … all collywobbles. Not even close to flat. Damn.


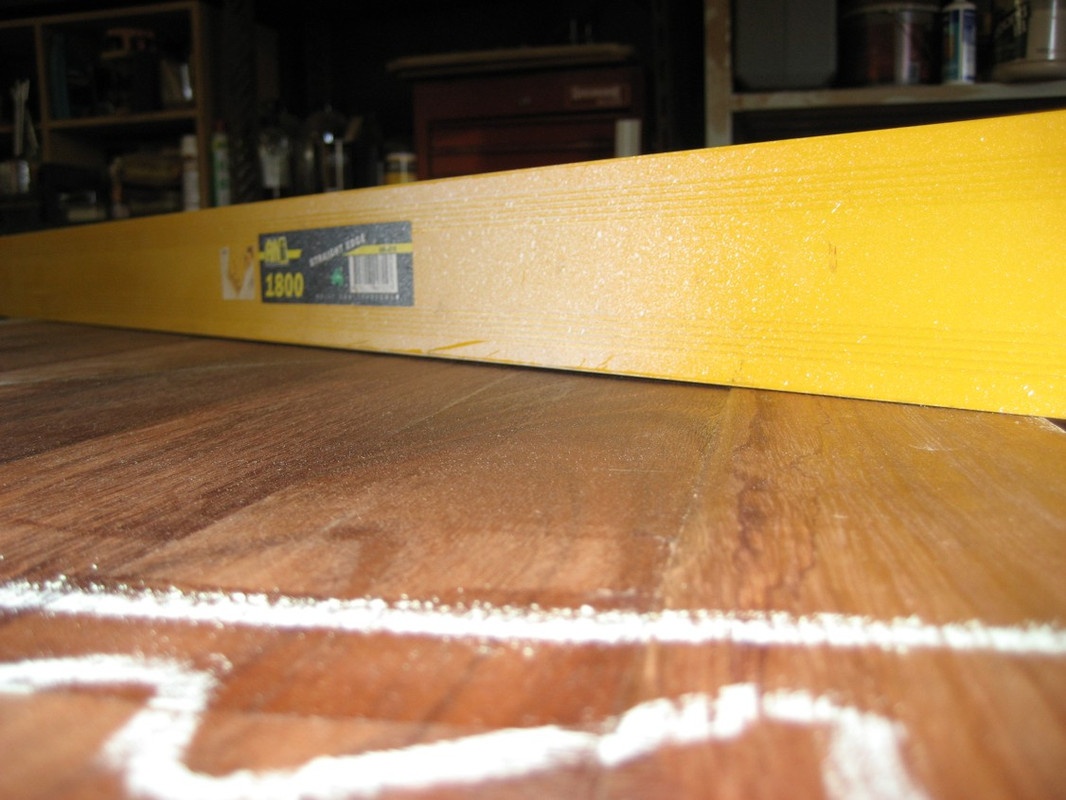
Double Damn. (<=== my actual words were far … stronger grin) Pipe clamps bend under load. To prevent that you need to place them on alternate sides of your panel. A rookie mistake, lesson learned. A whole lot of headscratching followed. A lot of research. I wasn’t going to walk away from all that hard work, nor all that good timber.

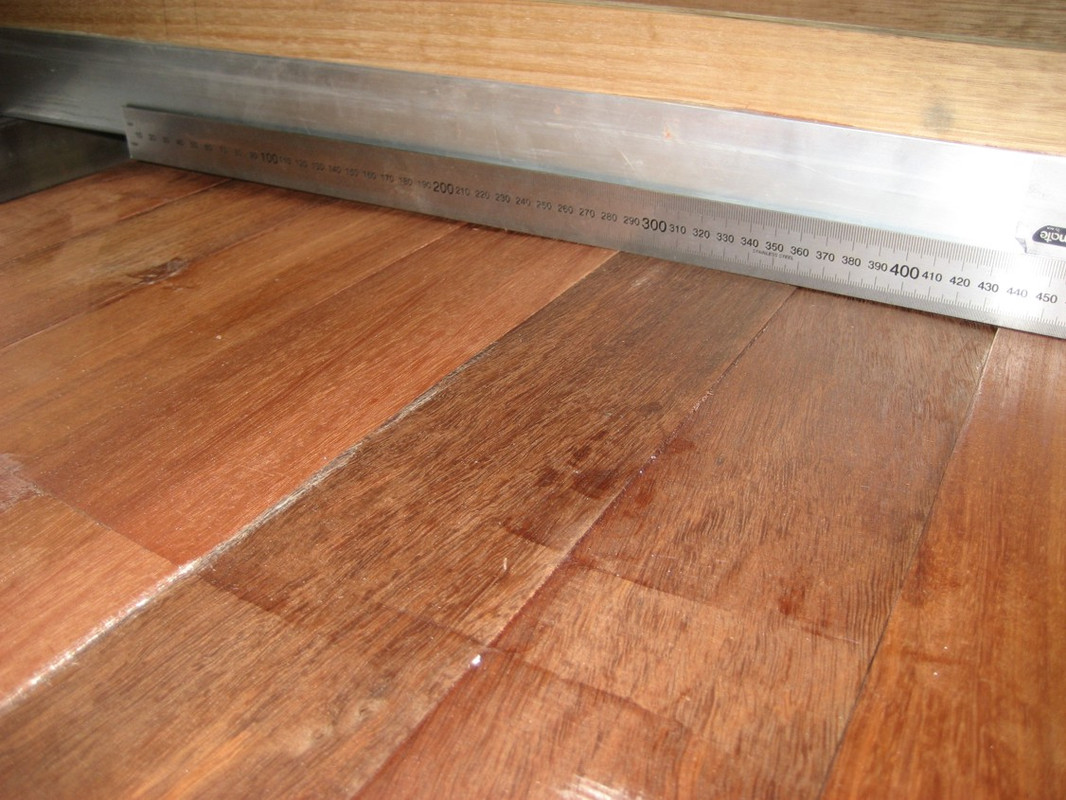
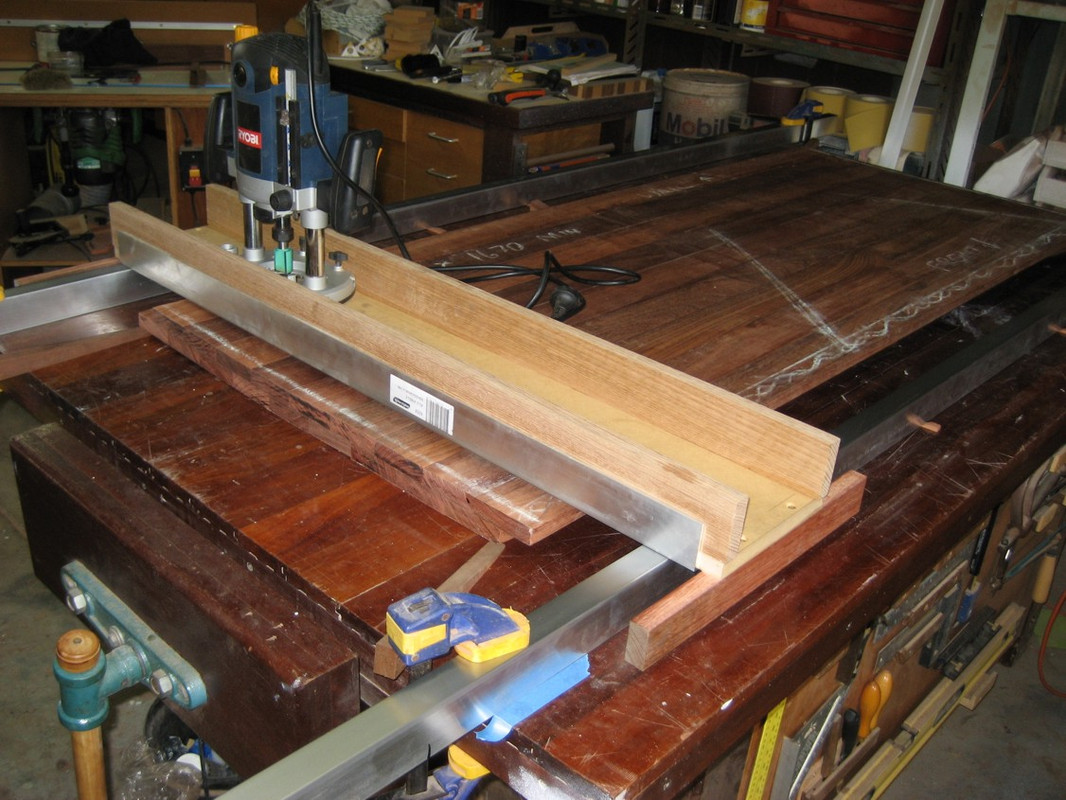
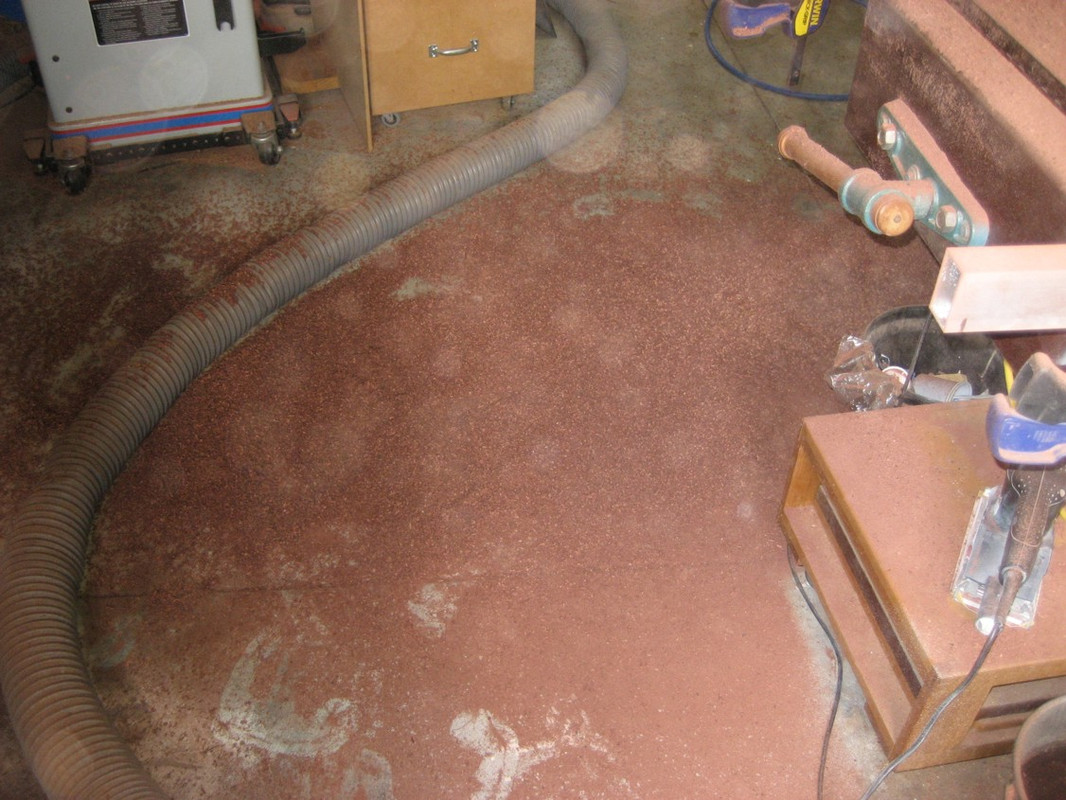
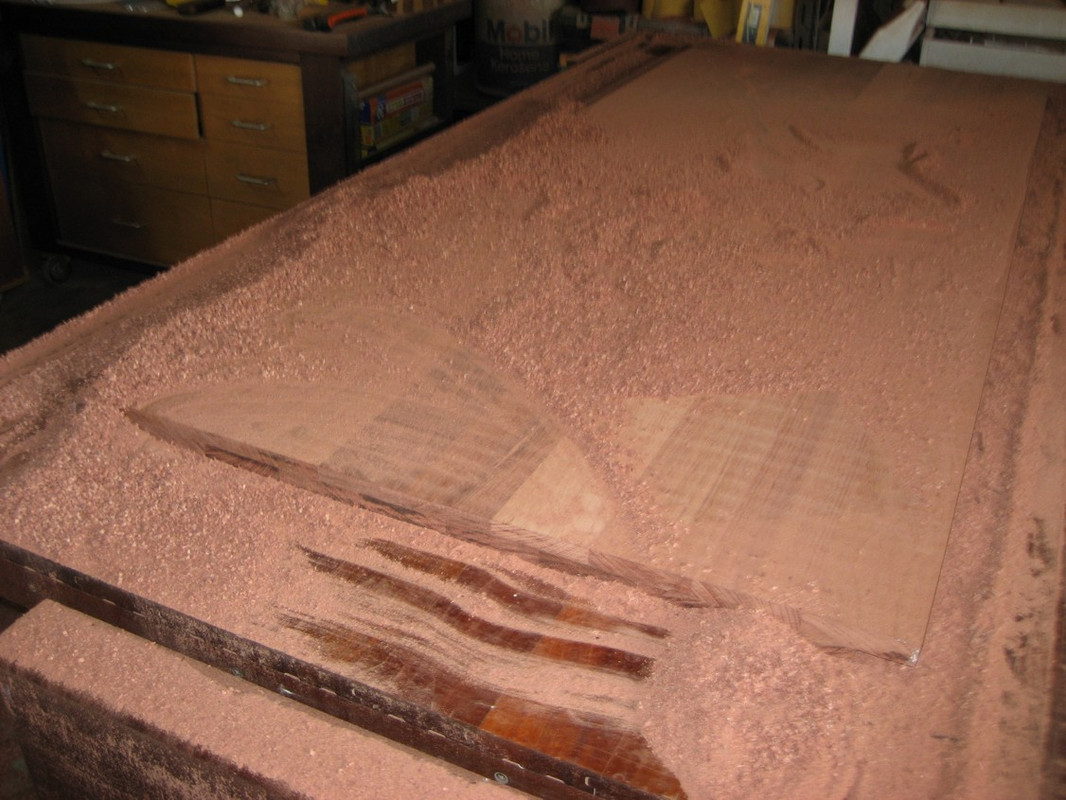
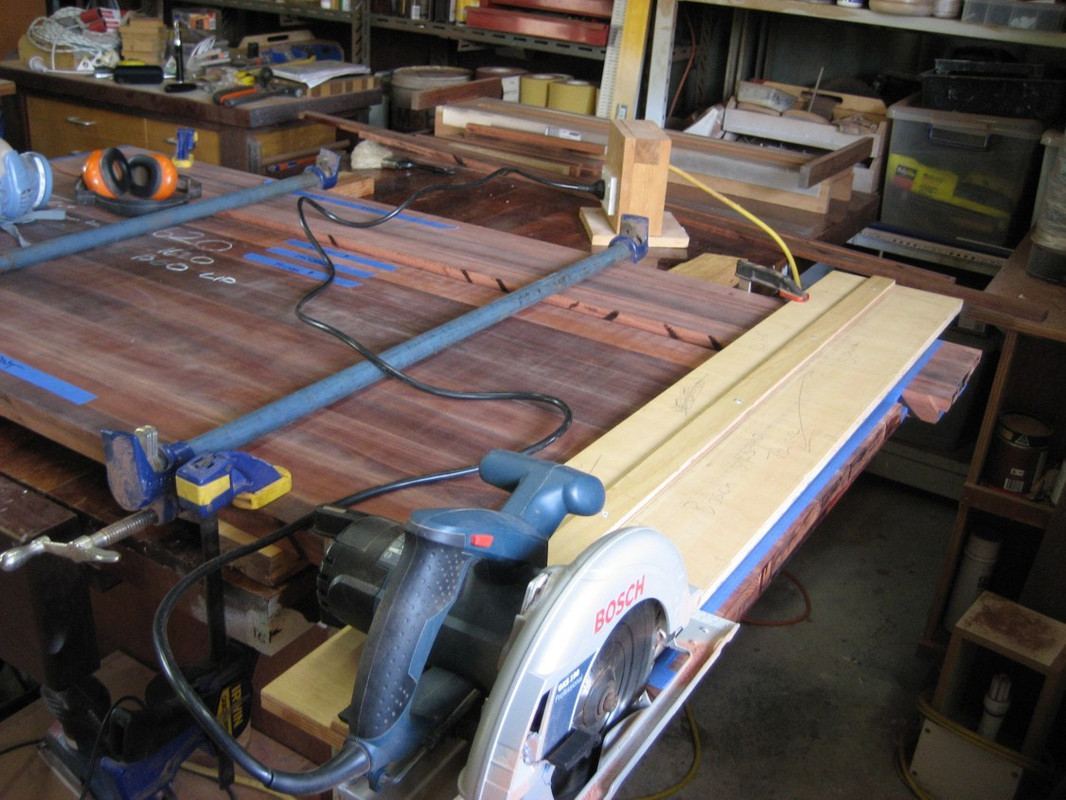
I rigged up a “router planning jig” to flatten that panel. Basically a “gantry” that guides your flat bottomed router bit over the face of your panel to skim the surface flat. Easy in principal. But the application requires care. Everything has to to be square, level and the router carrier cannot deflect under load. Do one side and get it flat, the flip the panel, reset the jig and go again.
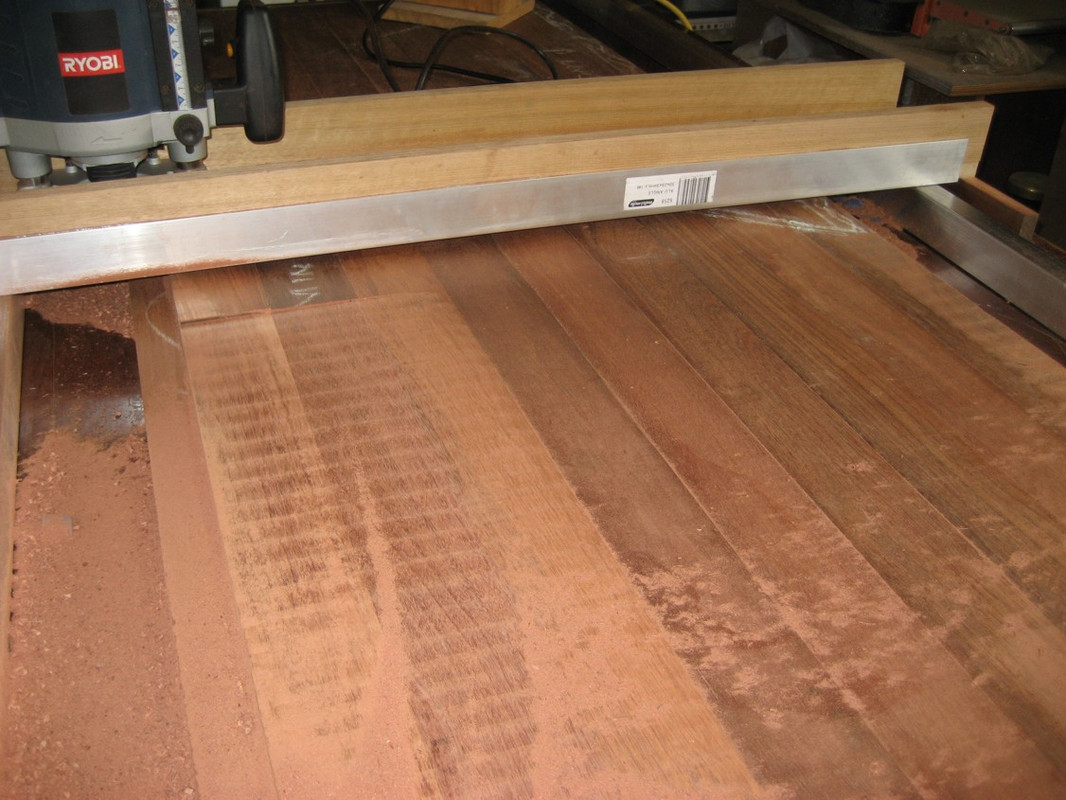
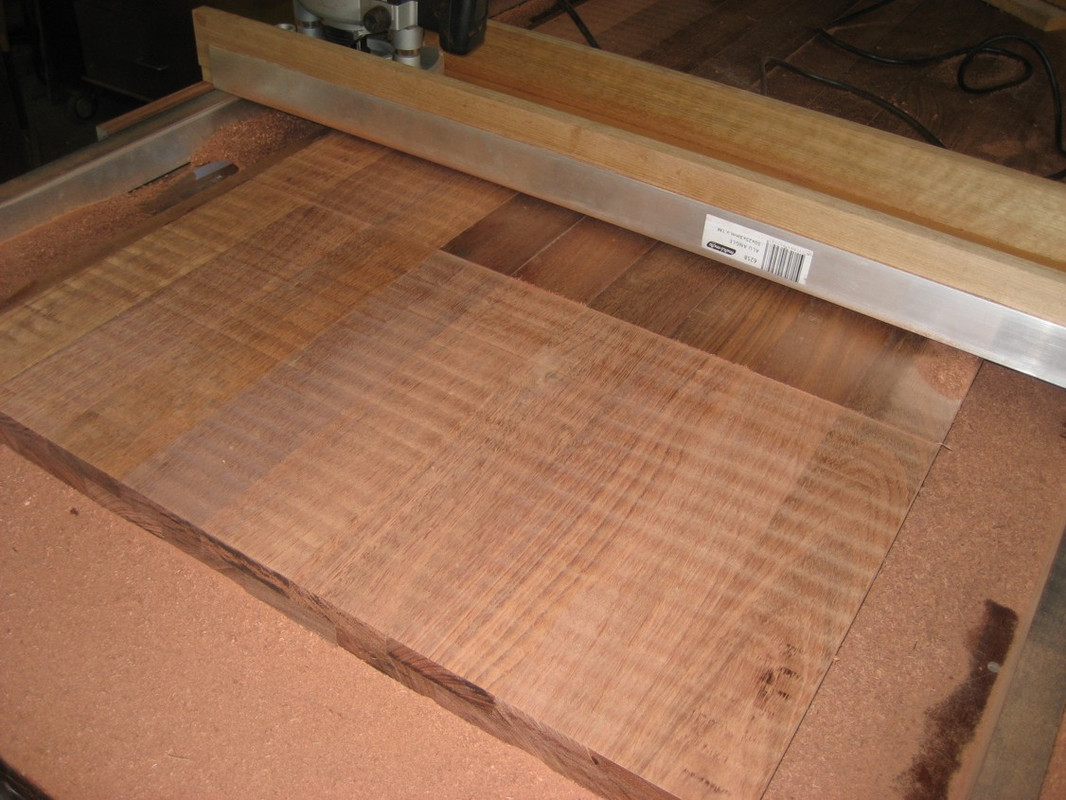


Sawdust? Hell yeah!

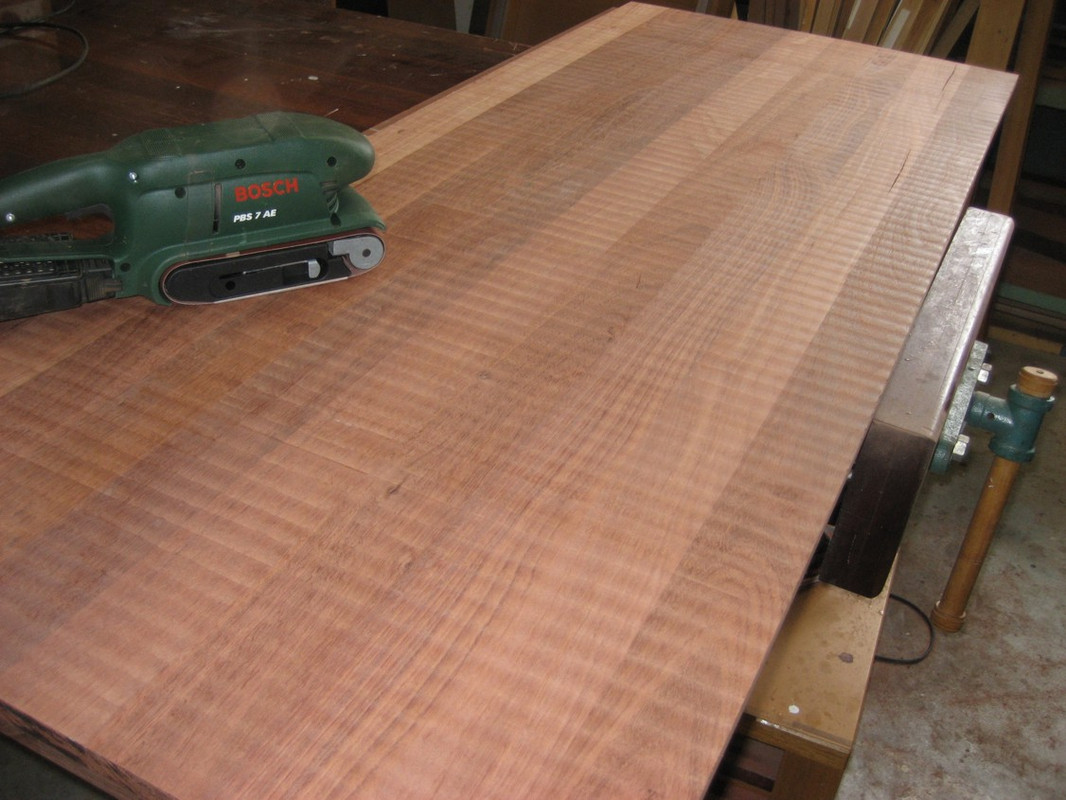
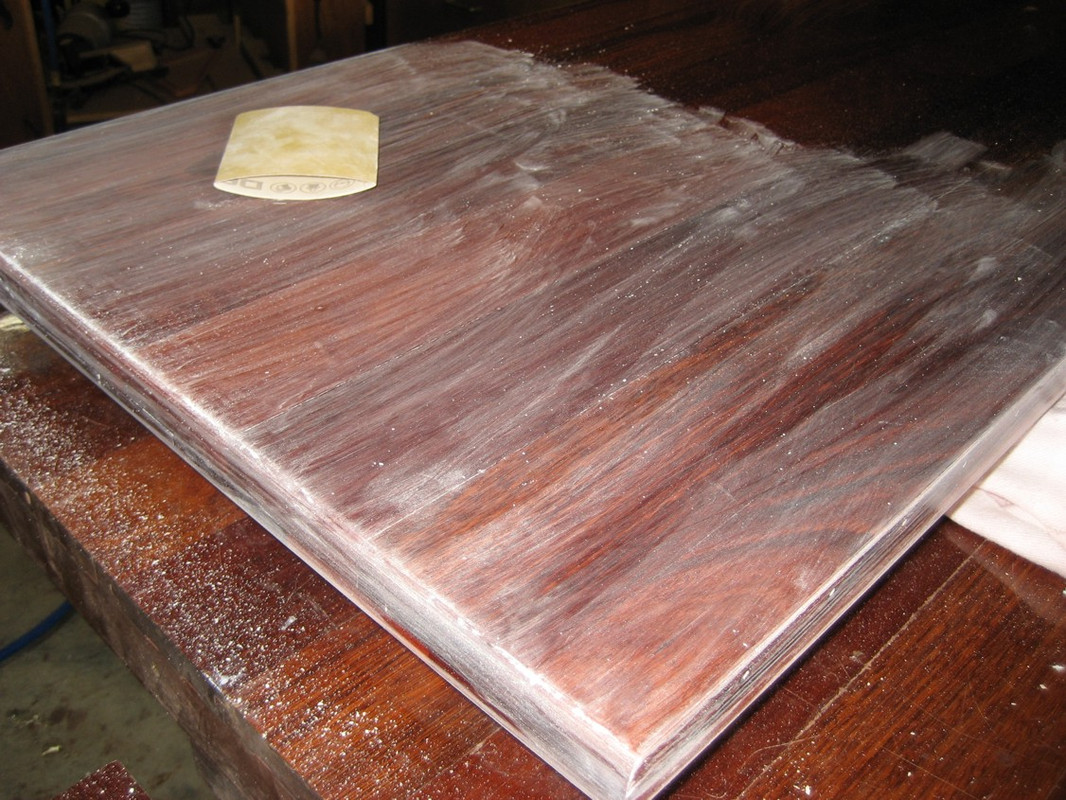
The first of many rounds of sanding.

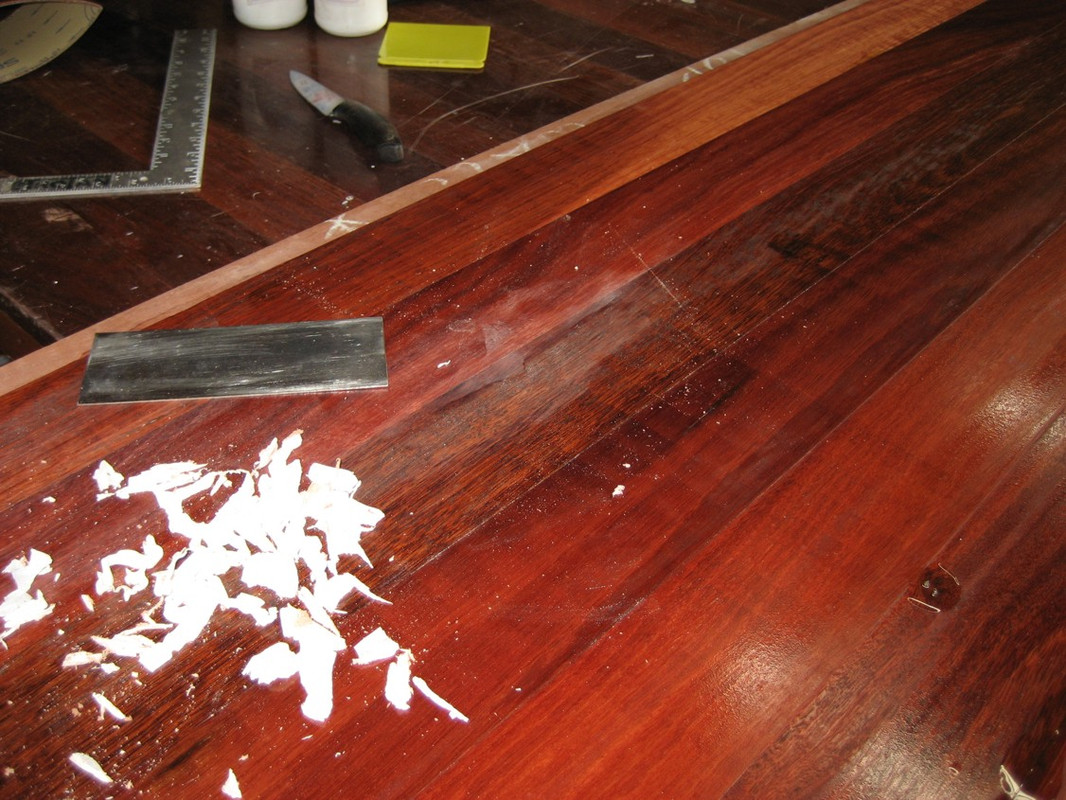
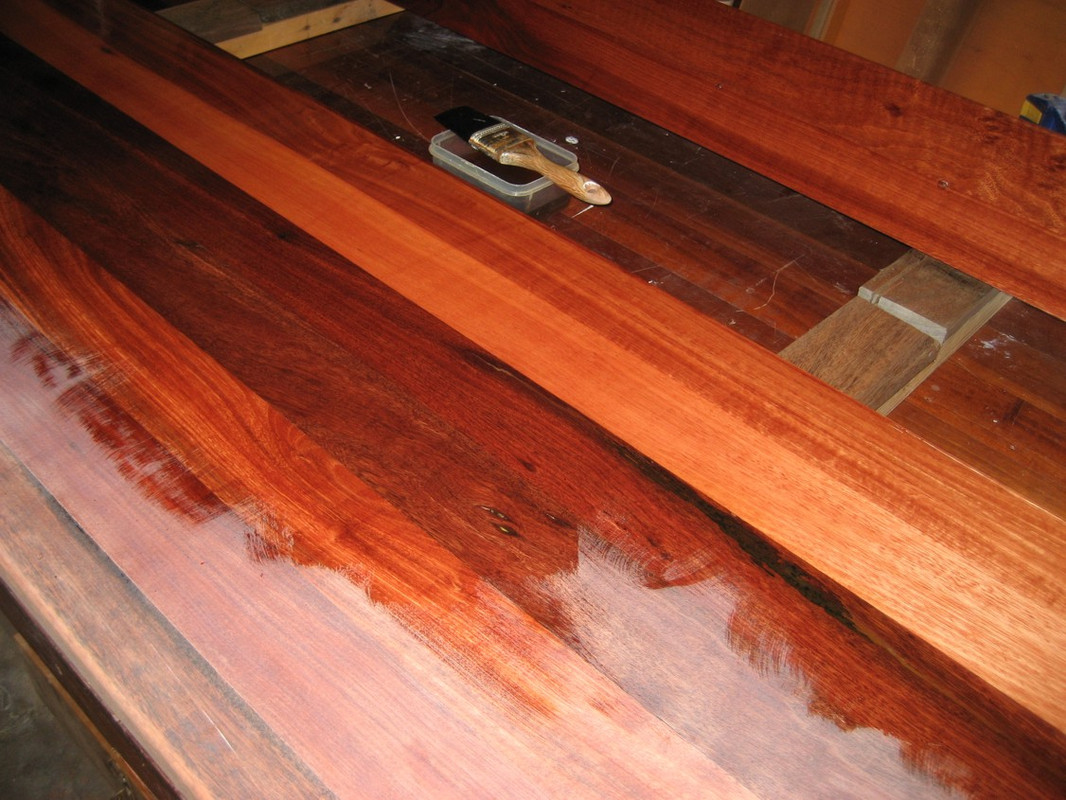
Then patching - clear epoxy. Fill all the various defects in the original boards. On the deeper holes I coloured the epoxy (with a black alcohol based tint). Once the holes were filled, I applied several skim coats of clear epoxy to the whole surface. A lot of scraping and sanding between each coat. Both sides.


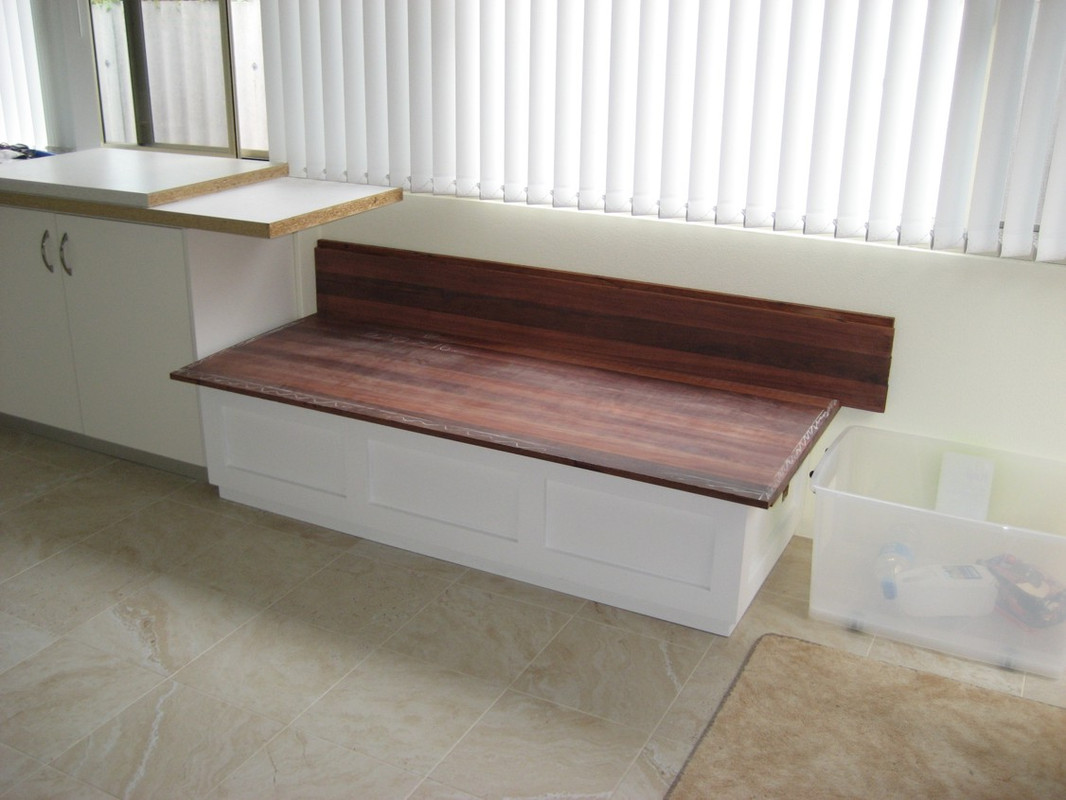
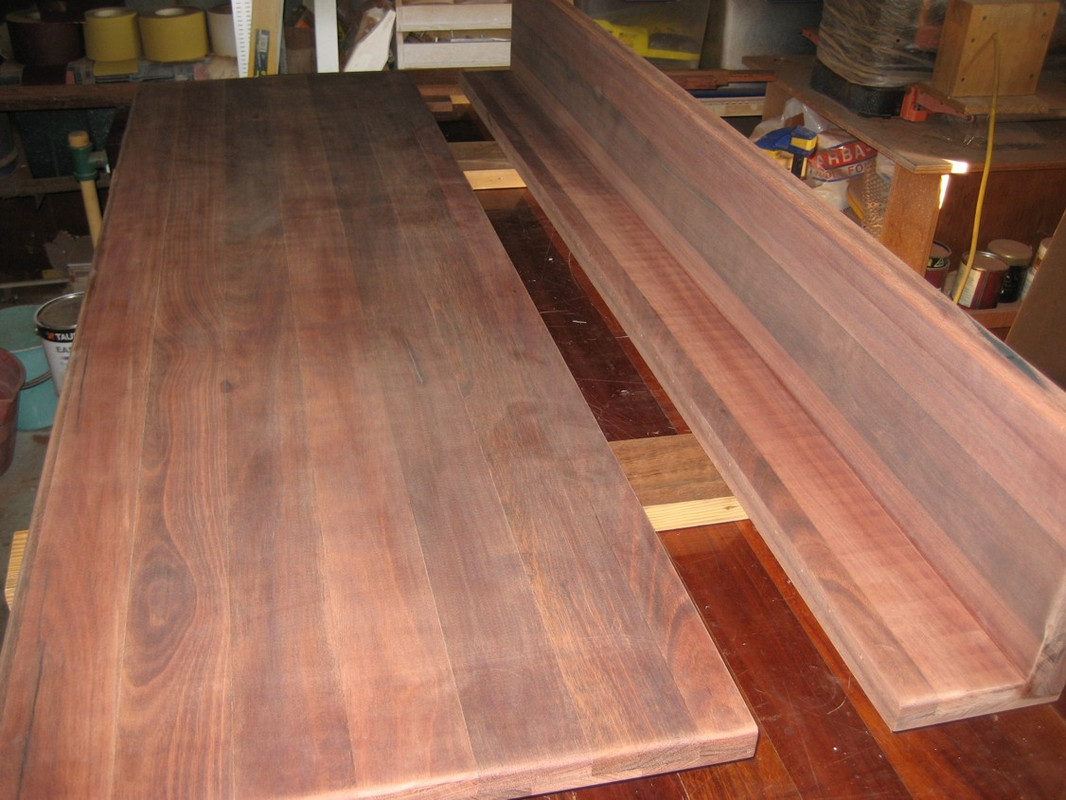
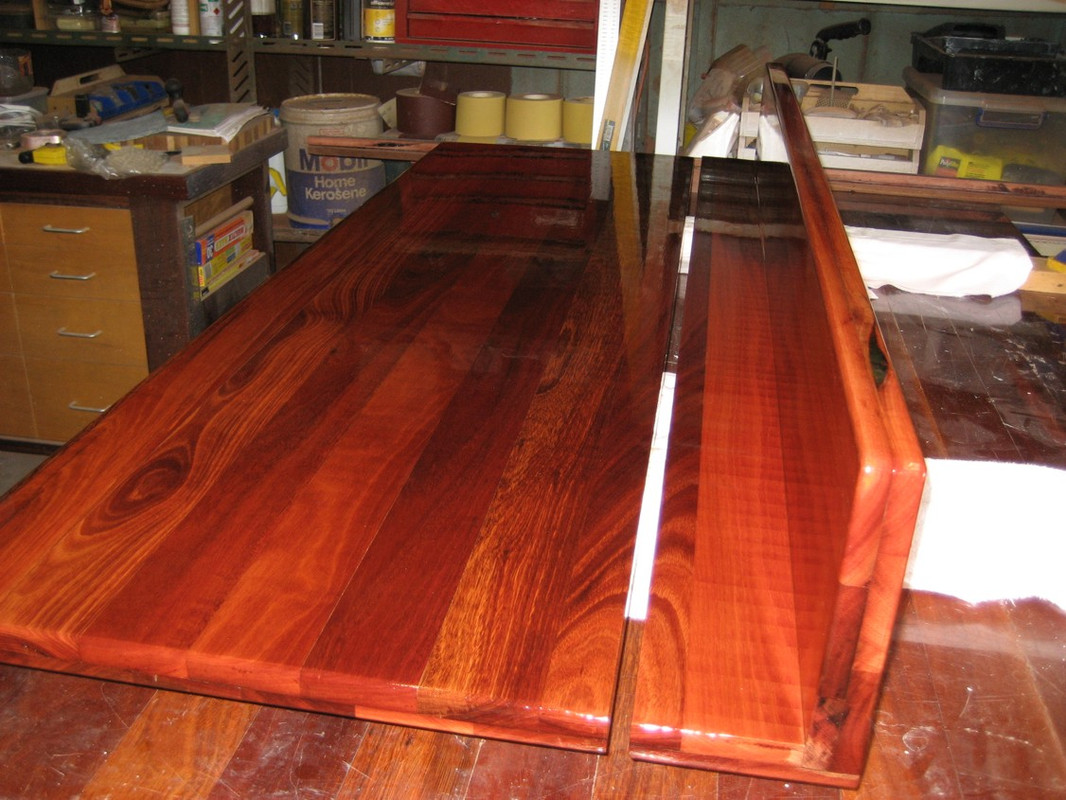
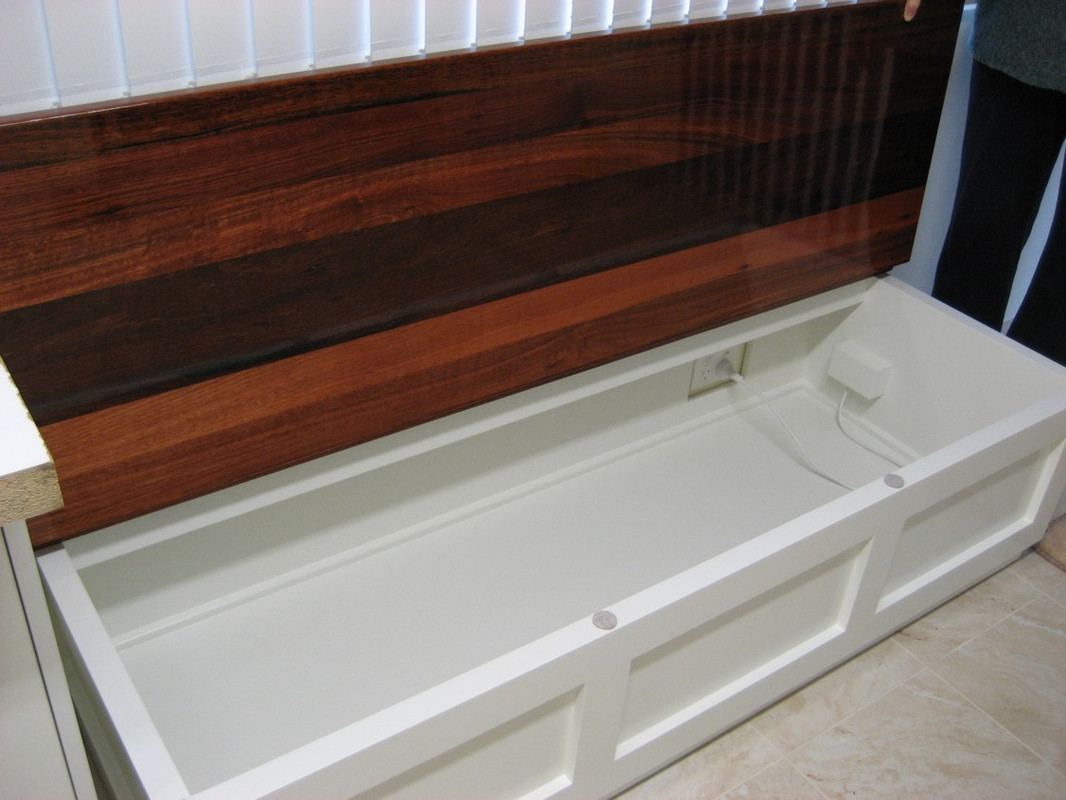
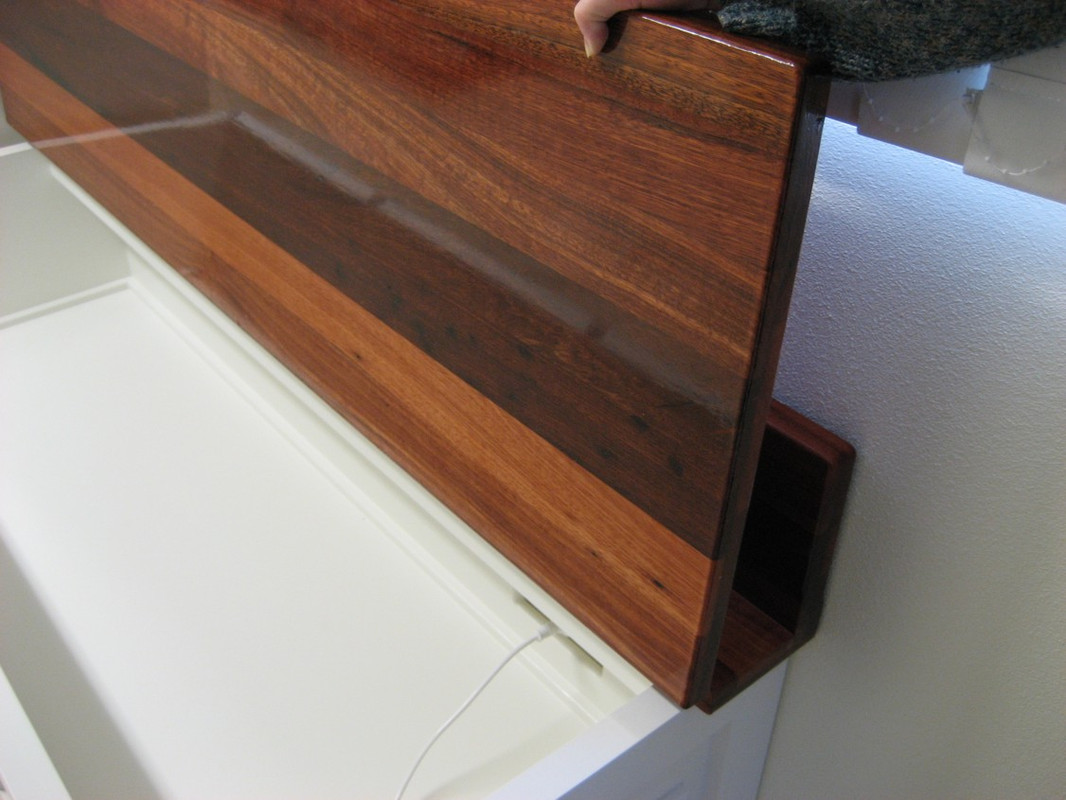
A “put and look” to see how I was traveling. To see how sizes panned out and review my joinery options to join the "backboard and base parts of the lid

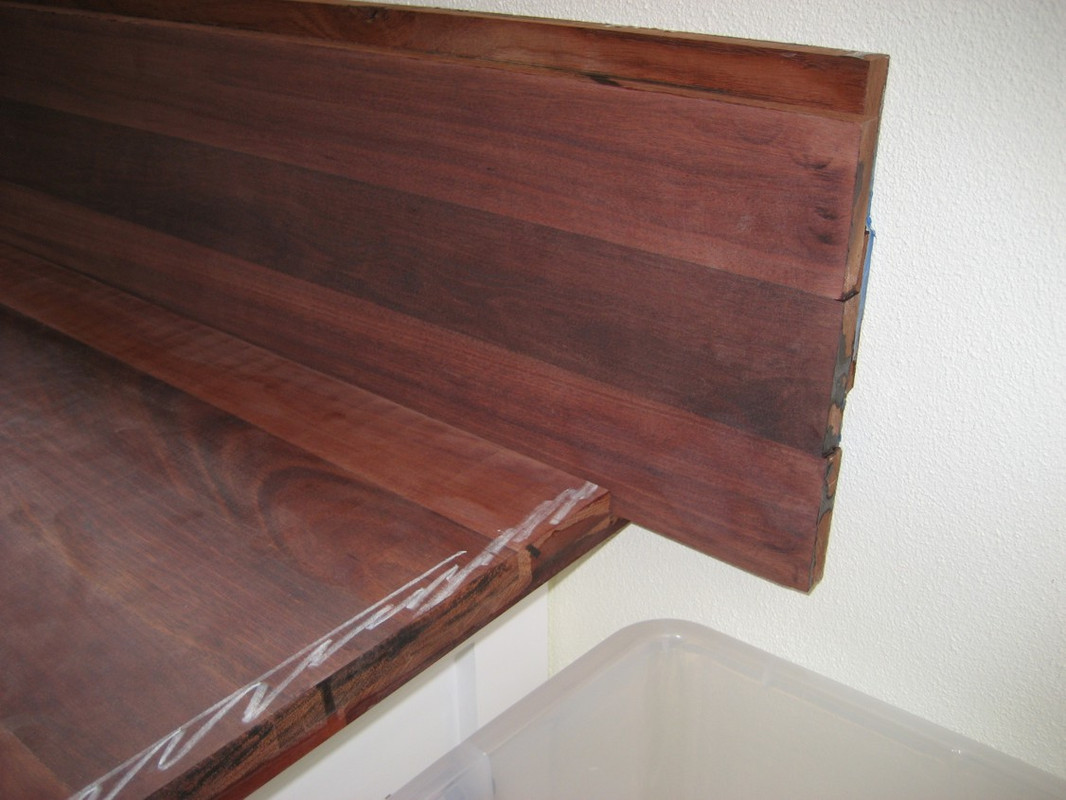
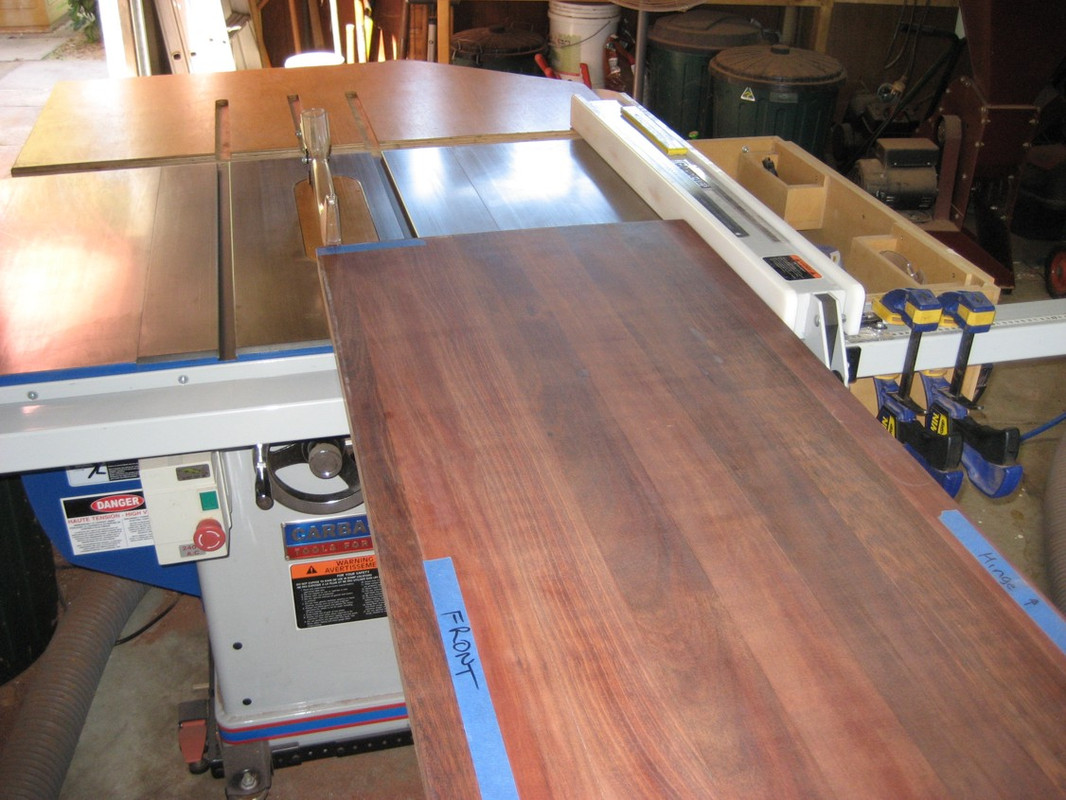
Cutting lid parts to final size, splitting the lid for a hinge and final joinery on the lid parts


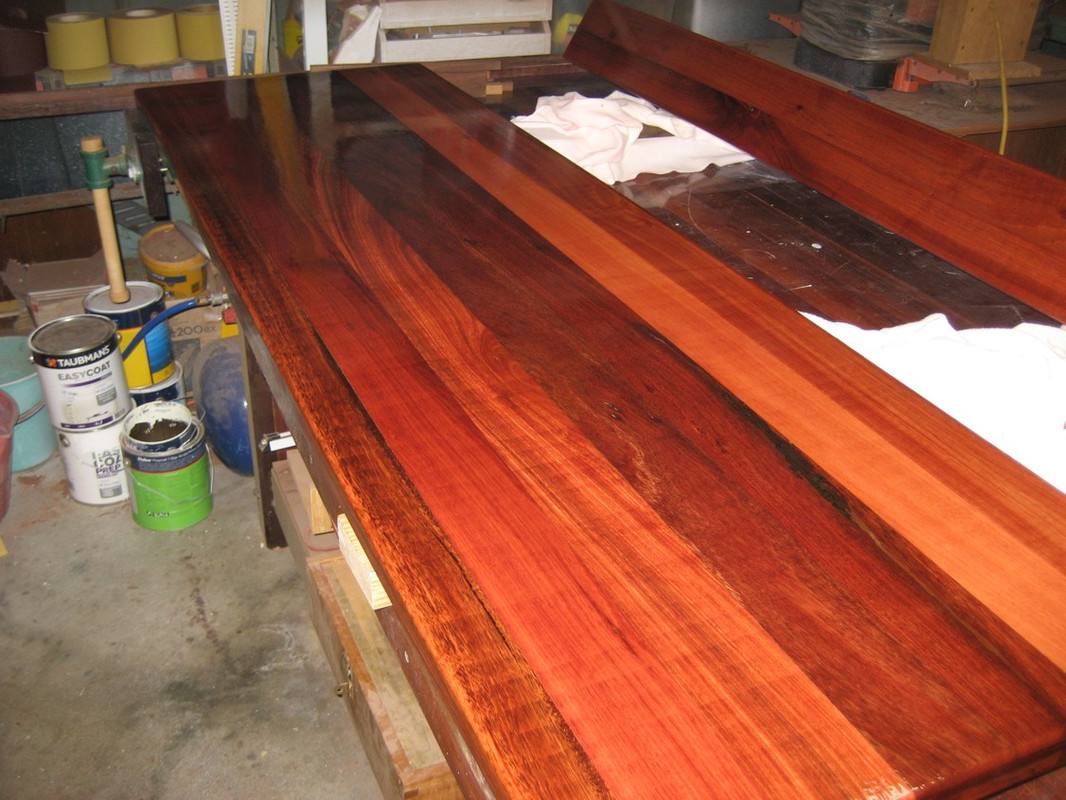
Then back to the sanding. Mucho sanding. Followed by a clear oil based varnish. Again sanding between coats


Carried the parts to the final spot (tip - it’s heavy), fixed the lid parts to the base and …


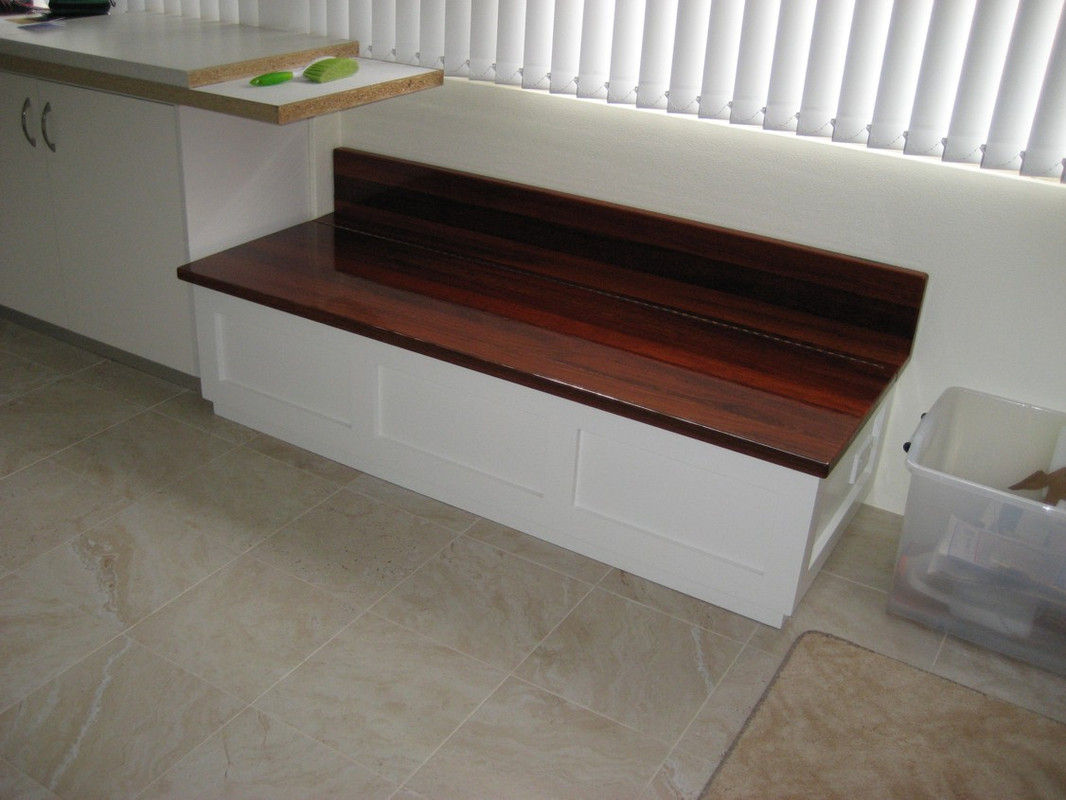
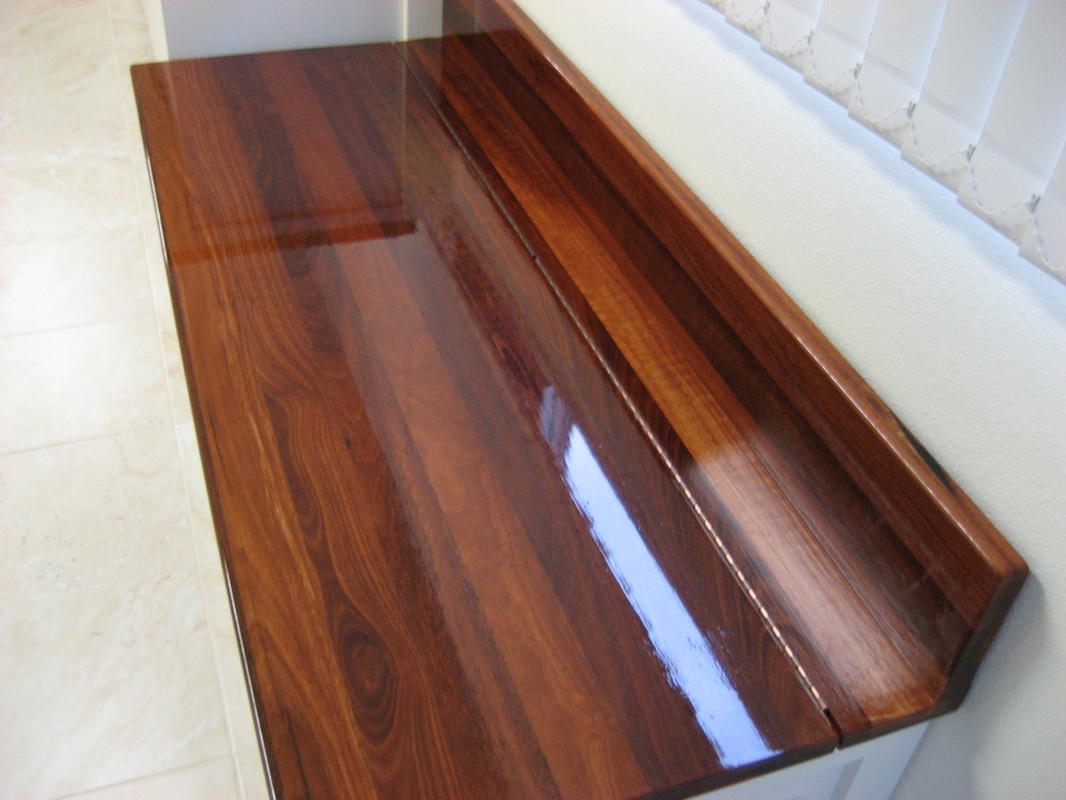
Done. Thanks for looking in.

  • Please - if you have any questions, post them up.
12 Likes

That is brilliant mate. Very much impressed by your craftsmanship and attention to detail.

7 Likes

Very impressive work. :slight_smile:

6 Likes

Bro… That is EXCELLENT WORK!! I’m not sure his workload currently, but @STR8V8PING does some amazimg things as well. Ya’ll both have that creative mind.

Collaboration!!! DO IT!!!

6 Likes

That looks immaculate SD great job

5 Likes

I started to marvel at the quality of the work unfolding before I looked at who posted it. Once I saw your name @DaveJ the penny dropped.
As I’ve seen before some very impressive craftsmanship there Dave. If memory serves wasn’t your previous employment with Telstra? You seem to have some serious woodworking skills which would have lead me to believe you was a cabinetmaker or something similar.
I’m lucky to cut a straight line in a bit of wood!

5 Likes

Thank you @Gazza7

Correct. I was a “desk jockey” in Telstra. All sorts of nerdy stuff (Database coding). I was not formally trained on using tools … well, except from learning “the hard way”: <Oooo that hurt, don’t do that again> grin

I hear and understand your comment about cutting a straight line. The trick is, learning how to “cheat”. Few can cut a straight line UN-AIDED when they start out. It’s figuring out what aids there are, and how to use them that set me going - like a fence on a table saw or cutting guides on circ saws and similar. Planning. And lots of time staring at a problem “how can I do … THAT?” (Perfect example: That laminated Jarrah bench seat top in the post above. When I realised it was not flat, it took me literally months to come up with a workable way to flatten that panel.)

Thank you for your kind comments.

6 Likes

Mine’s still in regular rotation too!

Google Photos

8 Likes

Excellent!

One day (after I get thro “The List”) I need to get back to those boards and blocks I have burried around here somewhere (I know I packed them when we shifted) and do something serious about it.

6 Likes

Anyone interested in modmaking, i have done a few more…

10 Likes

And that ^^^^ is why I was super happy to have Laurie help/pitch in with the two mods I part made (and posted above). He’d been there before and knew (and had done) all the stuff I had no idea how about.

9 Likes

love seeing mods being modded. Great work!

7 Likes

Great job, looks finicky as hell

5 Likes