Having reviewed the Plus v.2 quite a while ago, I was looking forward to getting into this one, and deep diving into the NEW bottom airflow addition. Thanks out to Amy @SteamCrave for sending this out for the purposes of this review. Despite being a huge SteamCrave fan, you’ll get the straight scoop, my thoughts, some great hi-res pics, and no punches pulled.
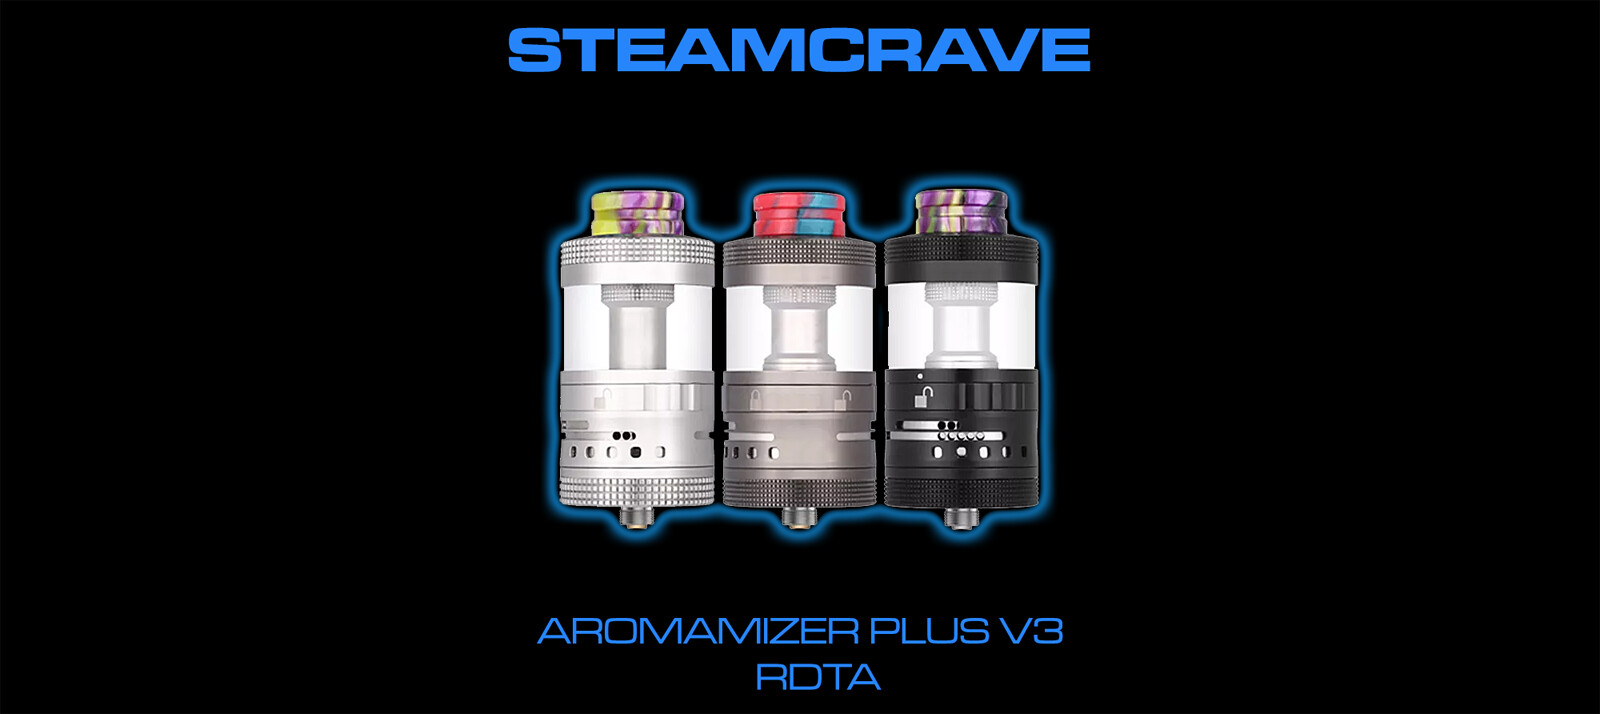
Steam Crave Aromamizer Plus V3 30mm RDTA Features:
- 30mm Diameter
- 12mL Tank Capacity - RTA Mode
- 3mL Deep Juice Wells - RDA Mode
- Stainless Steel Tank Construction
- Threaded Top Fill System - Dual Fill Ports
- Postless Build Deck - 4 Deck Based Terminals
- Side Secured via Flathead Screws
- Single or Dual Coil Configuration
- Positive PEEK Insulation
- Various Side Bottom Airflow Configurations
- Interchangeable Build Decks - Sold Separately
- Parts Compatible with V1 & V2
- 810 Widebore Drip Tip
- Threaded 510 Connection
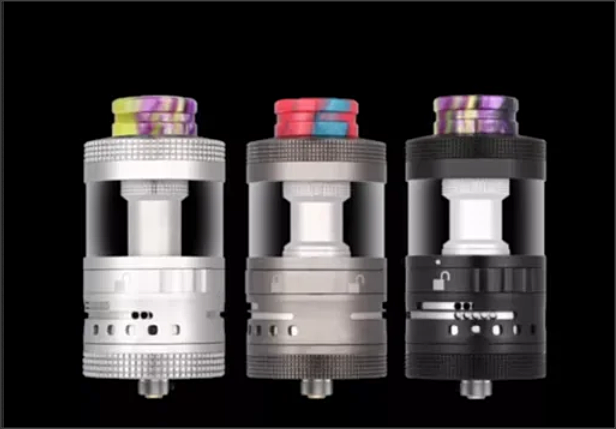
- Available in Stainless Steel, Black, Gunmetal
Includes:
- 1 Aromamizer PLUS V3 RDTA
- 1 Spare 12mL Glass Tube
- 1 Spare Parts Bag
- 1 Allen Key
- 1 Steam Crave Rubber Band
- 1 User Manual
- 1 Steam Crave Sticker
Right out of the gate, you were presented with numerous deck options, AND the v.3 is compatible with the Plus v.1 and v.2 decks.

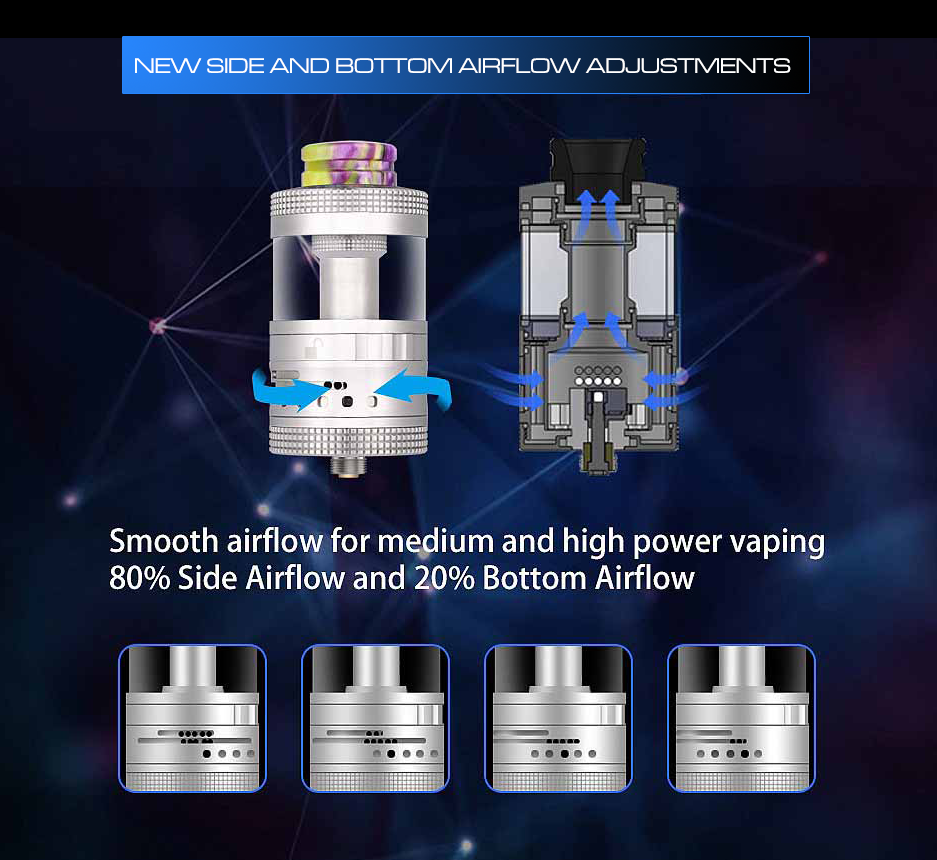
One of the biggest changes to the v.3 was the inclusion of bottom airflow for your coils. 80% side flow, and 20% bottom flow. I was interested to see how much of a difference this made.
This, like most other SteamCraves as of late, was built like a tank. Extremely well designed, machined, and thought out, and I counted no less than 12 o-rings.
The tried and true Black and Red box with magnets to secure the flip up lid.

SteamCrave seems to have perfected the foam inserts to protect the products.
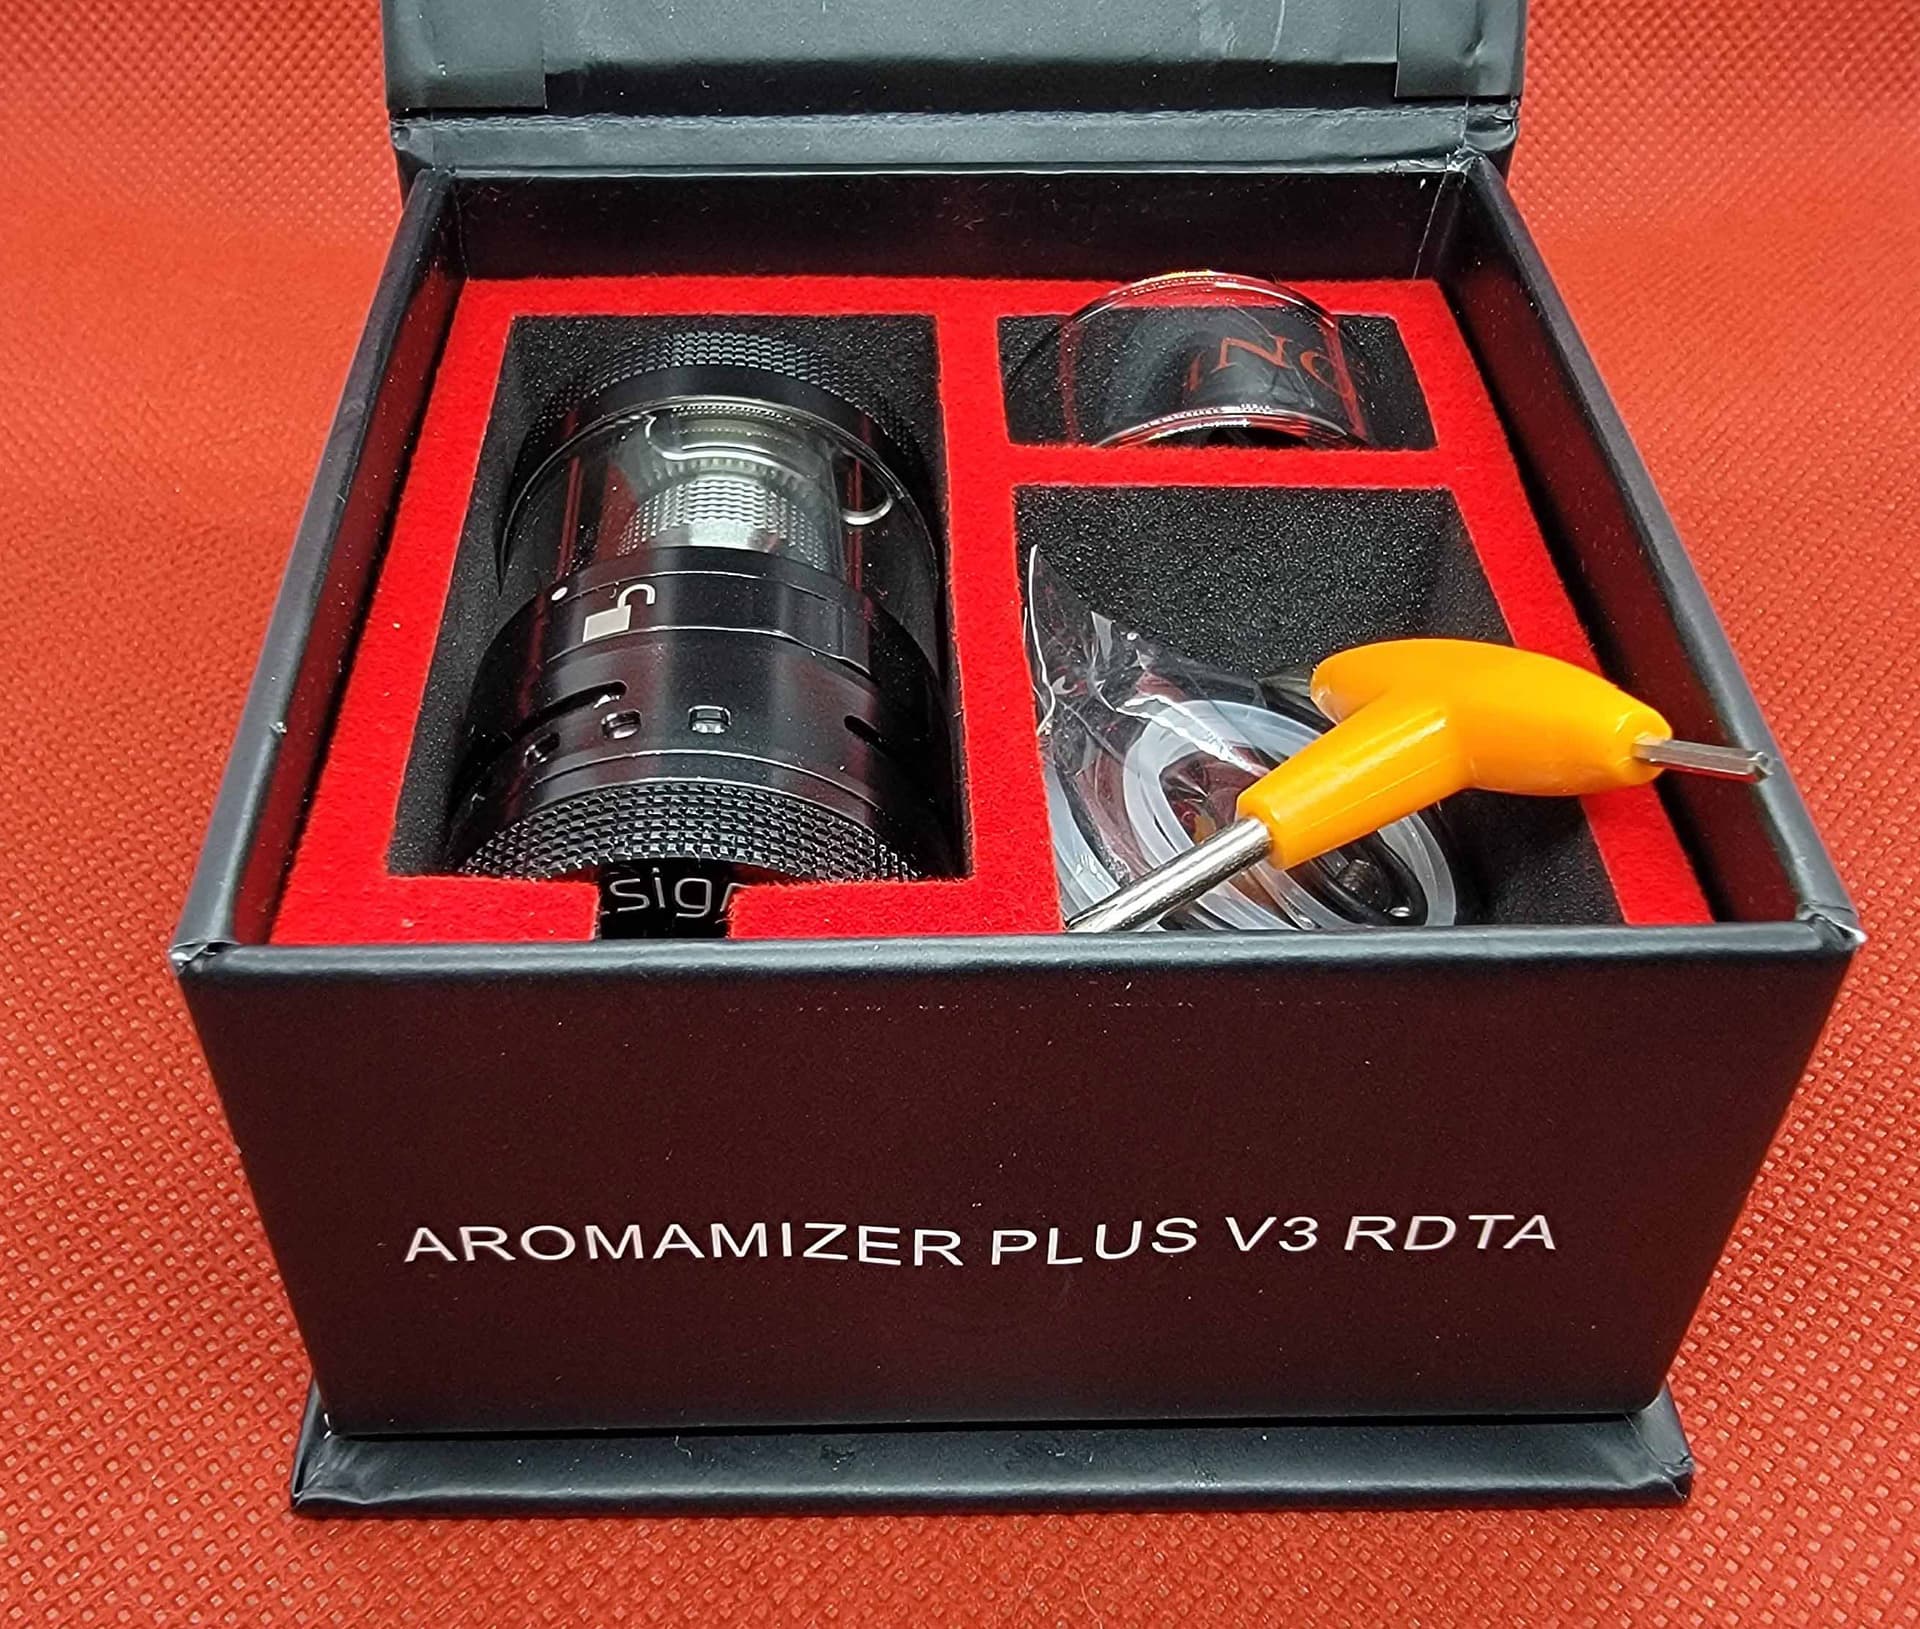
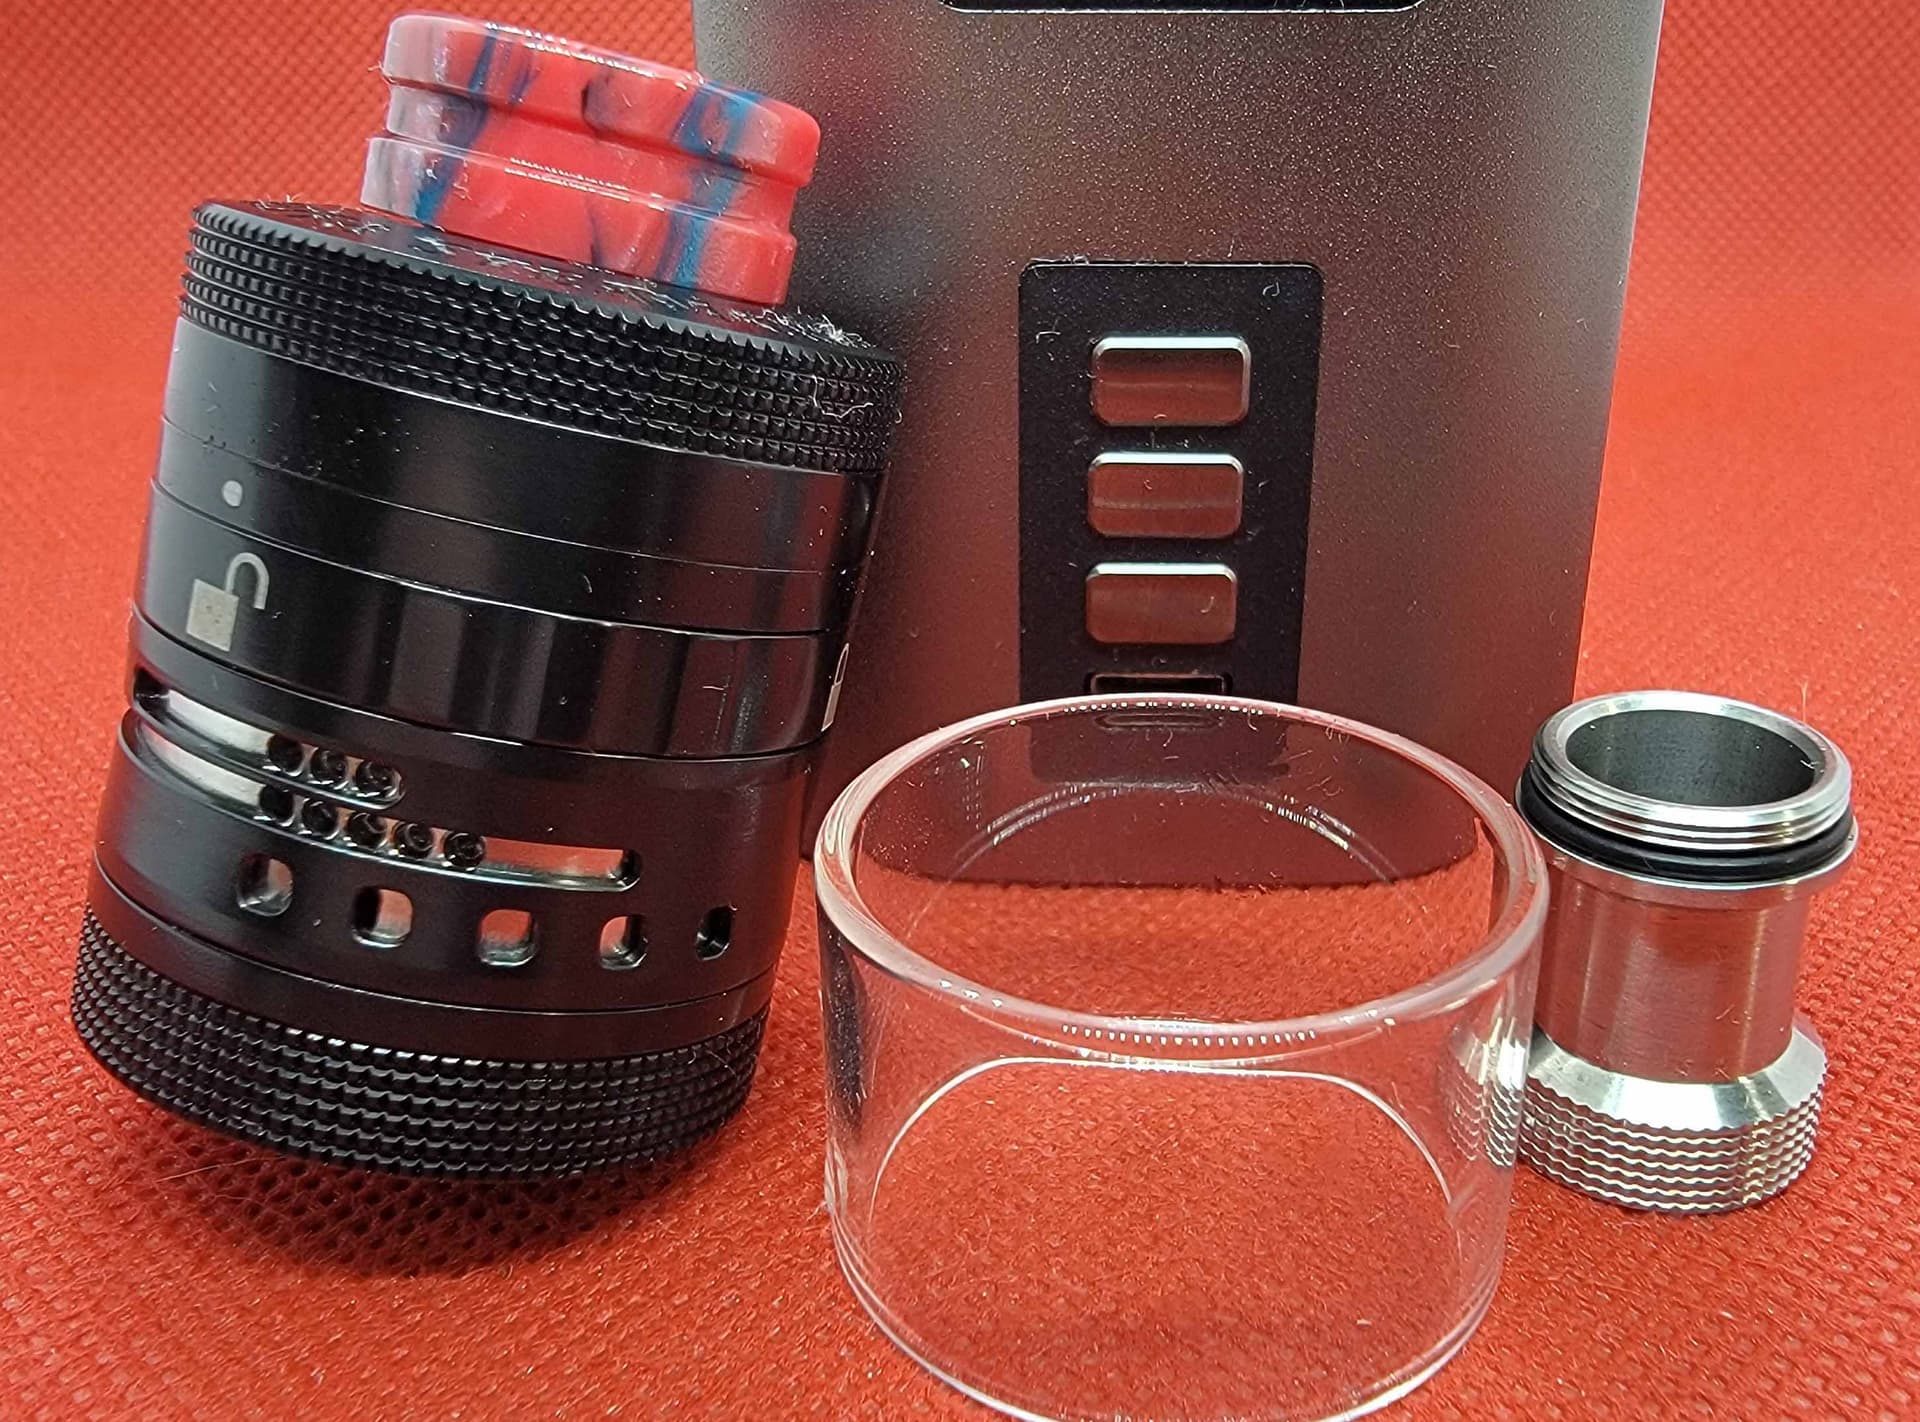
Included were the Aromamizer Plus V3, spare glass section, multi tool, spare o-rings, and grub screws.

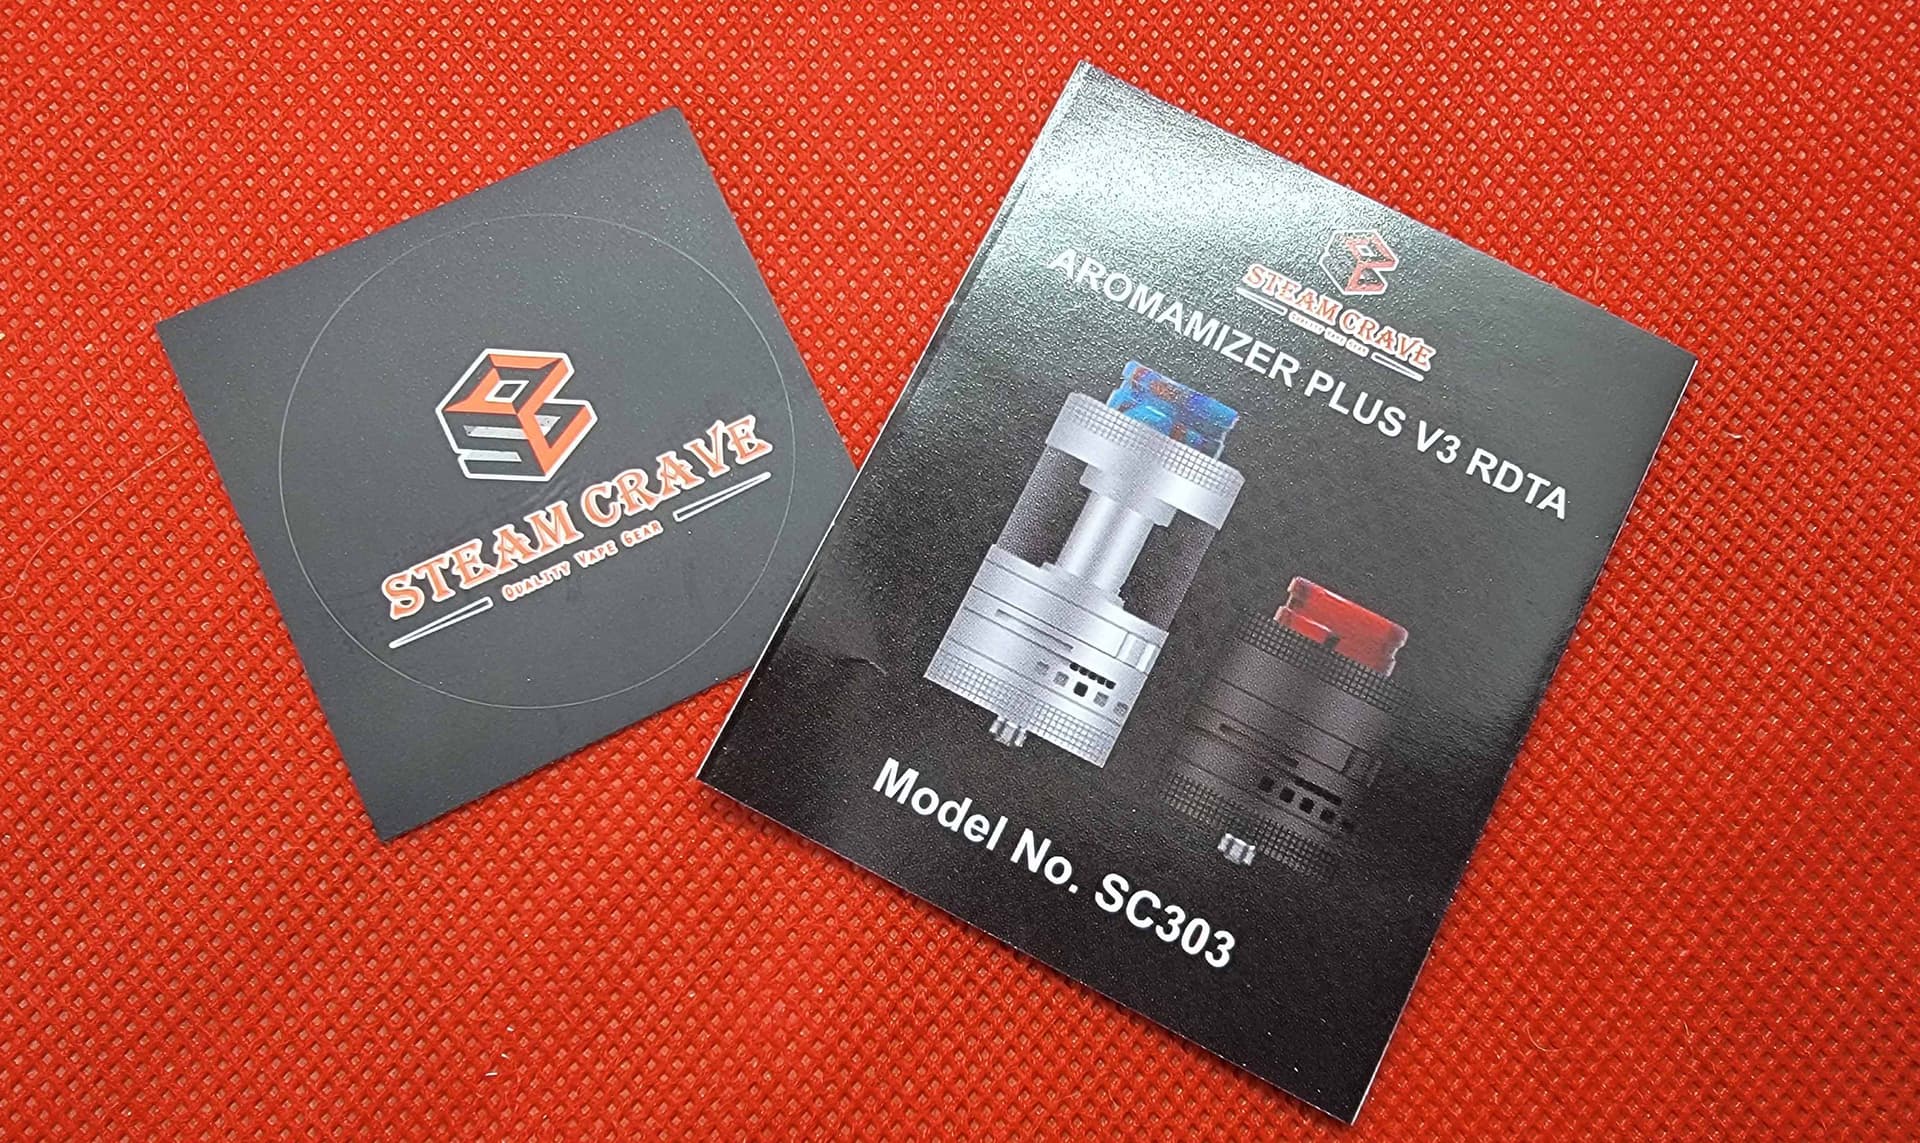
Never leave home without your Manual, and Sticker !!!
The Star of the show …

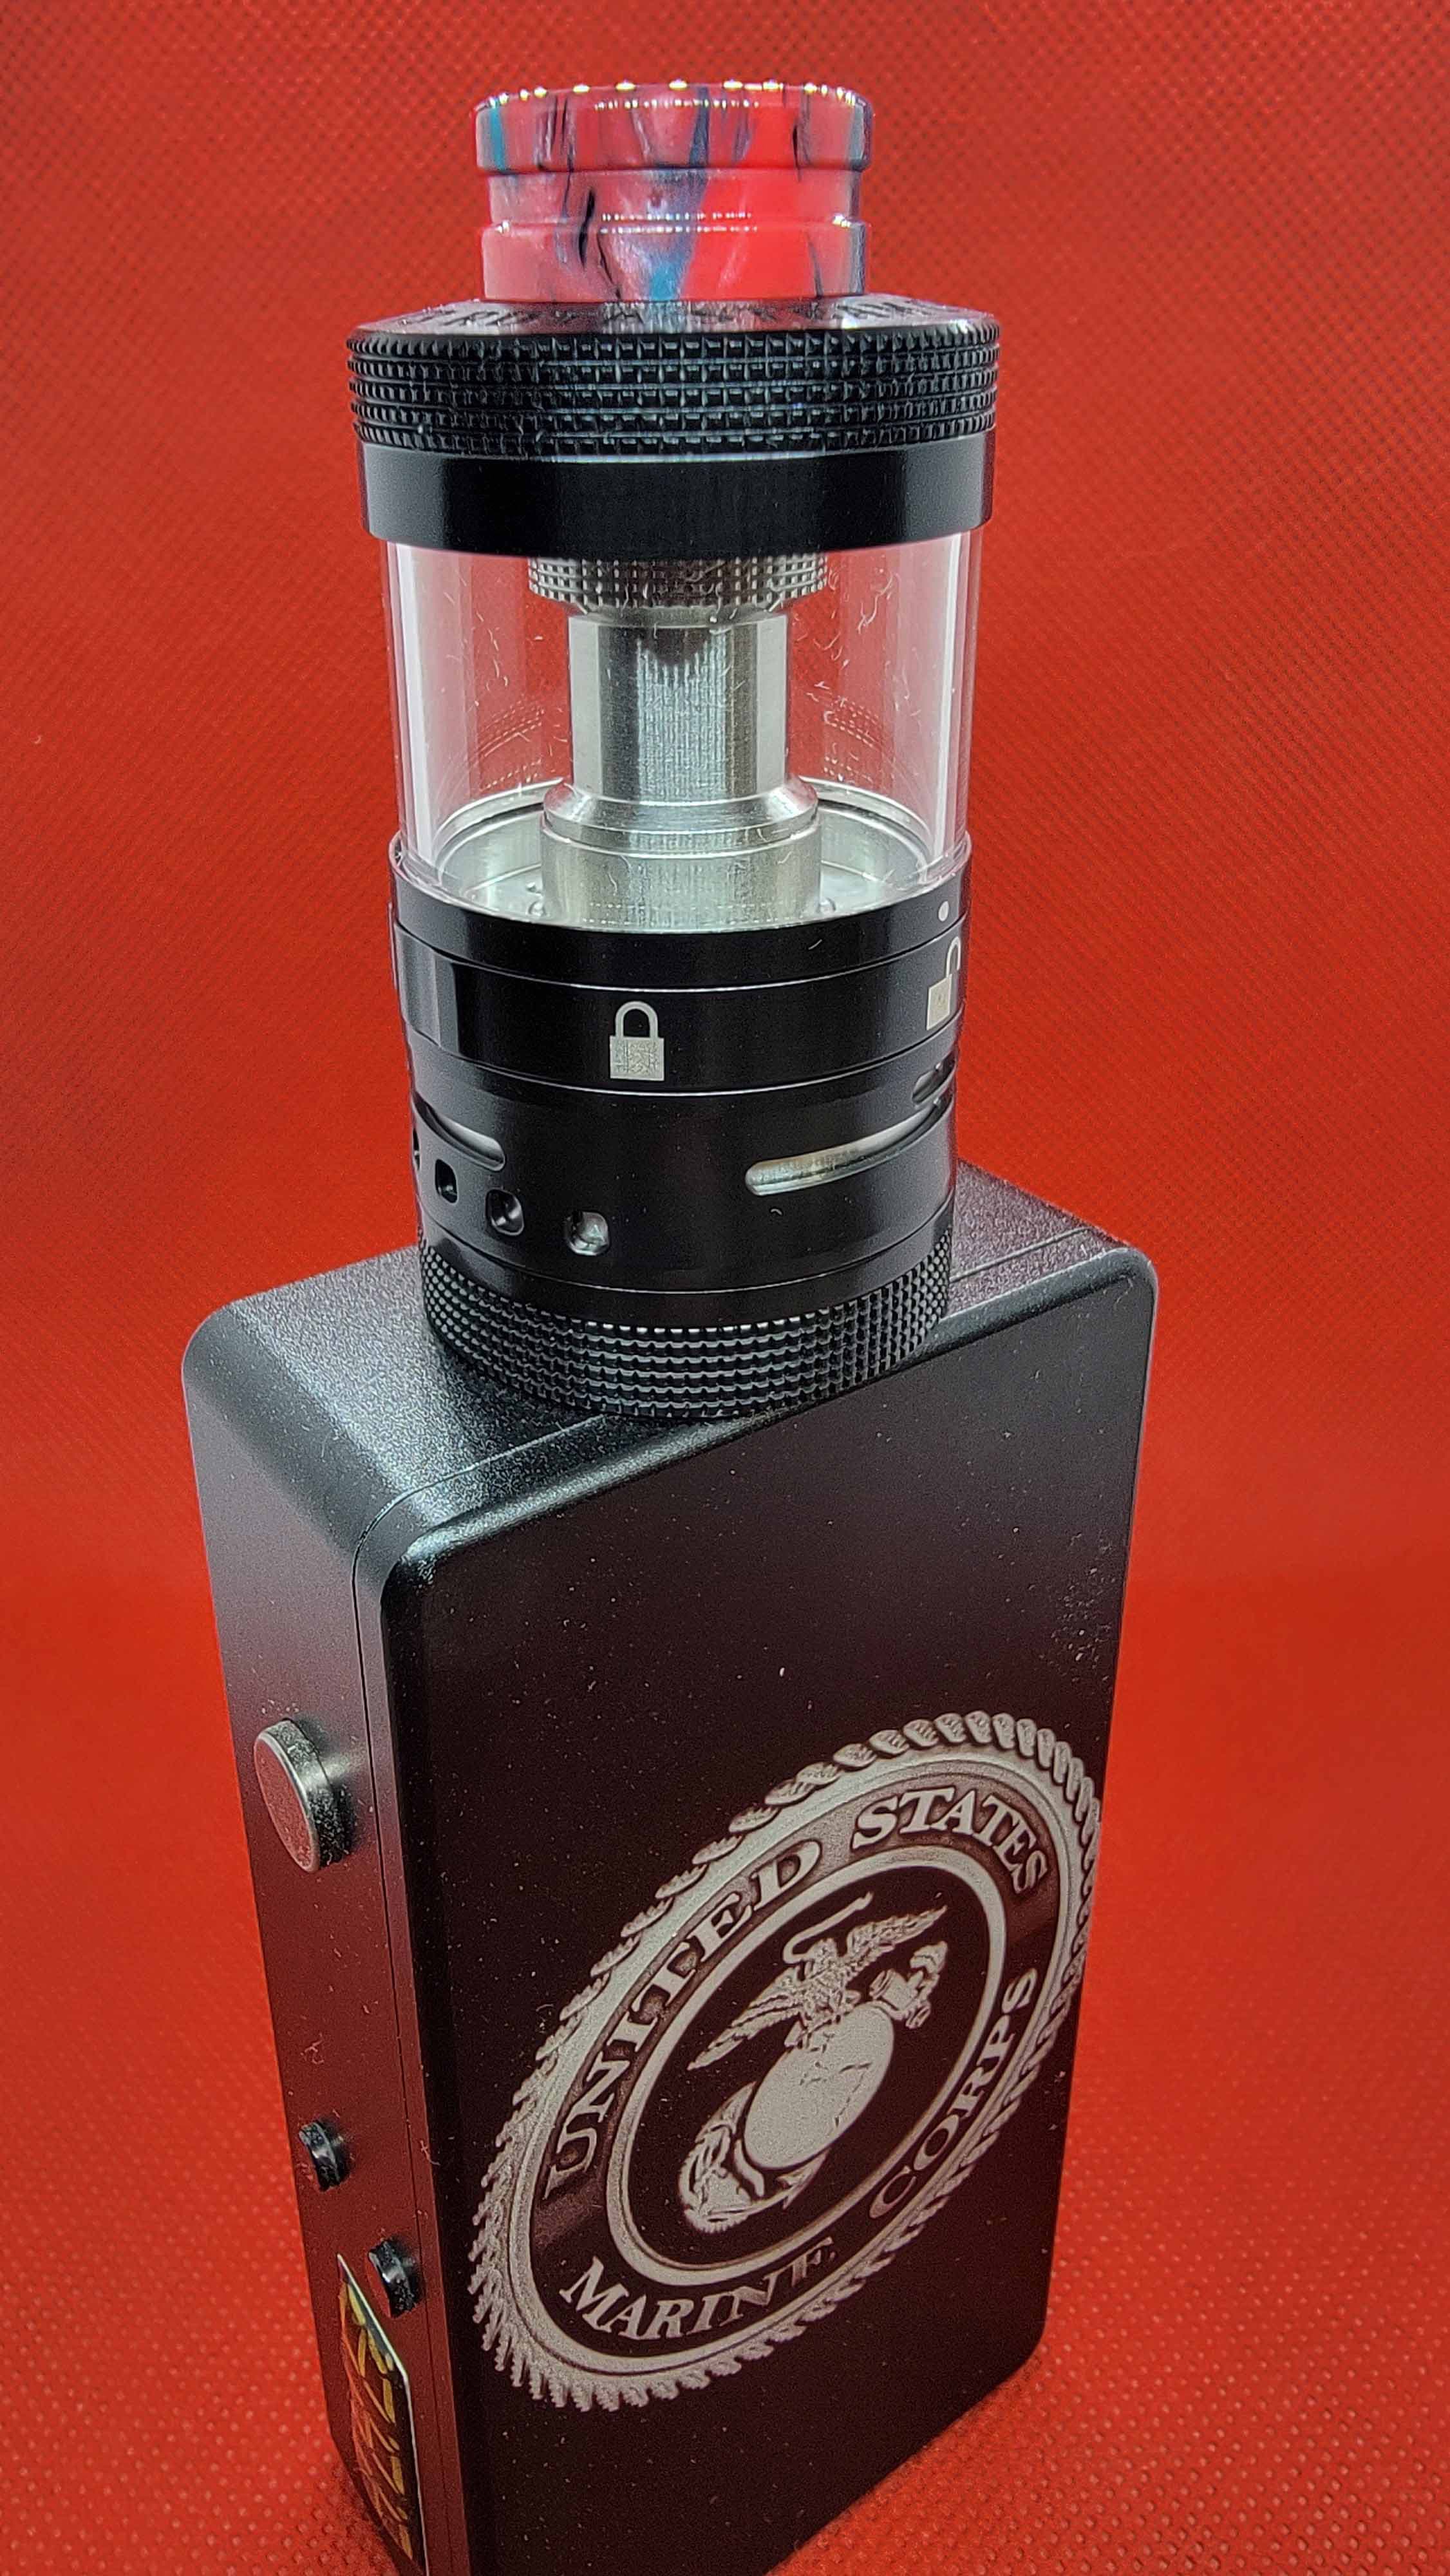
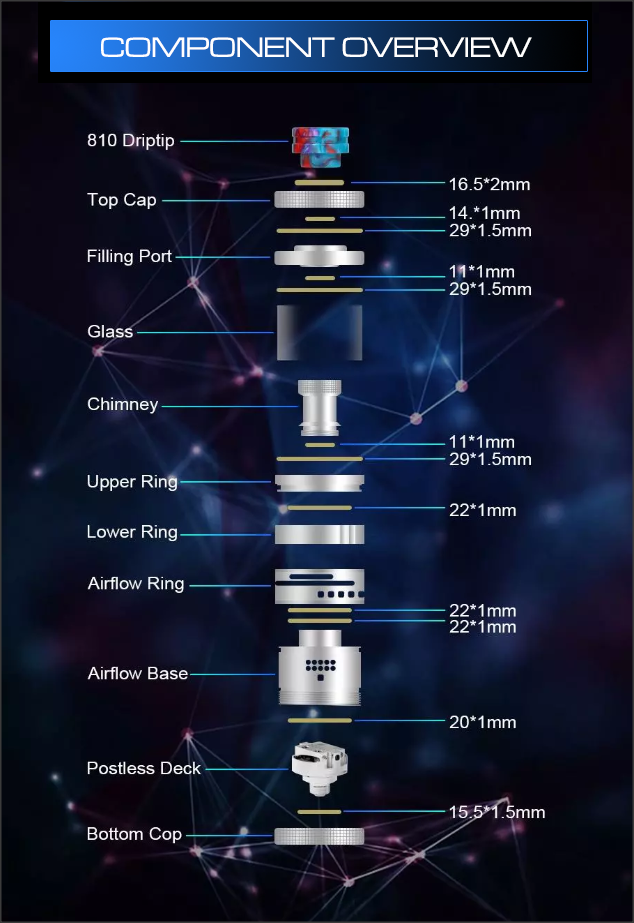
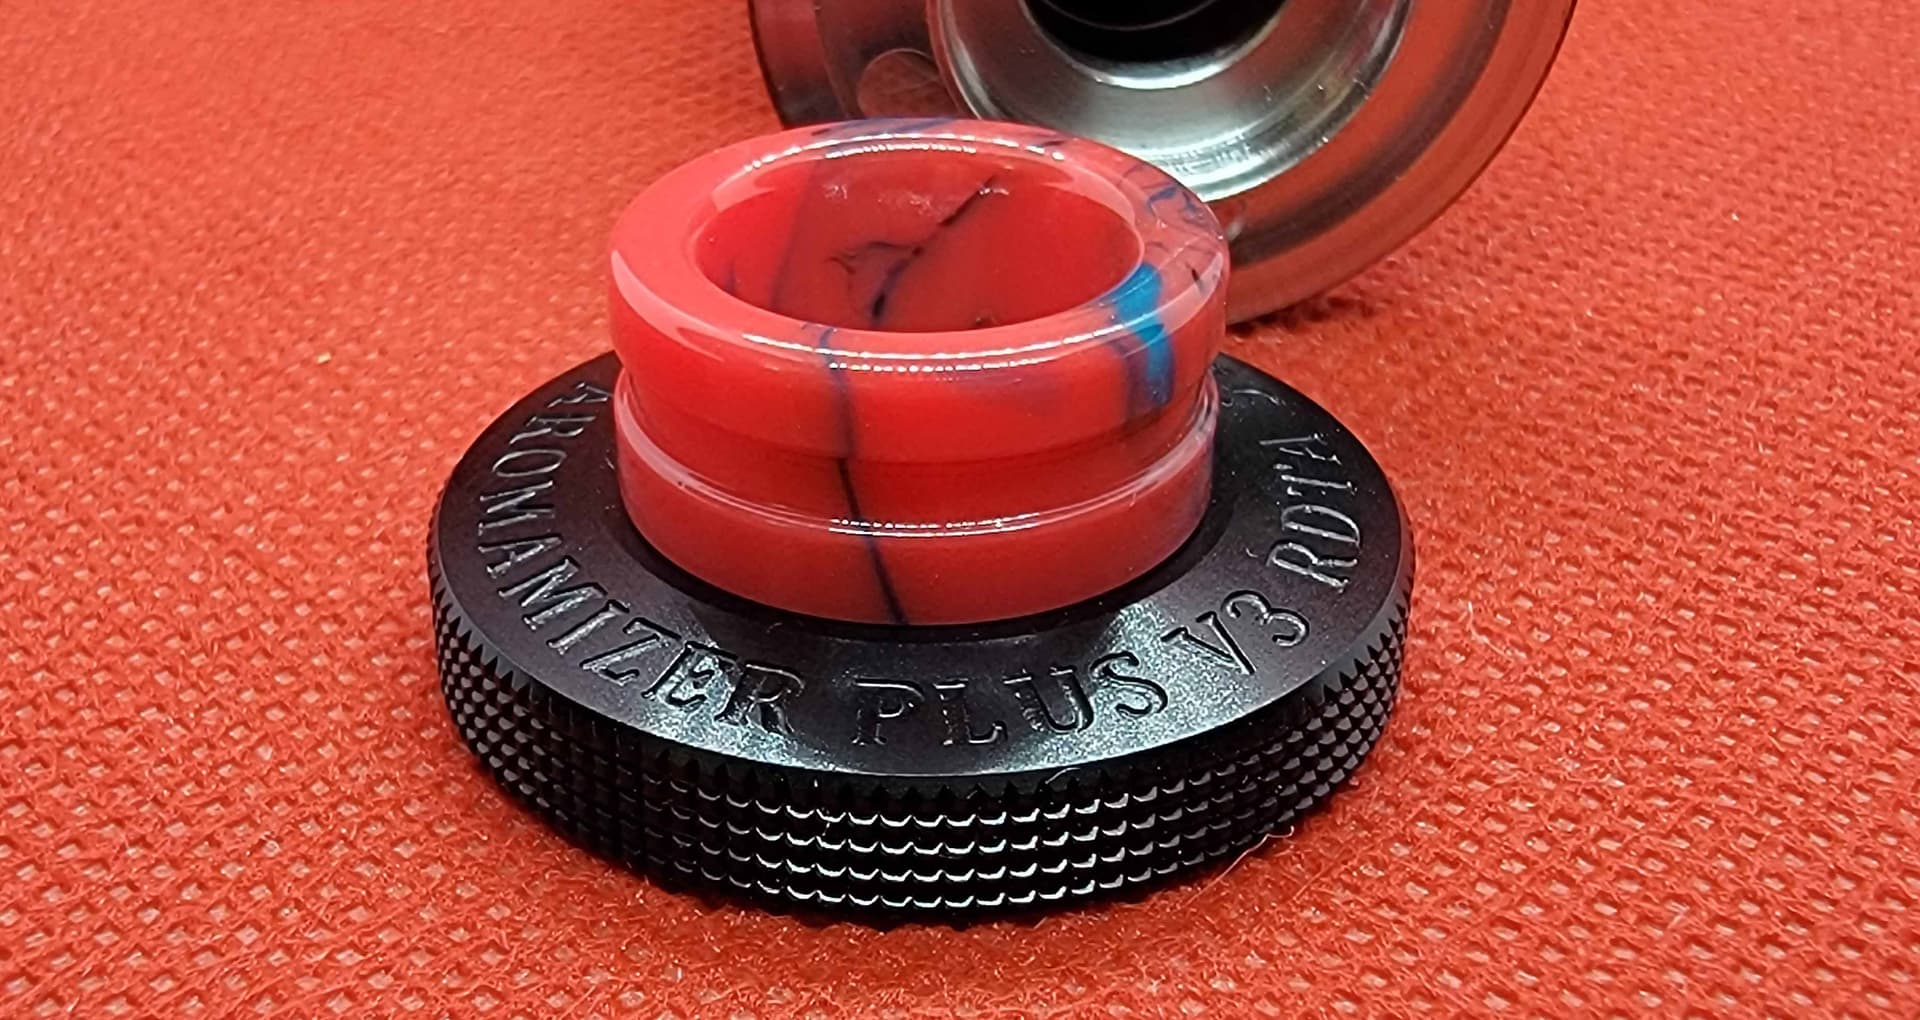
Starting off at the top, the included 810 wide bore drip tip looked great, and was held snugly in place by the top cap o-ring …
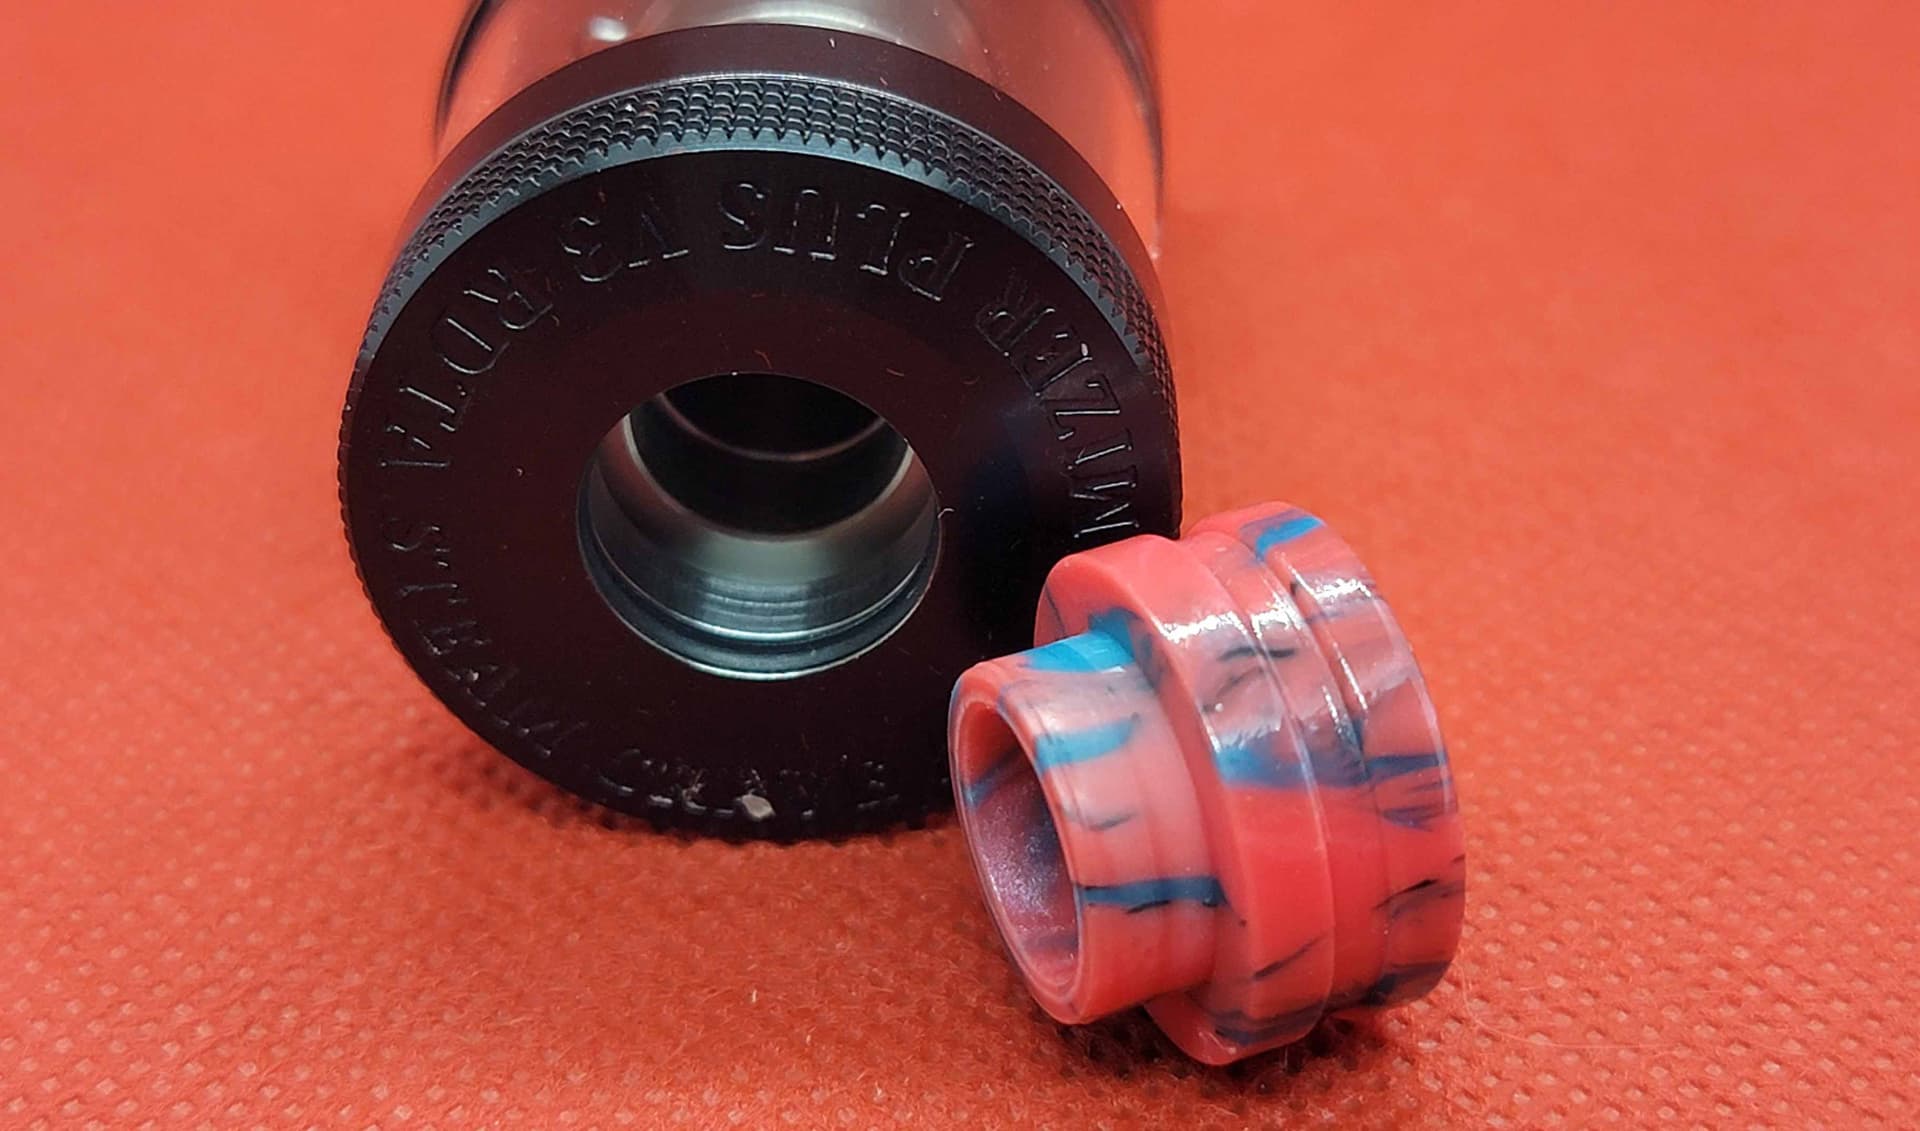
There was no mistaking what brand and model you were using, along with some excellent knurling on the top cap …
Generous dual kidney fill ports on the tank, and beefy o-ring on the top cap got the job done …

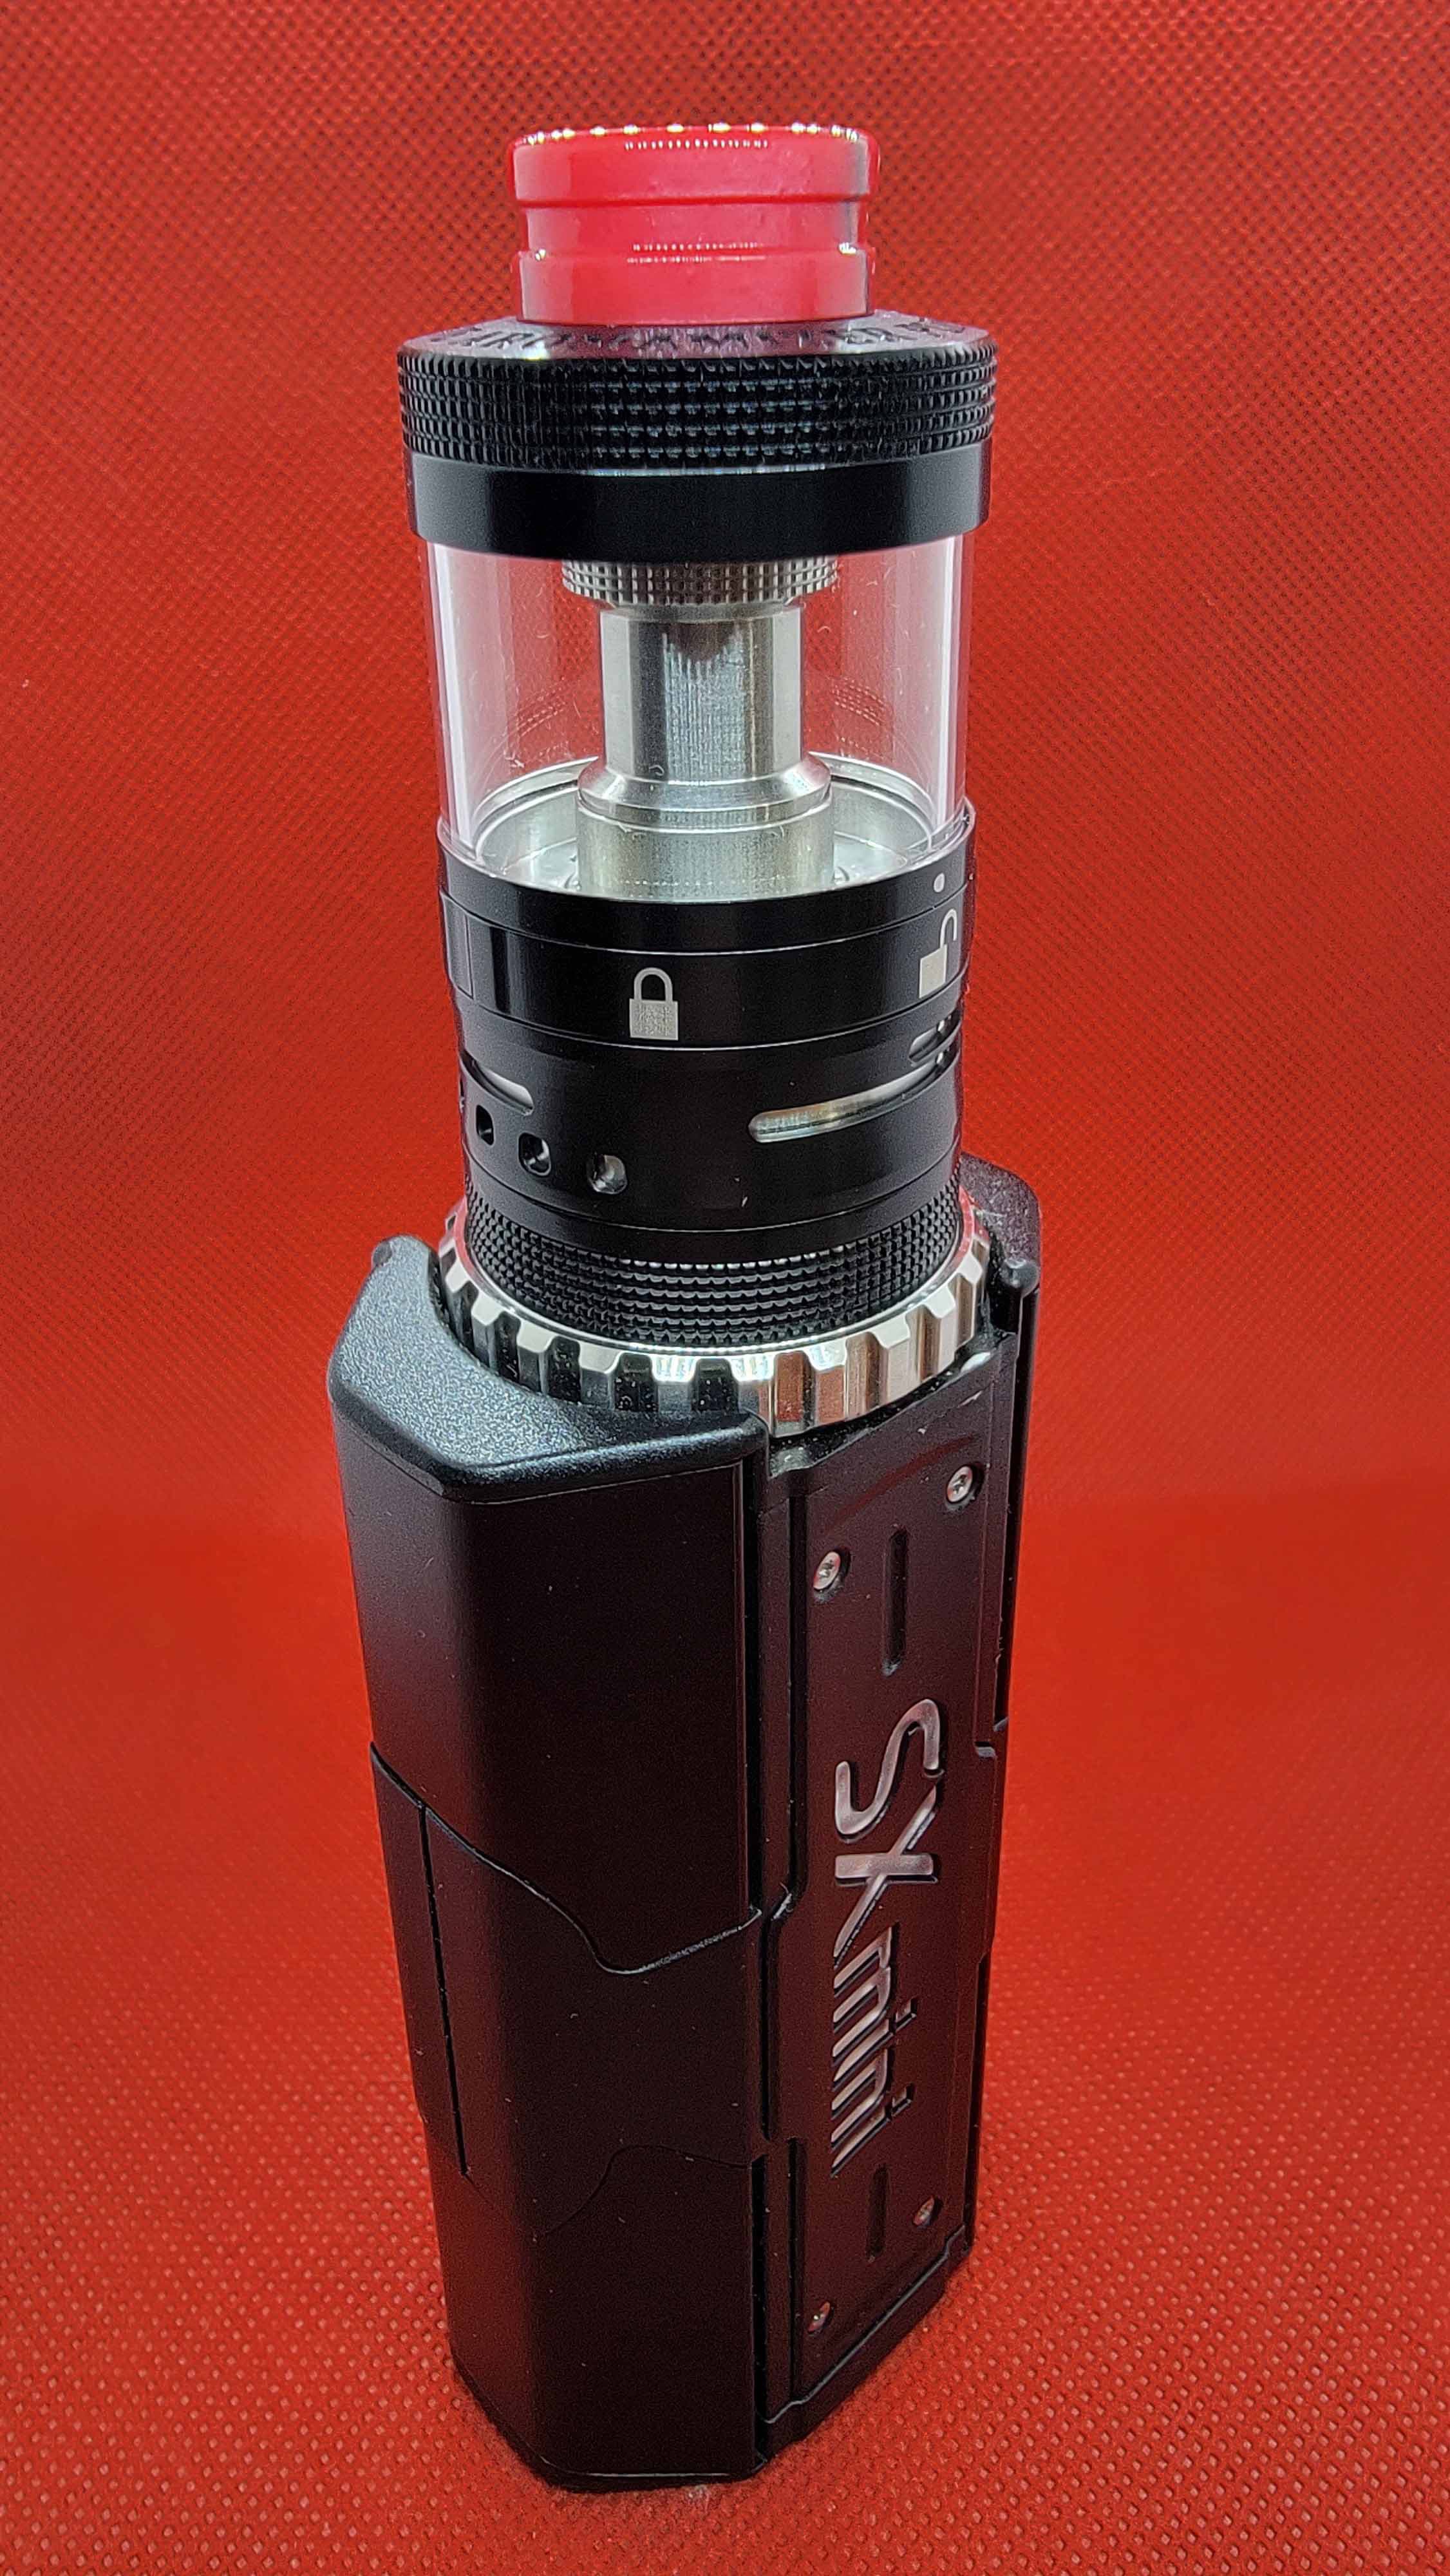
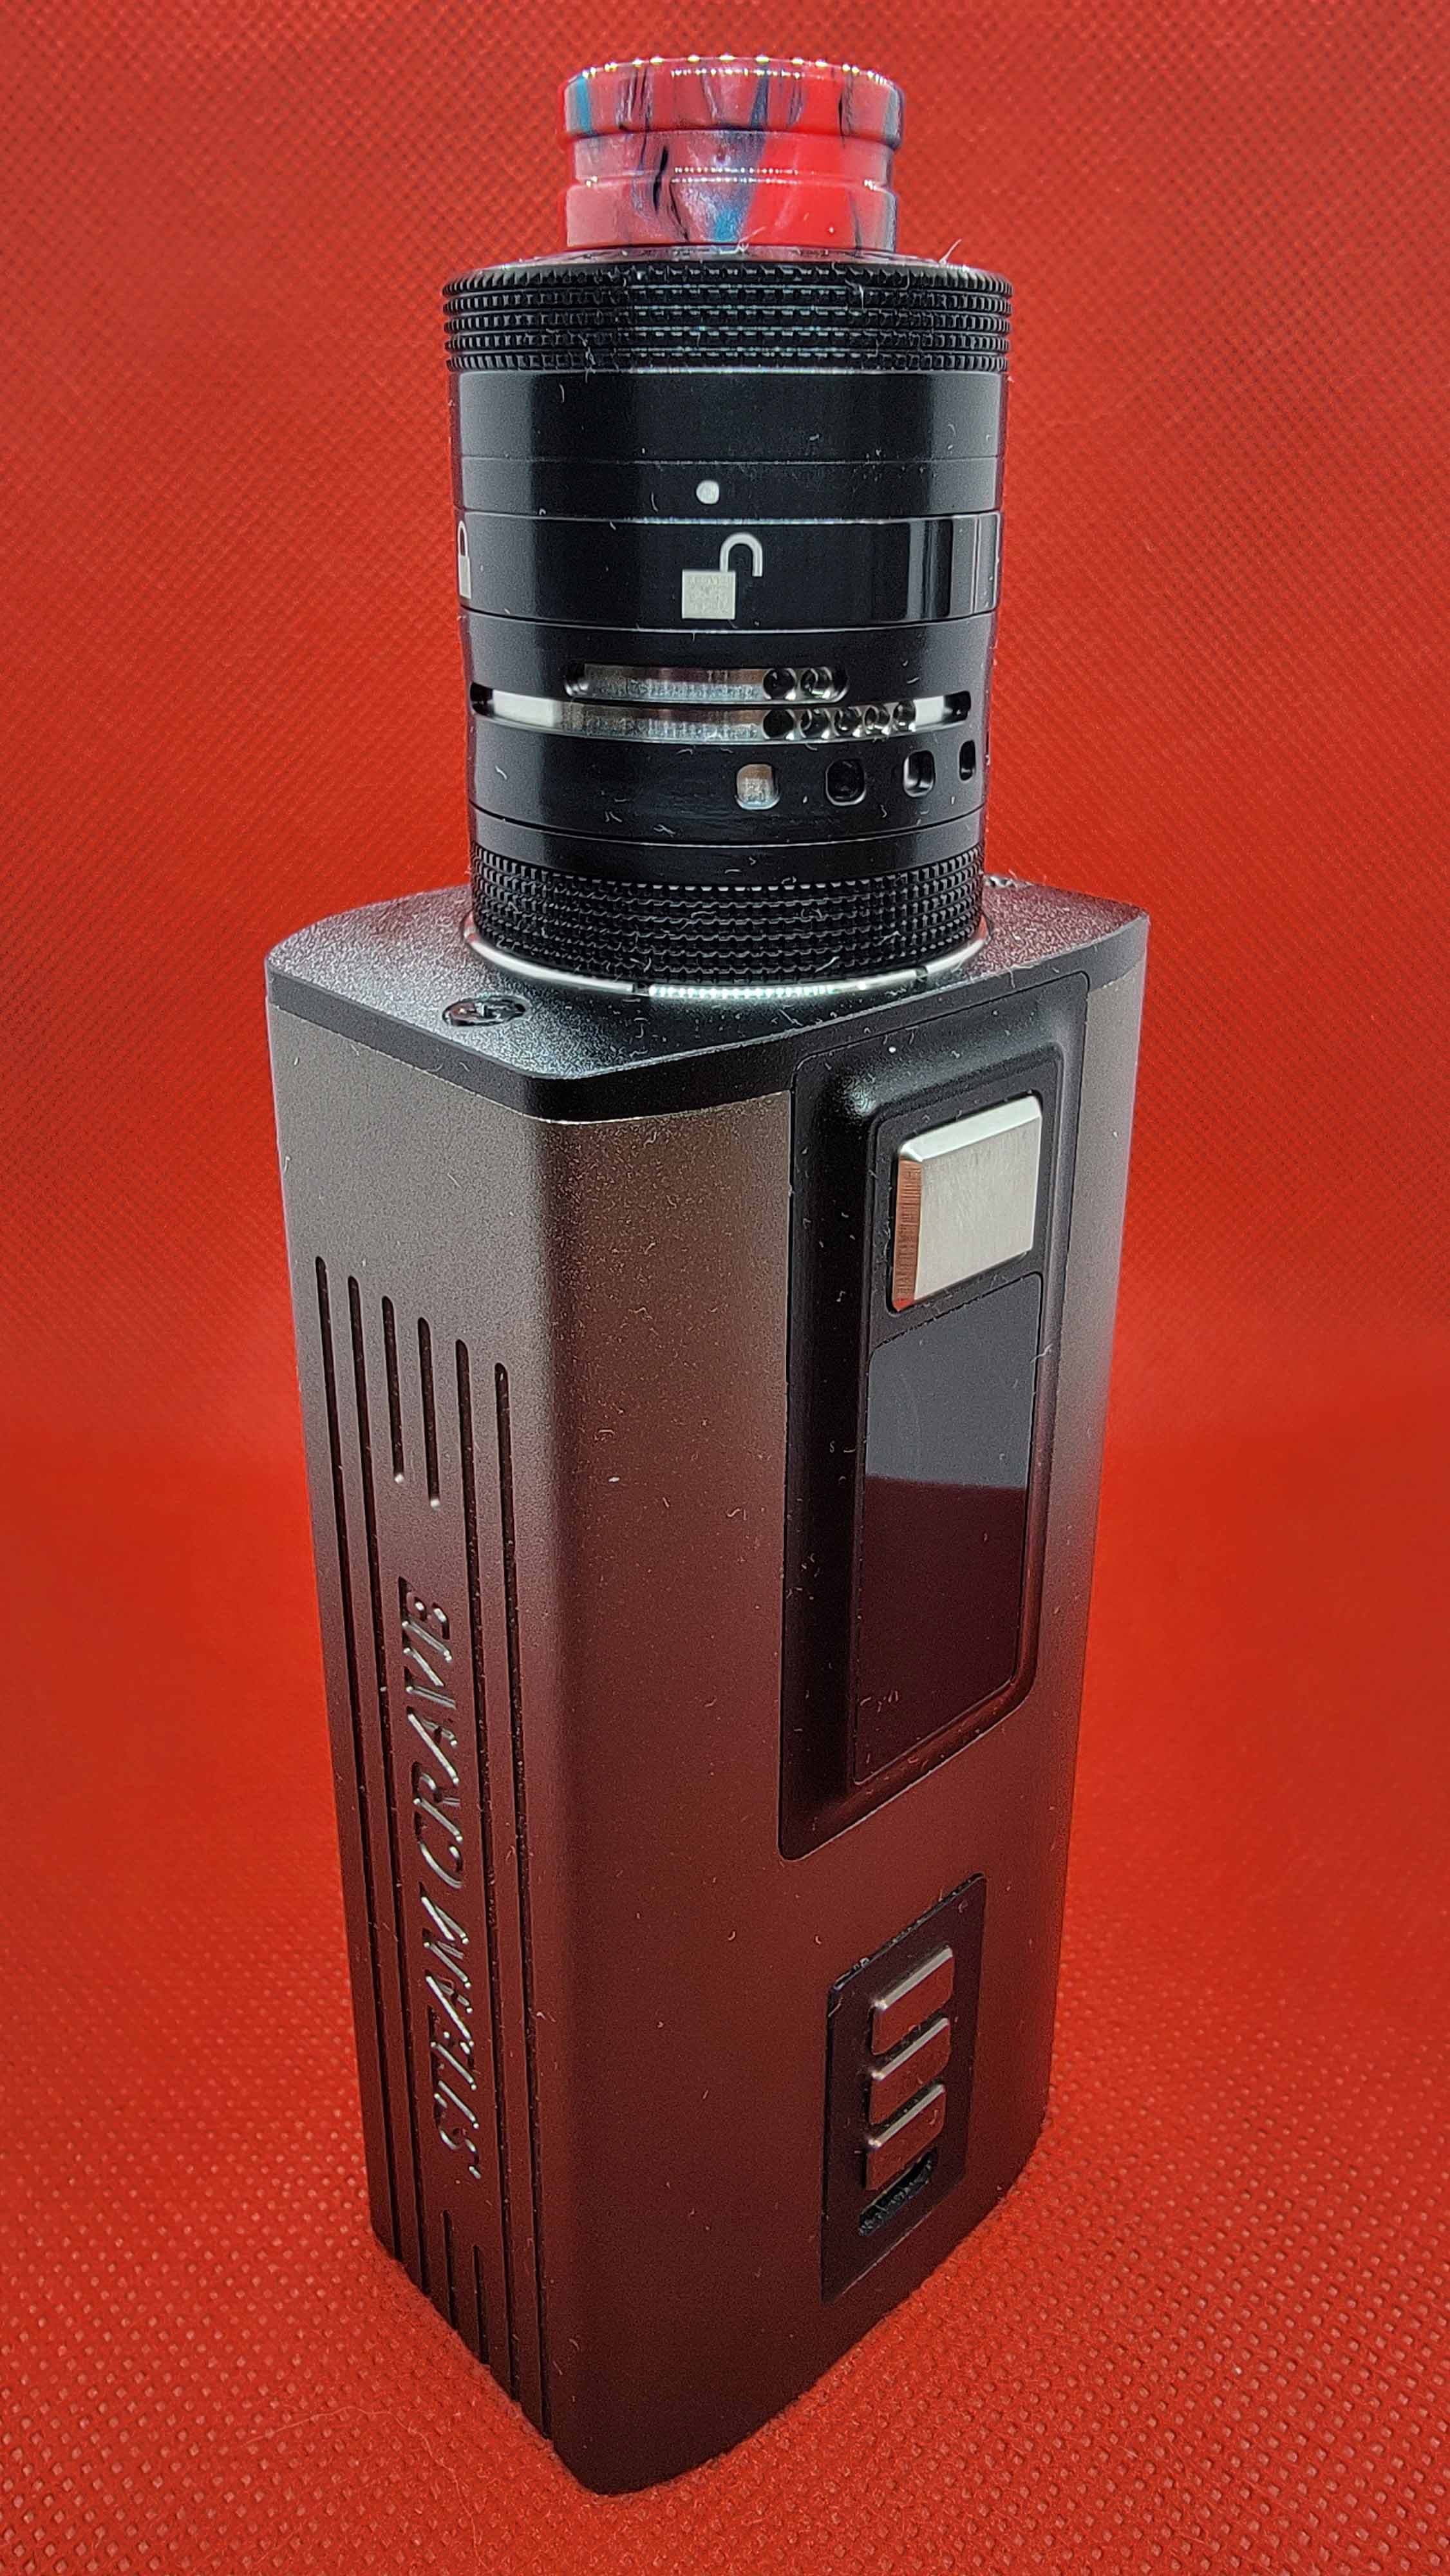
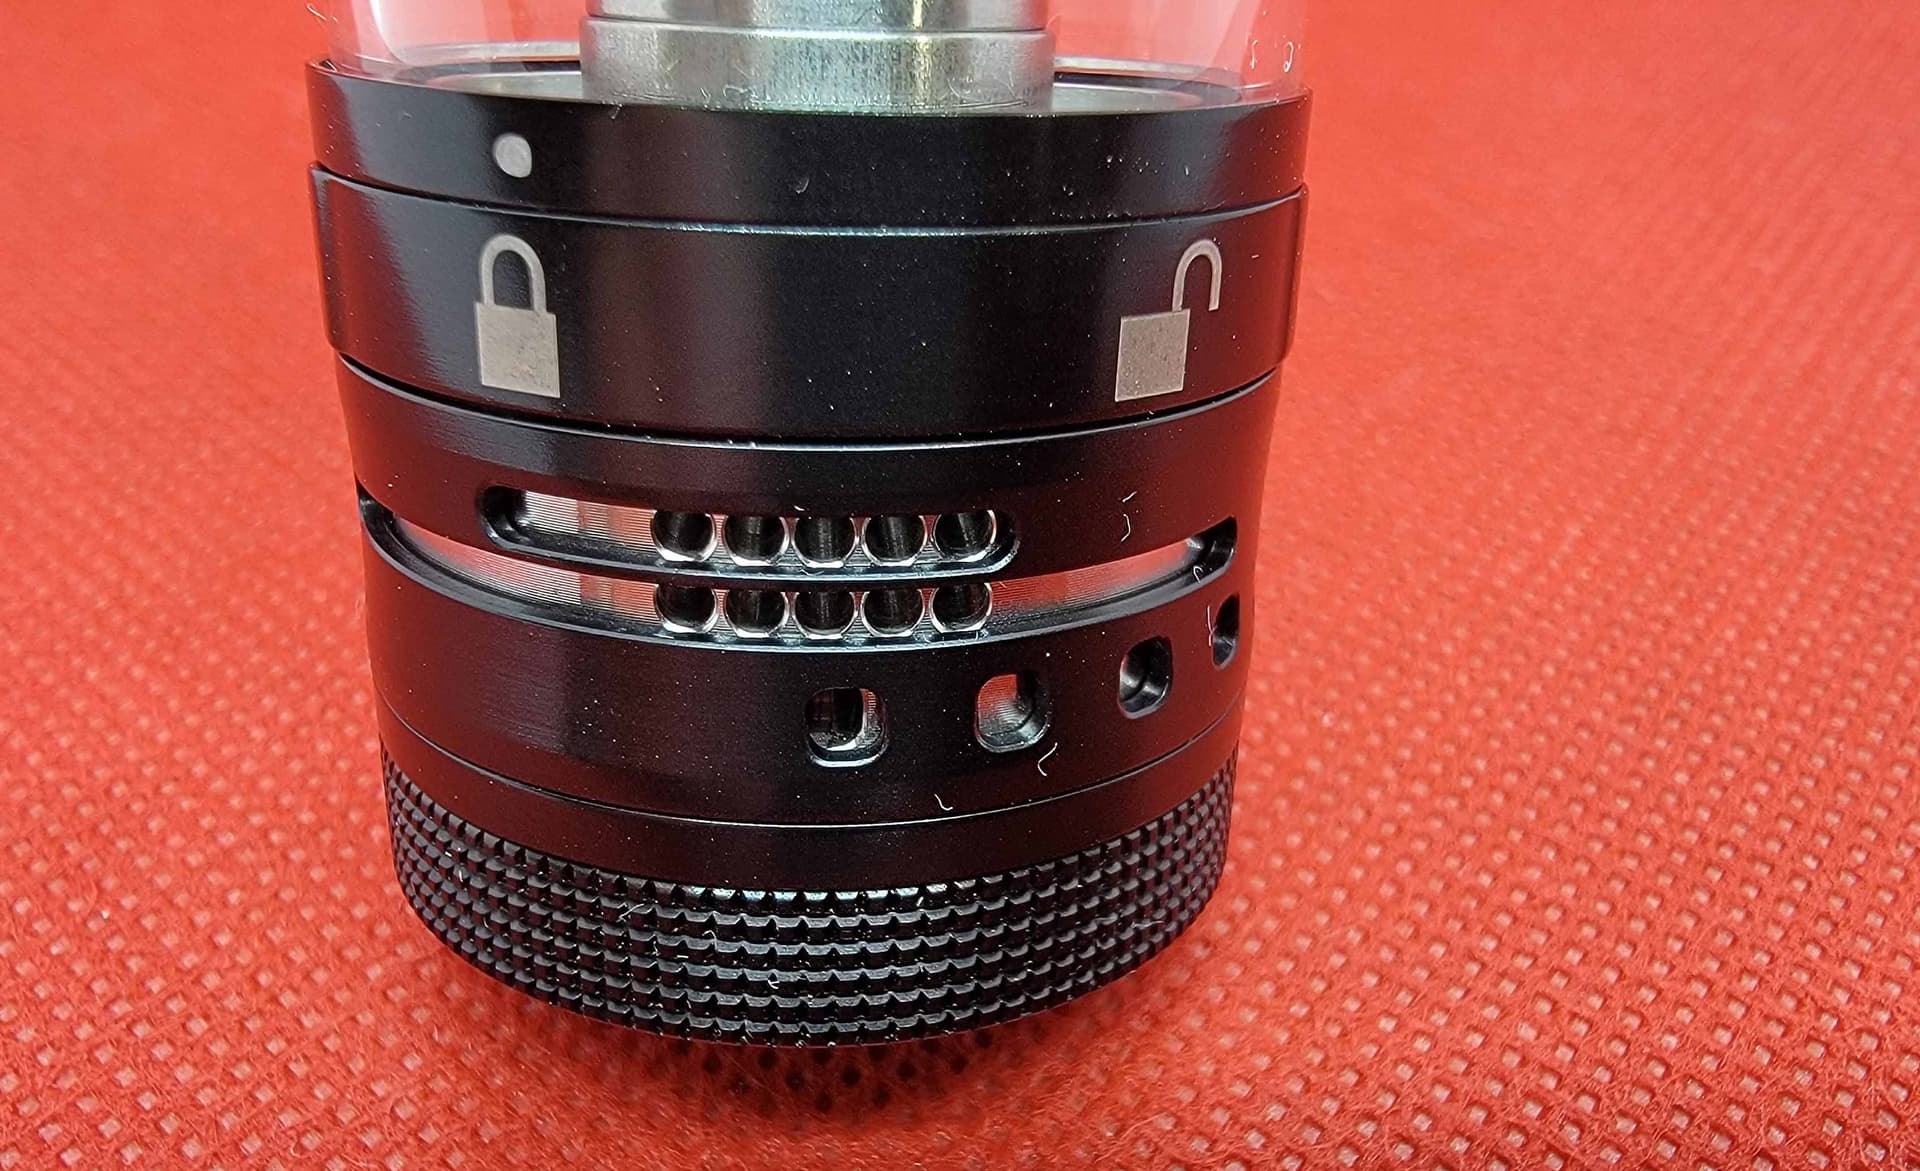
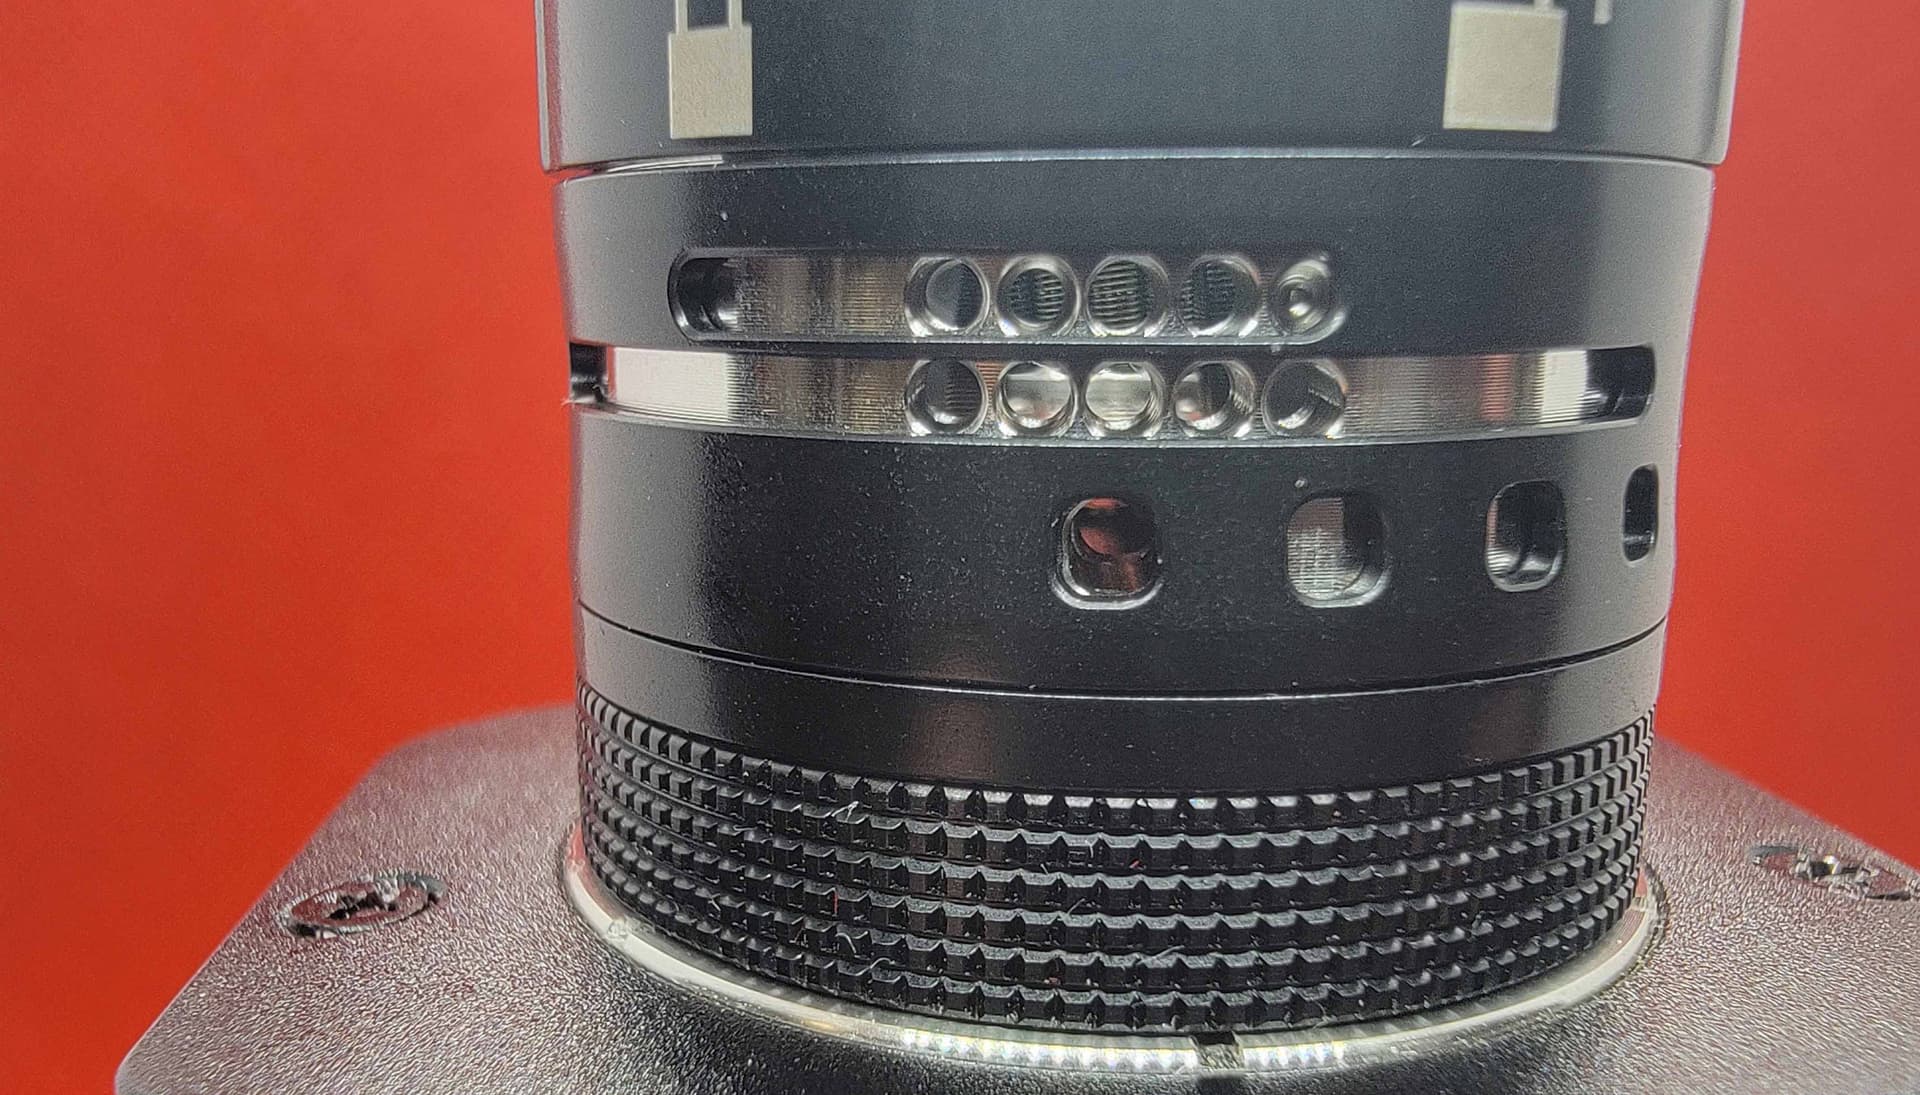
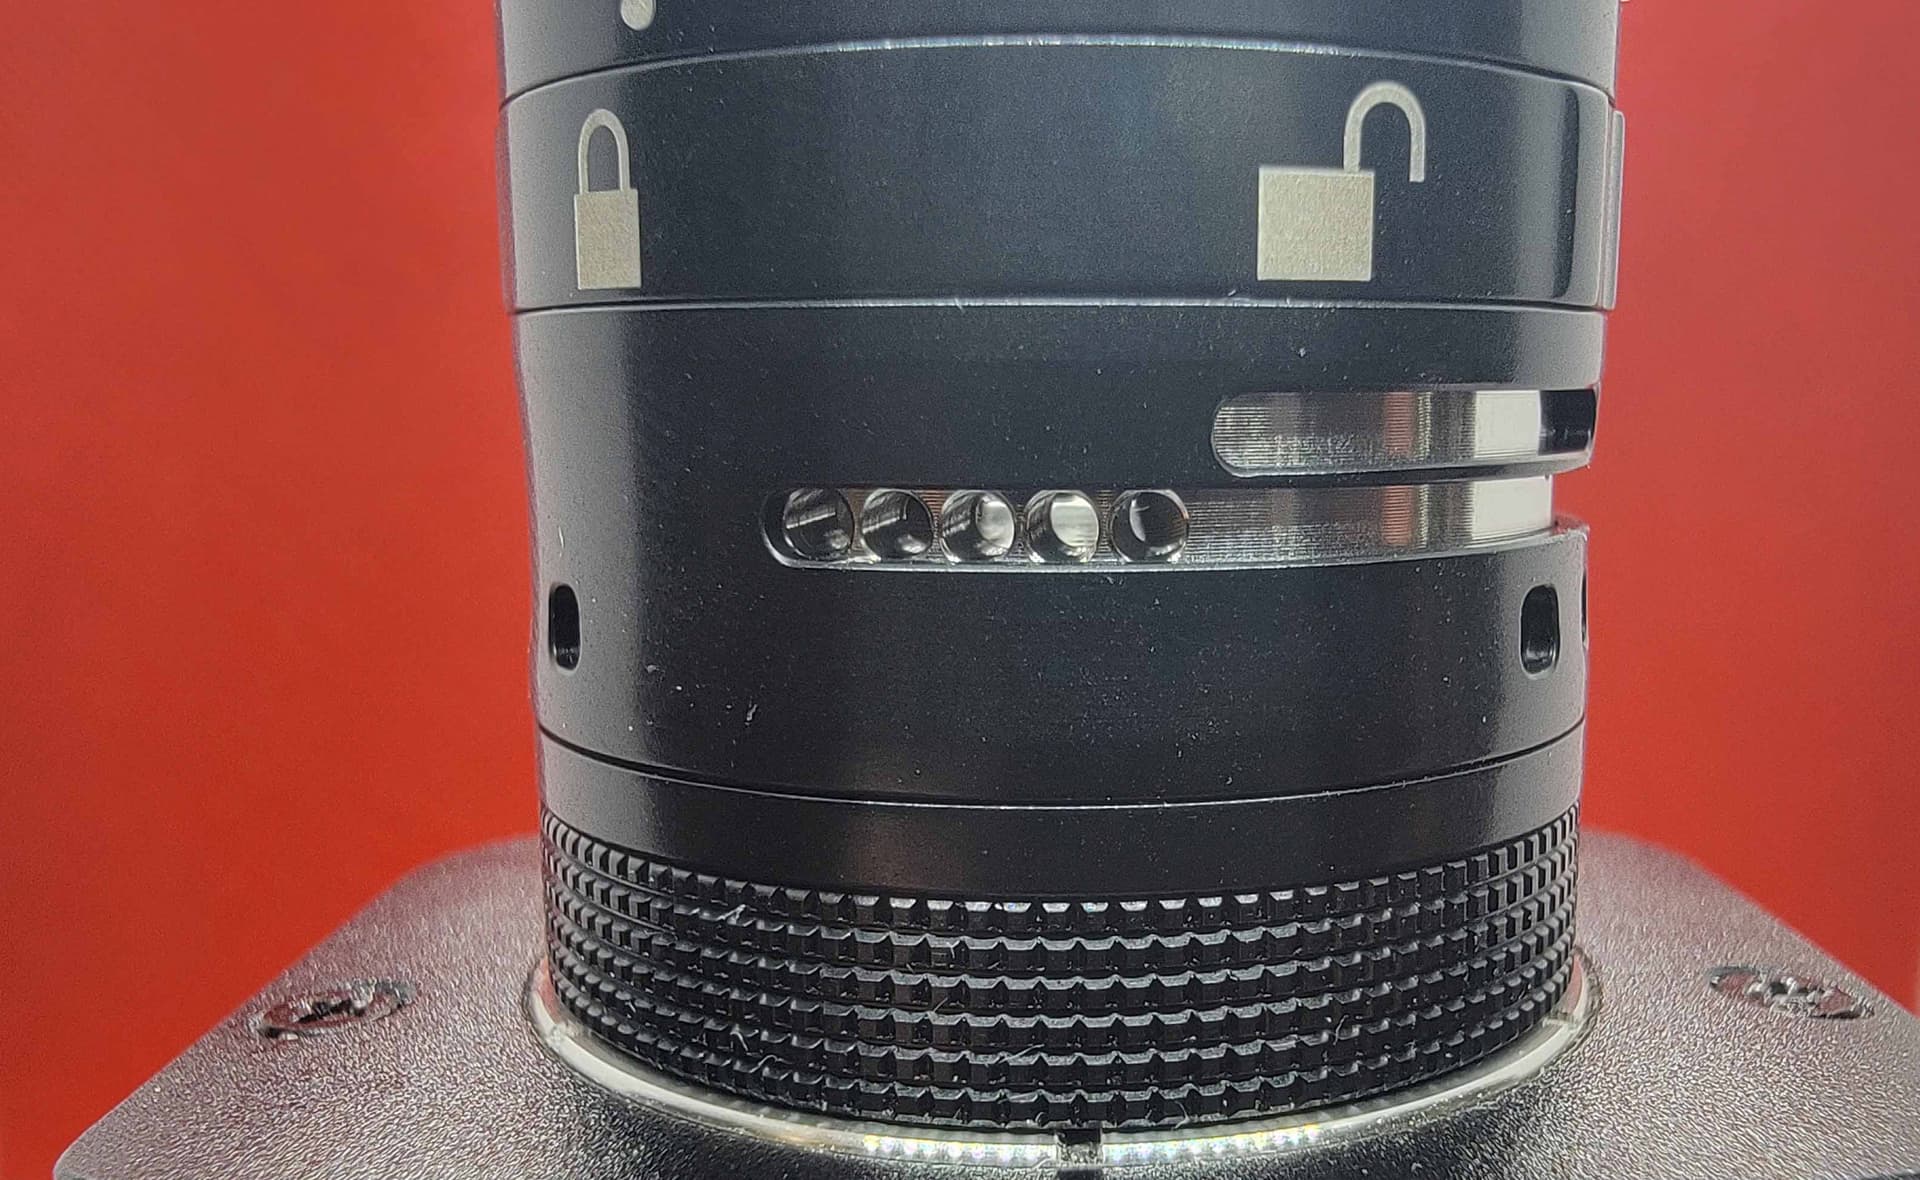
When comparing this directly to the Plus v.2, the juice flow ring seemed much improved. Smoother, more secure, and easier to use. As with all the latest SteamCraves, the juice flow lock (closed) and unlocked (open) were easily visible. As always, you need to shut OFF the juice flow before removing the cap for filling, to prevent gravity flooding. You can also see the new dual row, 5 port airflow inlets, with the NEW bottom airflow port on the bottom …
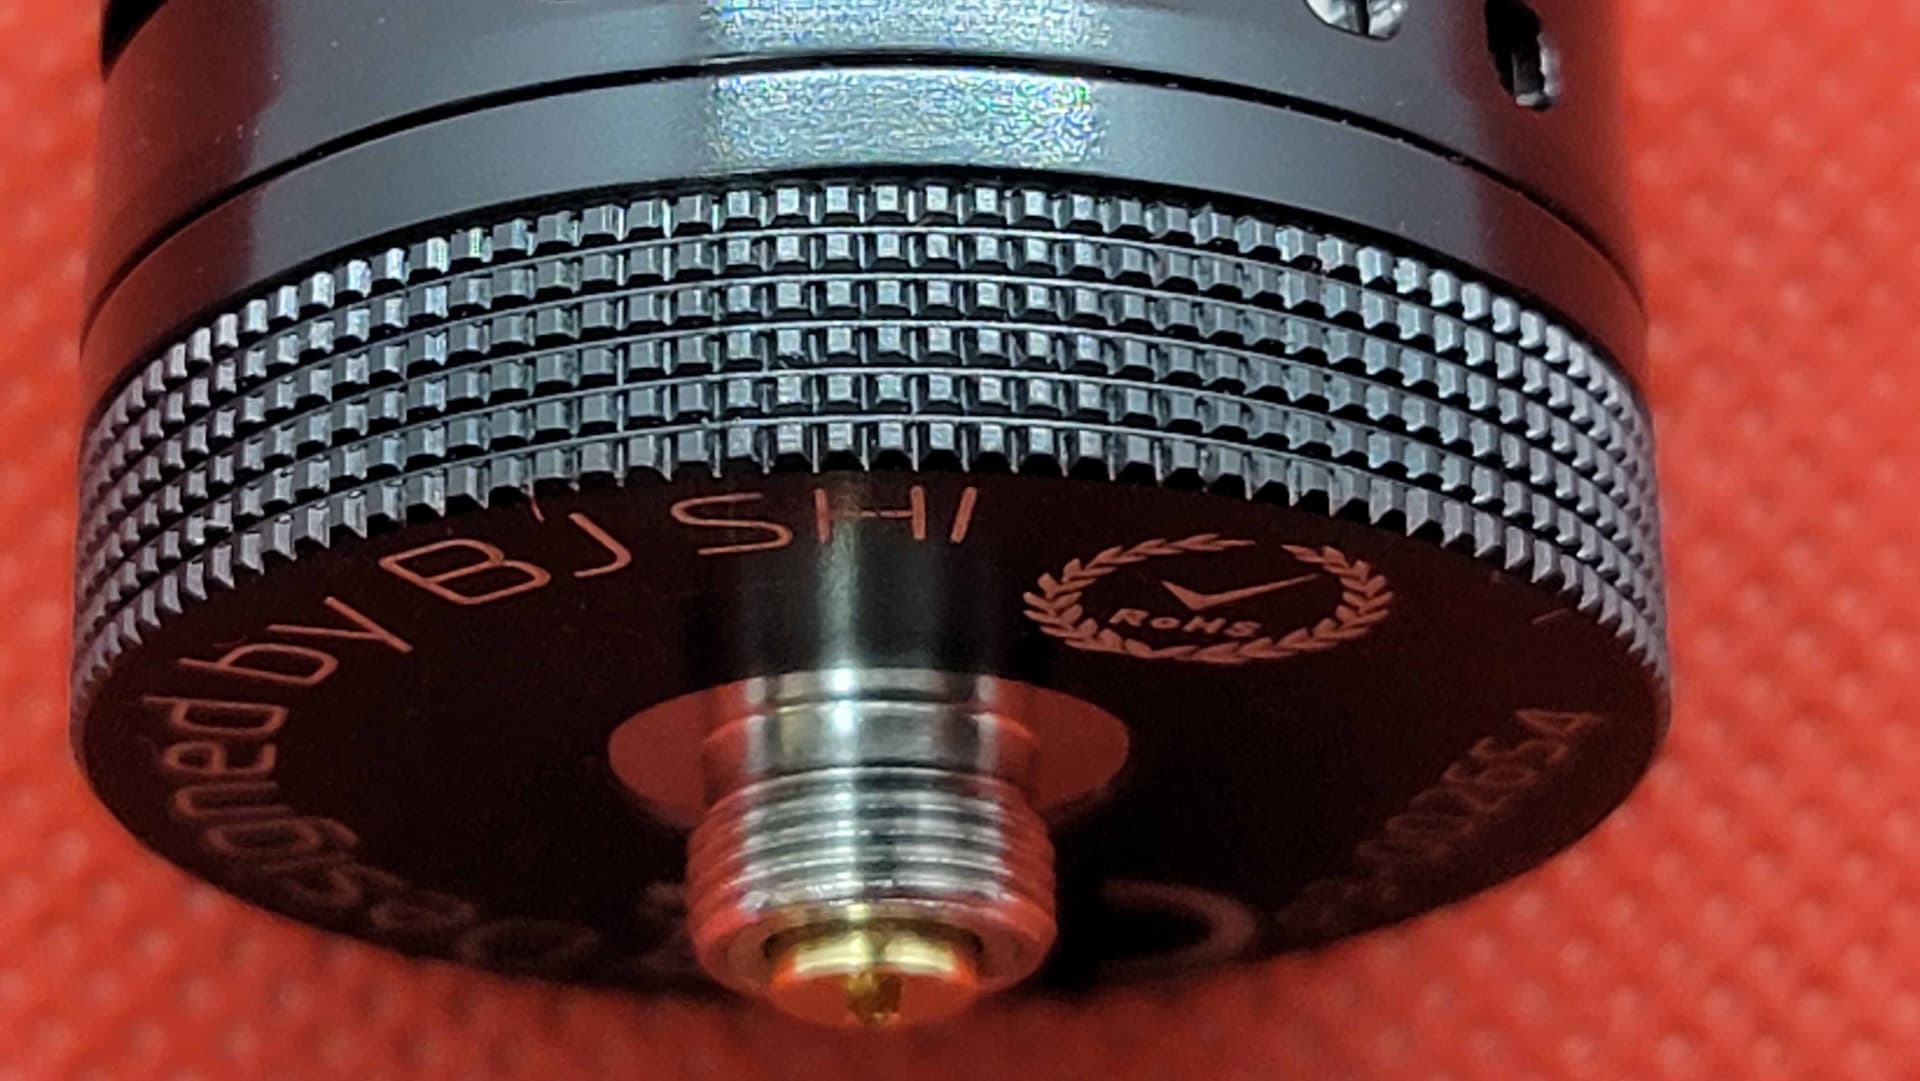
On the bottom, you have the 510, removable pin, insulator, and of course @BJSHI’s name. ![]()

Talk about no nonsense, check out the knurling on the bottom cap. Guess they want to keep it easy …
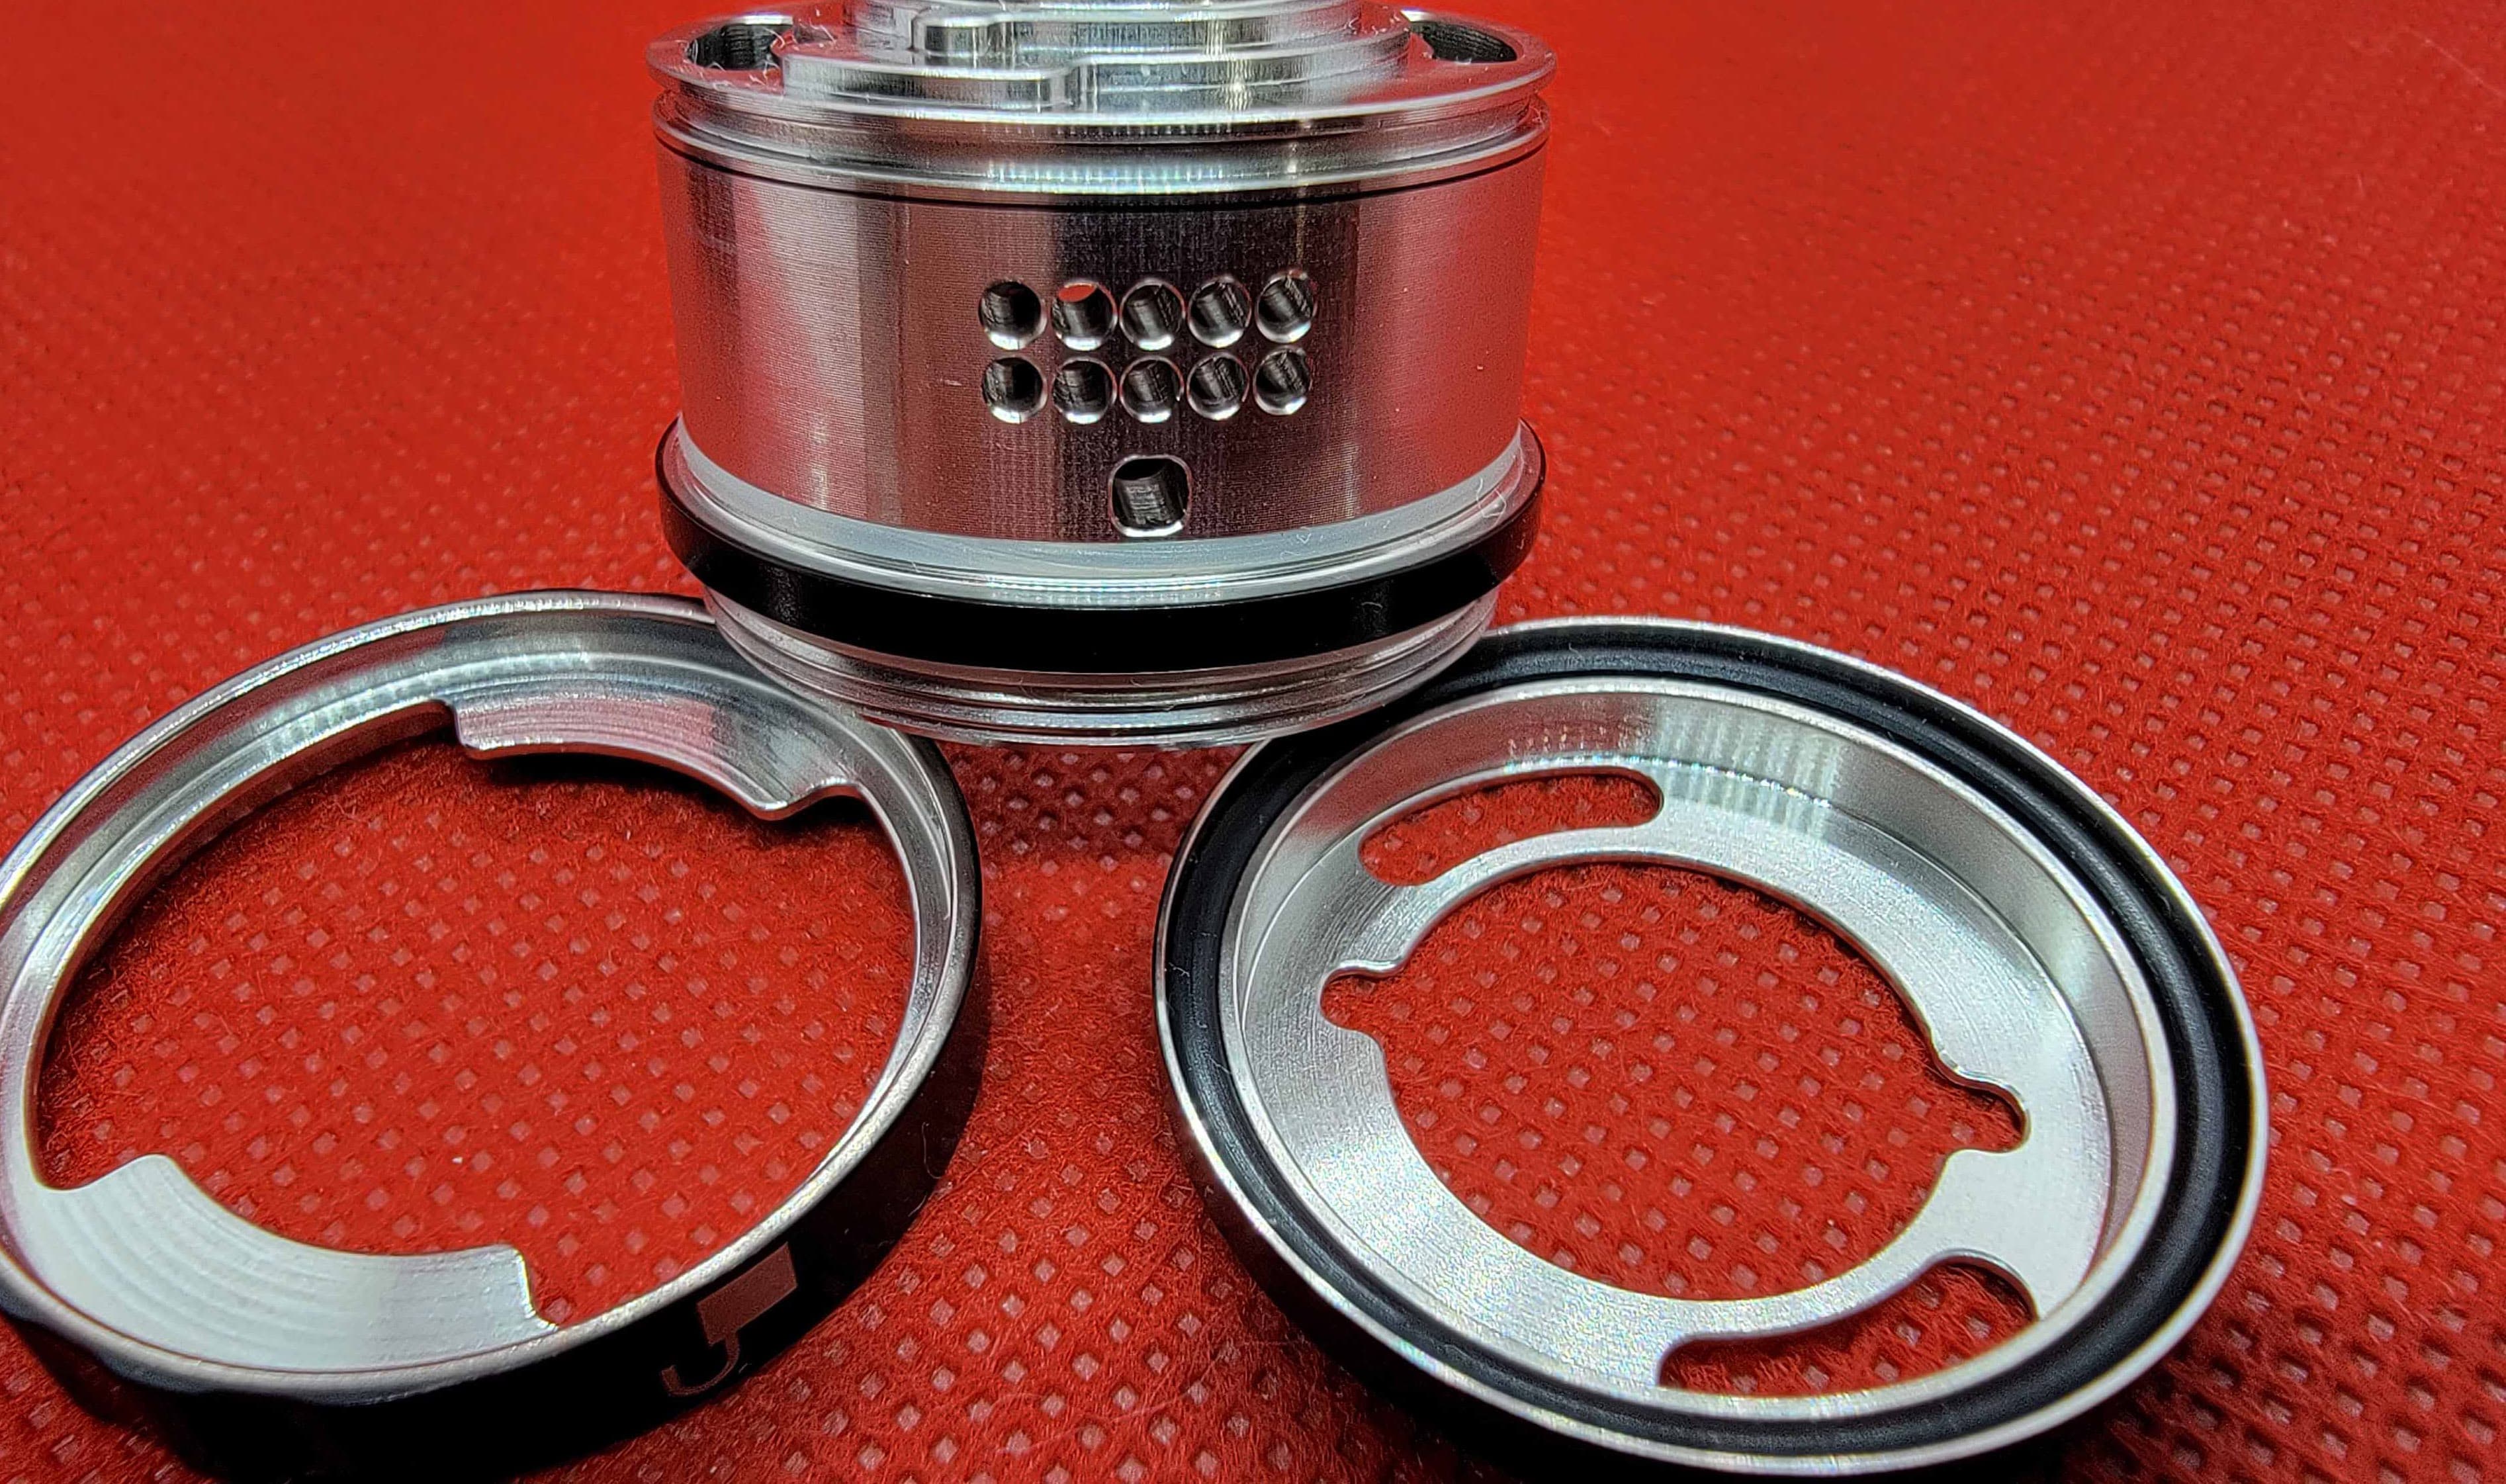
Breaking down the tank, you can see the glorious juice flow ports, o-ringed, knurled chimney, and another pair of beefy, black o-rings to secure the glass section …
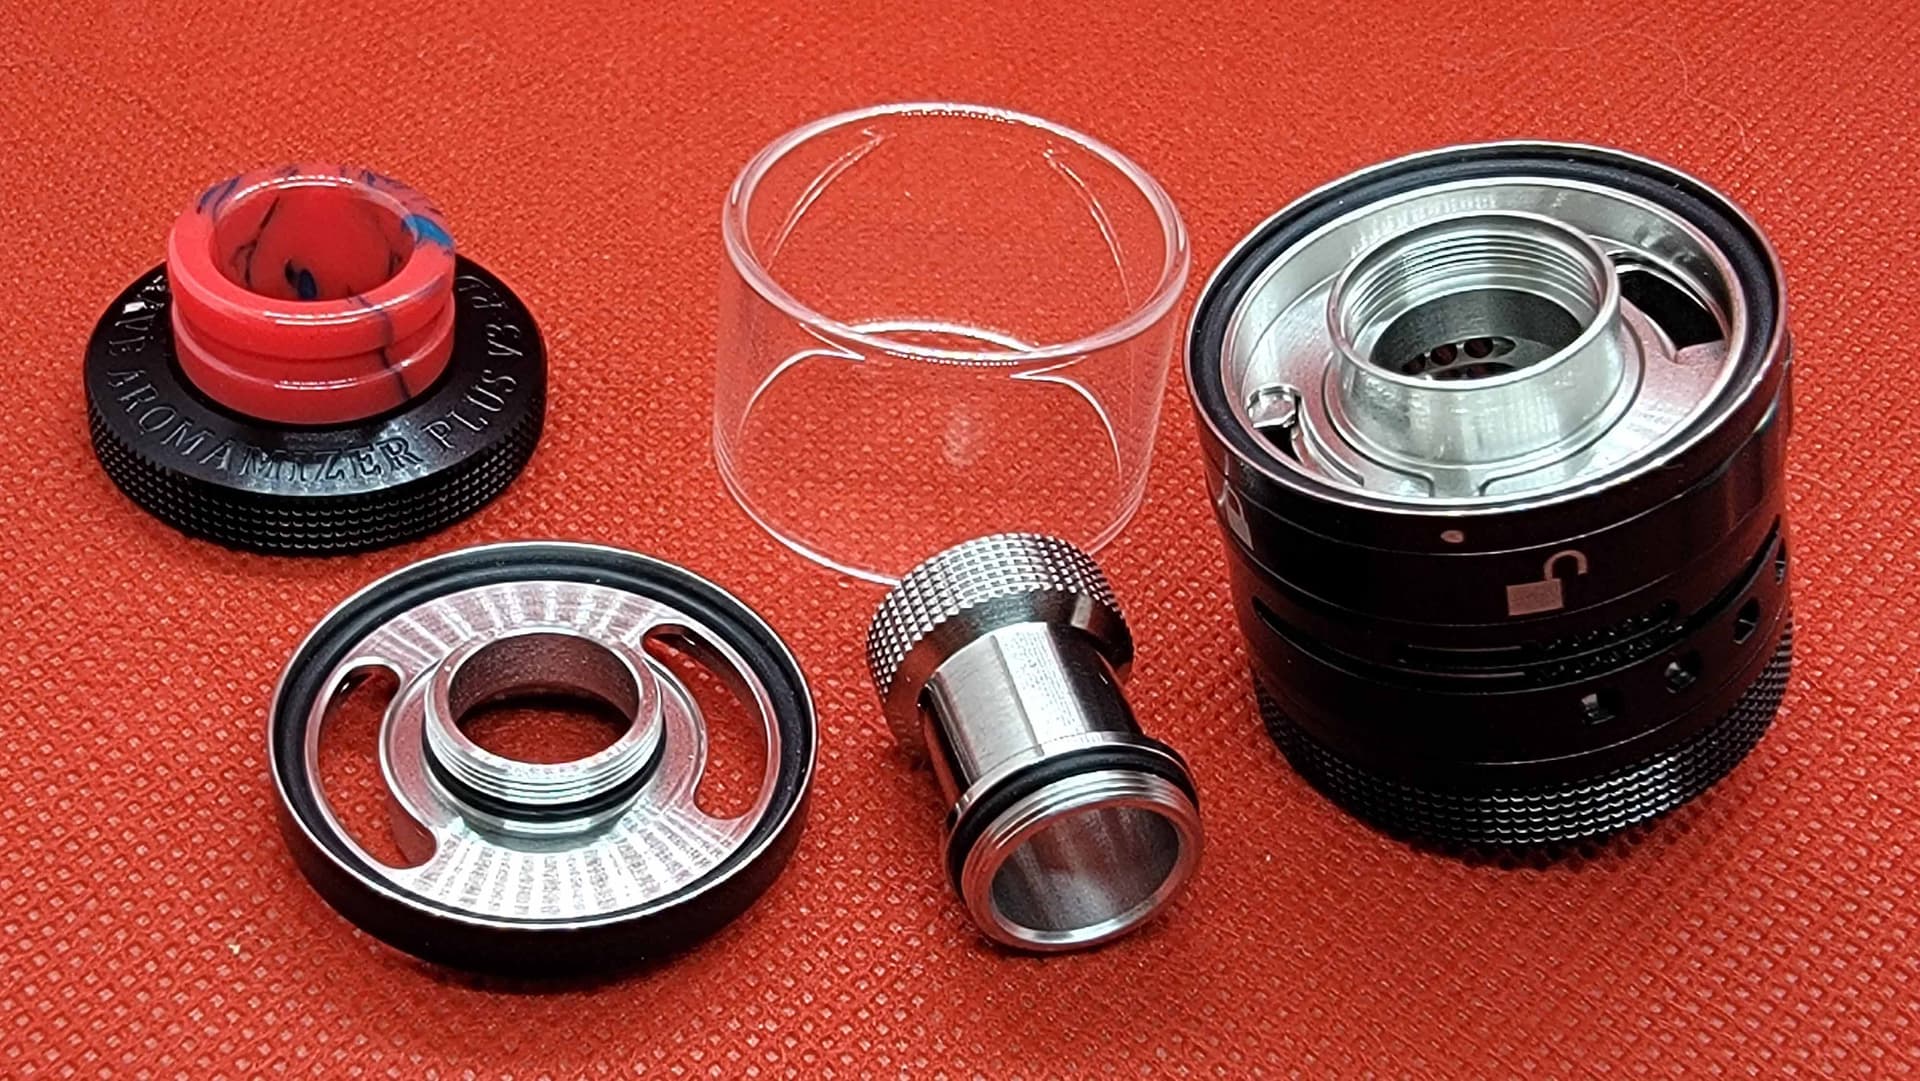
Removing the bottom cap revealed the main body o-ring, cap internal o-ring, and another great look at the massive juice flow ports …

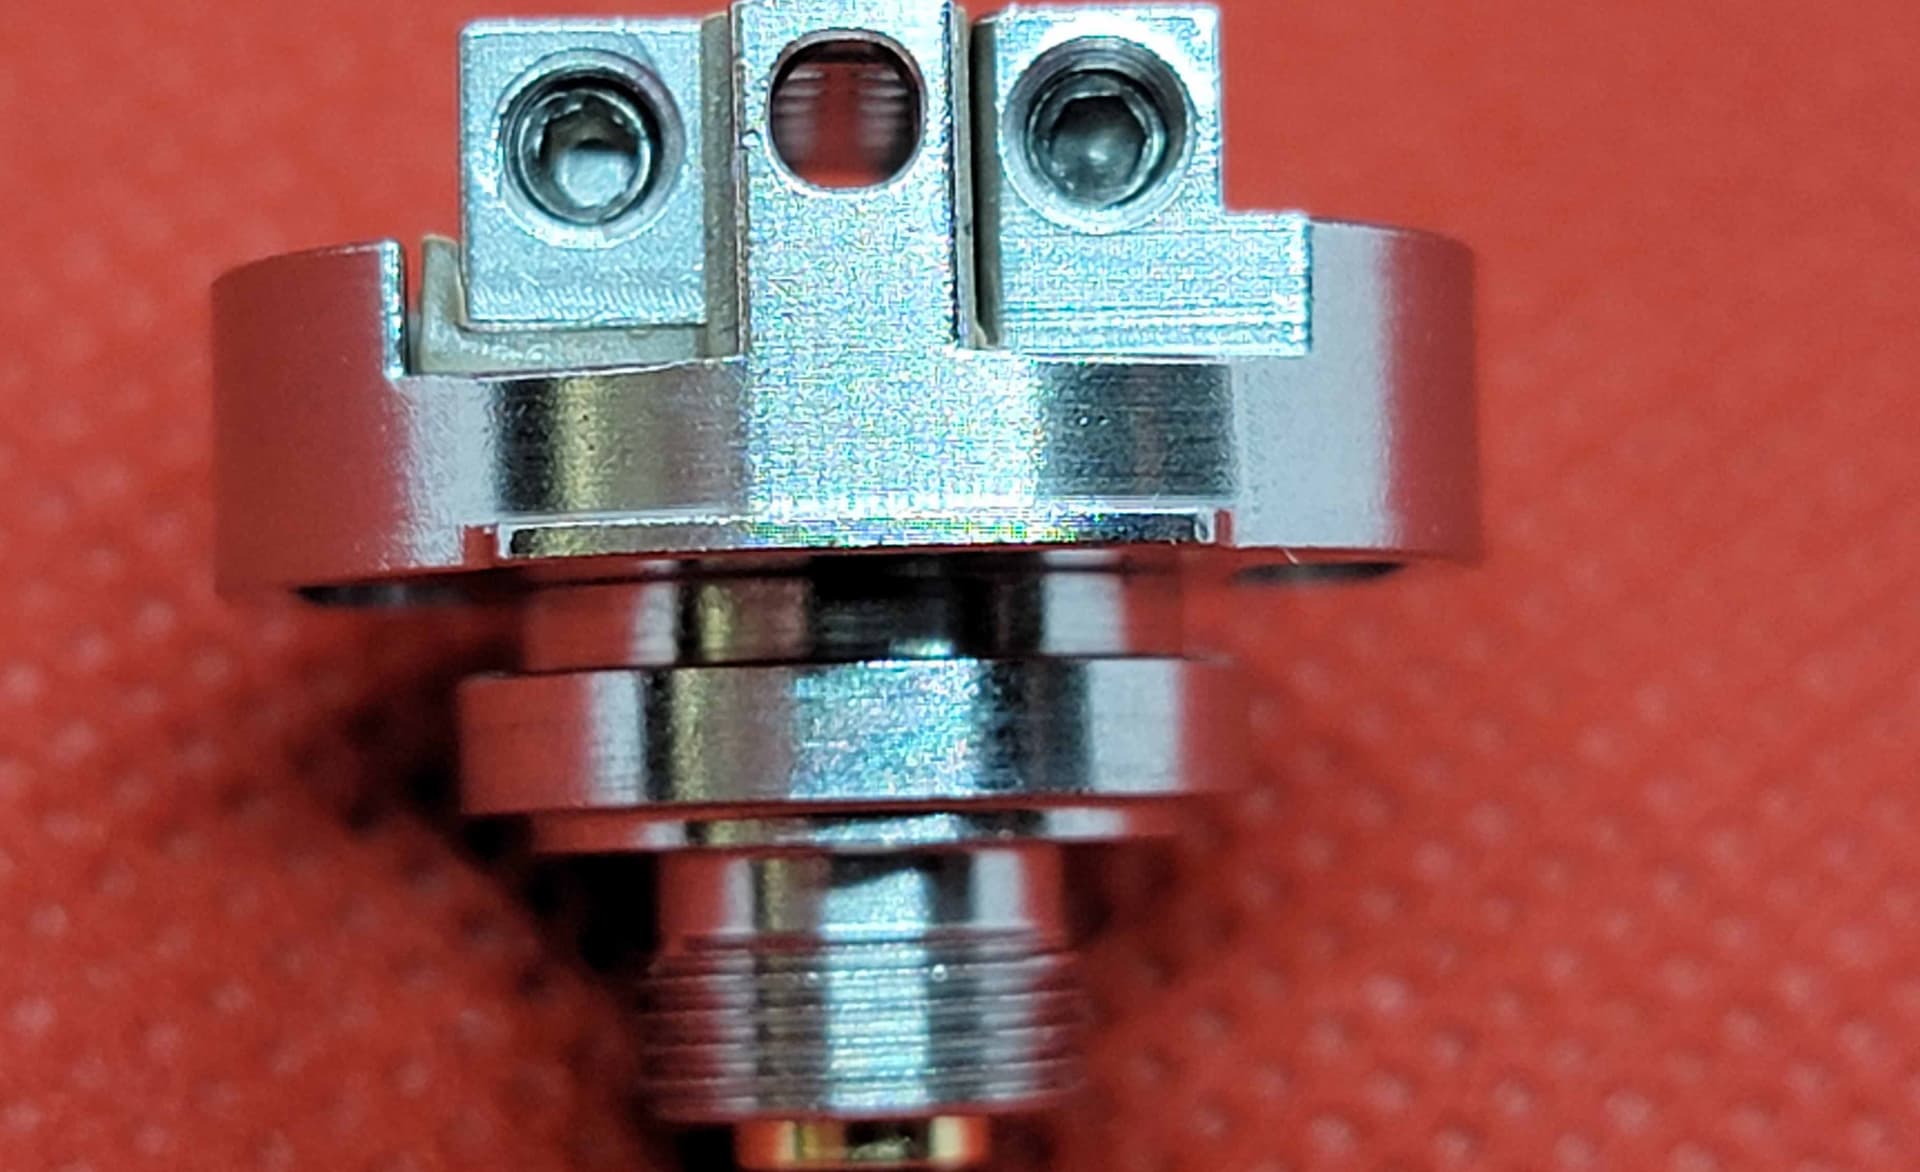
The deck was keyed for your convenience …
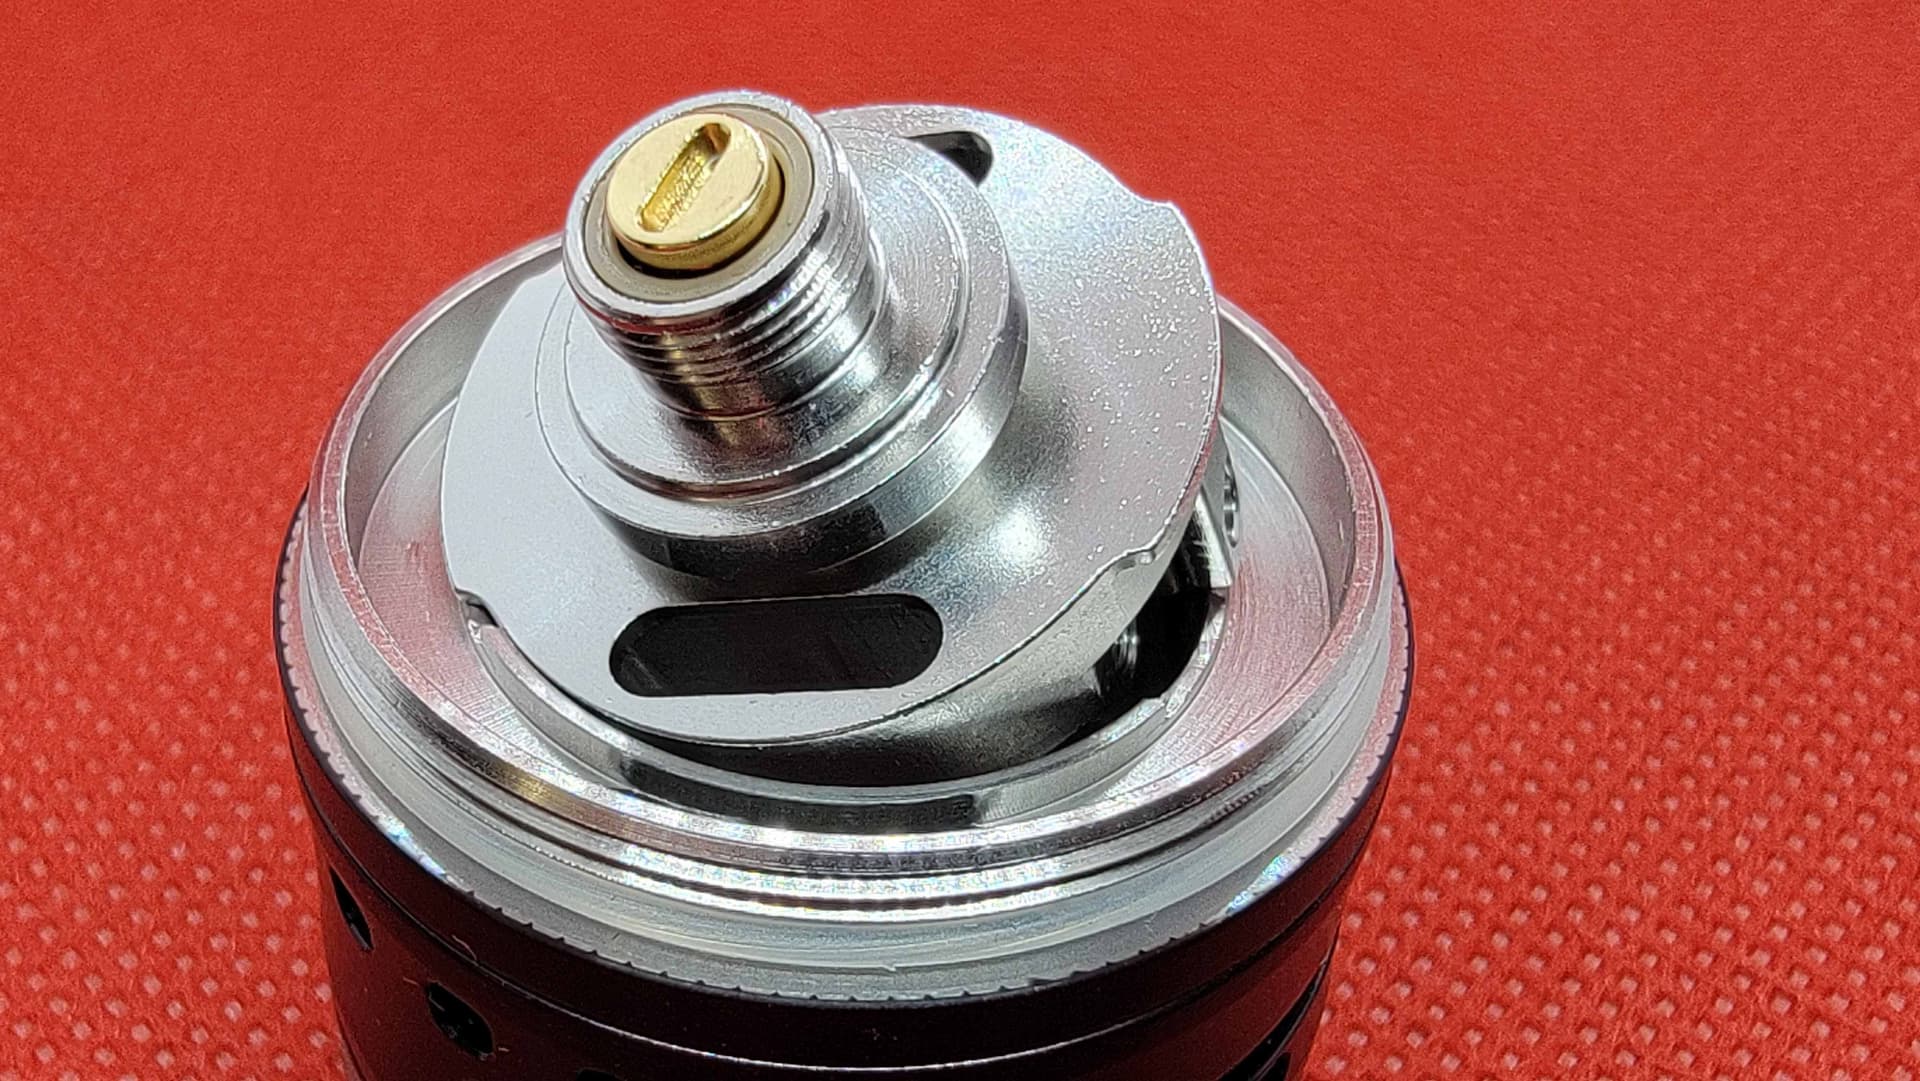
Pulling the deck revealed the inside of the airflow ports …
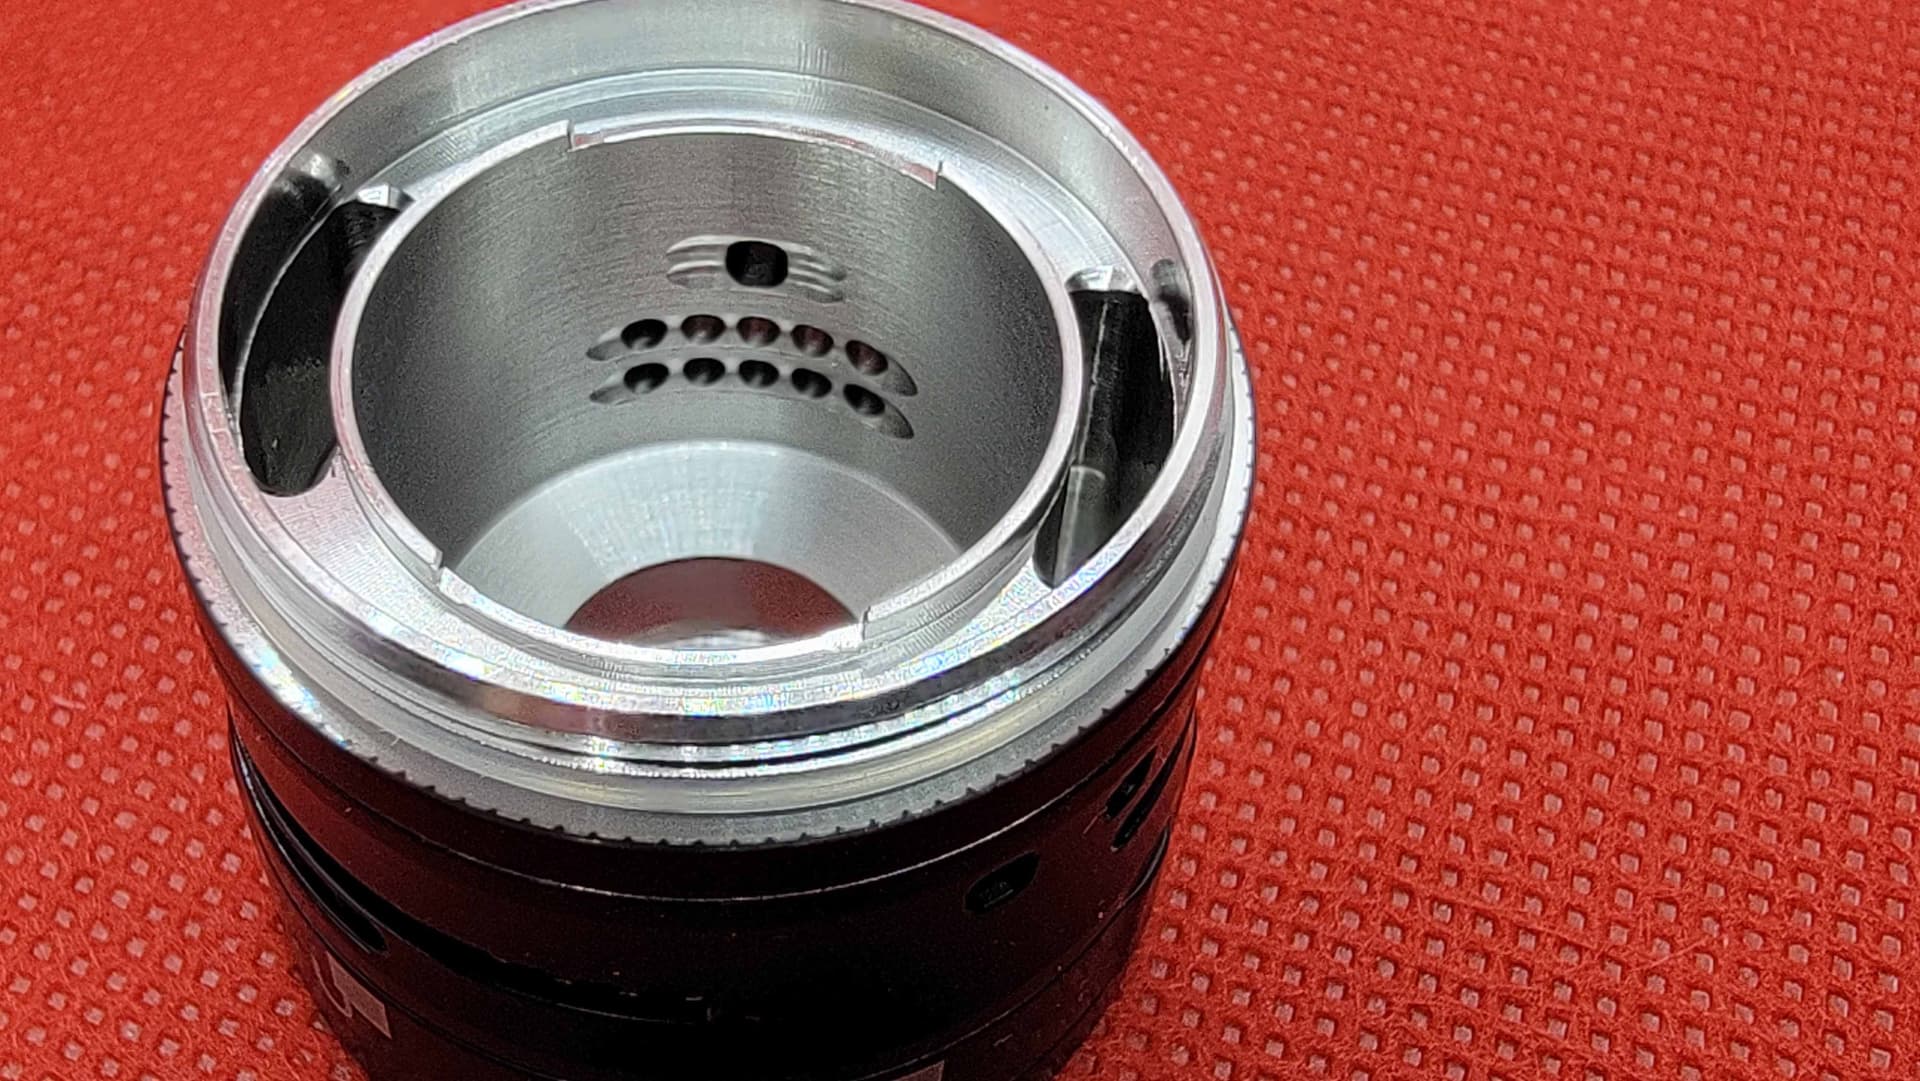
As an added touch SteamCrave thought to deburr all of the air flow ports …
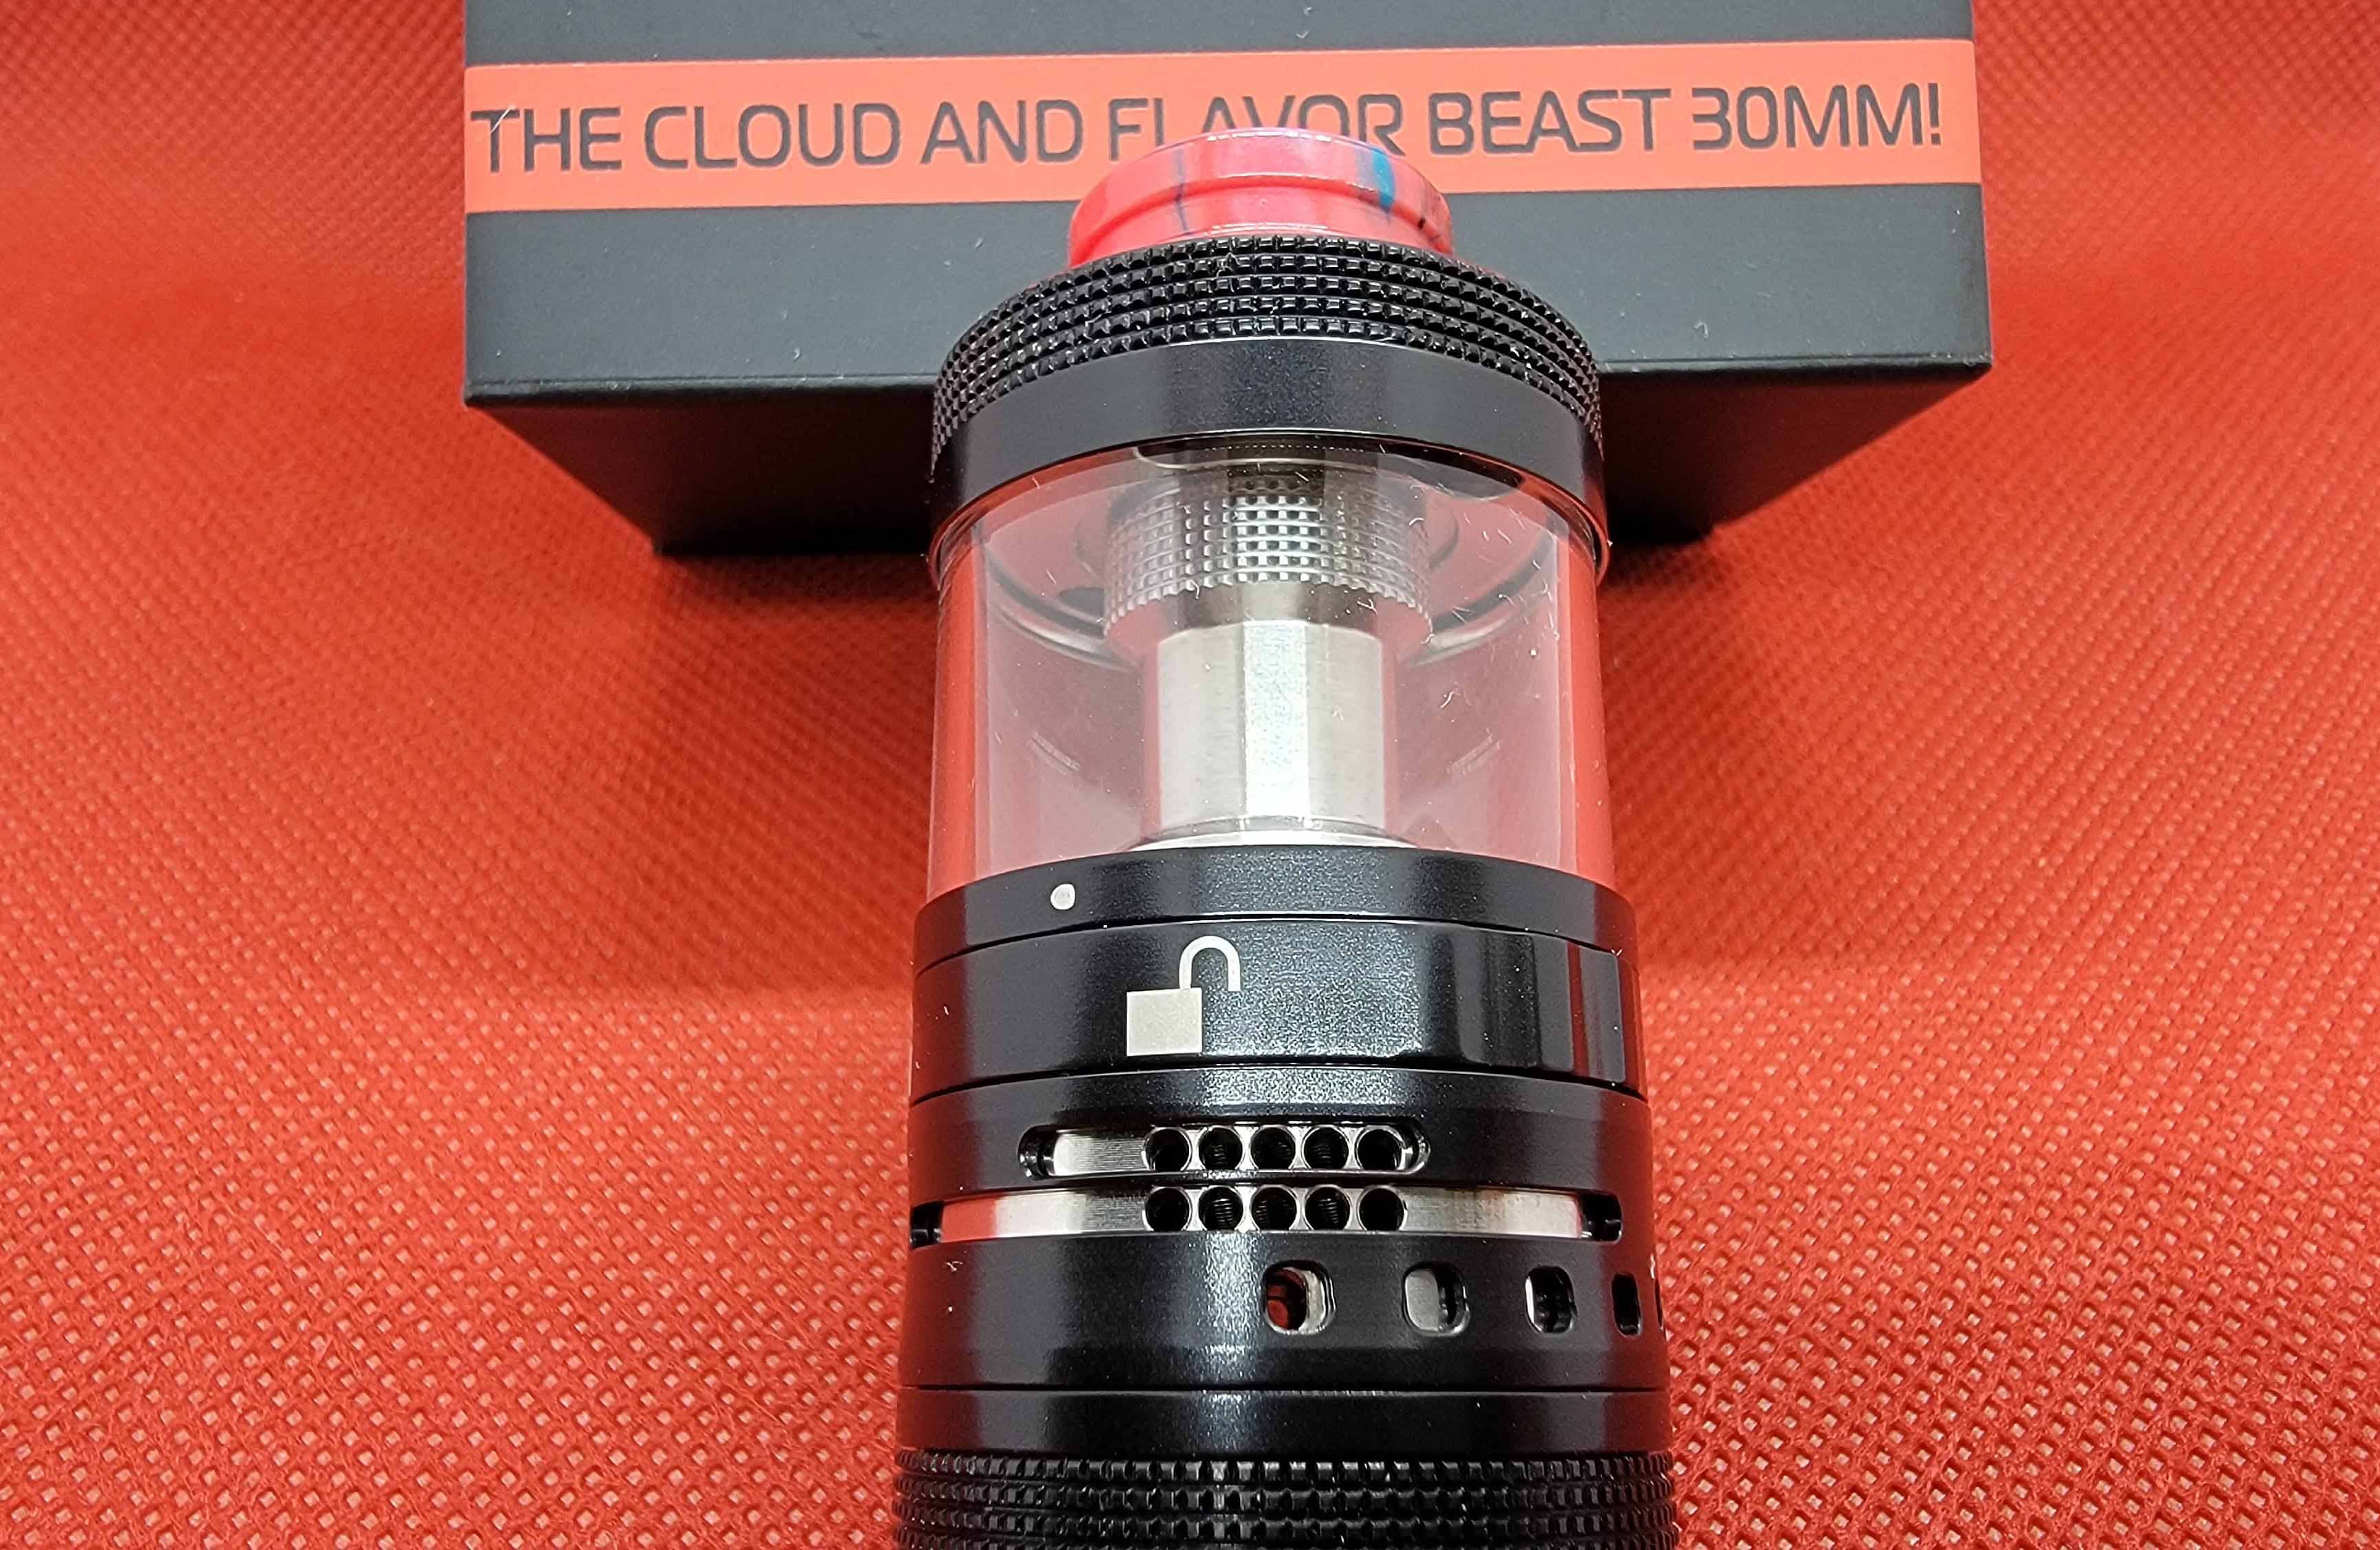
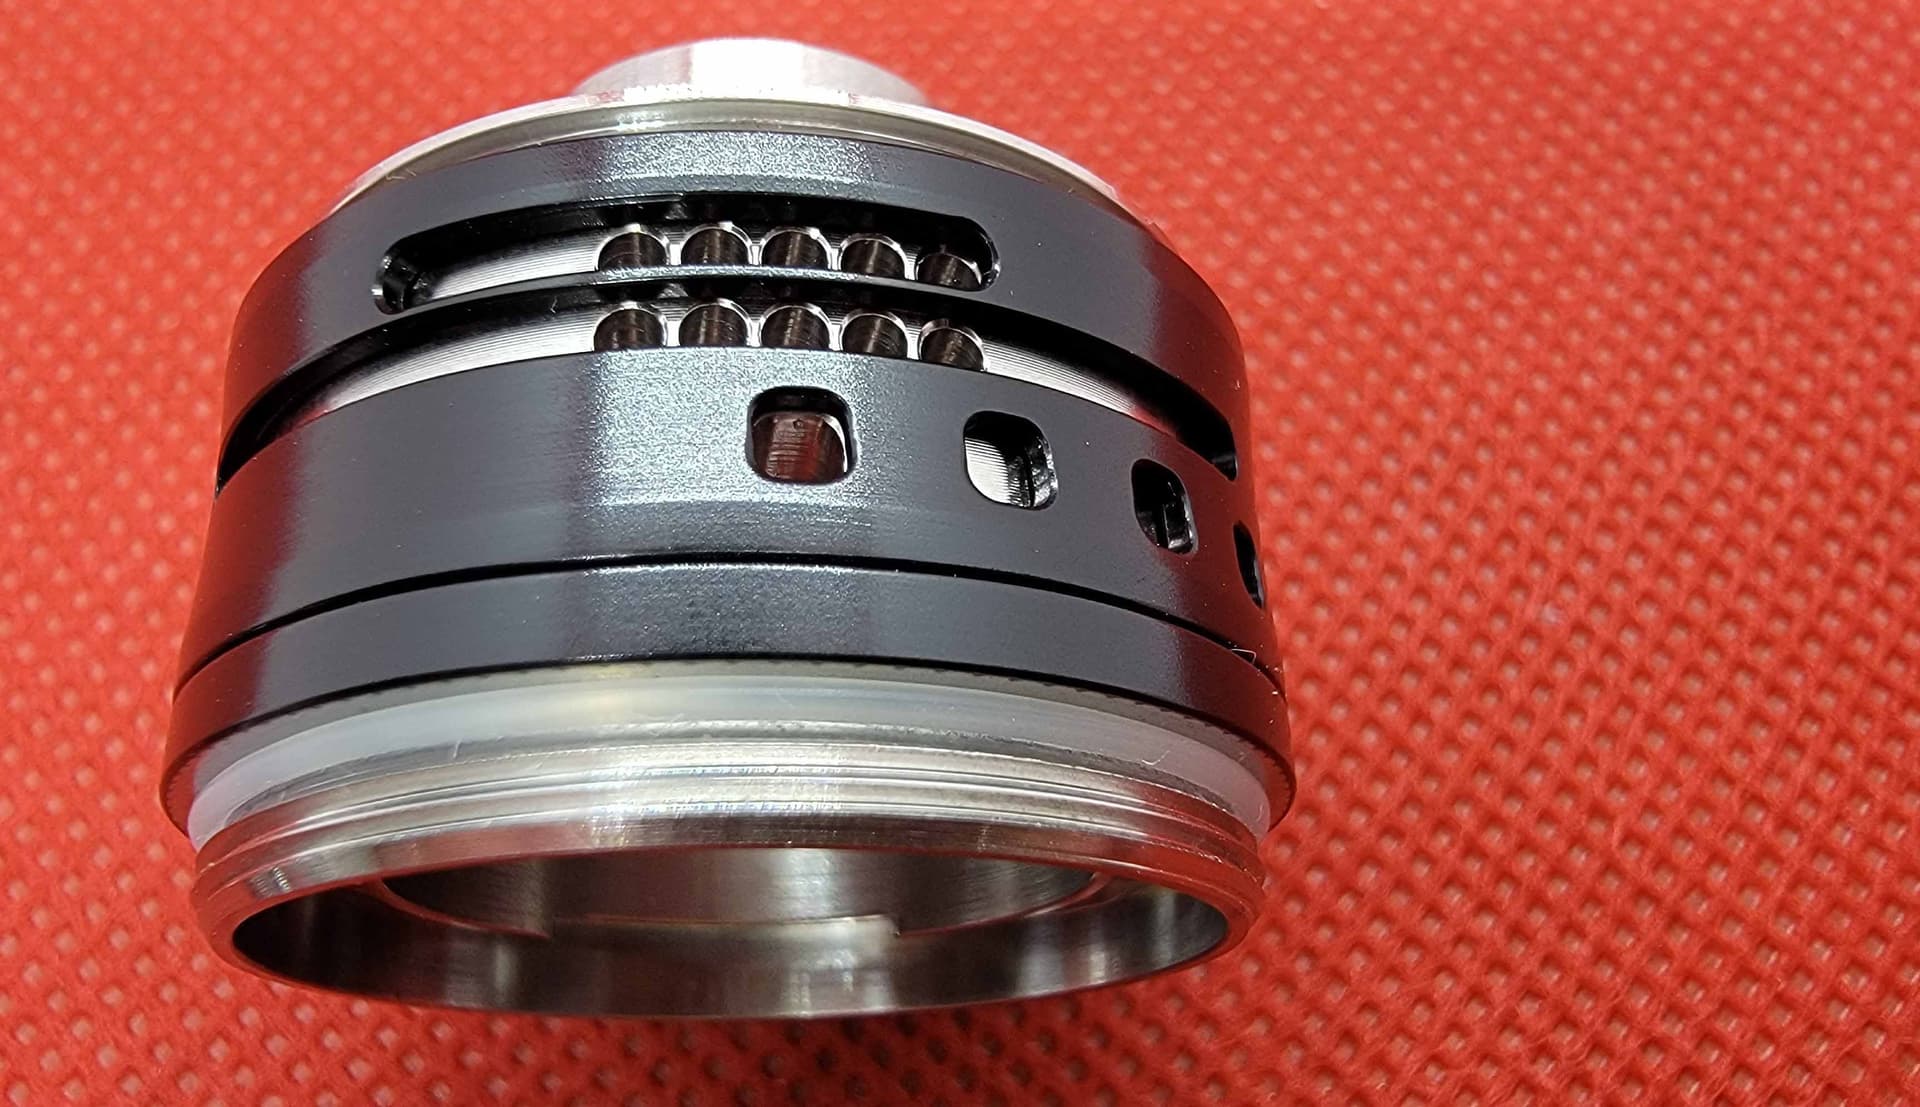
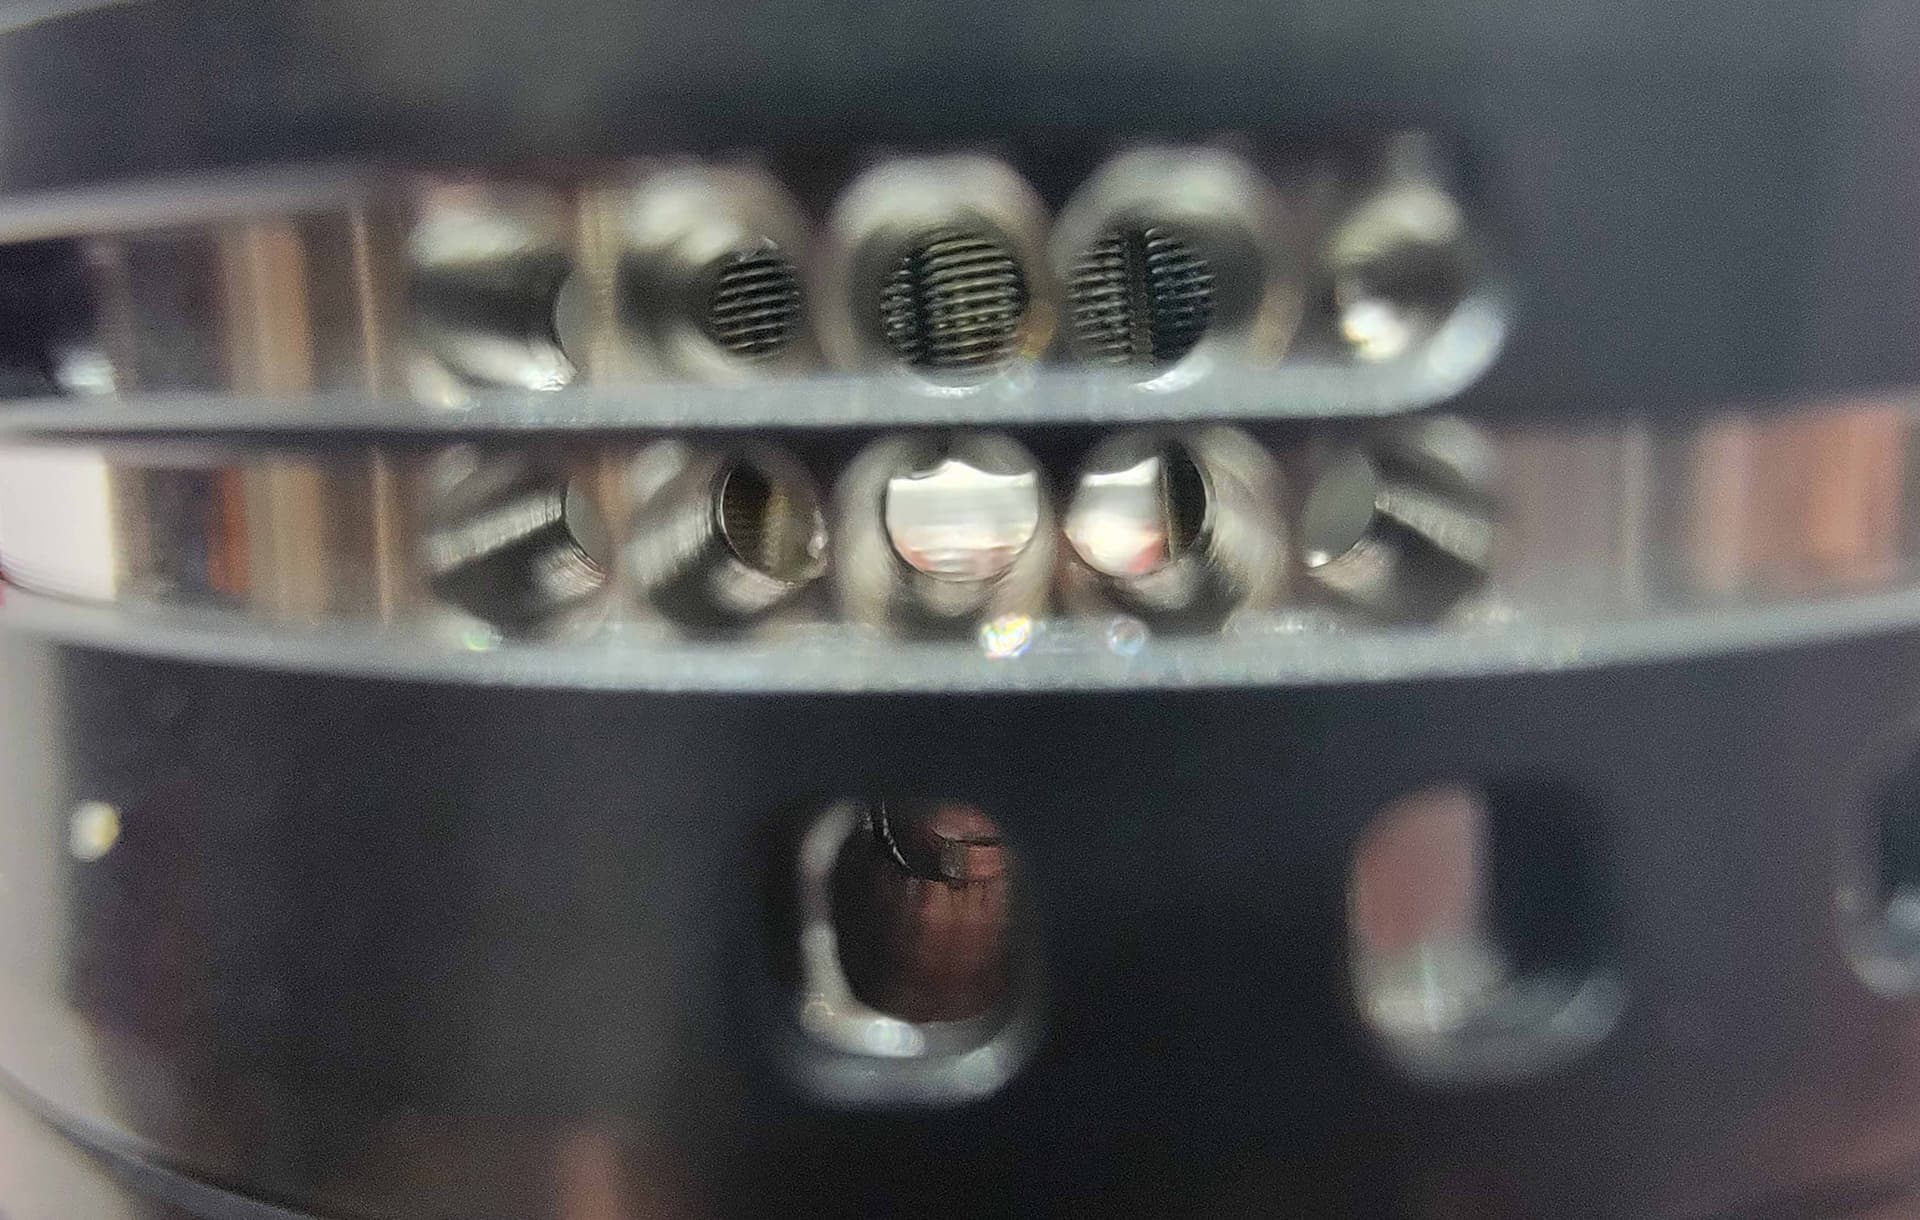
On the outside you can see the airflow options more clearly. This shows MAX airflow, with all 10 ports open, AND, the NEW bottom air flow port. You can start to reduce airflow by turning the ring to the right, and can have numerous combinations of mid, lower, and bottom airflow …
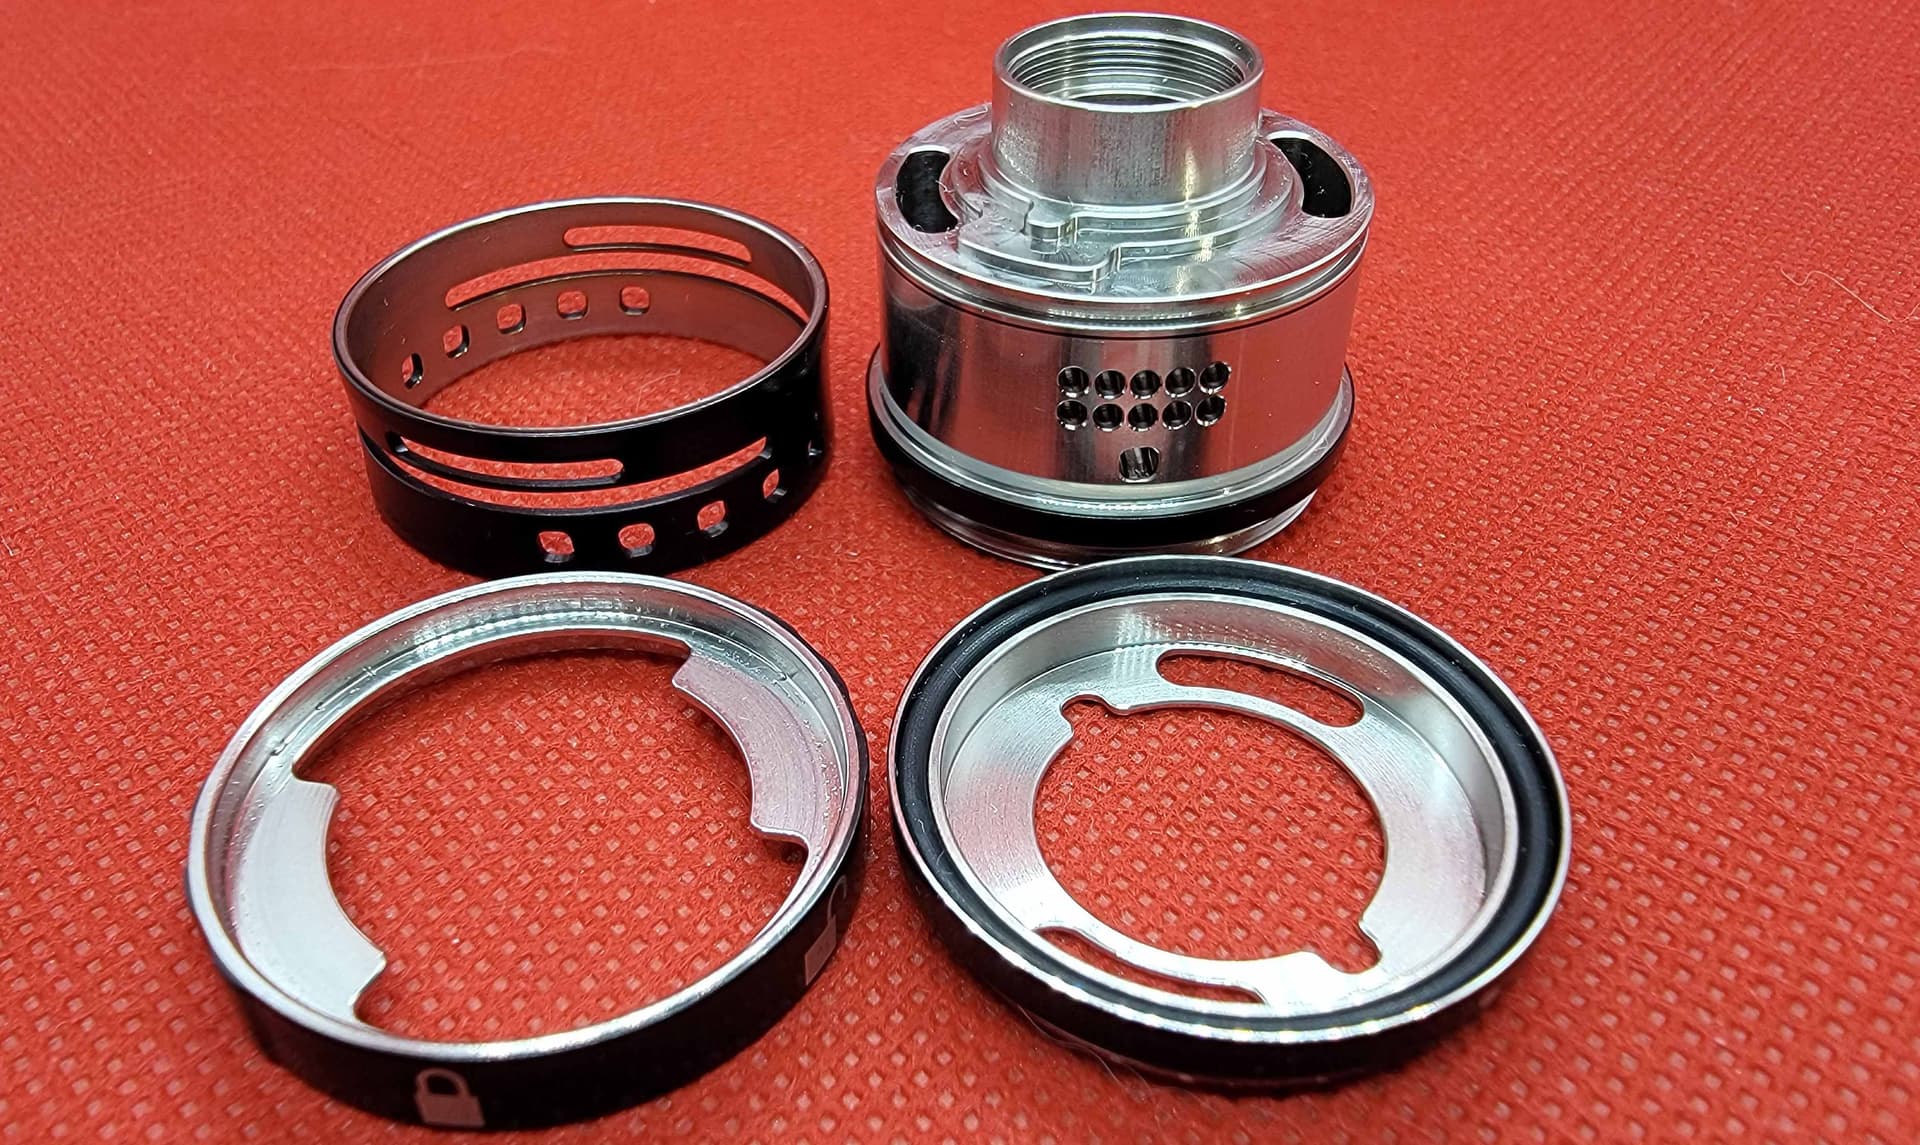
Breaking down the core further, revealed more o-rings, and a well thought out design. Came apart, and re-assembled easily for cleaning …
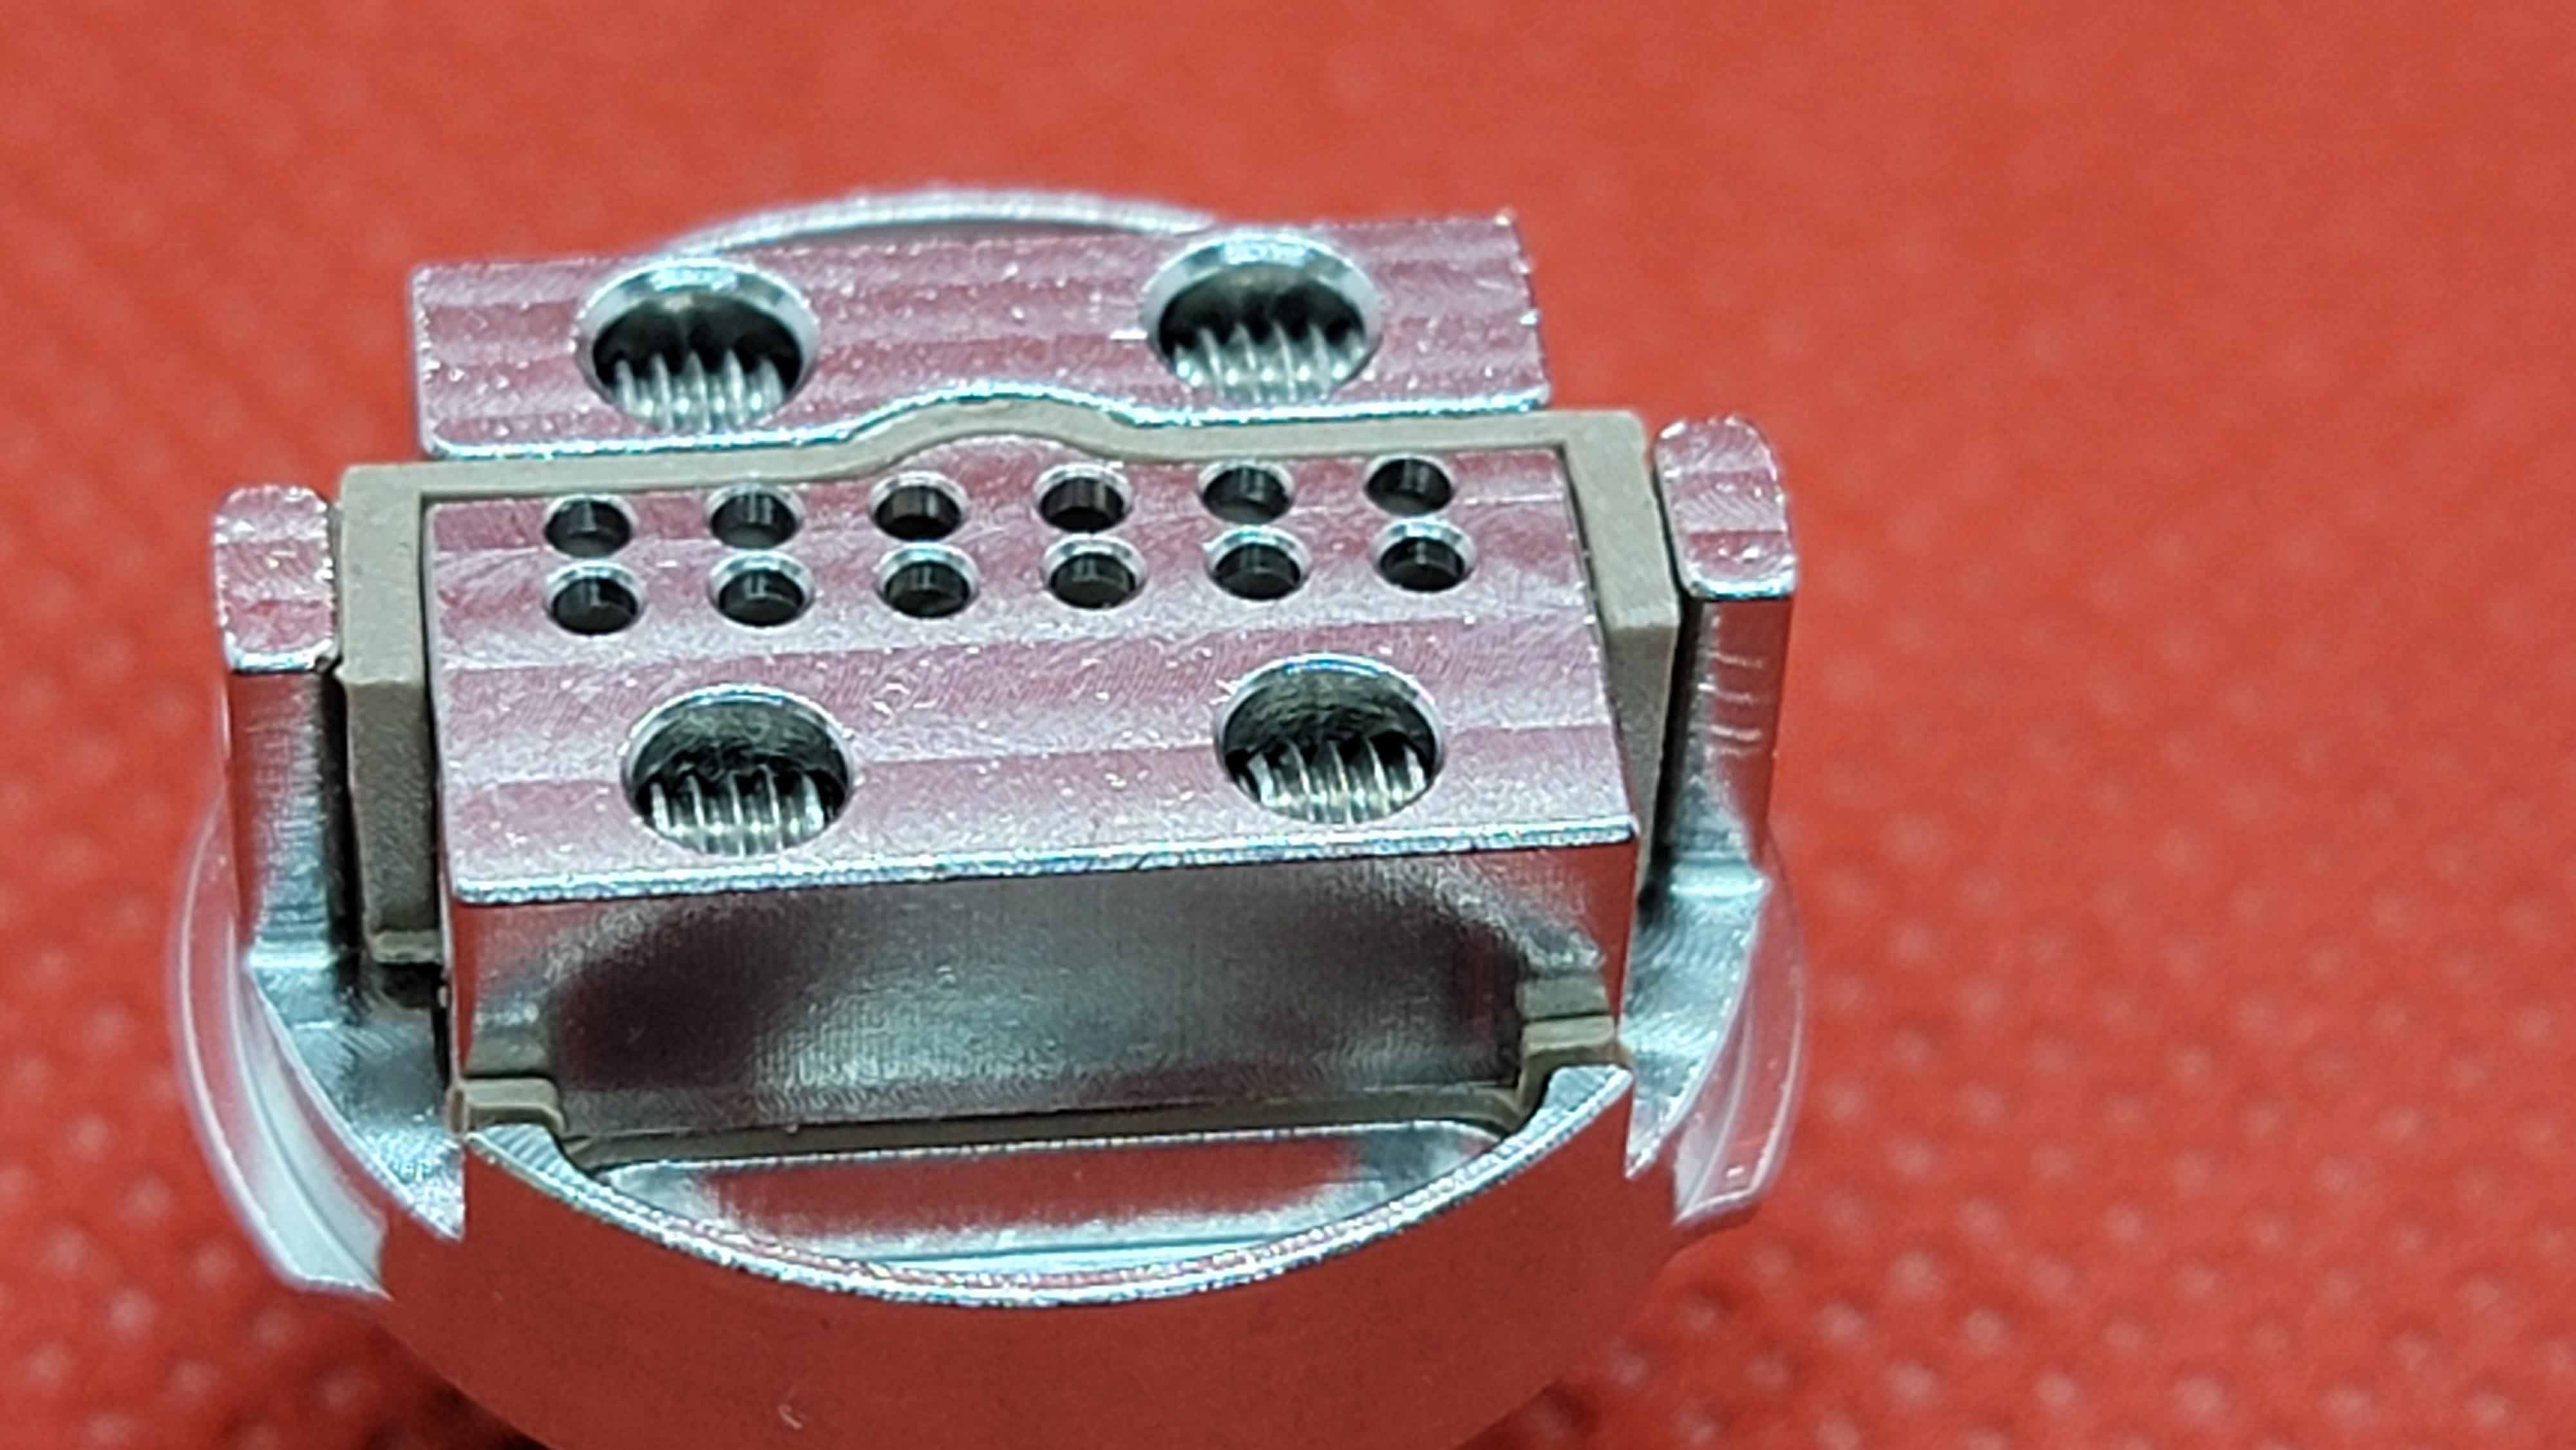
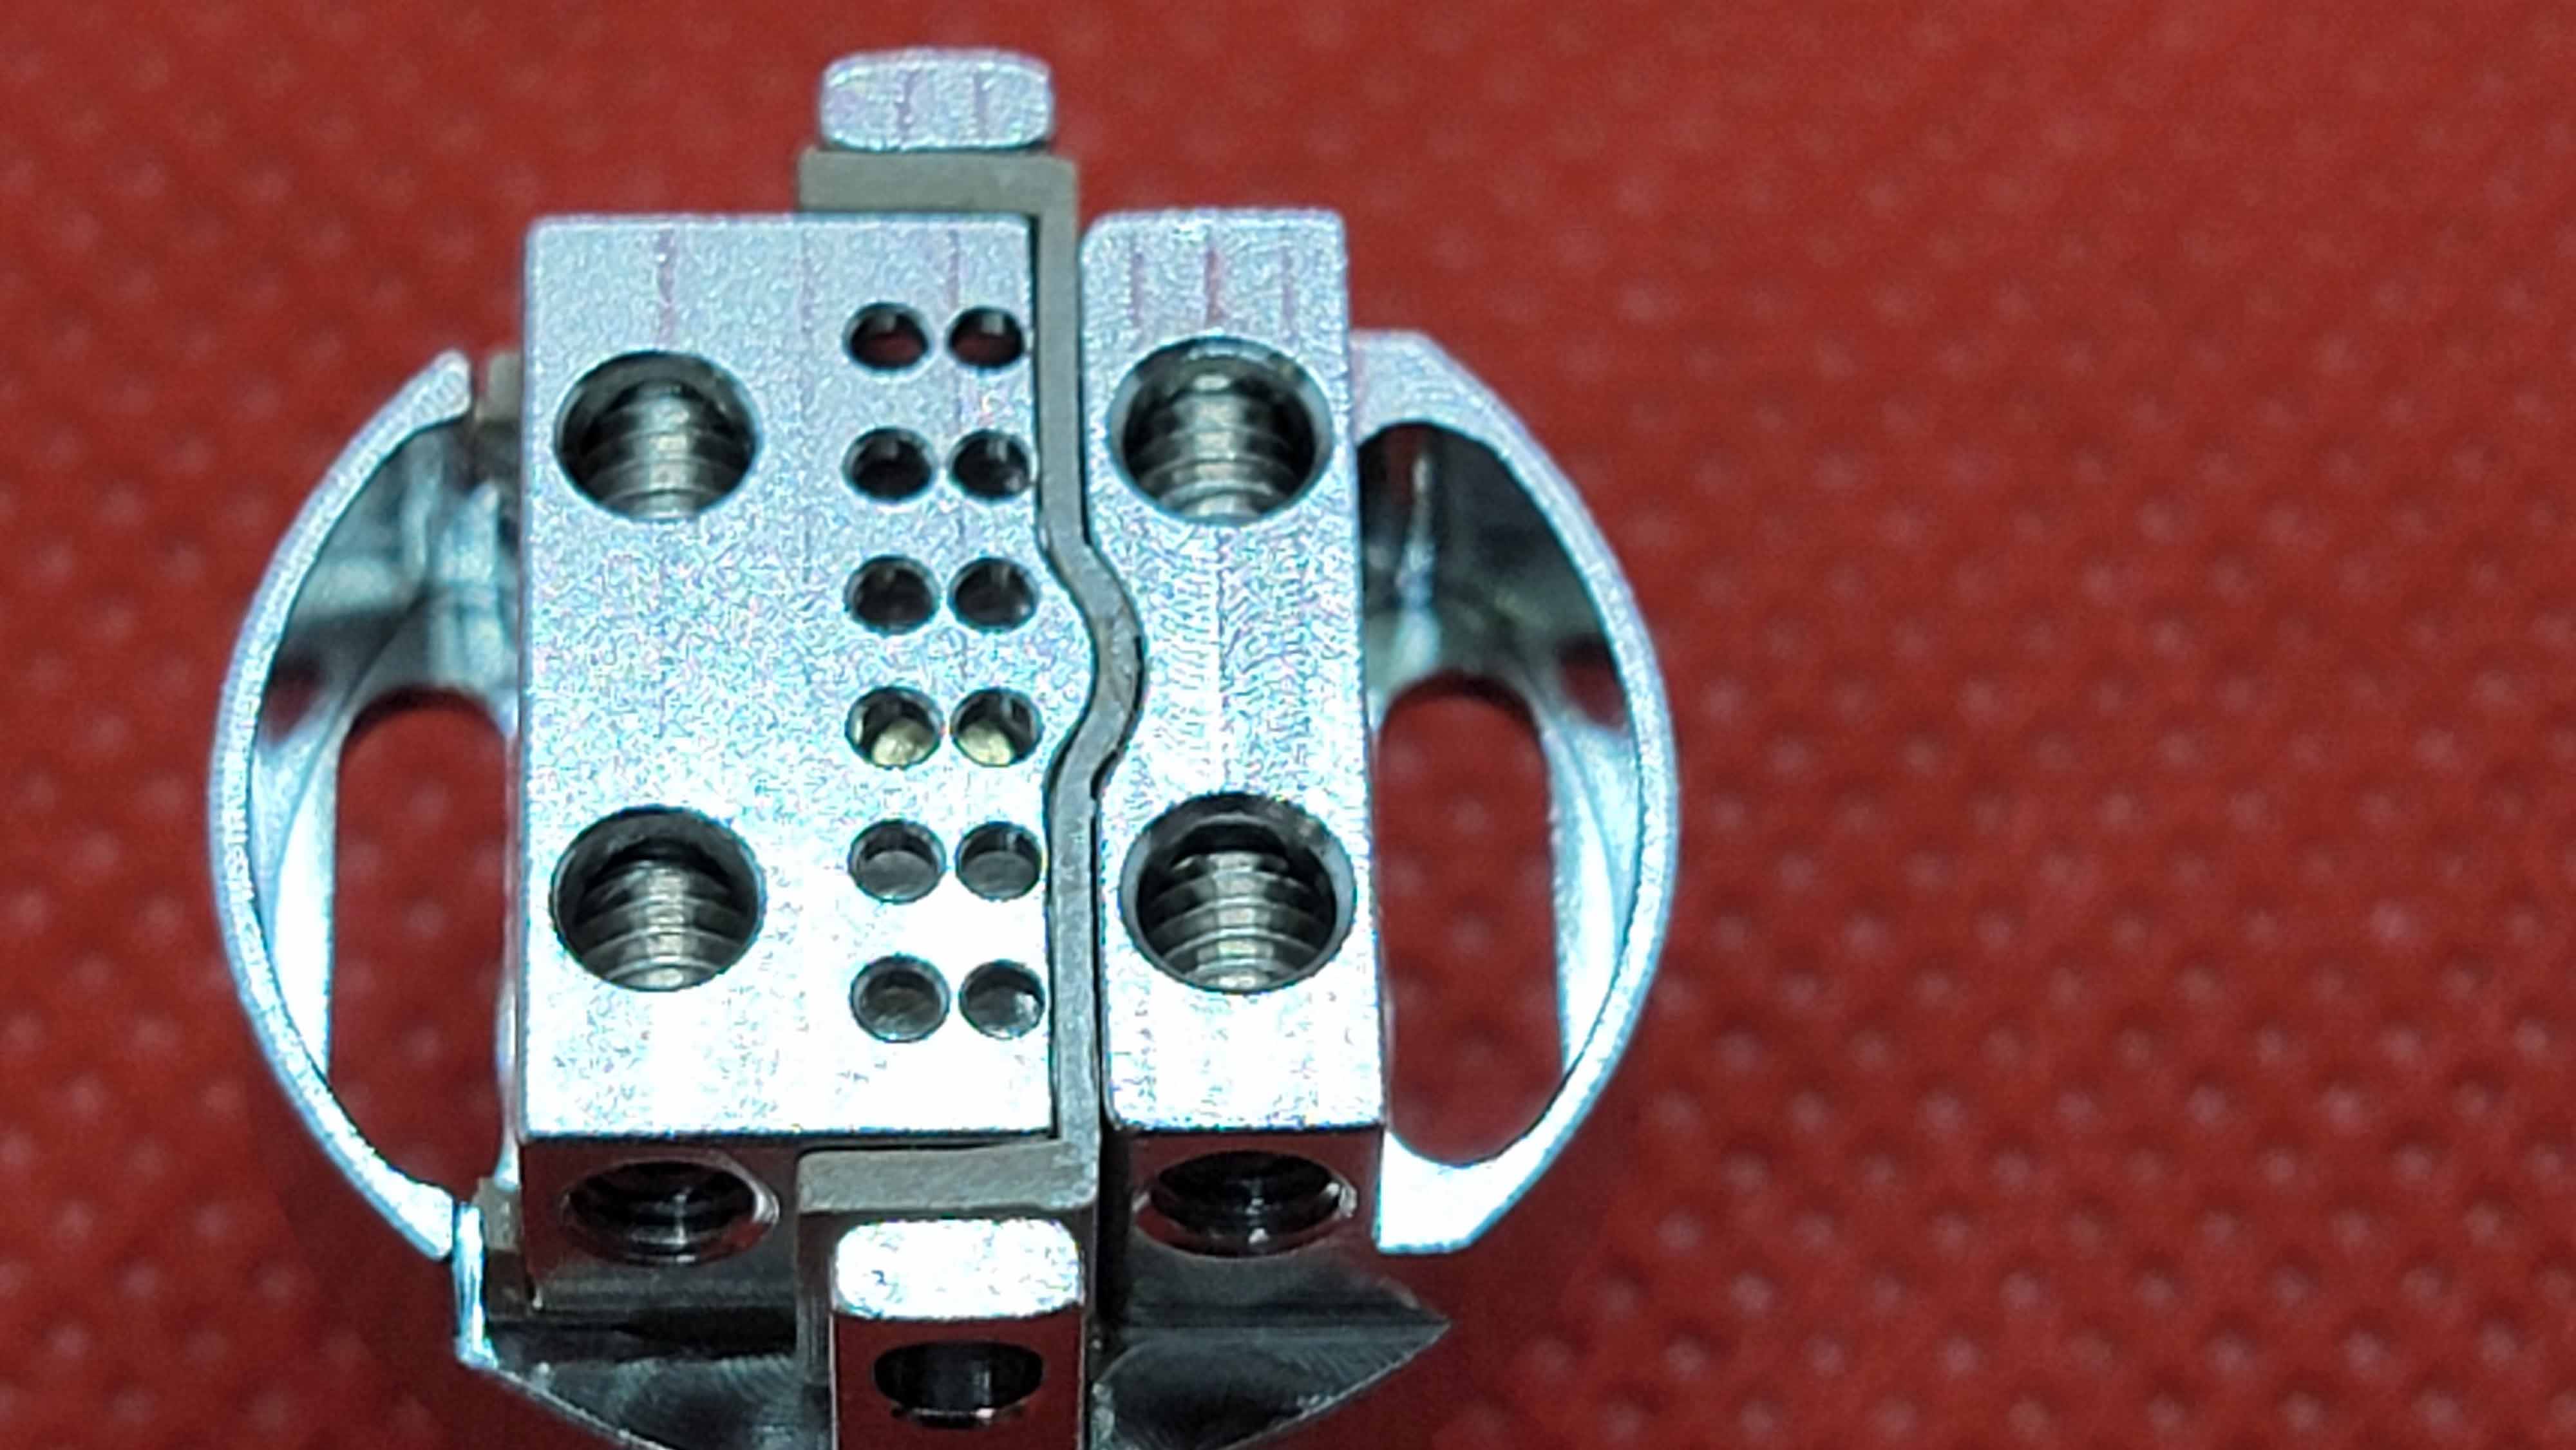
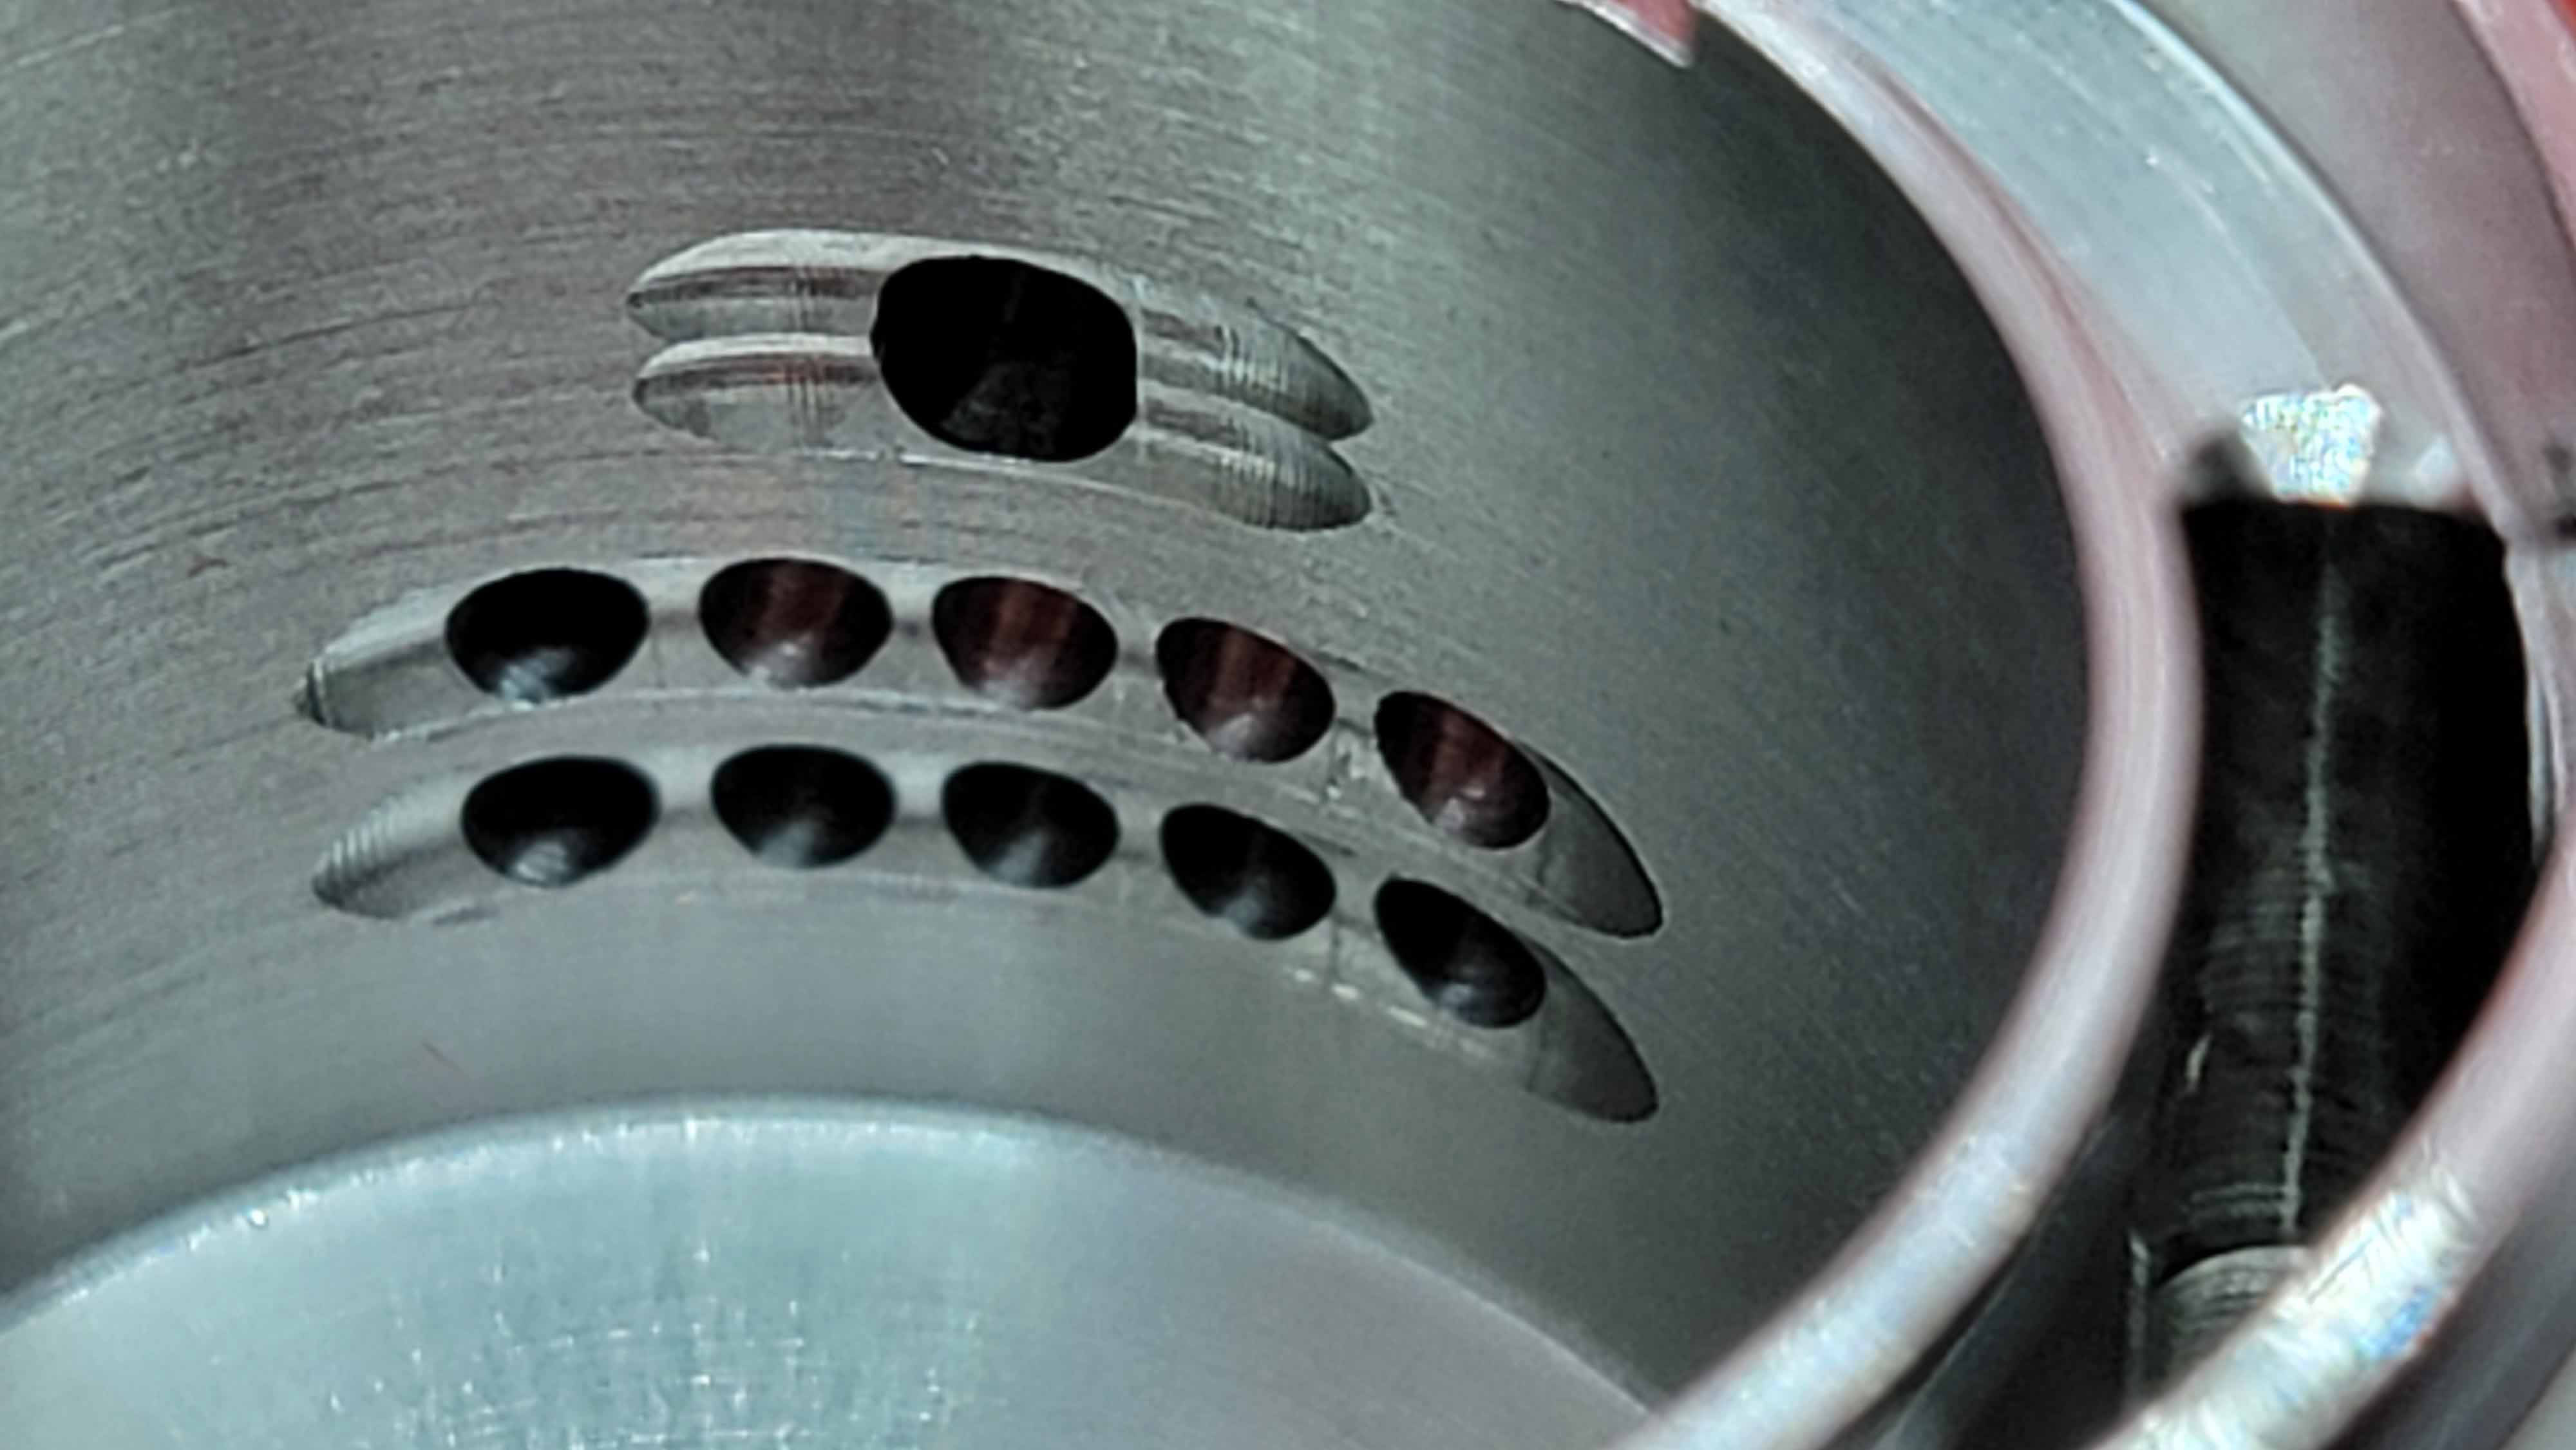
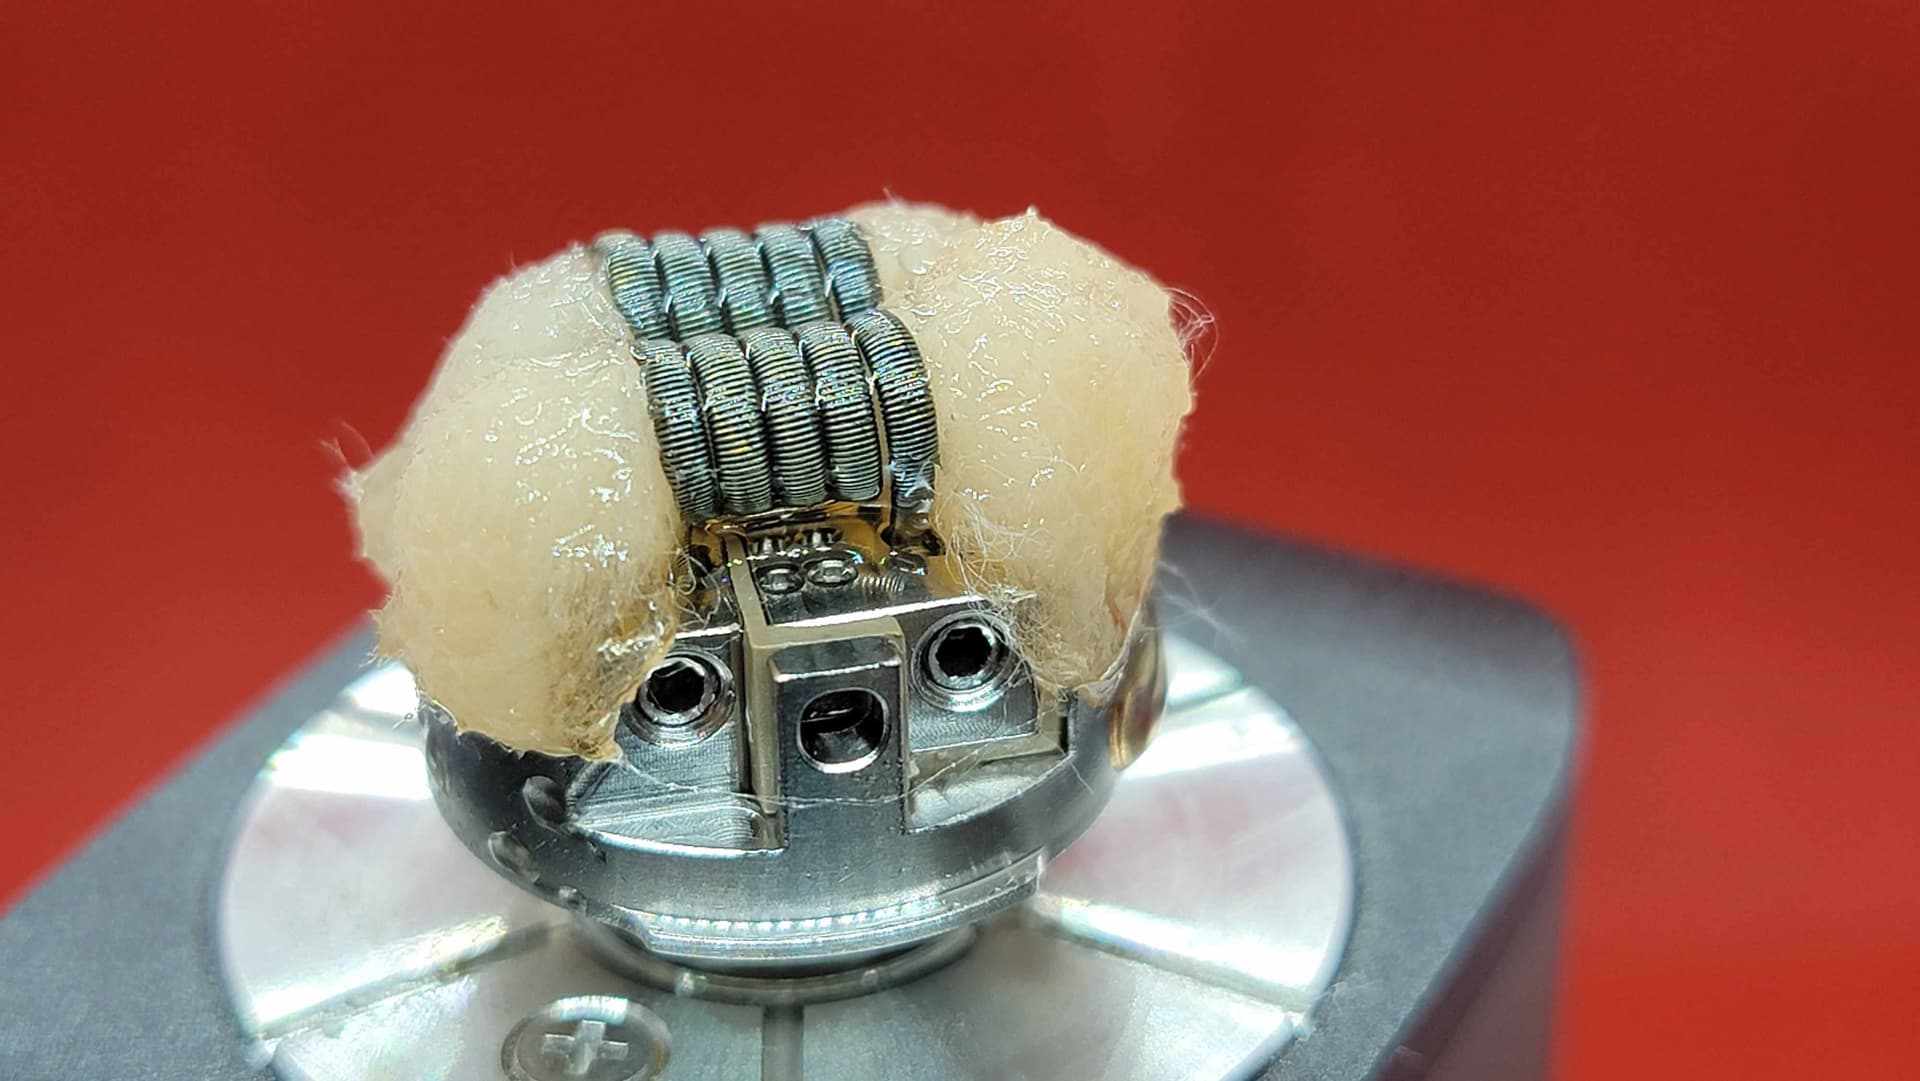
Moving onto the deck, showcased the generous juice wells, ample coil leg holes with the 2 rows of 6 bottom air flow ports, front and center !!!
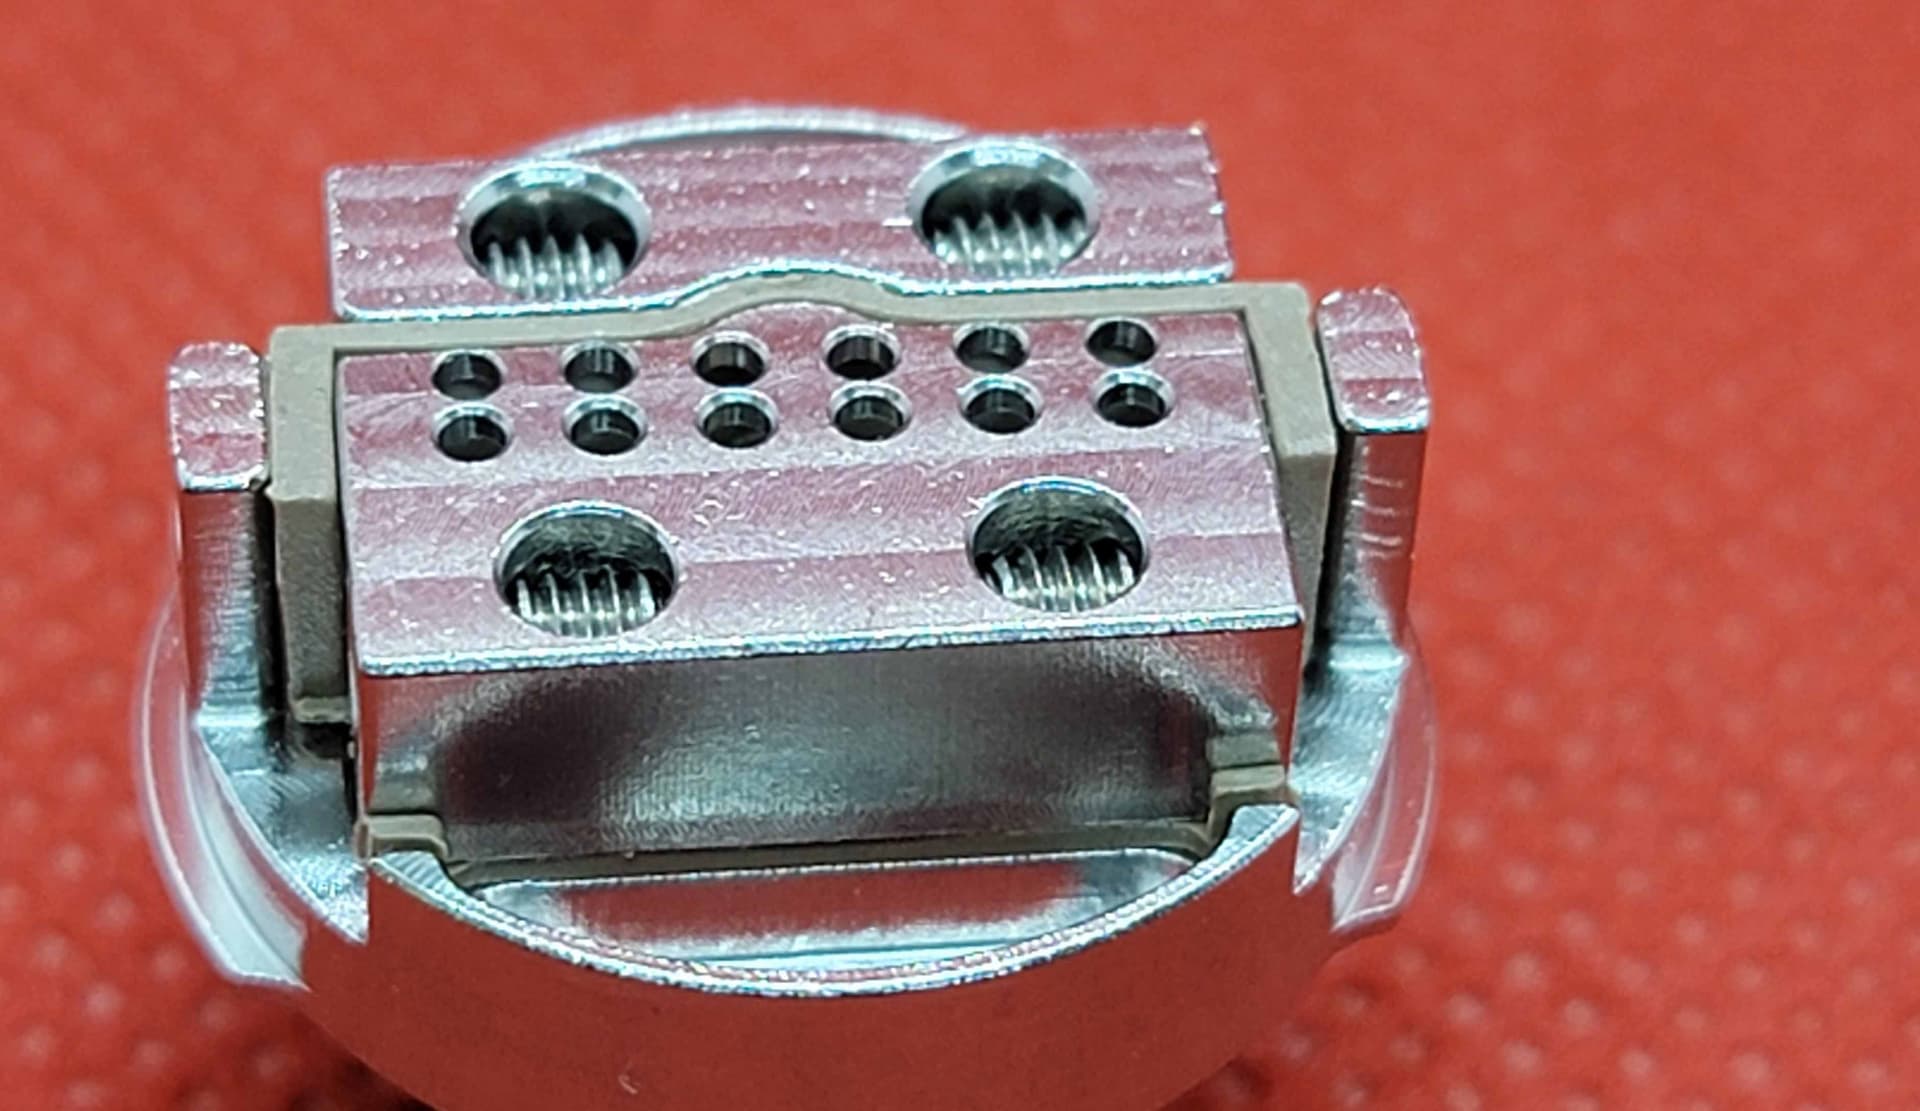
A closeup of the bottom air flow port on the deck, and chamber feeding the 12 bottom flow ports …
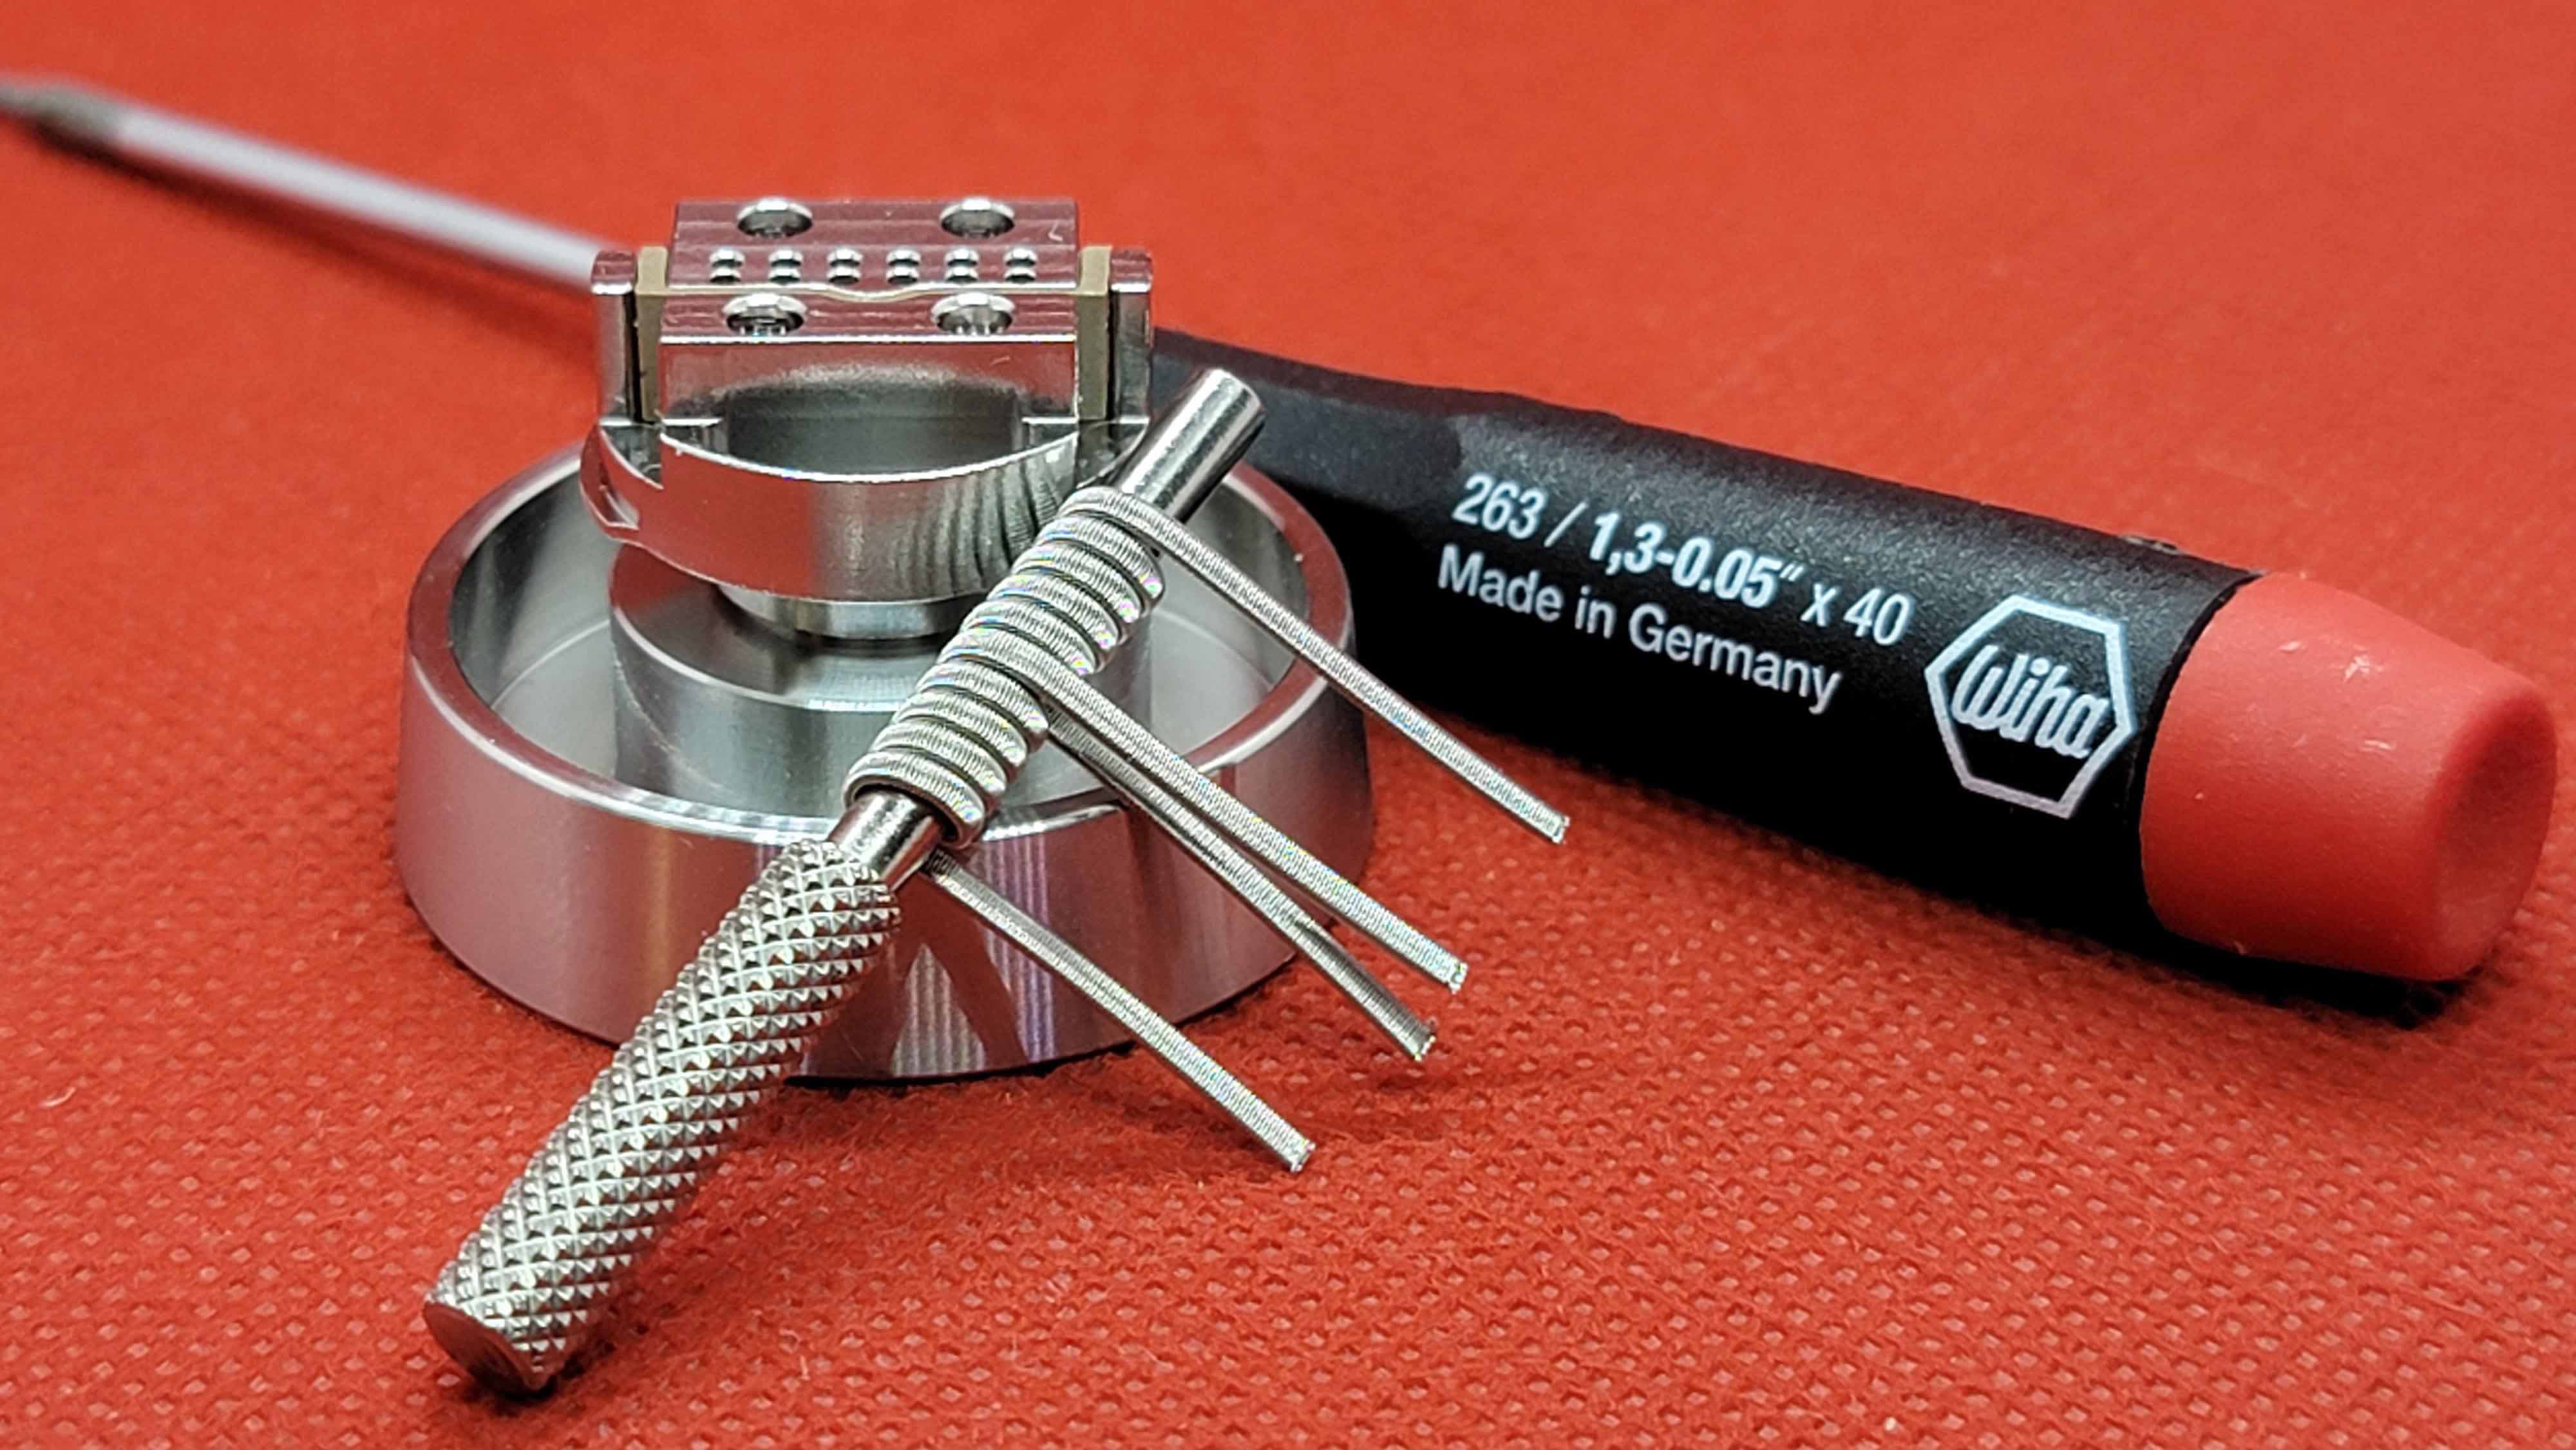
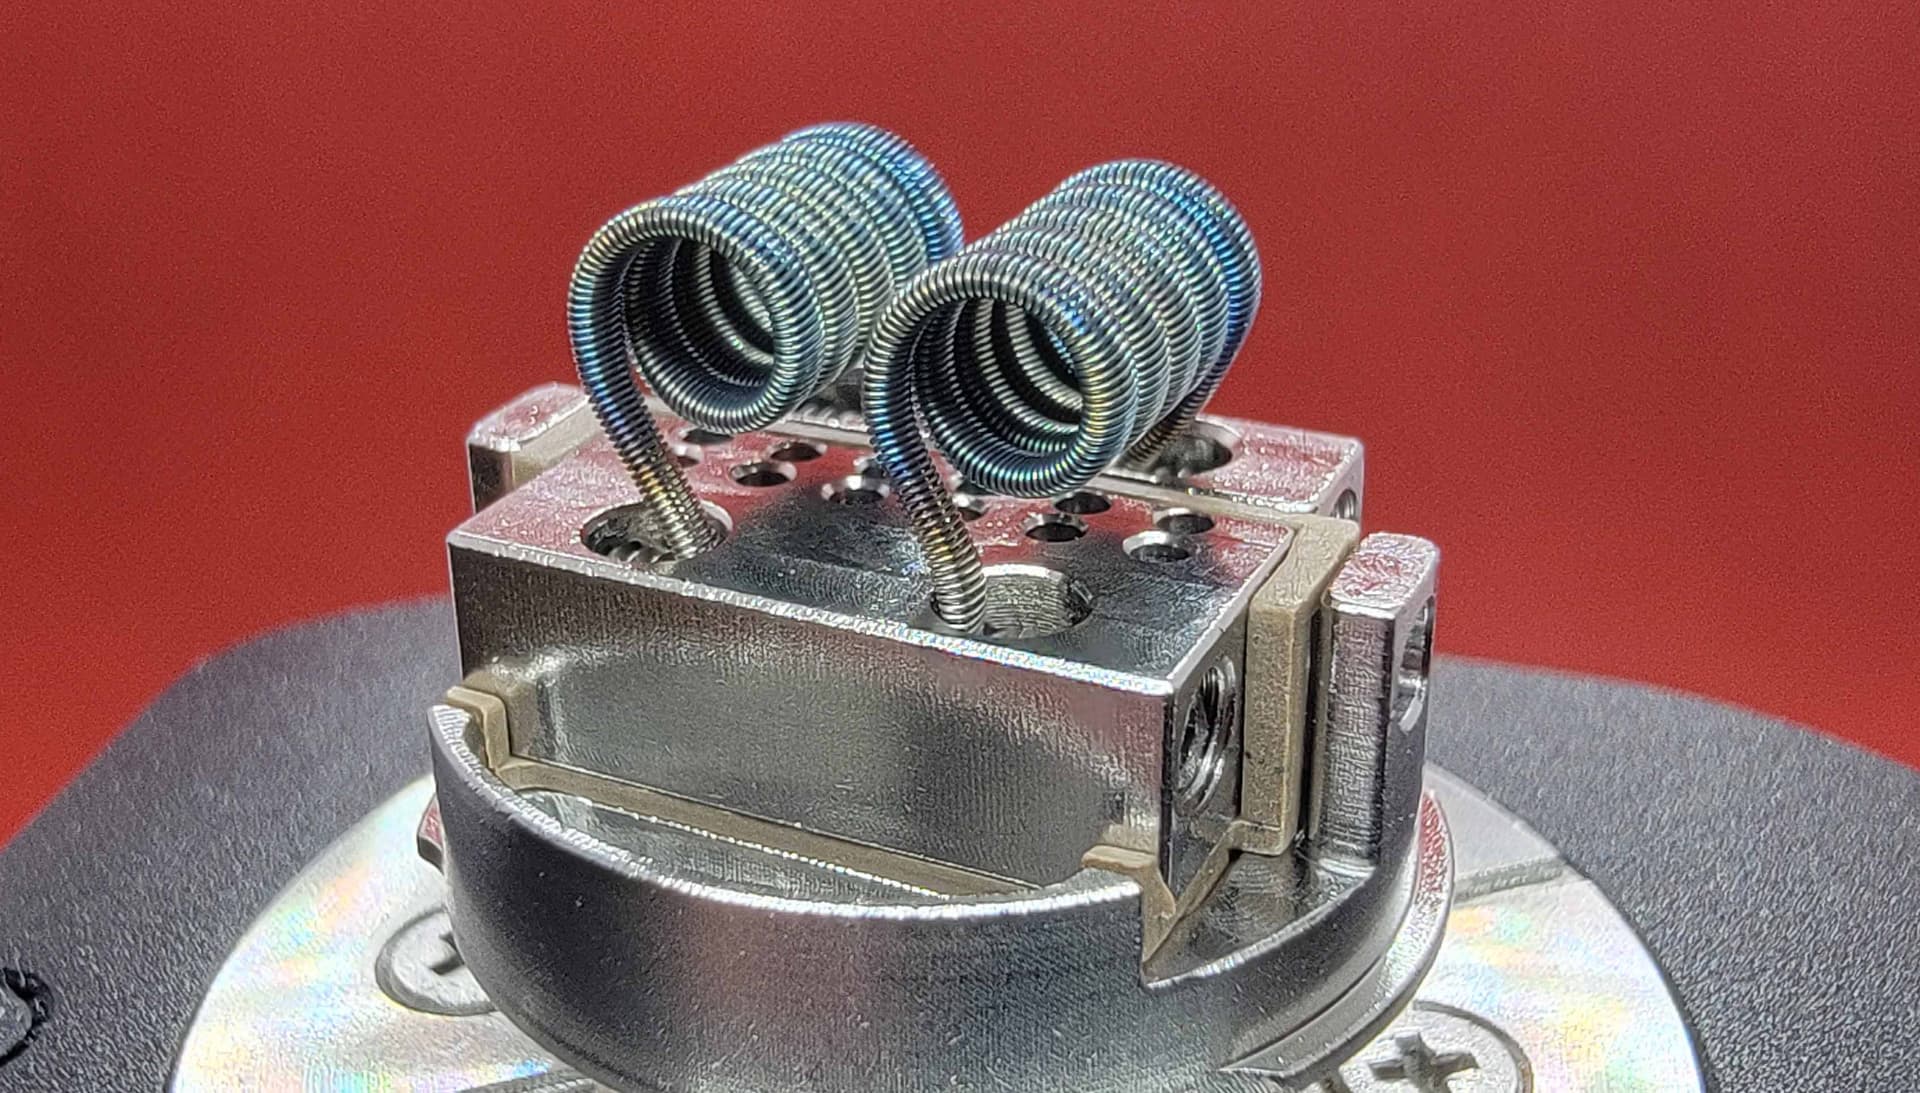
StreamCrave referenced 3.5mm I.D. coils cut at a 5mm height, but after loading, and testing, I decided to drop down to 3.0mm I.D.28X4/38 ga. Ni80 quad claptons, cut to 5.5mm height (more on this later) …

The supplied multi tool worked flawlessly, but I used my Wiha during the photo session …

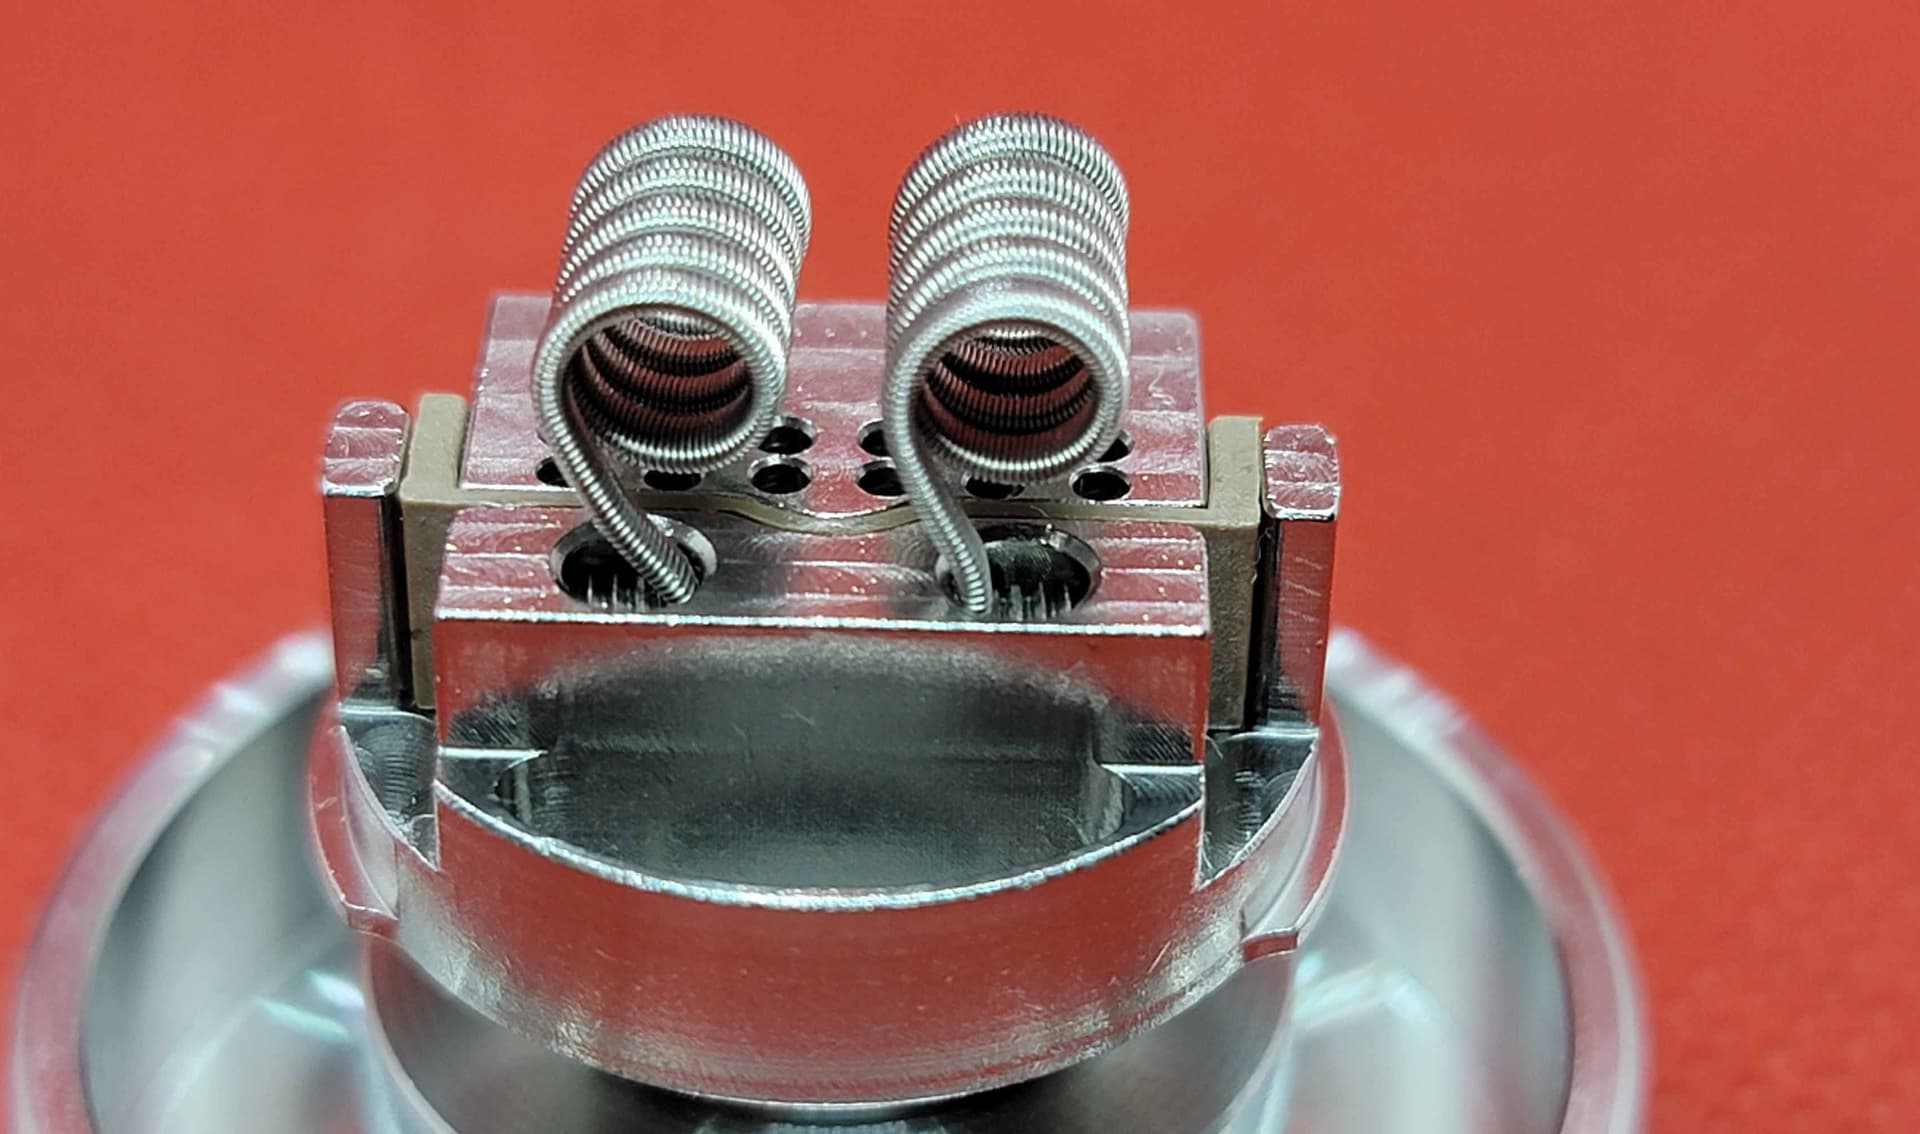
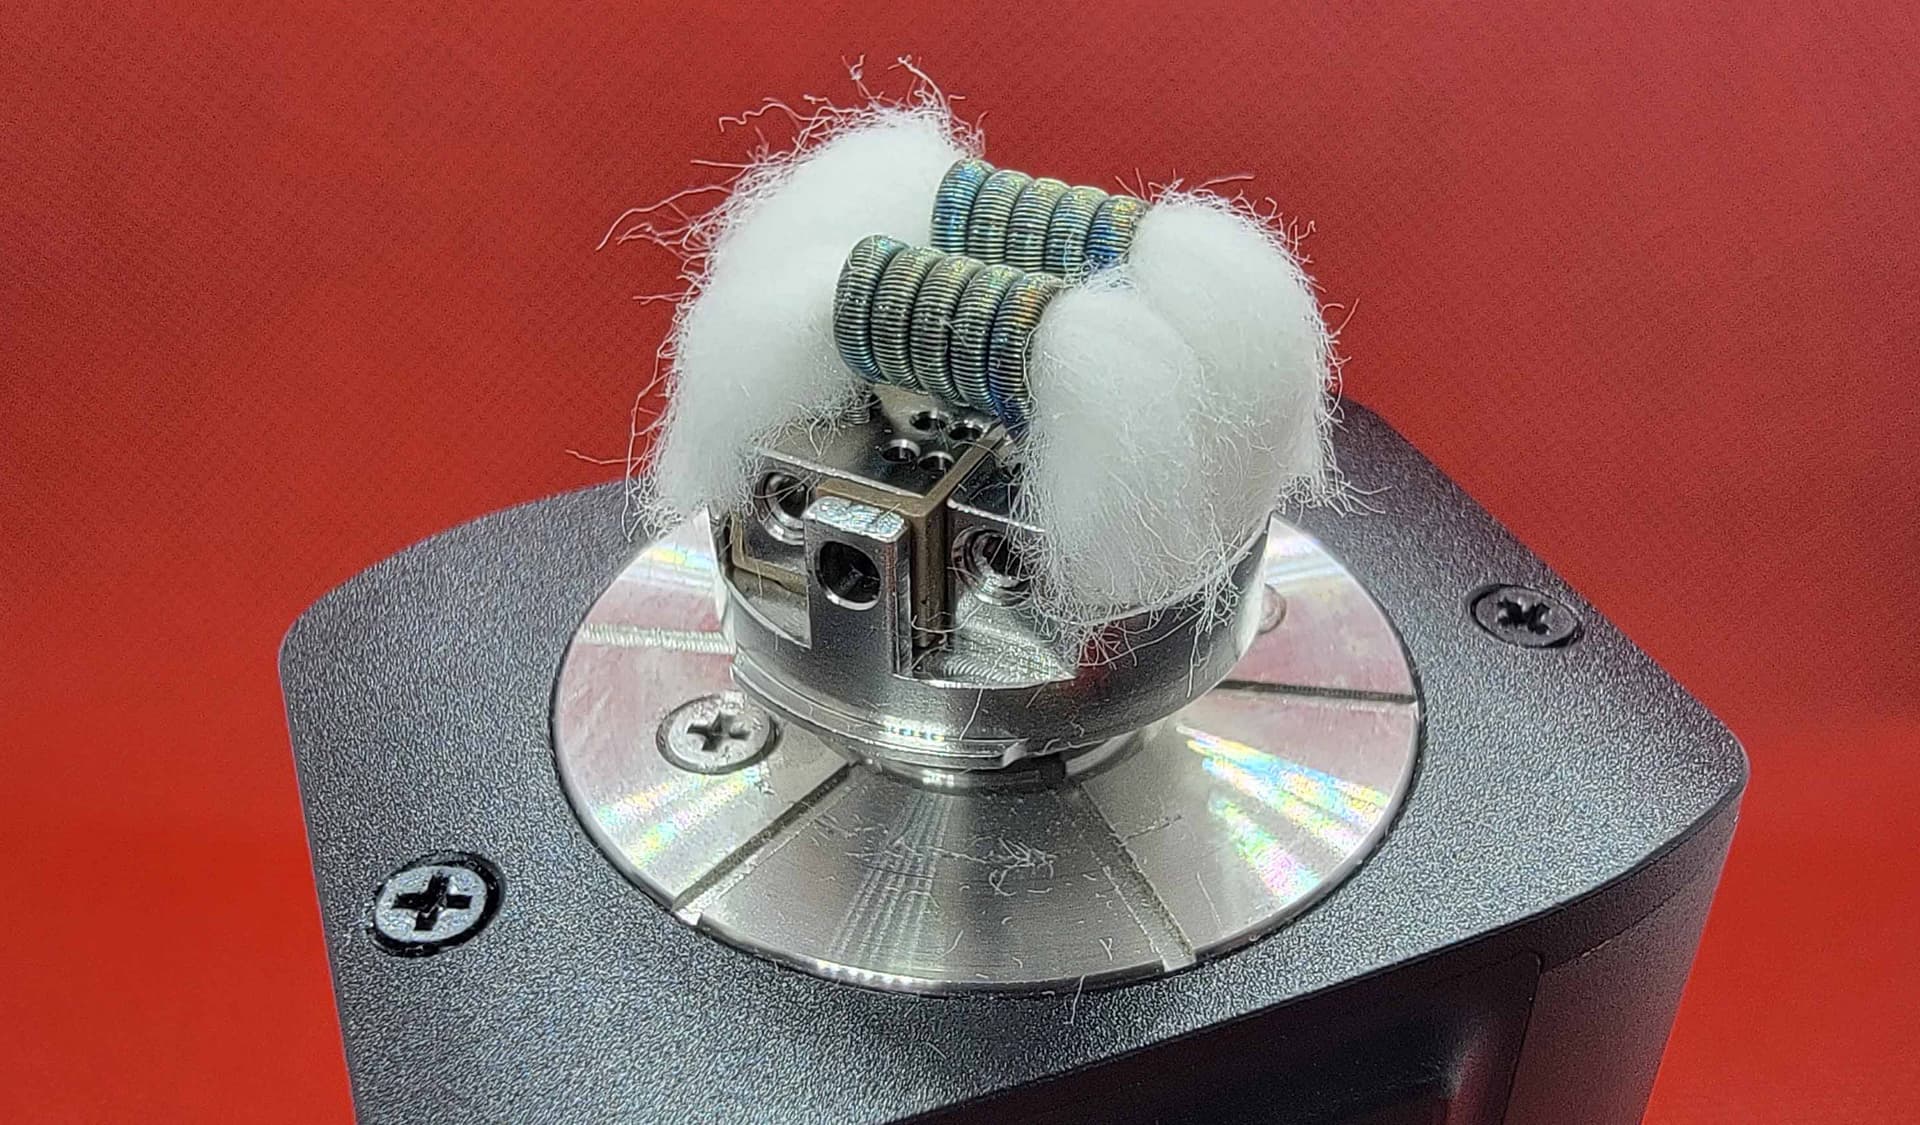
NOW, onto my reasoning behind the 3.0mm I.D., 5.5mm height coilage. When initially loading bigger coils, they seemed to almost block OFF, or somewhat obscure the bottom air flow ports. By reducing the coils to 3.0mm I.D. and cutting at 5.5mm length, you can see how they sat perfectly in between the 6 bottom air flow port per coil, allowing the air flow to pull completely around the bottom of the coils …
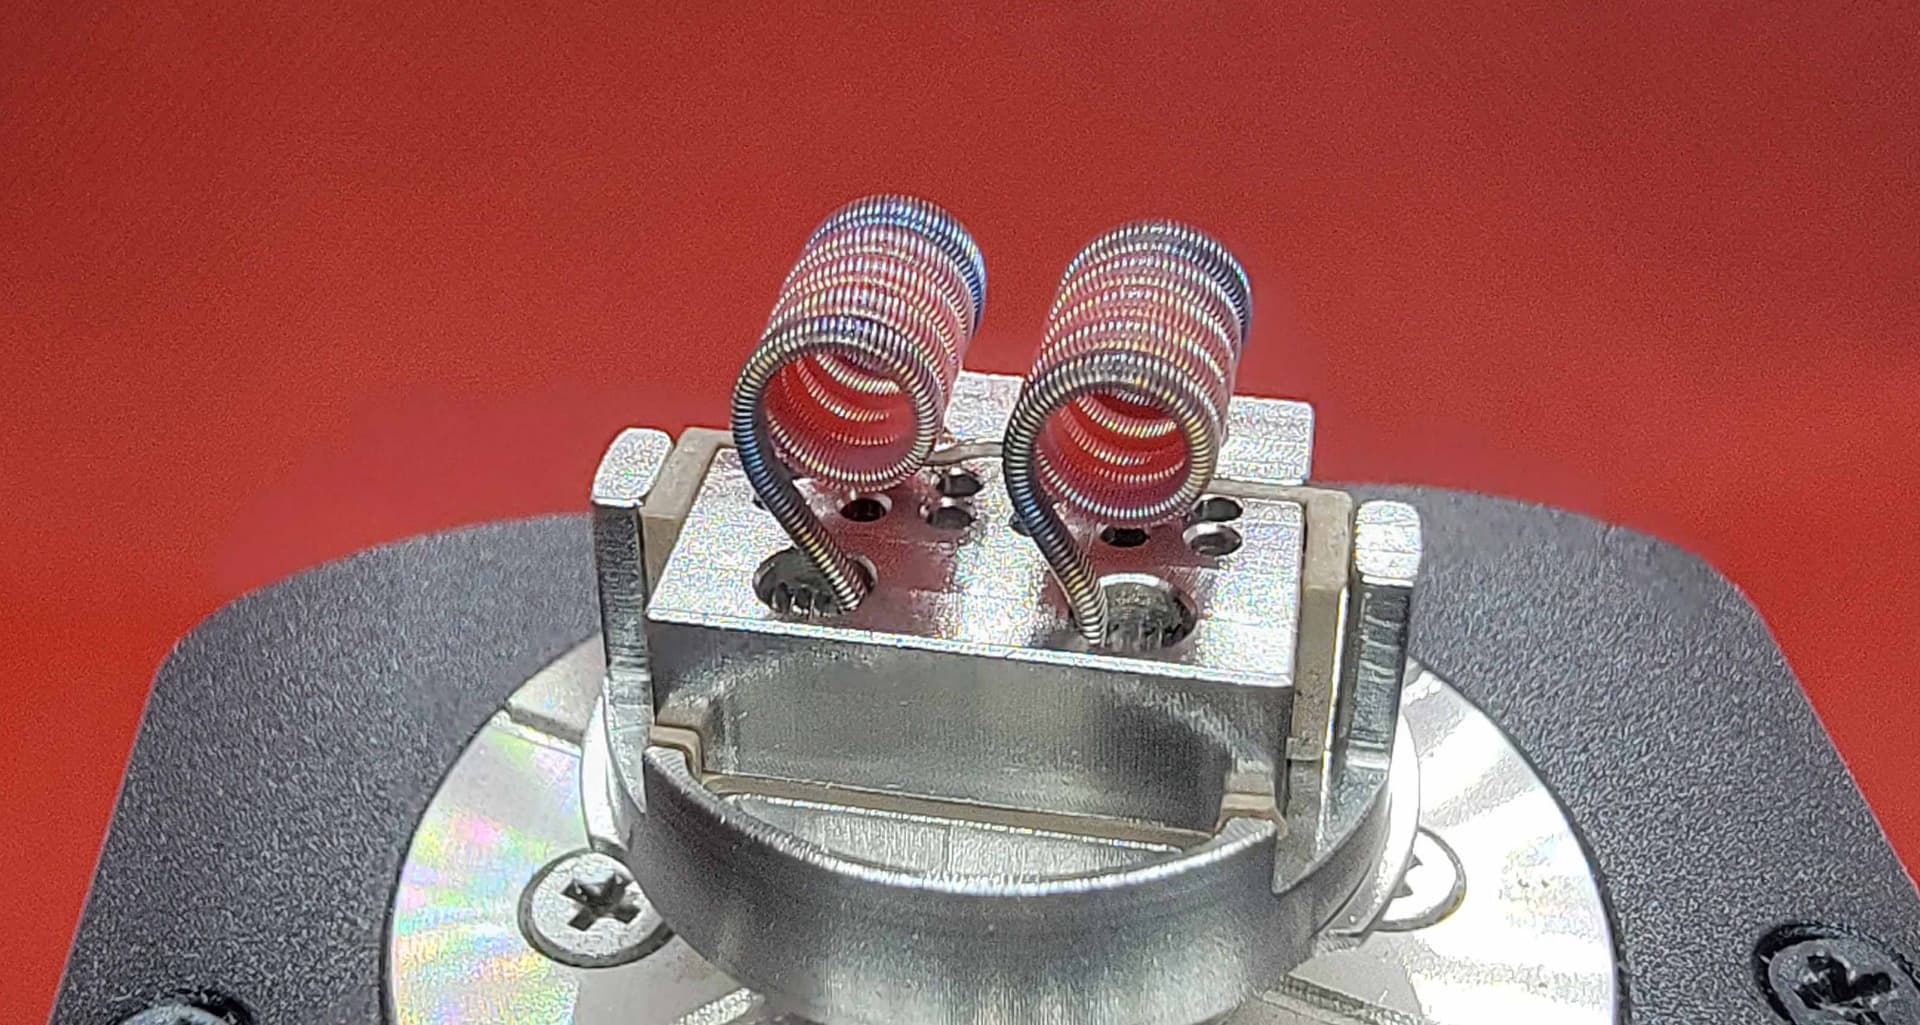
A little bit of pulsing and stroking to ready them up …
Ready for wicking …
I chose the 5.5mm length to place the coils RIGHT where they needed to be, in relation to the side air flow port banks …
Look closer. The perfect height @ 3.0mm I.D. to flow below, and lower sides of the coils …
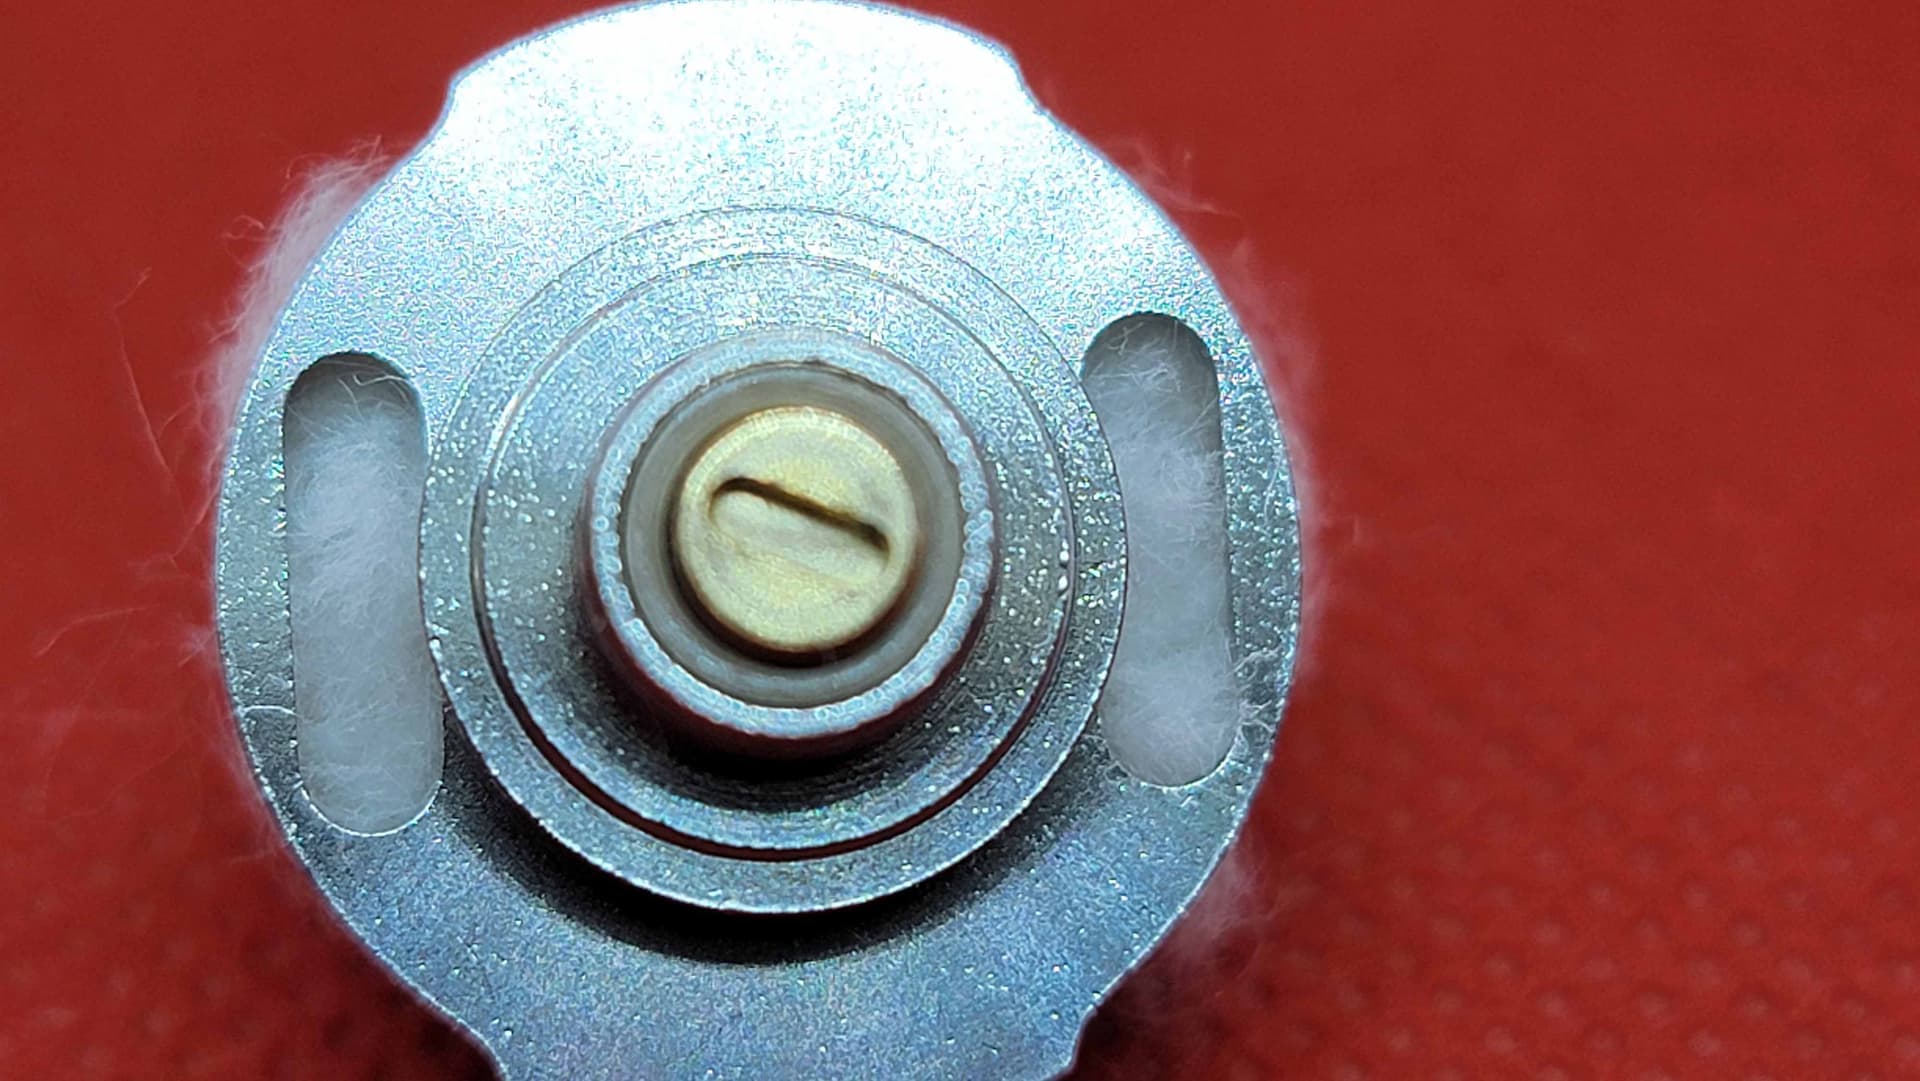
I folded the wicks over, and cut them even with the bottom of the deck …
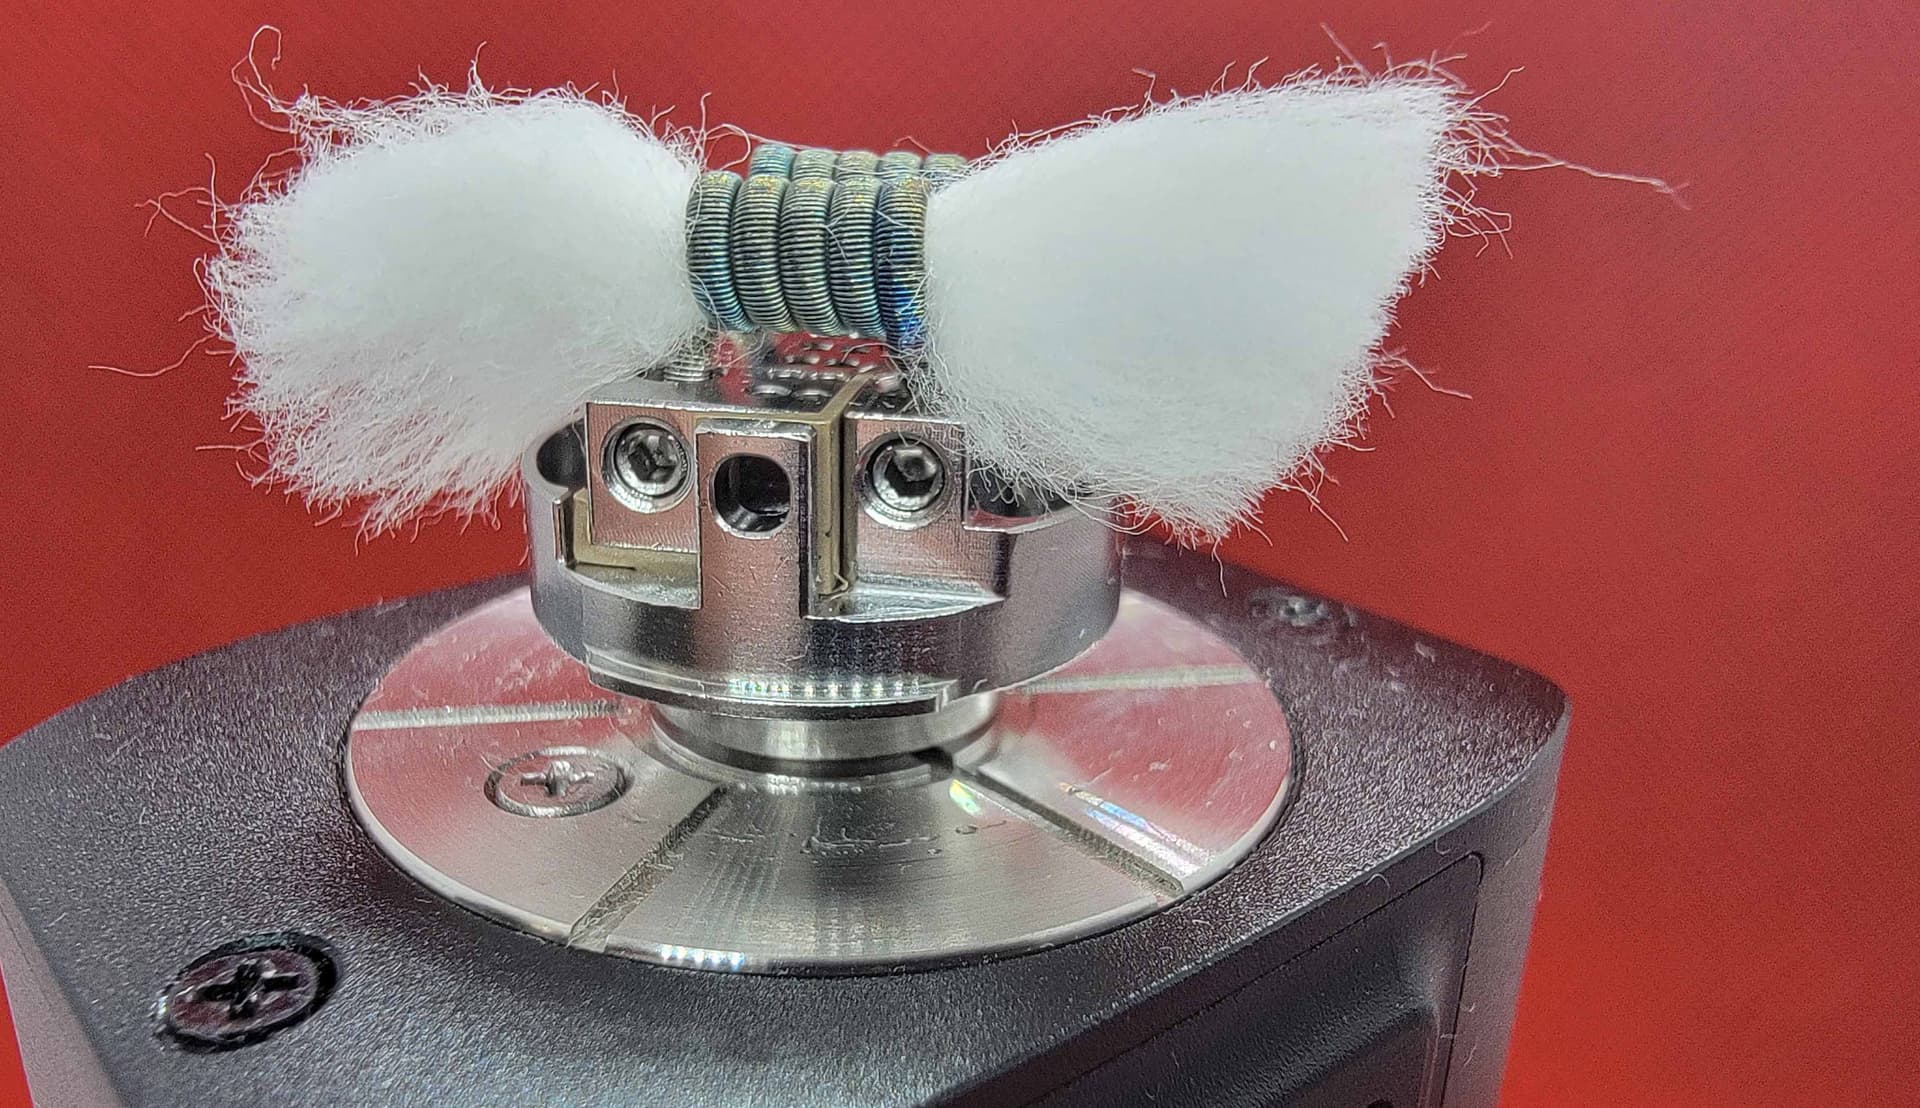
Tucked, but not stuffed …
I always like to check and verify the tails are completely covering the ports, without pushing through …
Commencing the juicing …

Sauced, and ready to go …
After shutting off the juice flow, filled the tank …
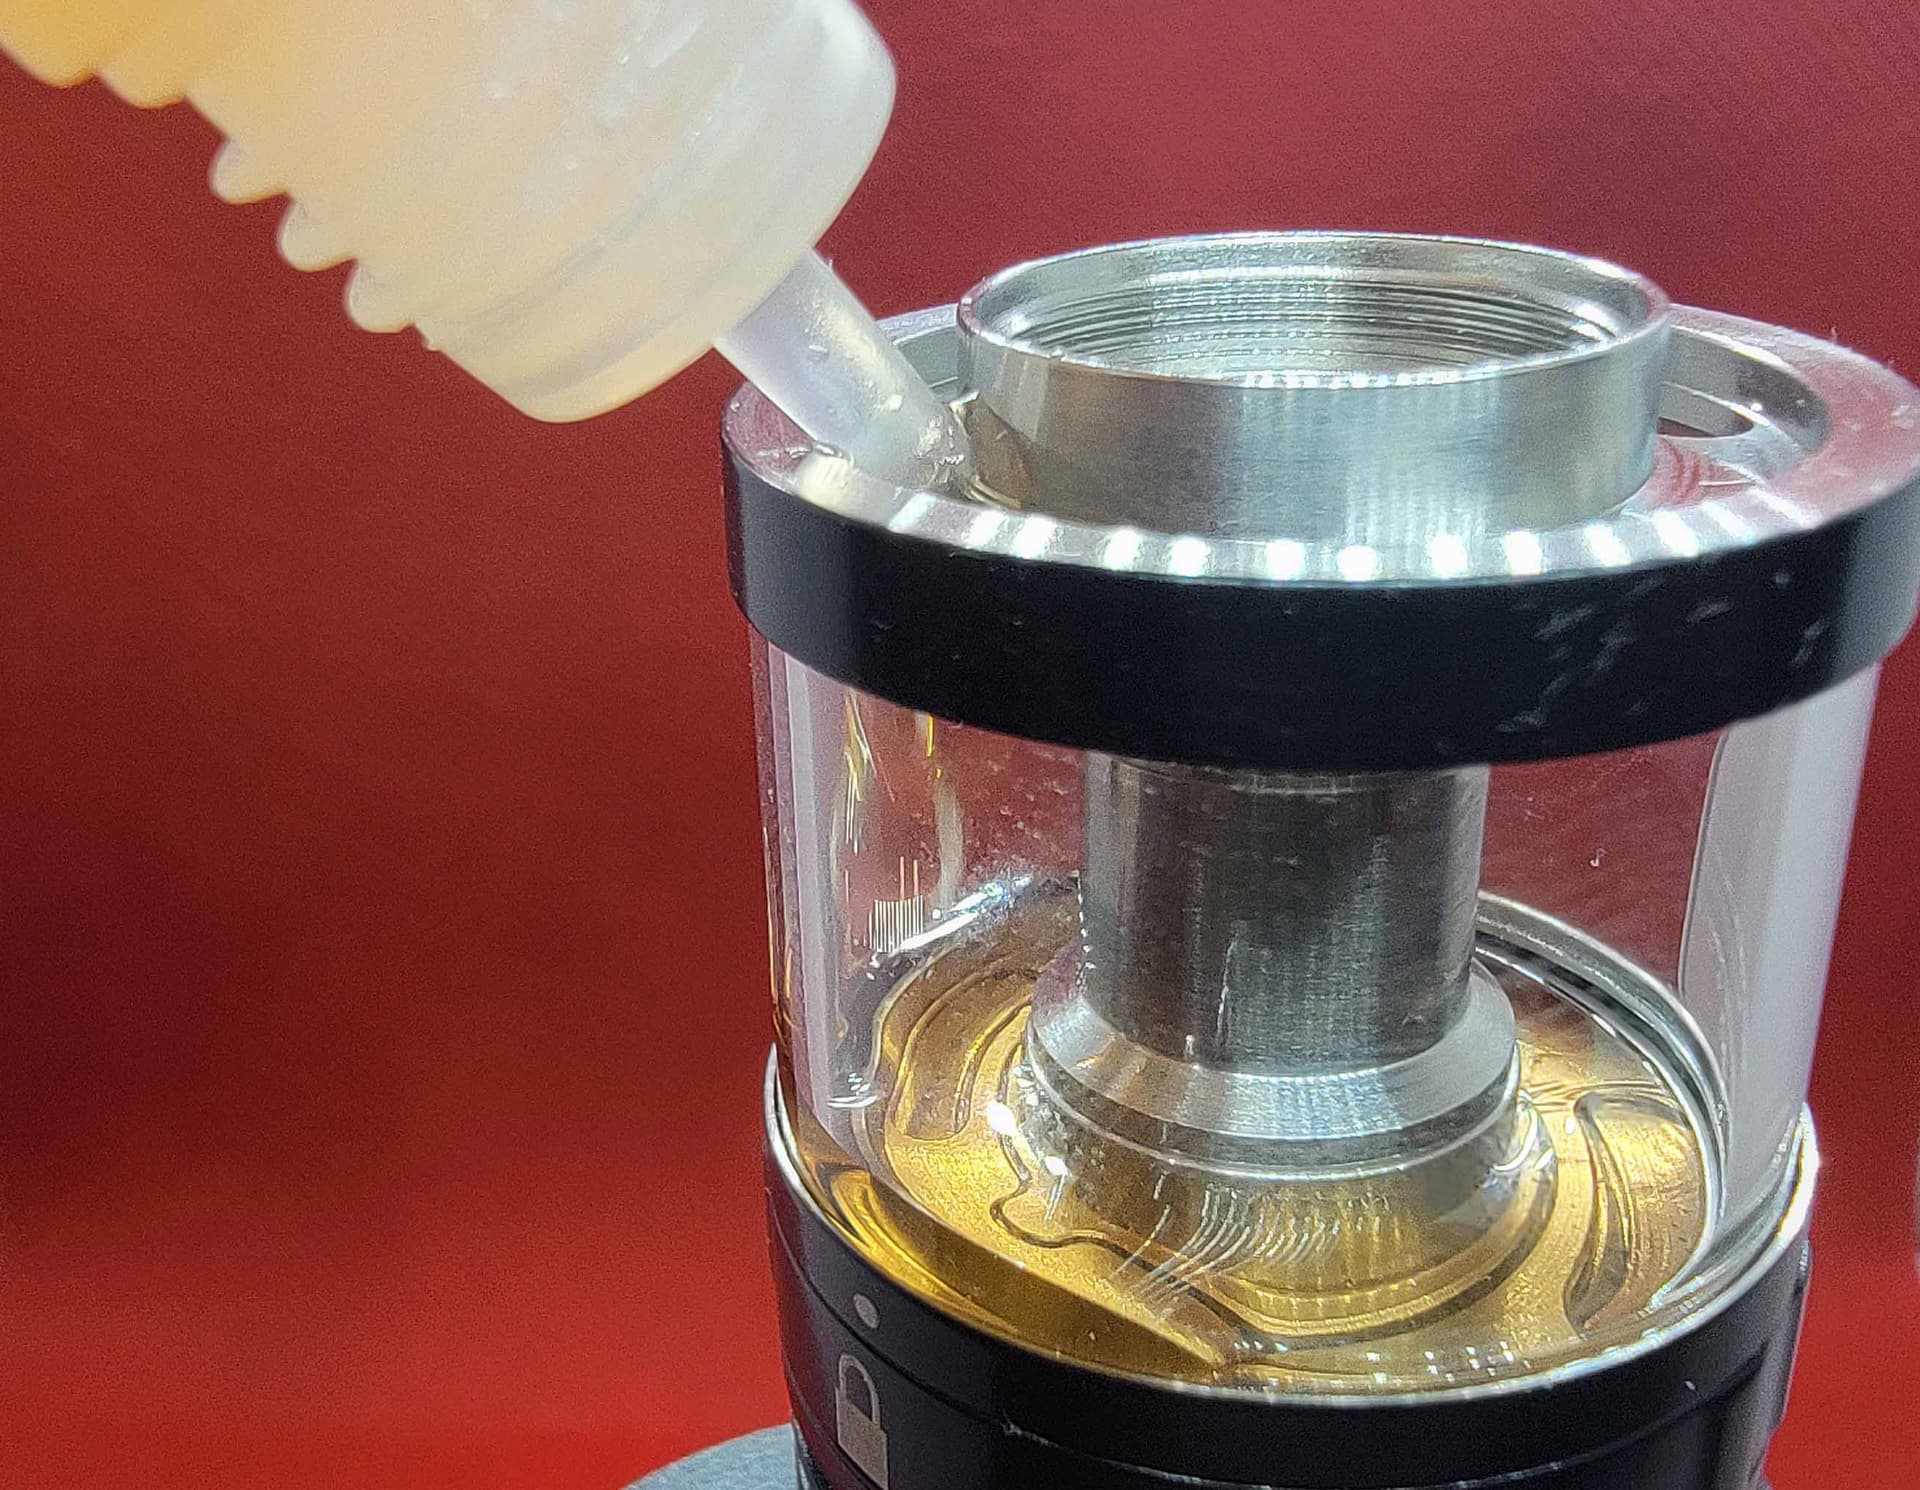
12 ml of filling, and ready to test …

I did extensive testing using ONLY the lower air flow ports …
And then added in the upper ports, as well as the bottom air flow port …

I also tested it running in RDA mode, by removing the chimney and glass …
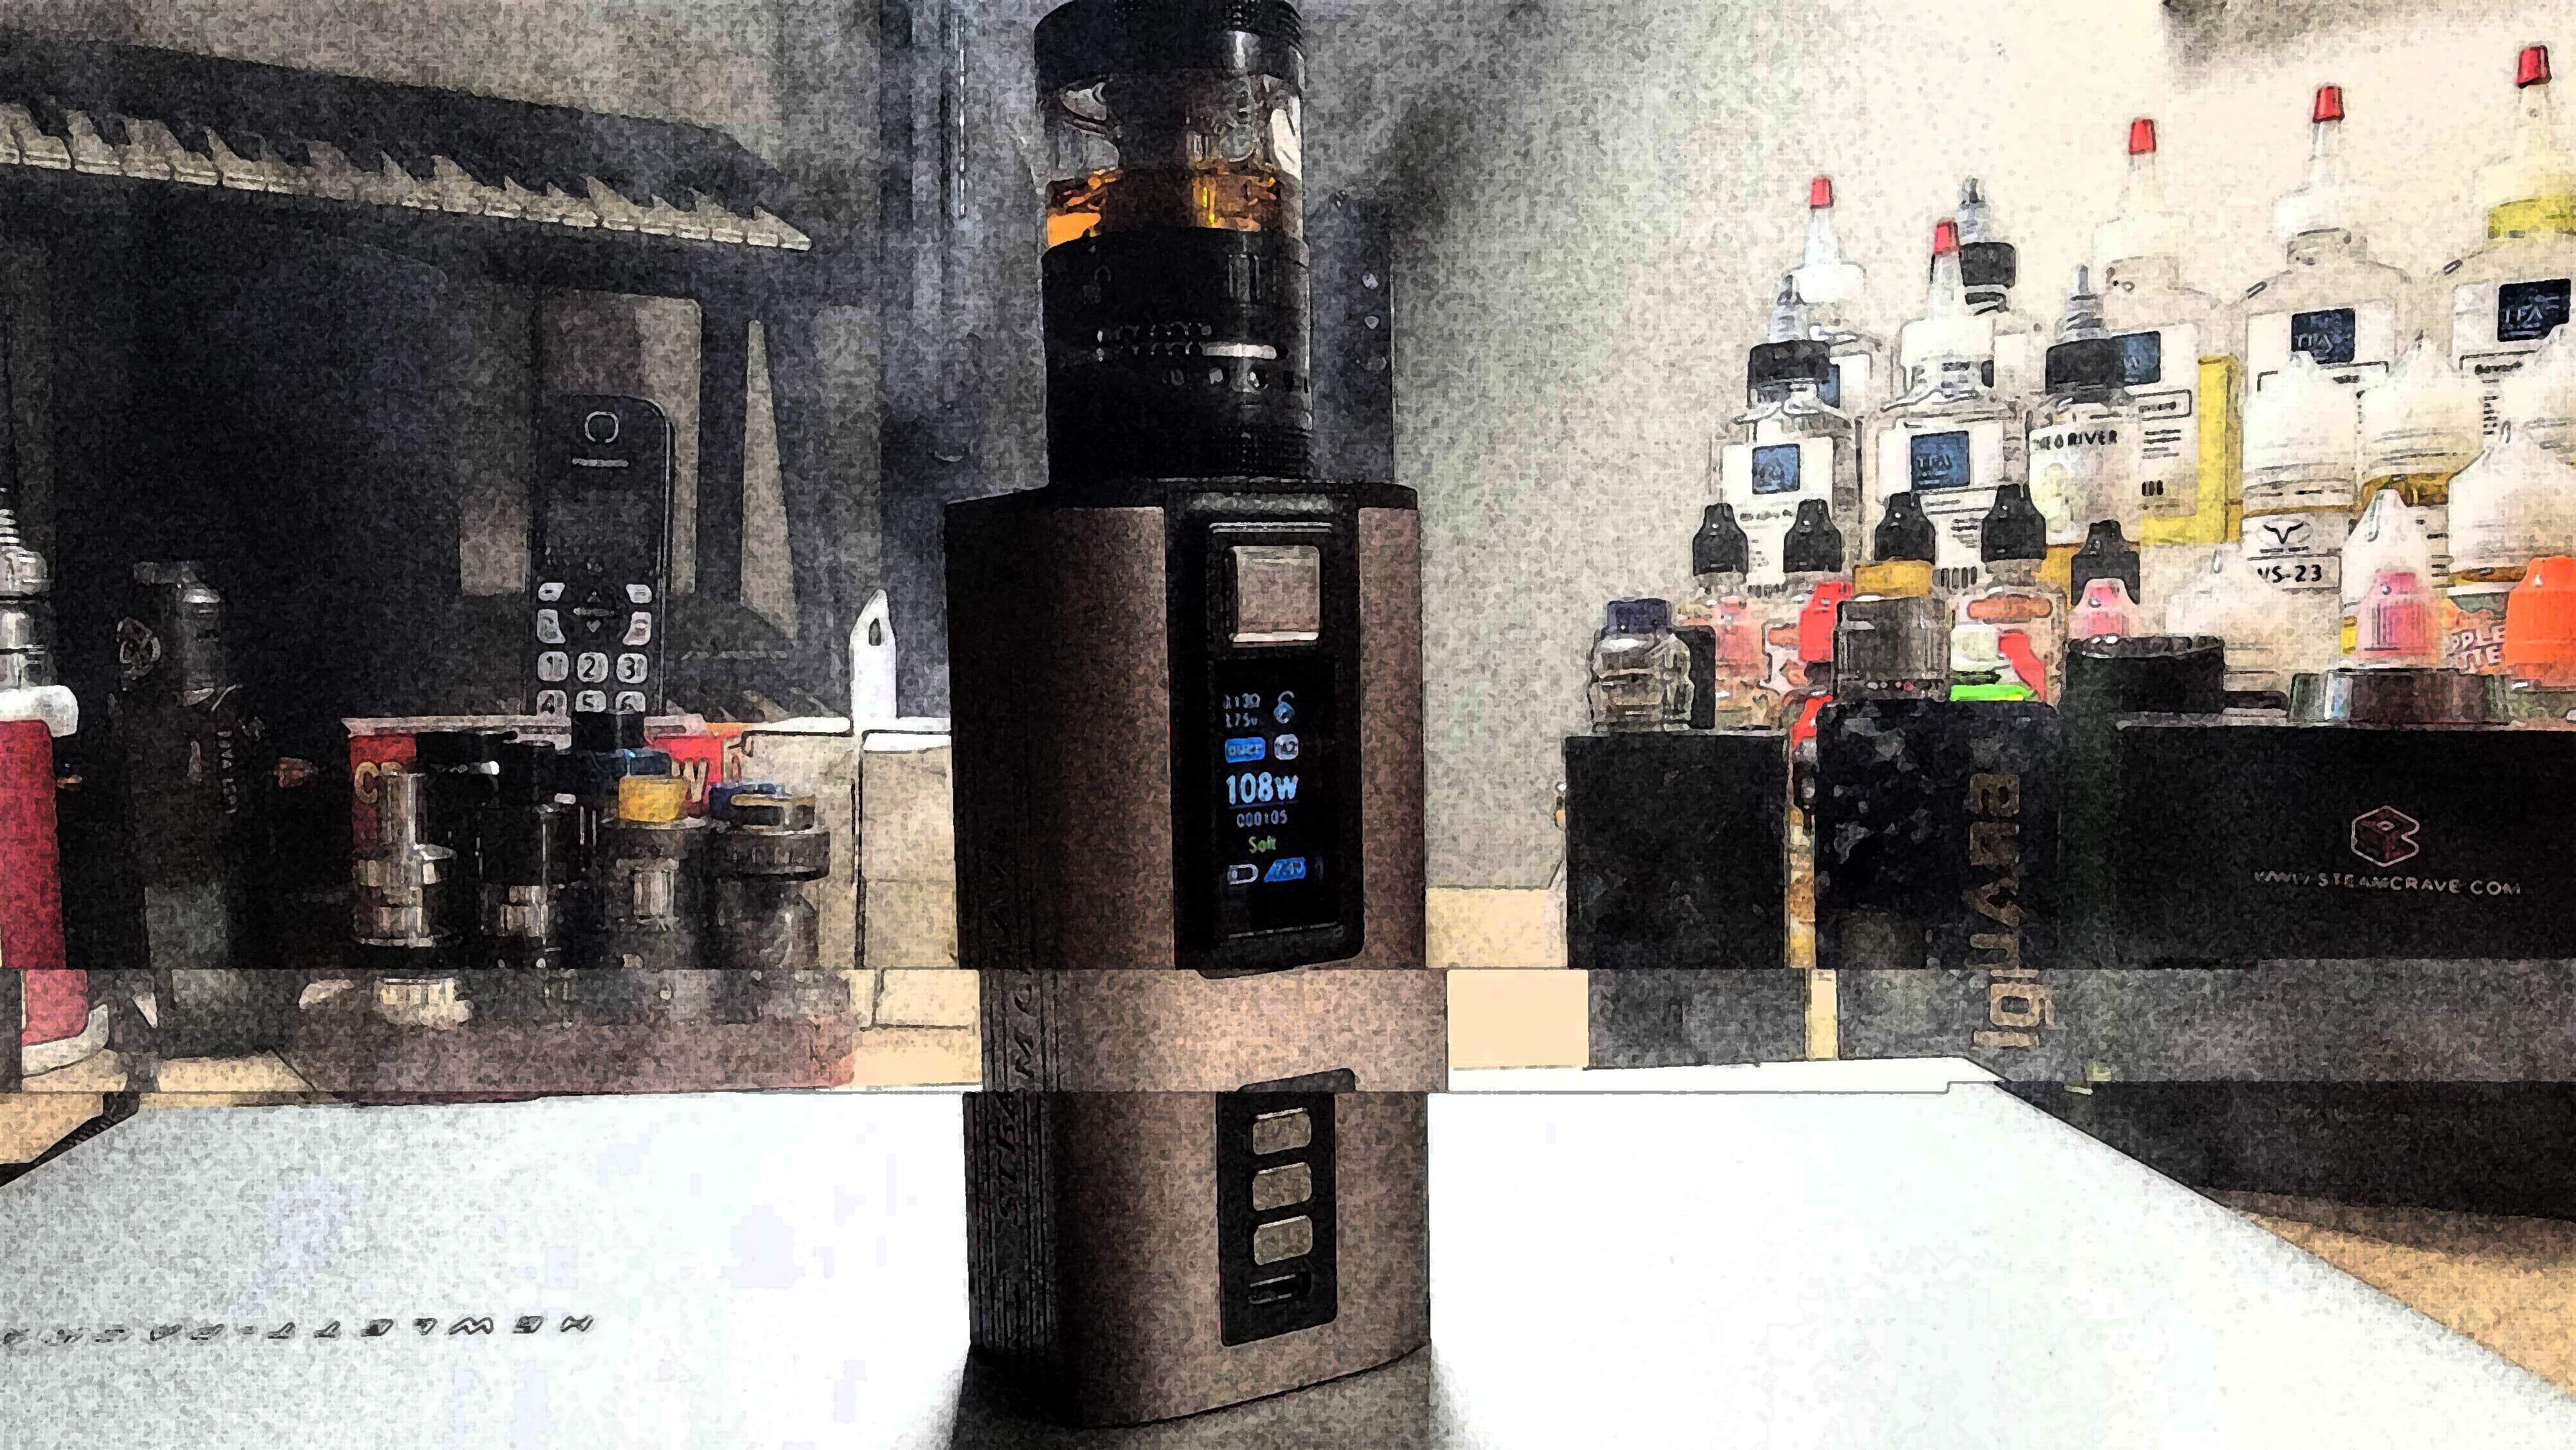
Testing / Usage:
Wow, wow, and MORE wow. Throughout the entire test, it became obvious that the juice flow seemed to be much smoother, and easier to adjust than I had experienced on the Plus v.2. Coupling that with extremely precise machining, plentiful o-rings, and a top shelf fit and finish, this, the third version of the Aromamizer Plus, just plain worked. While the majority of my testing was done using 3.0 mm I.D. coils, you could clearly go MUCH larger if you wanted to. With the ability to add/remove airflow from both the mid, lower, and bottom airflow inlets, I was surprised that I could notice a difference when adding in the bottom airflow. My favorite airflow setting locked in at 3 open mid ports, 5 open lower ports, and open bottom port.
All of the parts were clearly well thought out, designed, and machined, and this became even more obvious when tearing it down for cleaning, as there were no issues re-assembling everything. All moving parts were knurled, o-ringed, or both, and were easy to use. No leaks, squeaks, or rattles, and the tank felt LIKE a tank in the hand. I did test it out in RDA mode, and it worked flawlessly, but the size/weight might make that less appealing to some, but it did work flawlessly. With 12ml of juice capacity, huge juice flow ports, AND the NEW re-designed airflow, there’s not much that the Plus v.3 doesn’t do, and do well. Having all THREE Plus versions, I was able to directly compare them, and clearly the v.3 is/was the winner. Flavor production was almost OFF the charts, and I preferred it in RDTA/RTA mode vs. RDA mode. Flavor saturation varied from great to intense, depending on the airflow settings, and there were MANY different variations to play with.
Pros:
- Top rate machining
- Fit and Finish
- Great o-rings, no leaks
- Very good flavor production
- Keyed internals made for easy assembly
- Improved Juice Flow controls
- Plentiful and customizable airflow
- NEW Bottom Airflow
- Generous 12ml capacity
- Knurling everywhere required
- Large juice fill ports
Cons:
- 30mm (large/heavier)
- Full screw cap, not 1/4 or 1/2 turn
- Juice flow MUST be turned off before filling to prevent flooding
- Juice Hog ??
Conclusion:
I struggled to come up with Cons for this one, as there just weren’t many. Having all three versions of the Plus allowed me to really compare them, and better realize the improvements made, and the Juice Flow Controls, and Bottom Air Flow are the biggest, positive changes bar none. When tearing down for cleaning, there is always a bit of “Ehhhh”, as you never know if it will easily go back together or not. SteamCrave keyed some of the internals, making it even easier to do so. Controls were snug but not too stiff, and clearly with 12 o-rings, they thought this one through. I actually had VERY good results using my 3.0mm I.D. / 5.5mm length coils, and am unsure if that could be improved on or not. It worked great in RDA mode, despite being a bigger/heavier one at that. “Tank Mode” was the way to run this one, and filling it up with 12ml of your favorite juice would keep you busy for quite a while.
I had held off on picking this one up, thinking “Ehhh, bottom airflow”, but after using it for some extended testing has made me a believer, and that’s coming from the guy who has the OTHER two versions. This one, the version 3, IS the one to get. If you do have either previous Plus versions, the decks will ALL be compatible, which is also a bonus. Having held off on purchasing this one, I was glad that Amy from @SteamCrave hit me up, and sent this to me for review. Thanks to her again for that. All in, if you are NOT scared off by the larger 30mm size, and 12ml capacity, you might just want to put this one on your list, as it IS the cream of the crop, in the SteamCrave Aromamizer Plus series by far.
I appreciate you taking, and sharing some of your valuable time in reading this review, and I hope it helps to better showcase what this one, was really about. I think I took MORE pics of this mod, than any OTHER mod I have ever reviewed, so, hehe, I’ve got a few Bonus pics for your guys. Thanks for reading.
S.D.
Linkage:
Colors:
Glass Extension Kit:

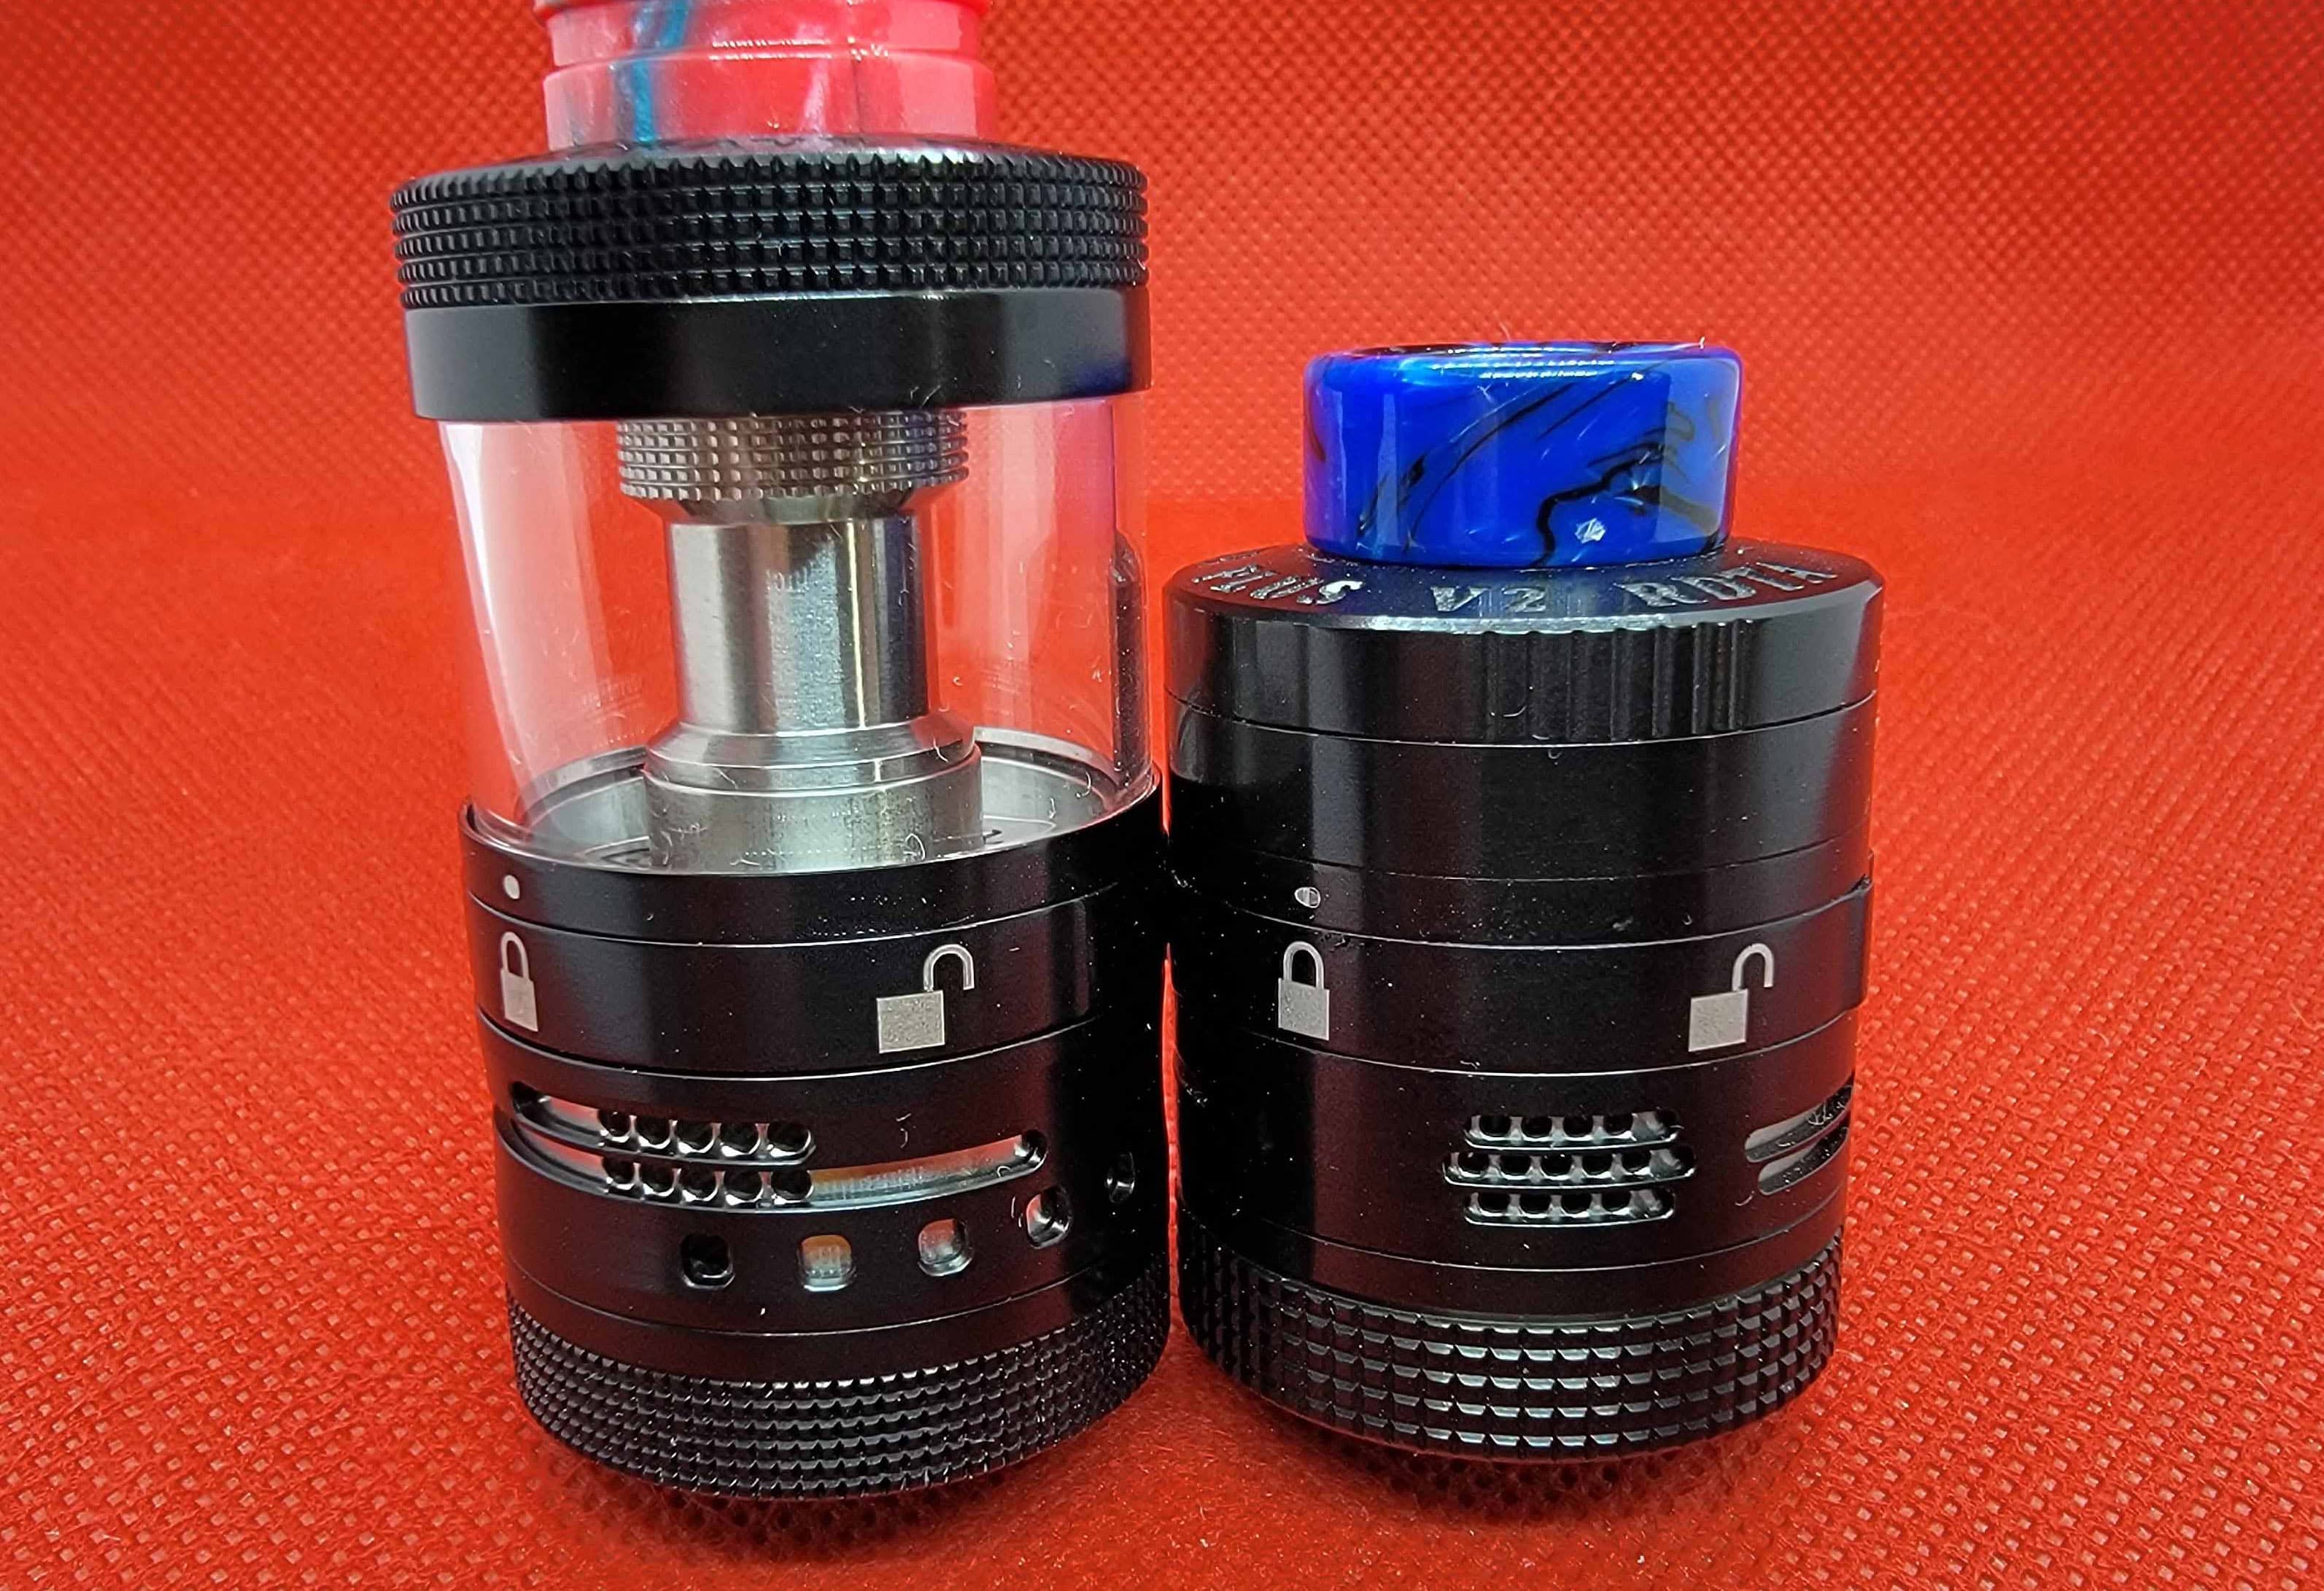
Bonus Time:
v.3 and v.2 …
v.1, v.2, v.3 …